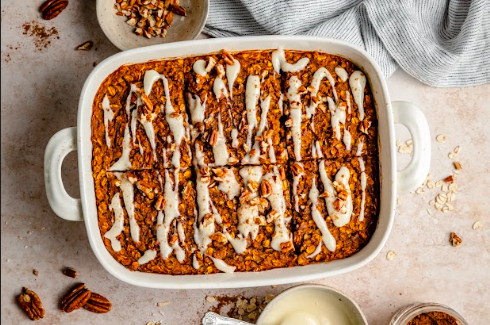
Chocolate Baked Oatmeal recipe (High protein + GF)

If you’re anything like me, planning meals in advance can save you so much stress during the week. That’s why I love making this chocolate baked oats recipe (originally from Lillie Eats and Tells) at the beginning of the week. It’s the perfect blend of taste and nutrition thanks to zucchini and mini chocolate chips and other healthy ingredients like gluten-free oats and chocolate protein powder. And for the record, I know this will sound crazy, but I don’t even heat it up when I eat it! I actually prefer it cold, straight out of the fridge with a splash of almond milk. 🤷🏻♀️
This post may include affiliate links for which I receive a small commission.
Table of contents
😍 Why You’ll Love Chocolate Baked Oats
- High Protein Content: Thanks to the chocolate protein powder and egg whites, these baked oats offer a protein boost to keep you full and satisfied.
- Gluten-Free: Made with gluten-free oats, these baked oats are perfect for those with gluten sensitivities.
- Satisfaction: You may think I drank the kool-aide with this one, but I really get satisfaction with these. Similar to that of chocolate, undercooked brownies. I know!
- Simple Ingredients: This recipe uses ingredients easily found at your local grocery store.
- Great for Meal Prep: Prepare this dish at the beginning of the week and enjoy individual portions throughout, stored in an airtight container.
🗒️ Ingredients
- yellow summer squash or zucchini – this is where the bulk of the recipe comes from. Don’t worry, it won’t affect the flavor of the chocolate oats. That’s what makes zucchini and squash such a home run for macro friendly baking!
- liquid egg whites – you can separate whole eggs for this in a pinch. I’ve also used half egg whites and half flax egg, just know that macros will change.
- almond milk – the original recipe calls for almond milk creamer, but I never have it on hand. So I use almond milk to keep calories low and it turns out great.
- old fashioned oats- Use rolled oats for this to get the right texture. As with most oat recipes, you could sub in quick oats but don’t use steel cut!!
- chocolate protein powder – I use the FASTer Way Hydrobeef protein powder. I love the way it tastes in my shakes, but it also bakes really well here too.
- jet black cocoa powder – regular cocoa powder is fine too.
- vanilla extract
- baking powder
- mini chocolate chips – these are key. When you sprinkle them across the top they add a great texture and pop of real chocolate to each slice. Use mini dark chocolate chips – not regular or large sized chips to keep it macro friendly.
💡Gluten-Free? Read This!
Ensure you’re using certified gluten-free oats, whether they be quick oats, rolled oats, or steel-cut oats. Gluten-free oats are processed in facilities free from gluten contamination, making them safe for those with celiac disease or gluten sensitivity.
I know this will sound crazy, but I don’t even heat it up when I eat it! I actually prefer it cold, straight out of the fridge with a splash of almond milk.
👩🍳 How to Make My Chocolate Baked Oats
- Preheat Your Oven to 350°F (175°C).
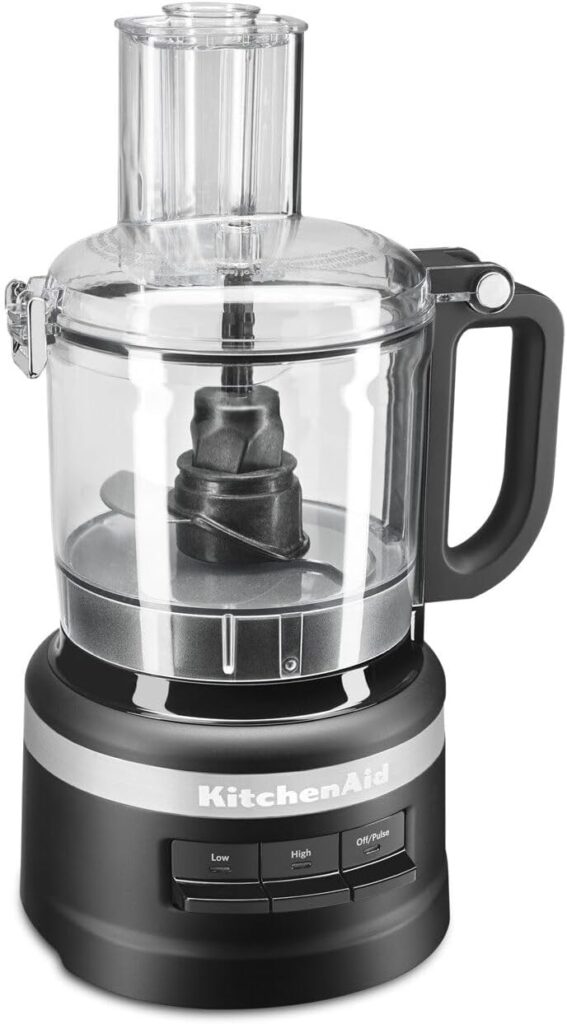
- Prepare the Squash by using a box grater to finely grate it. You can use a food processor to get a smoother texture. In fact, it was recommended in the original version of this recipe, but I just cannot dirty another appliance when cooking!
- In a large mixing bowl, combine the squash, egg whites, oats, milk, chocolate protein powder, cocoa powder, vanilla extract, and baking powder.
- Mix Well until all ingredients are fully combined.
- Pour into a greased 9×9 baking dish. For good measure I also line it with foil or parchment paper to make clean up easy. Trust me, it sticks to the pan! Top with mini chocolate chips.
- Bake for 45-50 minutes or until the center is set. The bottoms may appear moist but will firm up as they cool.
- Cool to room temperature before cutting into 4 pieces.
📓 Best served with
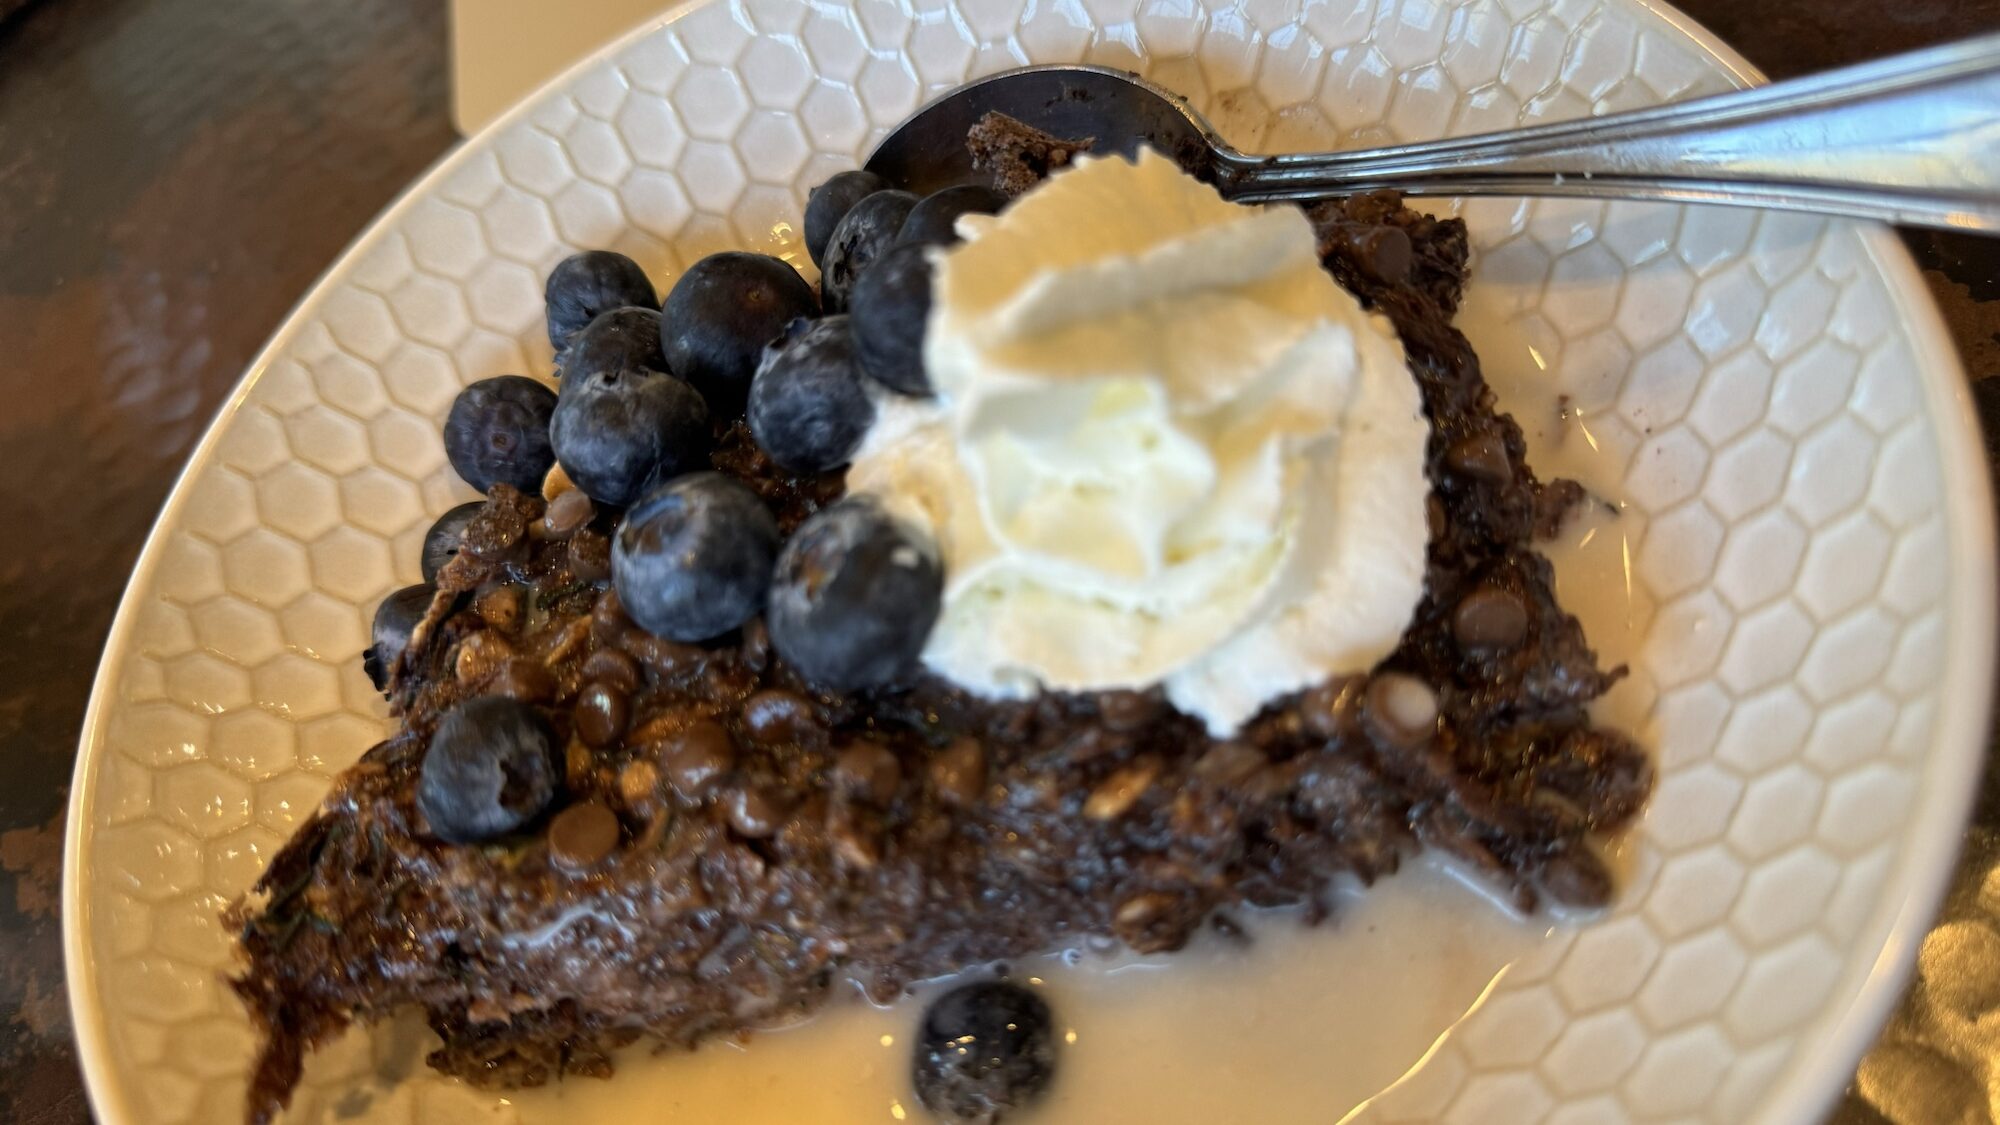
Enjoy your chocolate baked oats with a drizzle of peanut butter, a pinch of salt, or a few fresh berries. Add a dollop of almond butter or cashew butter for some healthy fats and a depth of flavor. Pair with a glass of oat milk or tea for a complete, delicious breakfast.
I top with a spray of Reddi Whip. Don’t judge!
Join my new 21 DAY reset!
Tired of endless diets and no results? This reset is for you if you want to gain energy, cut the cravings, build strength, decrease bloat and feel amazing going into the holiday season!

👝 How to Store Leftovers
Store leftovers in an airtight container covered with plastic wrap in the refrigerator. These oats can stay fresh for up to five days, making them perfect for meal prep. You can also freeze them for longer storage.
🧠 Common Questions
Can I use different types of milk?
Yes! Feel free to use any type of milk, such as unsweetened vanilla almond milk, soy milk, or coconut milk, depending on your preference.
What if I don’t have a food processor?
A high-speed blender can also work well for grating the squash. Alternatively, you can grate it manually using a box grater.
Can I make this vegan?
Yes! Replace egg whites with flax eggs to make the recipe vegan-friendly.
Is this recipe suitable for an air fryer?
You can try baking individual portions in a muffin tin using an air fryer, but adjust the bake time accordingly.
Chocolate Baked Oats (GF + high protein)
Ingredients
Method
- Pre-heat oven to 350 degrees.
- In a large bowl, combine your squash (no need to drain), liquid egg whites, oats, creamer, protein powder, stevia, cocoa powder, vanilla, and baking powder. Mix well and pour into a greased 9×9 pan. Sprinkle the top with 2 Tbsp mini chocolate chips and bake for 45-50 minutes or until set. The bottoms will be wet but that’s ok! It gets better as it sits in the fridge.
- Let them cool before cutting into 6 pieces.
- Make sure to store in the refrigerator and enjoy!
Nutrition
Tried this recipe?
Let us know how it was!