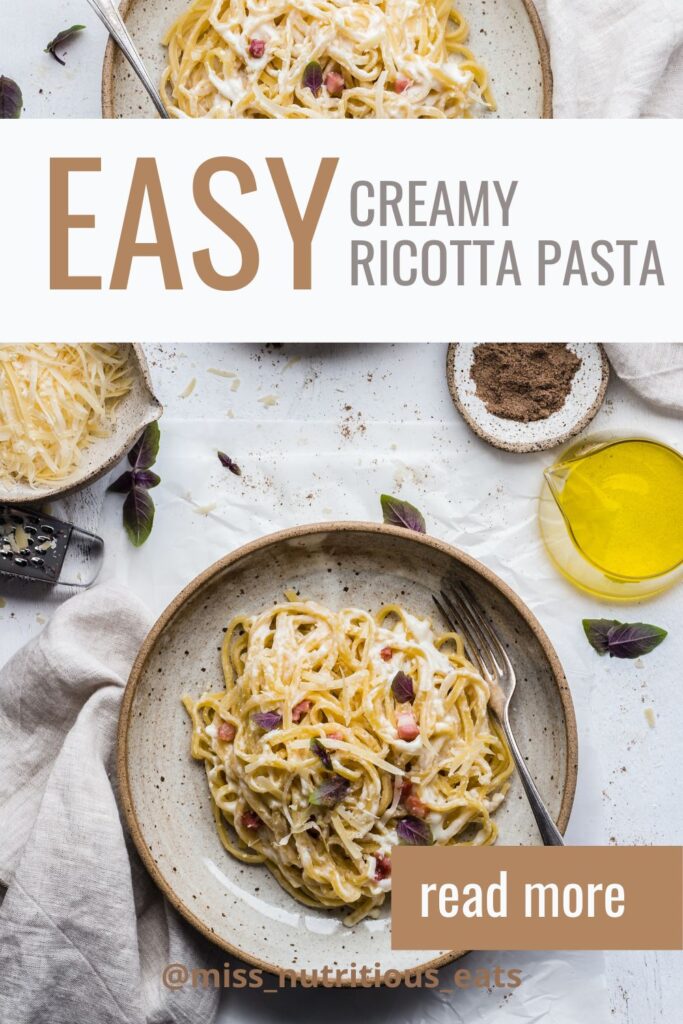
Creamy Ricotta Pasta with Veggies and Pine nuts
Our family likes mac and cheese. But there’s a limit to how many nights in a row that I can make that blue box! I like this recipe because it requires minimal and simple ingredients, plus it changes up the usual tomato sauce that we have in regular rotation. You may only need to pick up 3 or 4 items – like lemon or ricotta, pasta or broccoli for a quick crowd pleasing creamy pasta. Also play around with the vegetables that you include to use up what you have on hand. It’s a great recipe to put in the rotation for meatless Mondays or any day of the week. It’s just one of those dishes that is good any time of year.
Let me know if you try it!
Ingredients and substitutions for this creamy ricotta sauce and pasta recipe
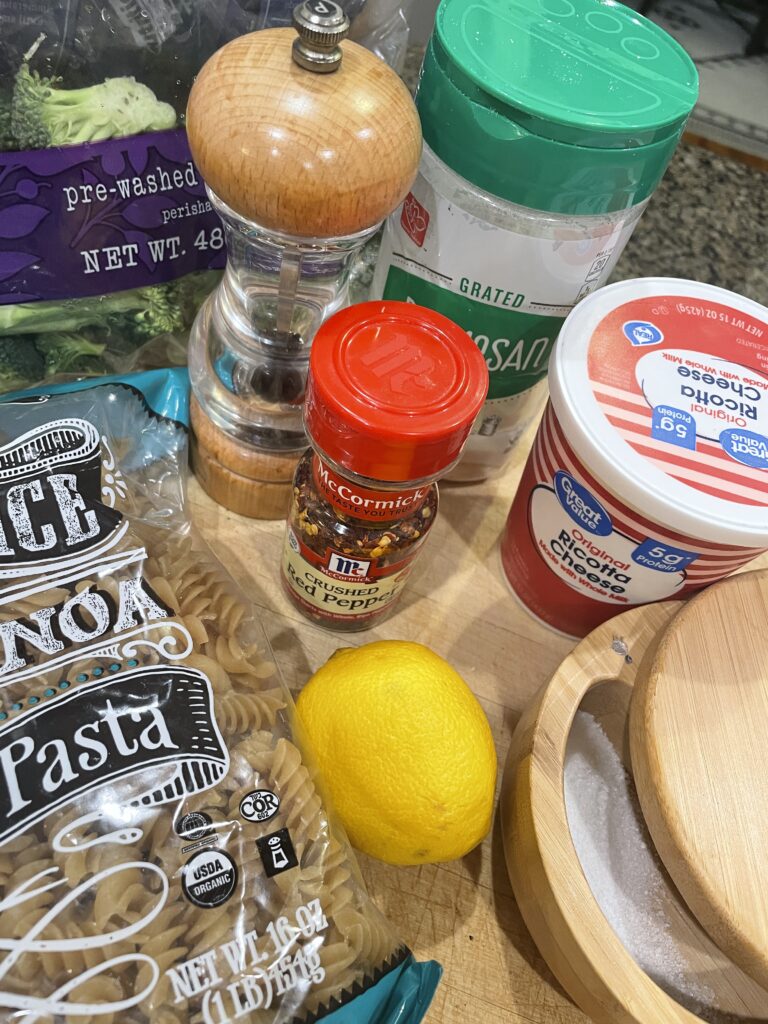
- Broccoli florets – break down a whole head of broccoli into small florets or use pre cut and cleaned veggies.
- Fresh lemon – we’re using both the zest and the juice in this recipe so go with fresh
- Pasta – I like short pasta with a shape that will catch the sauce. We’ve had it with rotini and pasta shells and it was great! It will also work with whole grain, brown rice or quinoa pasta. Use whichever your family likes.
- Ricotta cheese – I’m suggesting a part skim ricotta cheese to help limit saturated fat, which also helps reduce total calories. You could absolutely use a whole milk ricotta for a richer and creamer dish. I like ricotta cheese because it adds a bit of protein too.
- Salt and pepper – use these to season your pasta and sauce as you cook. The final result will be bland if you don’t!
- Handful of basil – I love using fresh if I have it, but you could also use frozen and mix it in with the ricotta for a herby version!
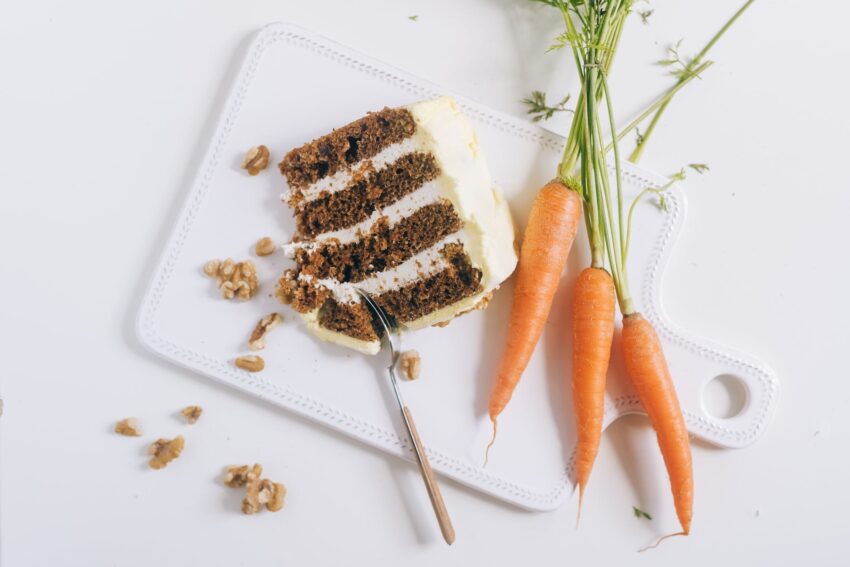
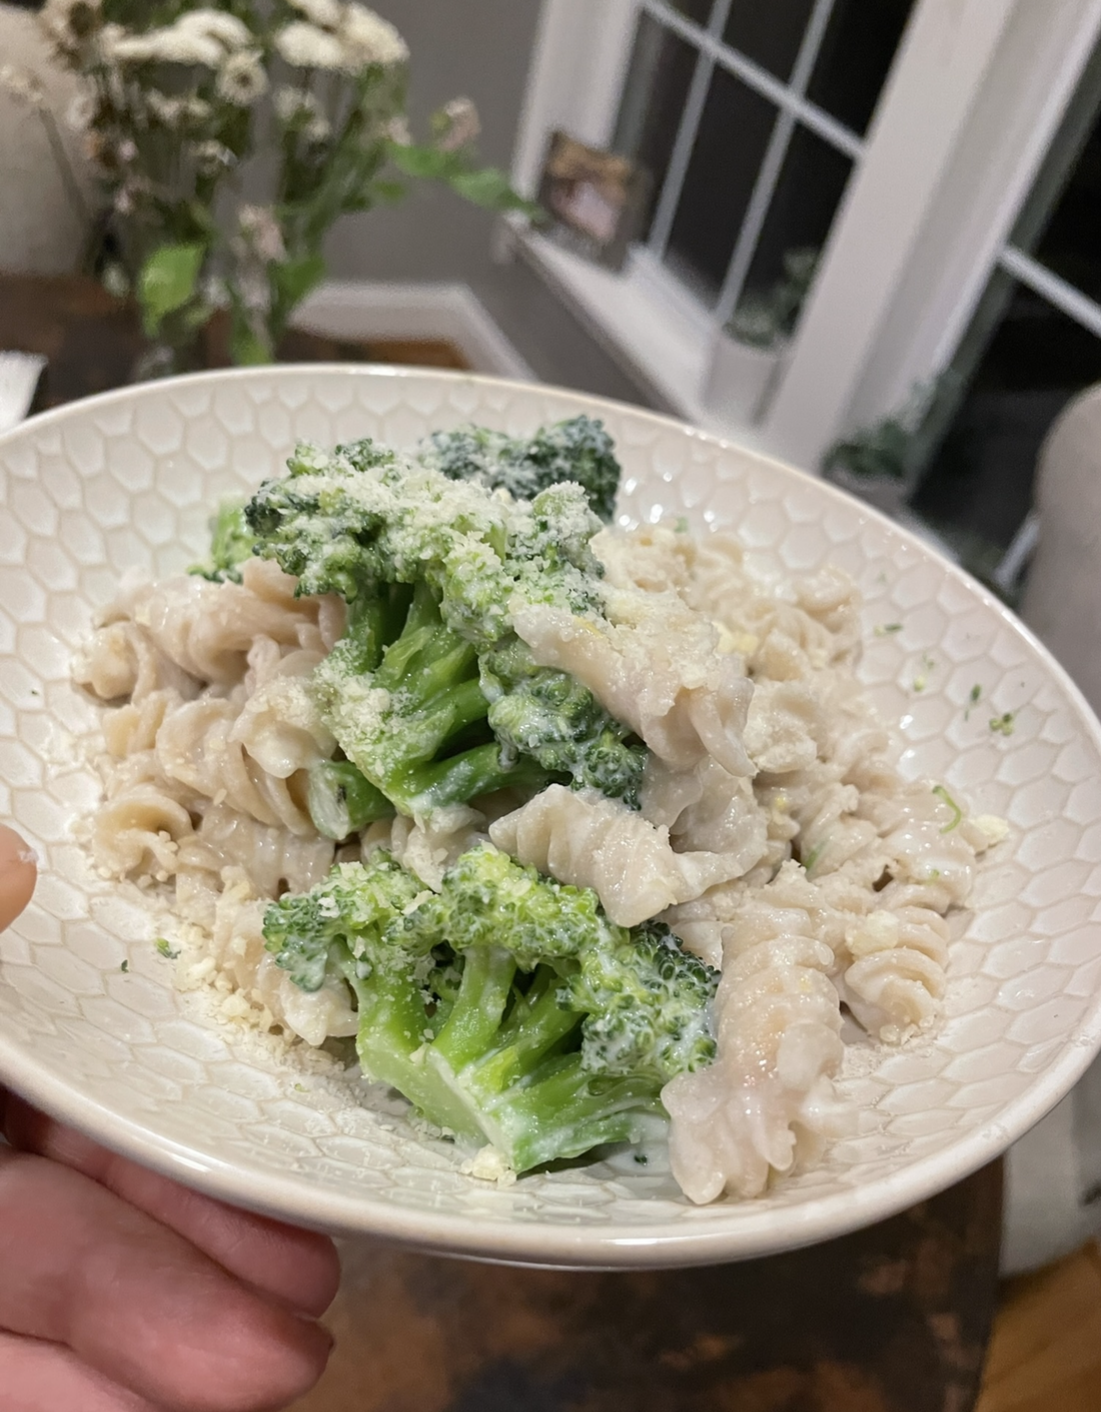
- Optional – chili flakes, parmesan cheese and pine nuts. If you don’t have them, don’t worry. If you do have them, use these to top the finial dishes before serving. You could even used up crumbled bacon and frozen peas for a traditional combo.
How to make creamy ricotta pasta step by step
- Bring a large pot of salted water to a boil over high heat. Then zest and juice the lemon into a small bowl and set aside.
- Add the pasta to the boiling water and cook according to package directions for al dente. Two minutes before it’s al dente, add the broccoli and let cook for last two minutes.
- Reserve 1 cup of the pasta water when you drain the pasta and broccoli.
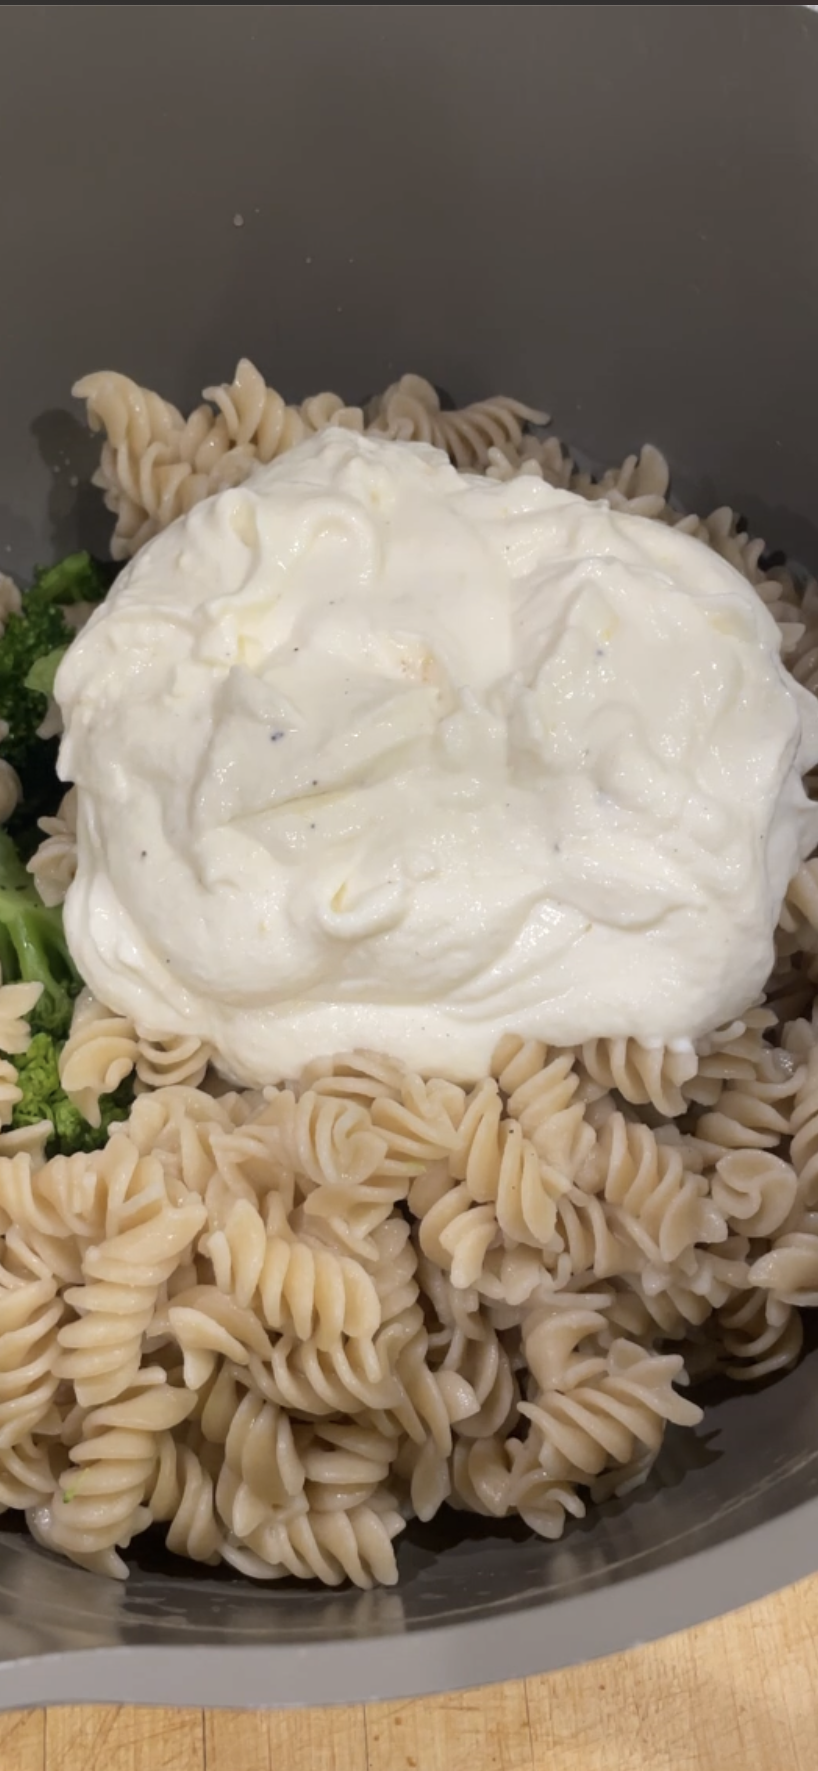
- Mix lemon zest, lemon juice, and 1 cup ricotta cheese. You can use a food processor or just mix really well with a wooden spoon. Season to taste with salt and pepper.
- When the pasta reaches 2 minutes less than al dente, add the broccoli florets and cook for the remaining 2 minutes.
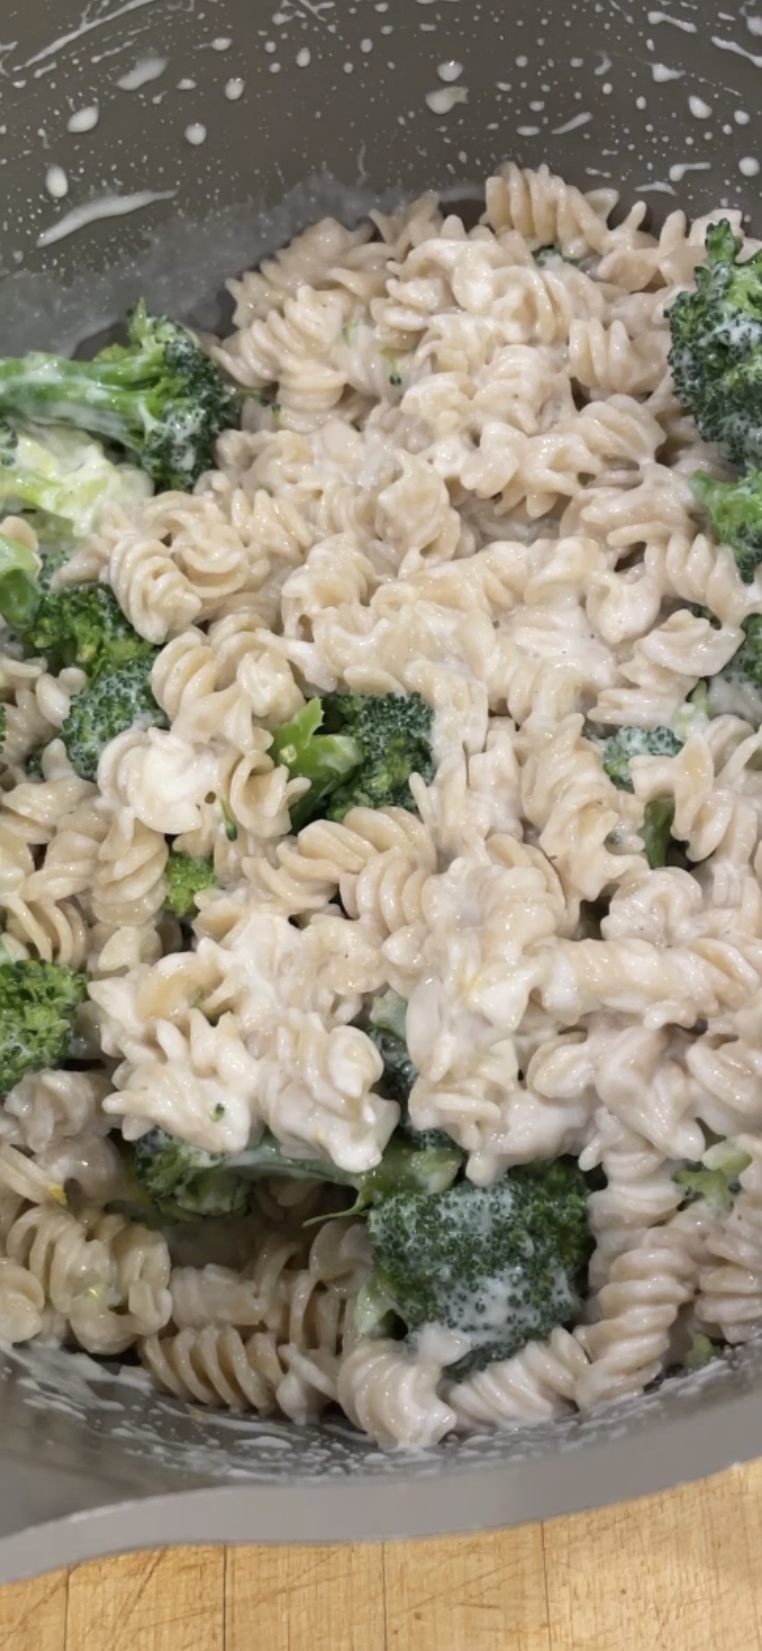
- Return the hot pasta and broccoli to the pot. Add the ricotta mixture and 1/4 cup pasta water. Stir, adding more pasta water as needed, until the sauce coats and clings to the pasta. Taste and season with black pepper and Parmesan cheese, basil and red pepper flakes and pine nuts if desired.
The best part is you can also substitute any other vegetables you have on hand. Even leftover roasted cauliflower, and carrots could mix in well here.
What to serve with creamy ricotta pasta
The nice thing is you really don’t need to serve anything else, but if you wanted to go the extra step here are a few ideas.
- simple side salad
- roasted chickpeas
- roasted chicken or pork chops
- sautéed greens
- fresh diced tomatoes
How to store creamy ricotta pasta
If we have leftovers I like to store them in quart containers and then reheat in a pan with a little chicken broth or water to revive the sauce. Once the pasta comes down to room temperature, store it in an airtight container for up to three days.
Nutrition and macros
I make this recipe with brown rice pasta or traditional wheat pasta. But you could use the sauce over palm noodles or zucchini spirals if you needed to follow a low carb or lower calorie diet.
337calories
5g Fat 62g Carb 11g Pro 3g Fiber
Creamy Ricotta Pasta
Ingredients
Equipment
Method
- Bring a large pot of water to a boil over high heat. Then zest and juice the lemon into a small bowl and set aside.
- Add the pasta to the boiling water. Two minutes before it’s al dente, add the broccoli and let cook for last two minutes. Reserve 1/2 cup pasta water when you drain the pasta and broccoli.
- Mix lemon zest, lemon juice, and 1 cup ricotta cheese. You can use a food processor or just mix really well with a wooden spoon. Season to taste with salt and pepper.
- When the pasta reaches 2 minutes less than al dente, add the broccoli florets and cook for the remaining 2 minutes.
- Return the pasta and broccoli to the pot. Add the ricotta mixture and 1/4 cup pasta water. Stir, adding more pasta water as needed, until the sauce coats and clings to the pasta. Taste and season with black pepper and Parmesan cheese, basil and red pepper flakes and pine nuts if desired.
Nutrition
Tried this recipe?
Let us know how it was!