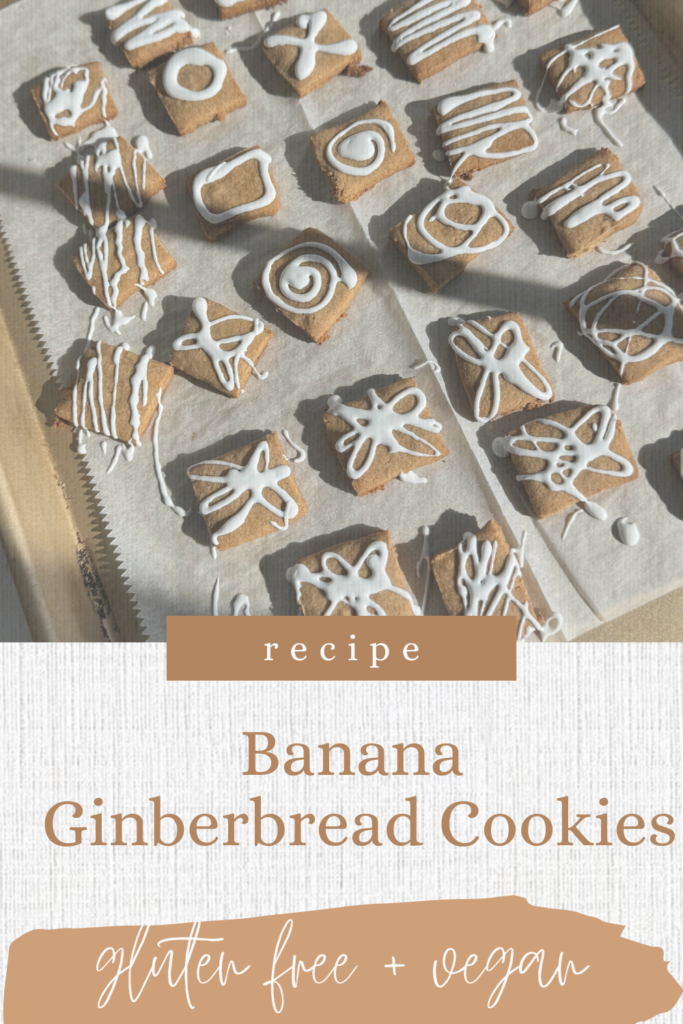
Gingerbread Cookies (GF + Vegan)

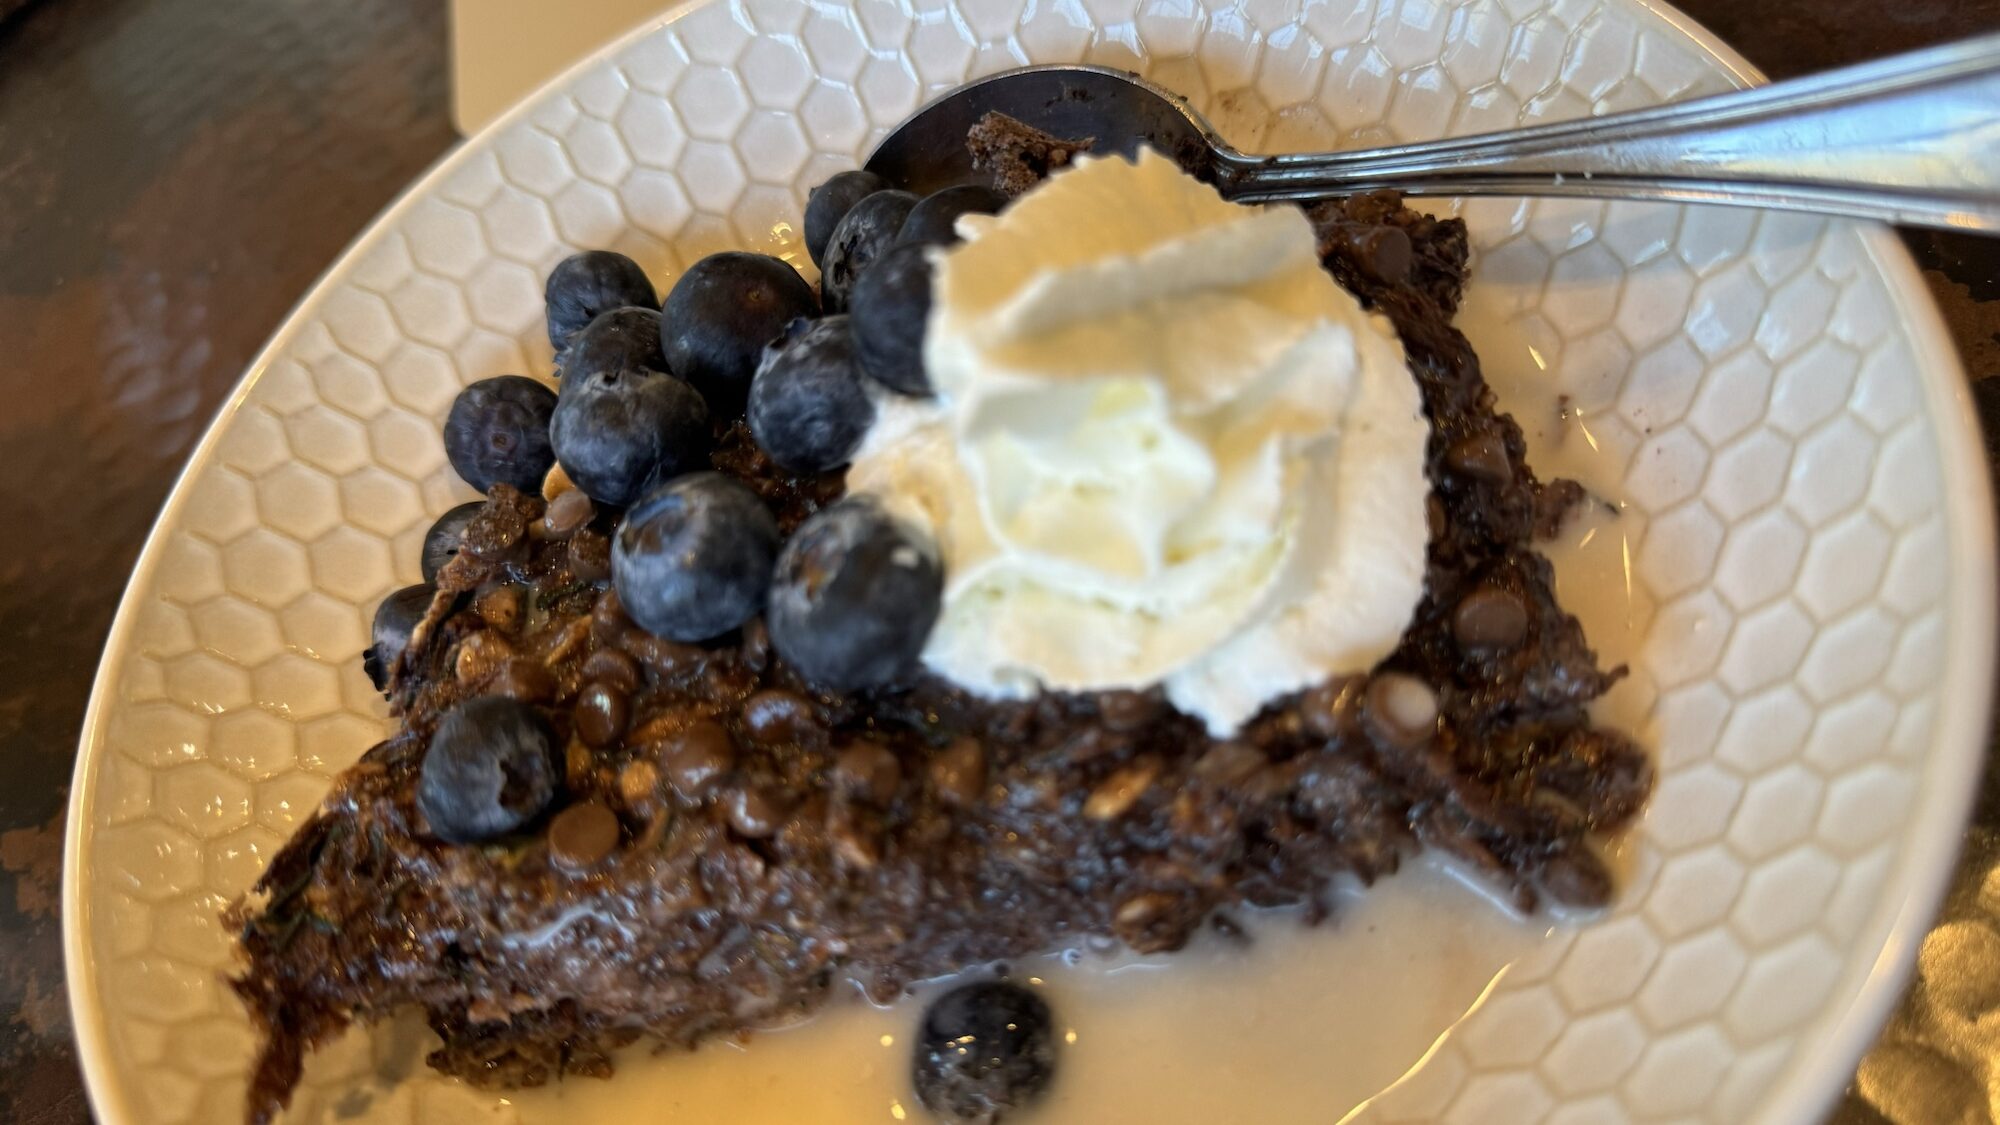
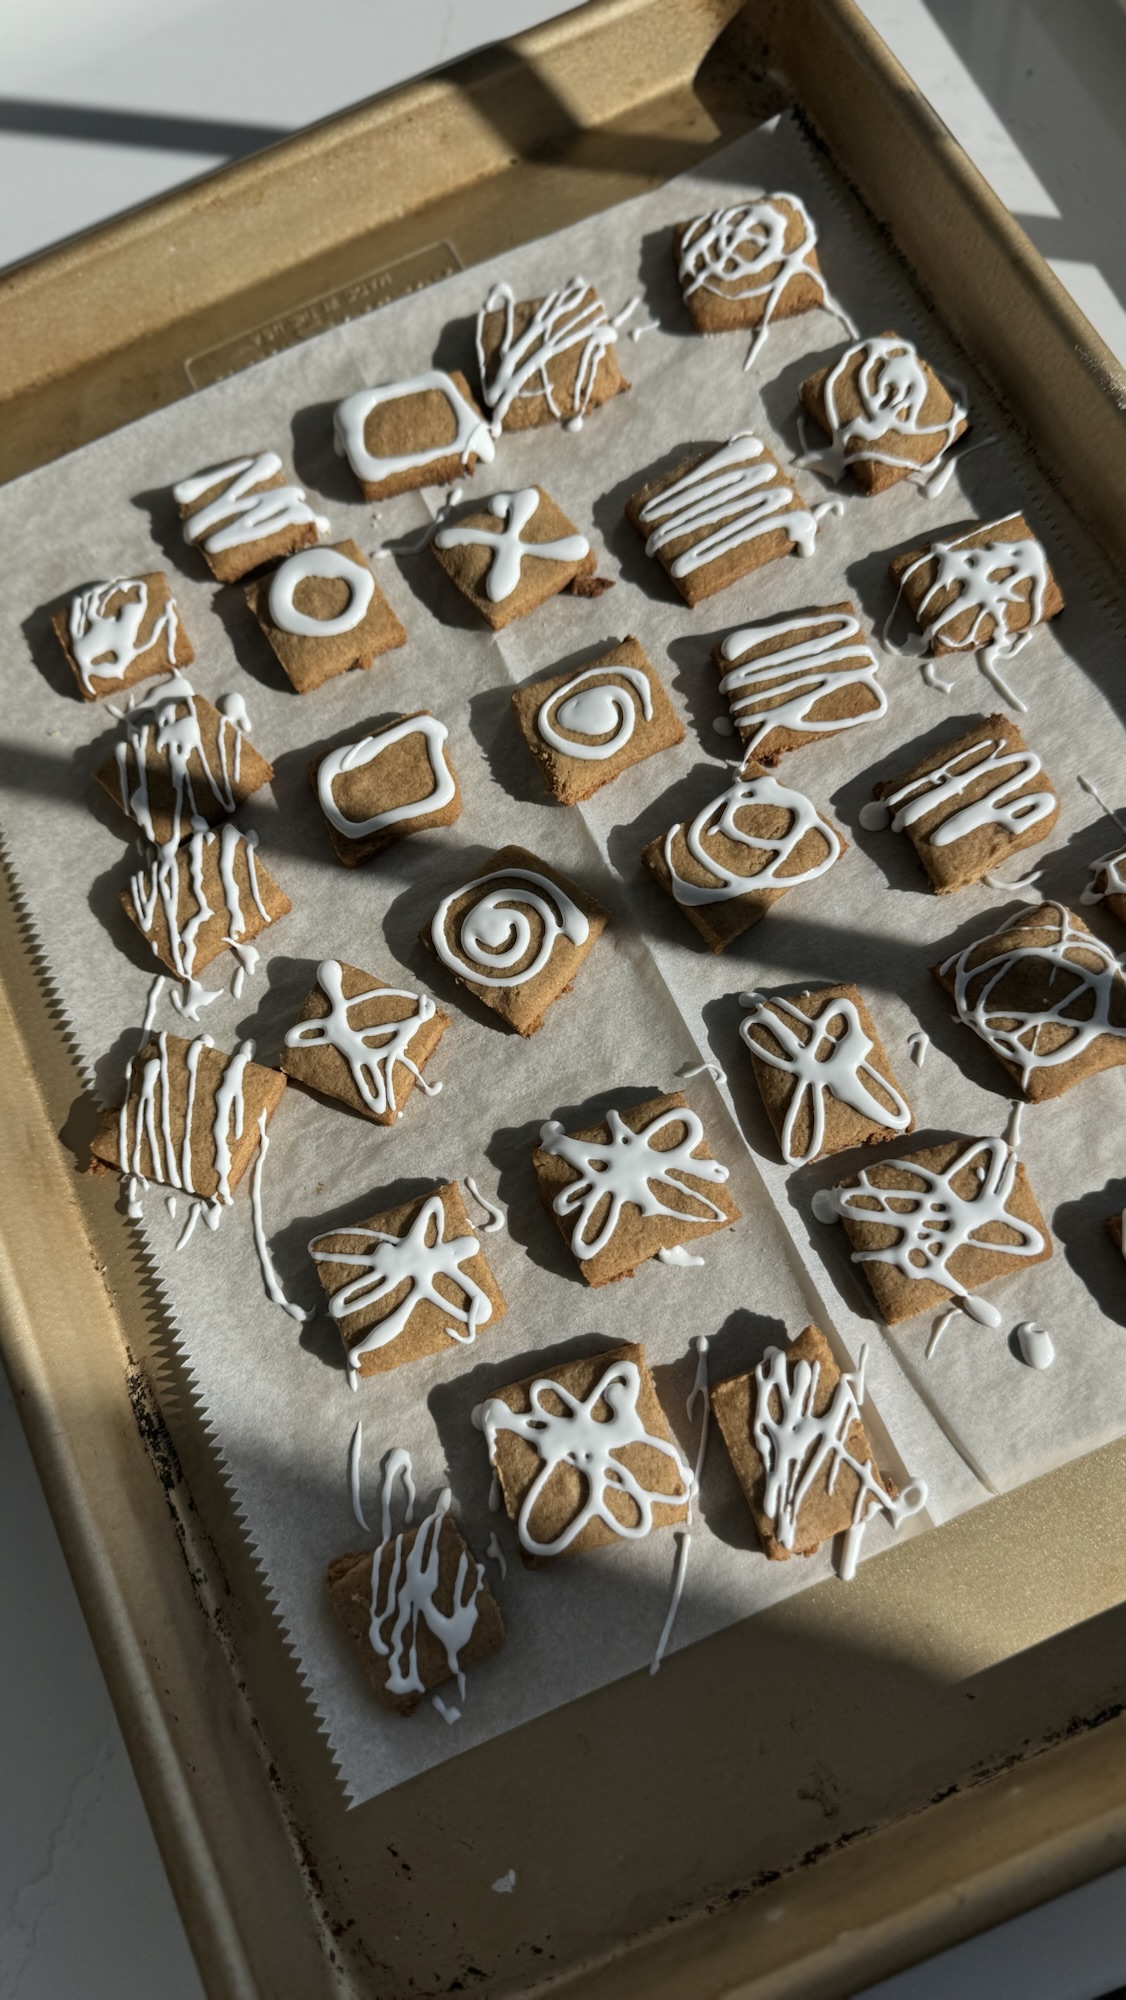
These Easy Gluten-Free Gingerbread Cookies are my go-to for the holiday season because they are so simple to make … and it doesn’t hurt that they are absolutely delicious. Whether you’re turning them into festive gingerbread men, a gingerbread house, or just classic gingerbread squares, this recipe is worth a try. And the bonus? It’s gluten-free and vegan-friendly, making it the perfect treat for literally everyone. Personally I love that they have a little crunch, so I take care to cut scraps into small squares for a bite sized treat 🙂
This blog may include affiliate links from which I receive a small commission.
Table of contents
😍 Why You’ll Love This Gluten-Free Gingerbread Cookie Recipe
- Perfect Texture: These cookies have a great crunch and hold their shape for decorating.
- Diet-Friendly: Made with a gluten-free flour blend, vegan butter, and mashed banana, this recipe is perfect for those with dietary restrictions.
- Festively Delicious: Packed with gingerbread spice, ground ginger, and a hint of blackstrap molasses, these cookies taste like classic gingerbread cookies.
- Fun for the Family: Roll out the dough, grab your cookie cutters, and get decorating with your favorite royal icing. It’s a fun activity for the entire family!
🗒️ Ingredients + Substitutions
Gather these ingredients to create baking magic with options for substitutions!
- Gluten-Free Flour Blend (like Bob’s Red Mill): all-purpose flour can be used
- Sugar or Coconut Sugar for a deeper flavor.
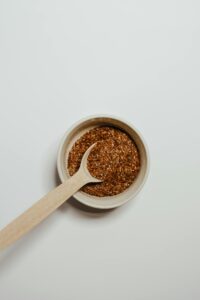
- Ground Ginger and 1 tsp Ground Cinnamon for that signature gingerbread spice. Add a pinch of ground cloves if desired!
- Vegan Butter or Coconut Oil, softened.
- Blackstrap Molasses: Essential for that rich gingerbread flavor! Golden syrup or maple syrup could work too.
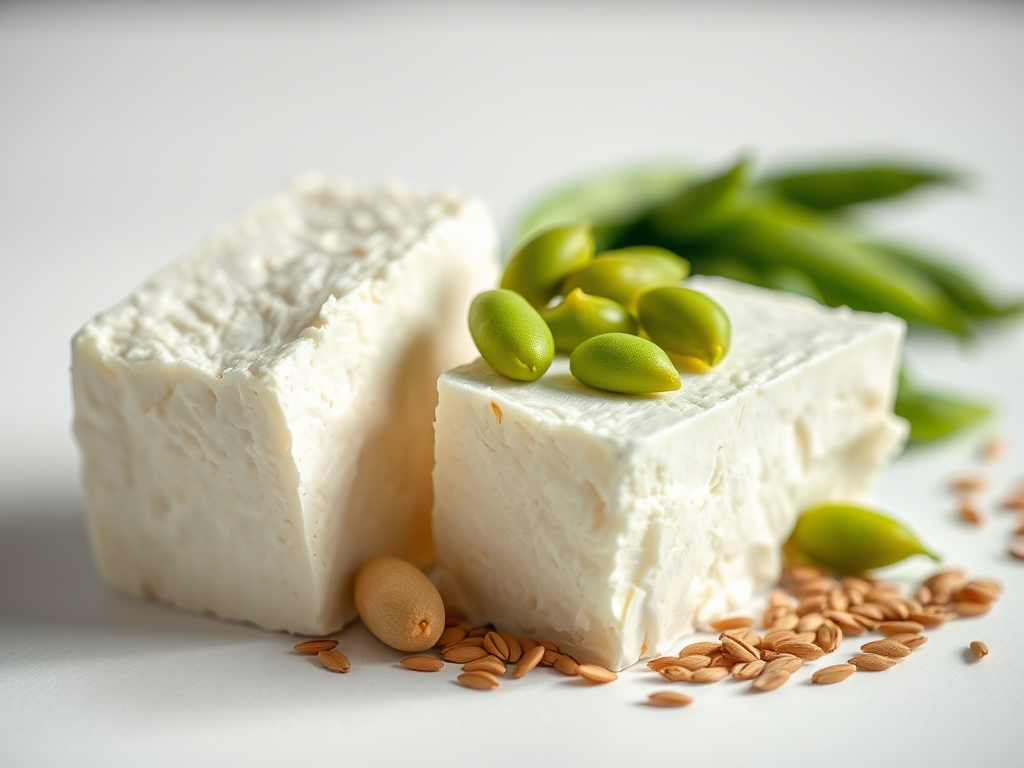
- Mashed Banana: Acts as a binder; you can substitute with applesauce if needed.
- Sea Salt to balance the flavors.
💡 Gluten-Free? Read This!
When it comes to gluten-free baking, preparation is key for the best results.
- Use a high-quality gluten-free flour blend (like Bob’s Red Mill) that contains xanthan gum or add it separately (1 tsp per 2 cups of flour). This acts as a leavening agent to give your dough structure.
- Look for fine-ground flours like oat flour, rice flour, or almond meal for smoother results.
- Measure accurately using a measuring cup and avoid packing the flour.
👩🍳 How to Make My Easy Gluten-Free Gingerbread Cookies
Prep Steps
- Measure out all the dry ingredients to keep your baking organized.
- Have your tools ready, including a large bowl, medium bowl, rolling pin, and cookie cutters.
Make the Dough
Mix the Dry Ingredients
- In a large mixing bowl, whisk 1 ¾ cup gluten-free flour blend, 1 tsp ground ginger, 1 tsp cinnamon, and ½ tsp sea salt.
Cream the Wet Ingredients
- Using a stand mixer or medium bowl, beat together ½ cup softened vegan butter and ¾ cup sugar until fluffy. Be sure to push down the batter from the sides of the bowl half way through.
- Add ¼ cup blackstrap molasses and ⅓ cup mashed banana, blending until smooth.
Combine Wet and Dry
- Slowly add the dry ingredients to the wet mixture. Mix until a sticky dough forms. Wrap the gingerbread dough tightly with plastic wrap and chill in the fridge for 30 minutes.
Roll, Cut, and Bake
- Remove the gingerbread cookie dough from the fridge and roll it out on a lightly floured surface to ¼ inch thick. Use scraps to re-roll and cut shapes until all dough is used.
- Transfer to Prepared Baking Sheets lined with parchment paper. Chill again while preheating the oven to 350°F.
- Bake for 12–14 minutes, or until slightly puffy. Cool on a cooling rack for at least 15 minutes before decorating.
📓 Best Served With
Pair these cookies with a steaming cup of hot cocoa, a pumpkin spice latte, or even mulled wine for cozy holiday vibes. They’re also perfect for building a gingerbread house or sharing as gifts with friends.
👝 How to Store Leftovers
Keep your baked cookies fresh by storing them in an airtight container at room temperature for up to 2 weeks. They can also be frozen for up to a month. Feel free to store leftover dough scraps the same way for your next baking session!
Join my new 21 DAY reset!
Tired of endless diets and no results? This reset is for you if you want to gain energy, cut the cravings, build strength, decrease bloat and feel amazing going into the holiday season!

🧠 Common Questions
Can I make these ahead of time?
Absolutely! Prepare the dough in advance and wrap it in plastic wrap. It will keep in the fridge for 2-3 days or up to 3 months in the freezer.
Can I use almond or oat flour instead of a gluten-free flour blend?
For best results, stick with a gluten-free blend.
How can I decorate these cookies?
Use royal icing made with meringue powder and powdered sugar for intricate details. For simpler decoration, drizzle with melted chocolate or top with coconut shreds and sprinkles. I kept it easy by using pre made icing from Harris Teeter.
💪🏼 Tracking Macros? Check This Out
This recipe is proof that treats can be enjoyed while staying mindful. This recipe is made with whole food ingredients, it displaces a bit of sugar and fat by using bananas and it’s still super fun. Each cookie has approximately 120 calories, and the added benefit of using dairy-free butter and coconut sugar makes them lighter than their traditional counterparts. These check the box for a better for you treat day.
If you make this recipe – AND I HOPE YOU DO – Share your creations on Instagram using #missnutritiouseats, I’d love to see what you made! Check out the full recipe card below for all the details.
Happy baking 🎅🏼🍪!
Ingredients
Method
- In a large mixing bowl, whisk 1 ¾ cup gluten-free flour blend, 1 tsp ground ginger, 1 tsp cinnamon, and ½ tsp sea salt.
- Using a stand mixer or medium bowl, beat together ½ cup softened vegan butter and ¾ cup sugar until fluffy.
- Add ¼ cup blackstrap molasses and ⅓ cup mashed banana, blending until smooth.
- Slowly add the dry ingredients to the wet mixture. Mix until a sticky dough forms. Wrap the dough tightly with plastic wrap and chill in the fridge for 30 minutes.
- Remove the gingerbread cookie dough from the fridge and roll it out on a lightly floured surface to ¼ inch thick. Use scraps to re-roll and cut shapes until all dough is used.
- Transfer to Prepared Baking Sheets lined with parchment paper or cookie sheets. Chill again while preheating the oven to 350°F.
- Bake for 12–14 minutes, or until slightly puffy. Cool on a cooling rack for at least 15 minutes before decorating.