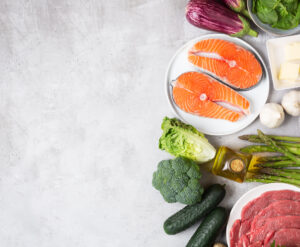
A beginners guide for eating more plant-based meals
Going plant-based is one of the best things you can do for your body, your mind and your overall health. It doesn’t have to be a major decision that you overthink into paralysis either. It doesn’t mean you have to start an exclusively vegetarian diet or vegan diet (where you eliminate all animal products including dairy products).
All it means is that you have a new found focus on whole foods and plant-based foods – healthy foods, not necessarily eliminating all animal foods. It can be done slowly one meal at a time!
Check out these tips courtesy of Dole Food Company to start including more fruits and vegetables in your diet today!
But before we get into the tactical tips… lets overview why plant based is so good for you.
Health Benefits of plant-based eating
Research has shown that balanced vegetarian and plant forward diets can reduce the risk of chronic diseases including obesity, diabetes, high blood pressure, elevated cholesterol levels and some cancers! Some of these benefits, aside from weight loss include:
- Lower body fat with a focus on healthy fats and lower overall calorie intake which lowers the risk for obesity, in turn lowering risk for type 2 diabetes.
- Lower blood pressure, which could be a result of fruit and vegetables intake. But it could also be the result of other lifestyle factors unique to plant-based eaters such as increased exercise, lower alcohol intake and typically following a non smoking lifestyle.
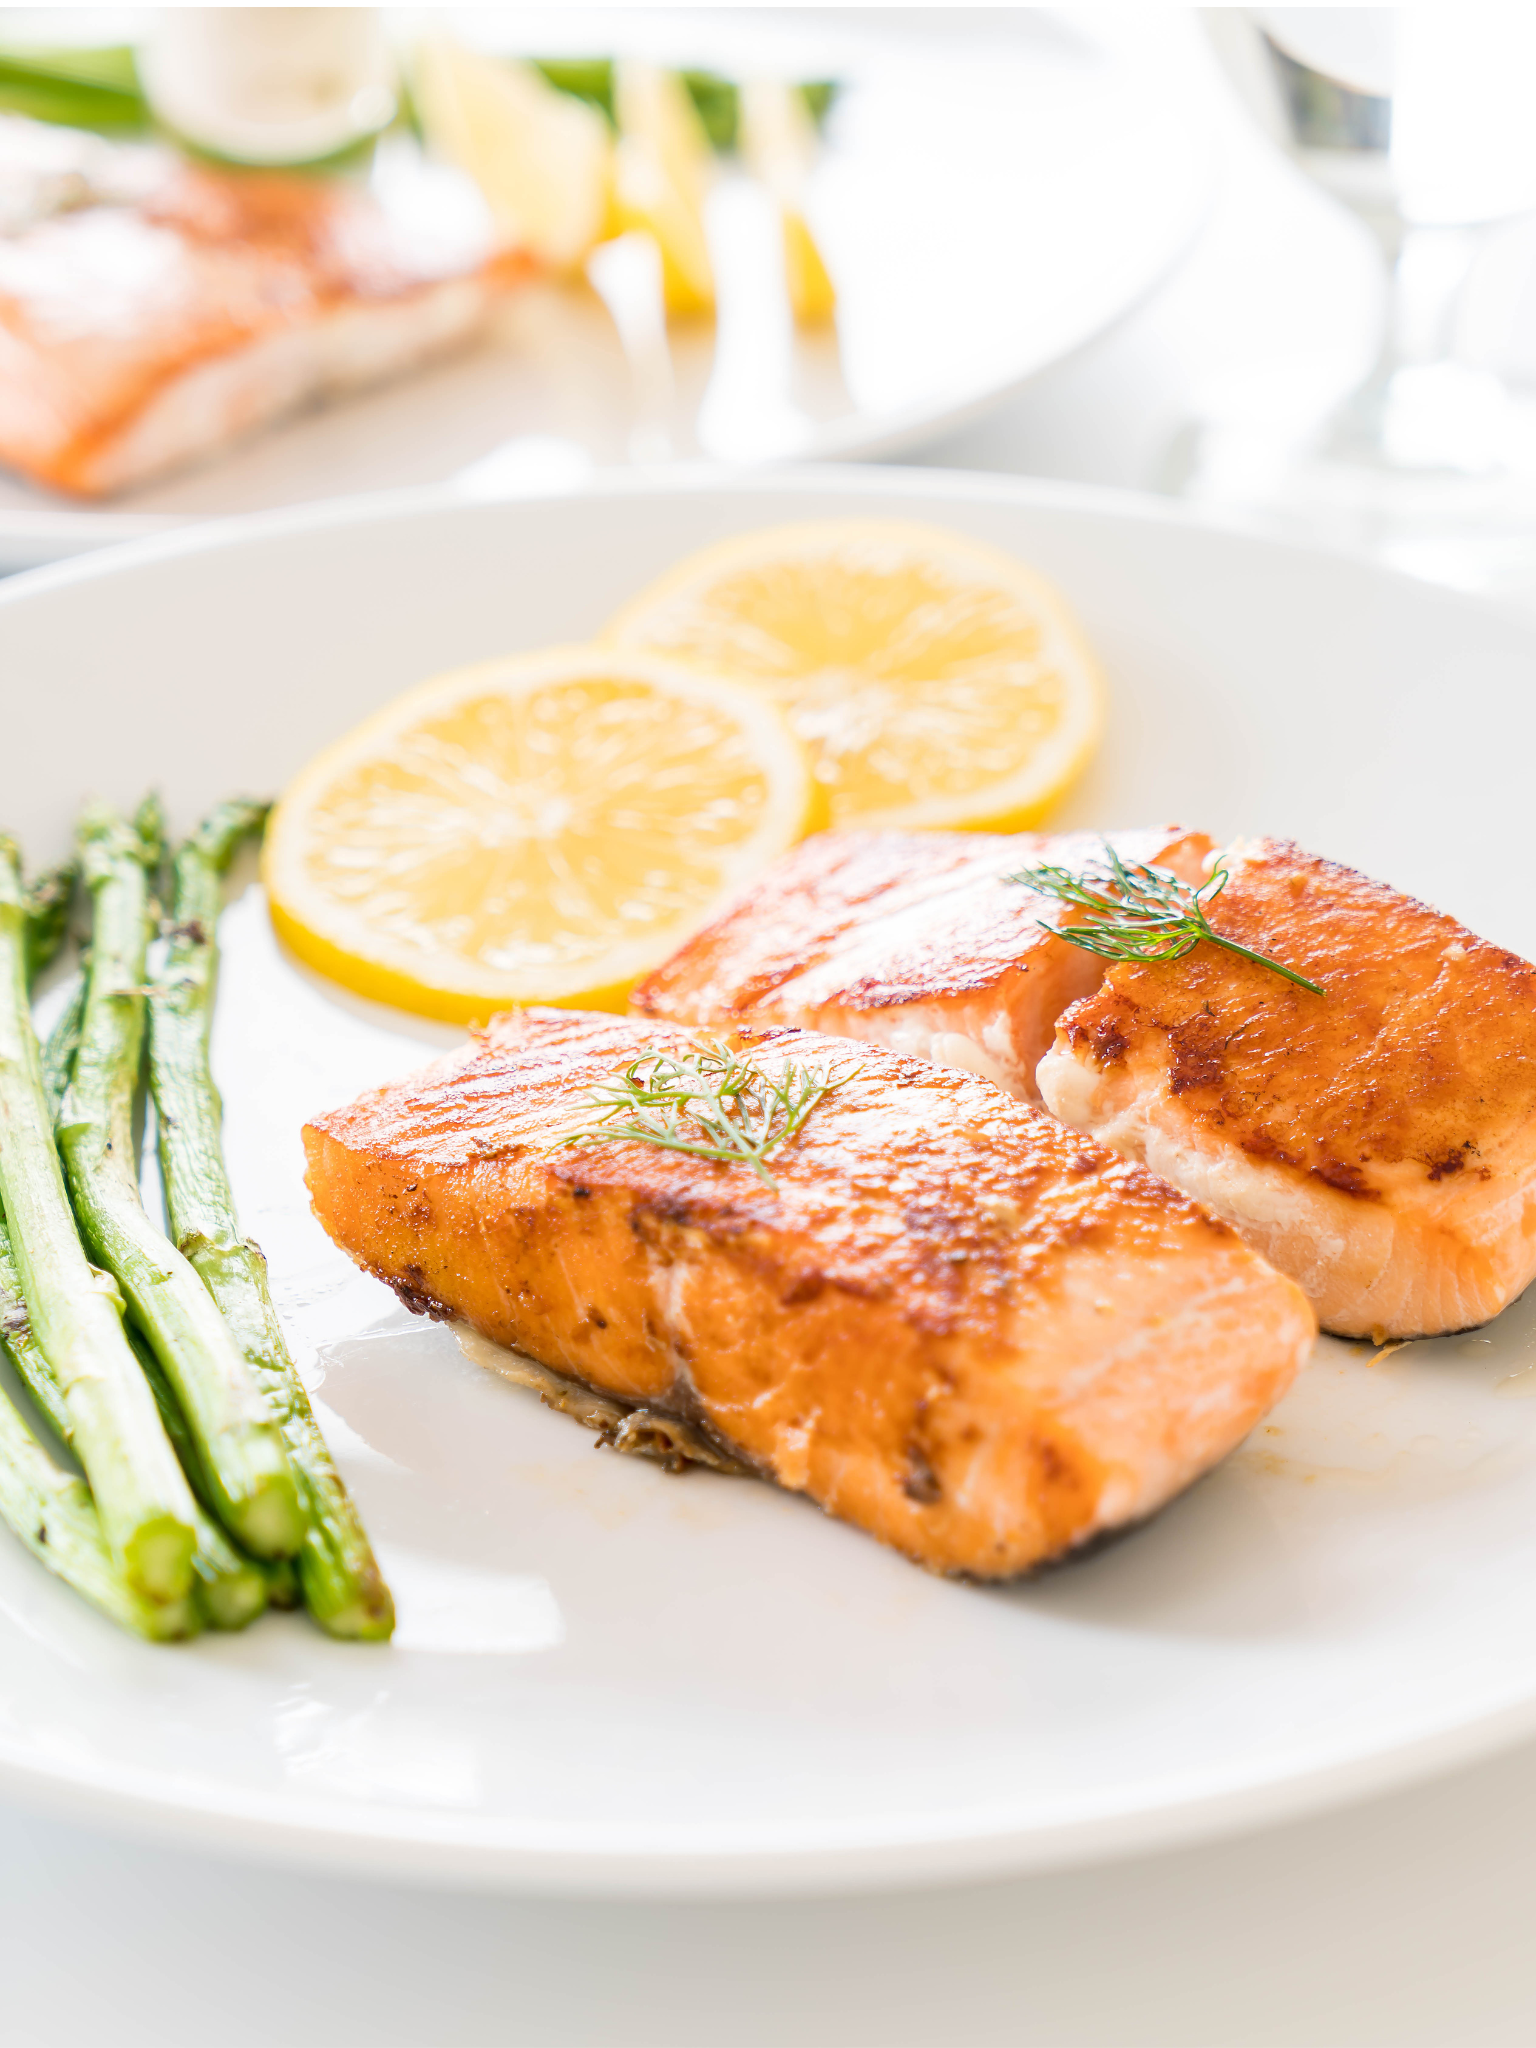
- Lower risk for heart disease which may be due to lower saturated fat intake in combination with antioxidants found in plant-based foods.
- Digestive issues such as constipation and divercitular disease is diminished. This is likely the result of the high fiber content of fresh fruits, vegetables and plant-based alternatives.
- Lower risk of some cancers including prostate, colon and rectal which are likely a result of higher fiber content of fruits and vegetables in combination with increased micronutrient and antioxidant intake! Additionally less fat tends to be consumed along with lower consumption of carcinogens.
- Lower risk of kidney disease, kidney stones and gall stones. IT’s thought that lower protein content found in vegetarian diets plus increased intake of legumes and vegetables
Tips for building plant based meals today!
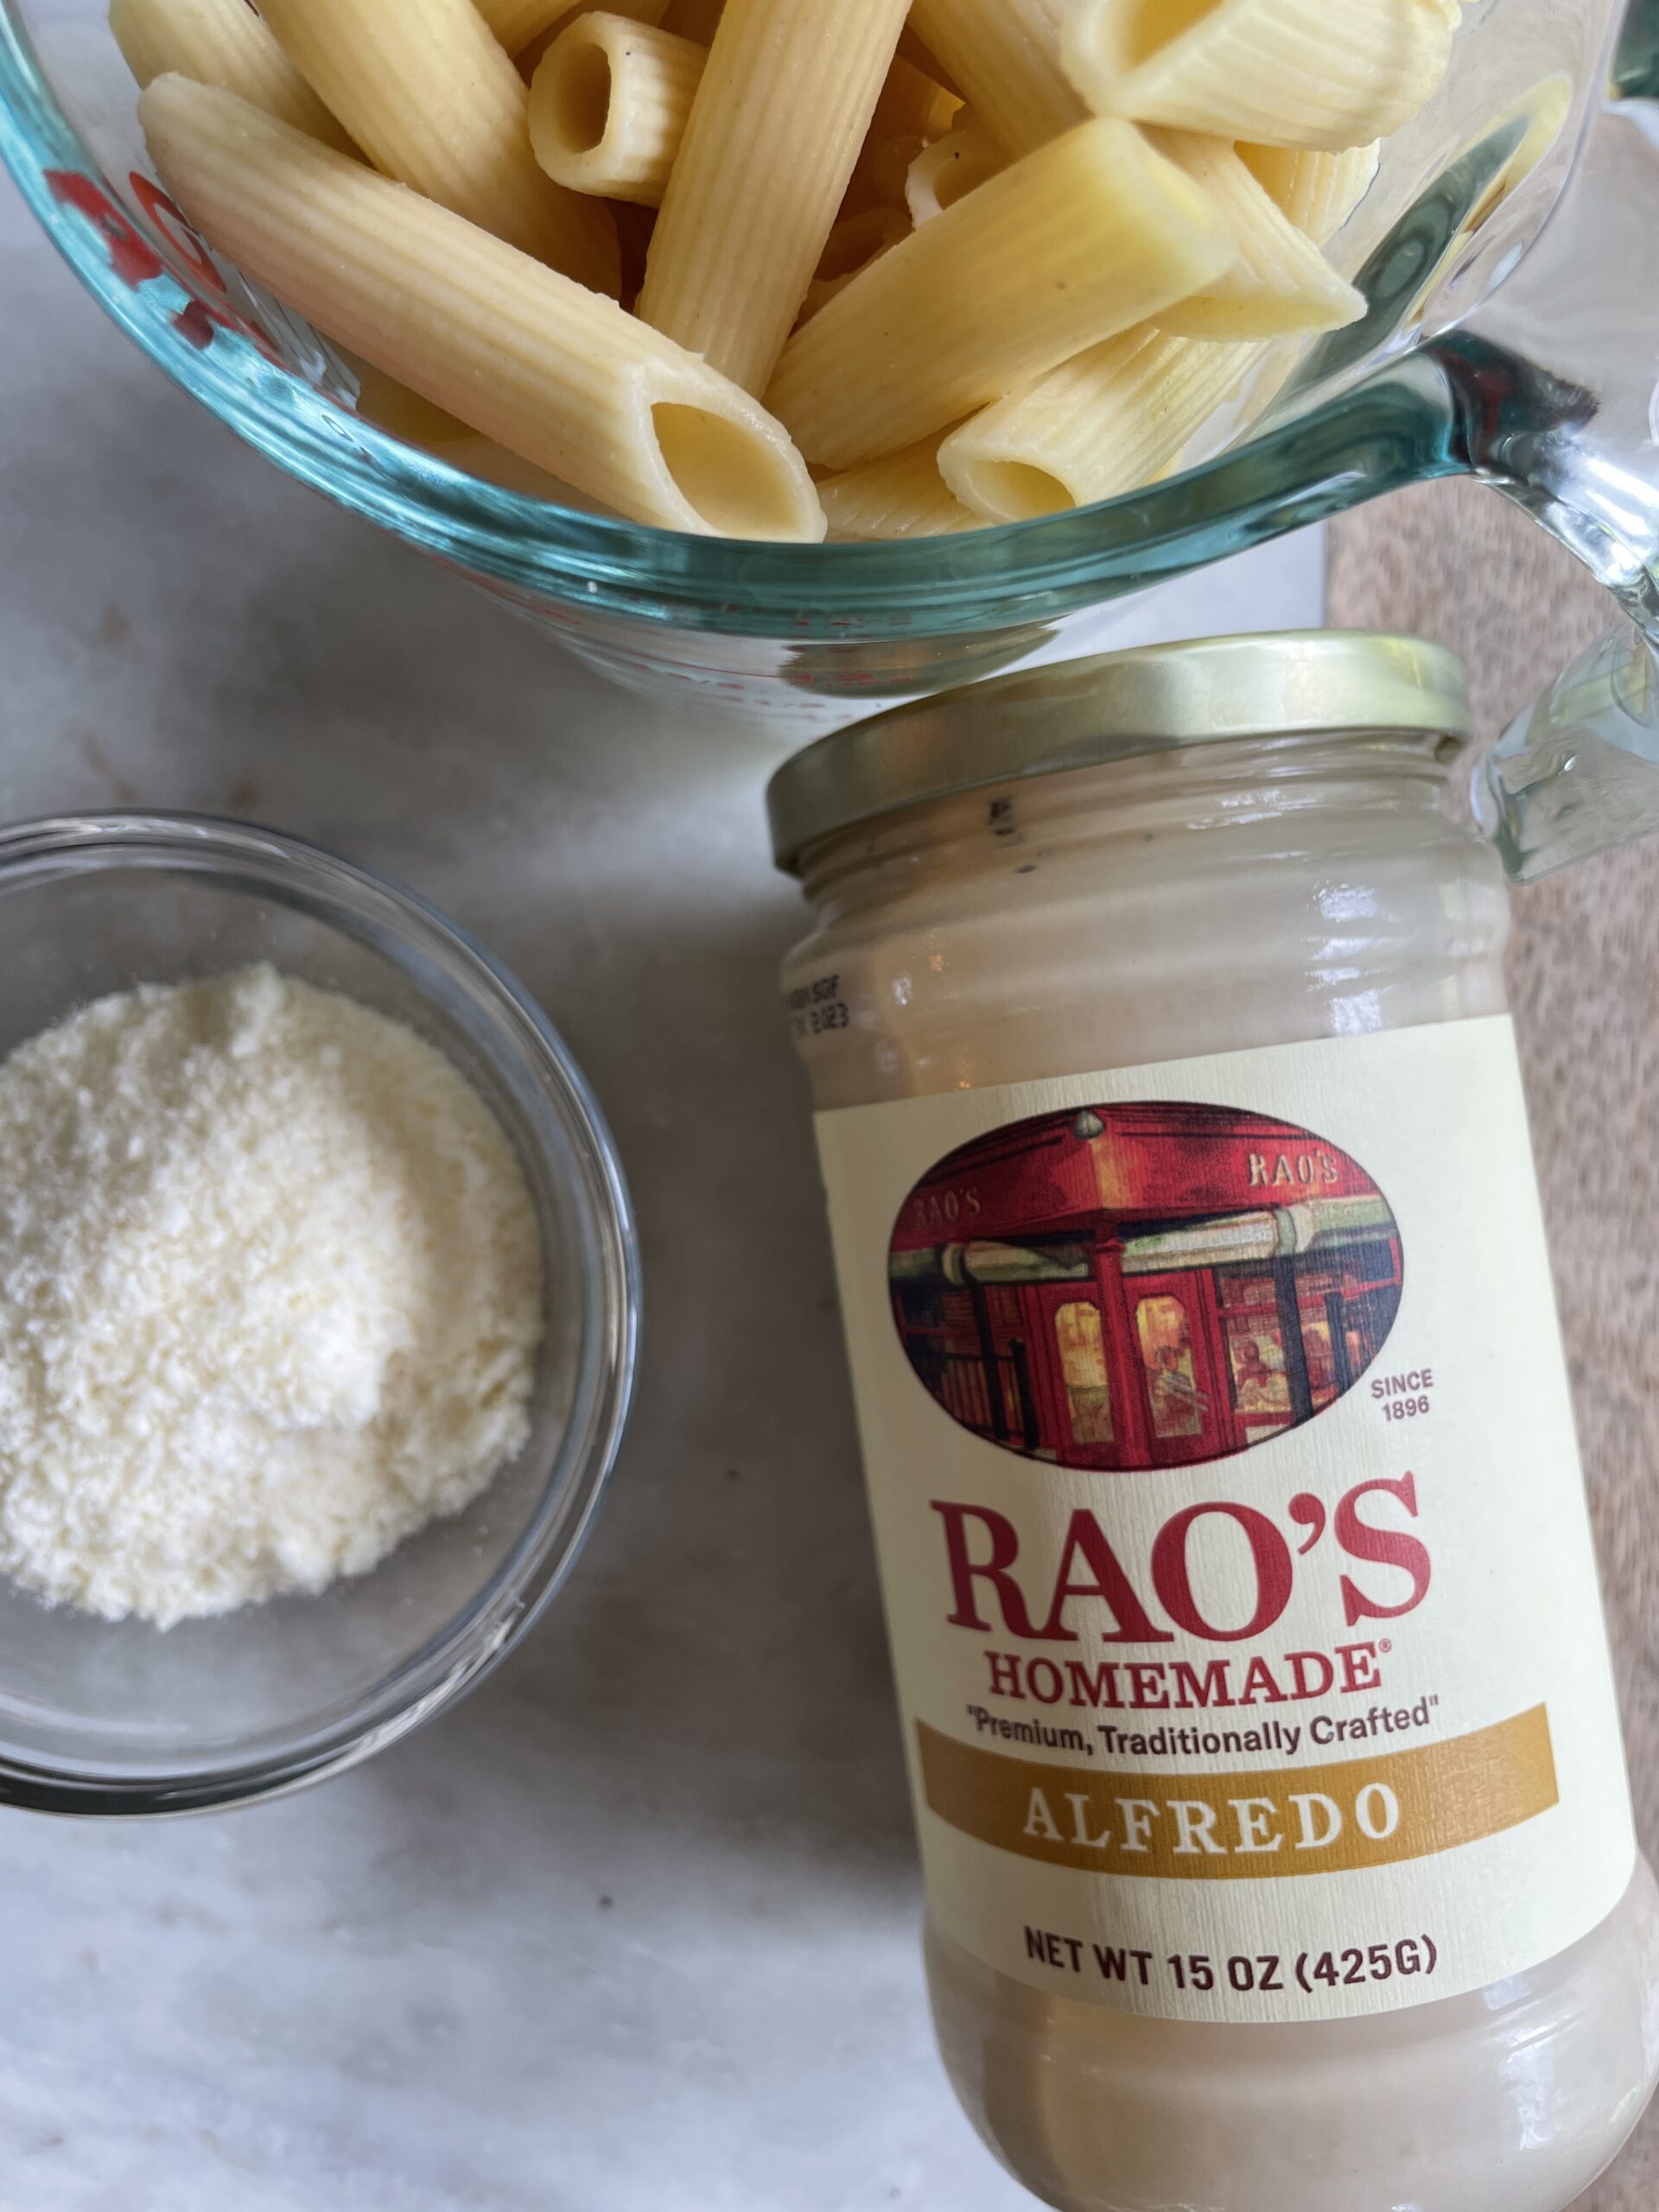
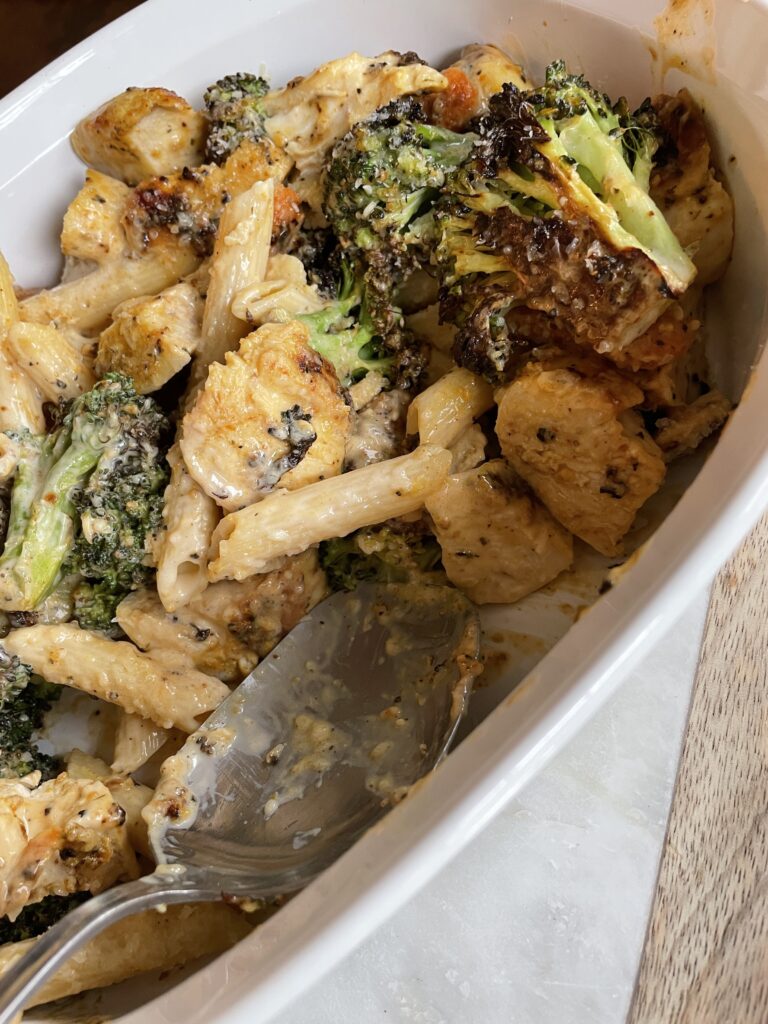
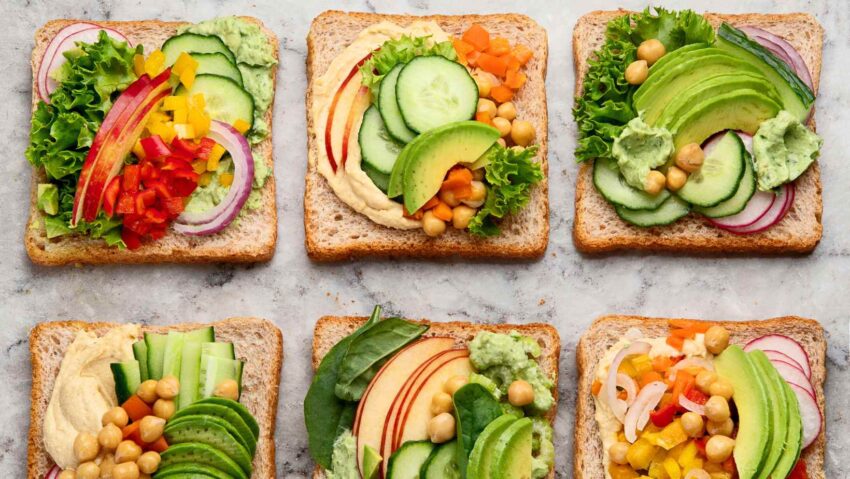
- Start by looking at what you can add. Which meals do you and your family already love? Are mac n cheese, baked ziti and pizza on the list? Let’s see how we can add more plants! Try adding chopped steamed broccoli into the cheese sauce, add sautéed peppers and onions to your meatloaf and pop open a salad kit to go along with pizza night. Viola, plant-forward dinners are served.
- Explore with just one vegetable at first so you don’t overwhelm yourself. Think about how you could take a head of cauliflower and try incorporating it a bunch of different ways throughout the week. You could roast it whole as an entrée or, you could mash it like potatoes with nutritional yeast for a tasty side dish. You’ll gain a comfort level for what to do with it, so it doesn’t seem foreign.
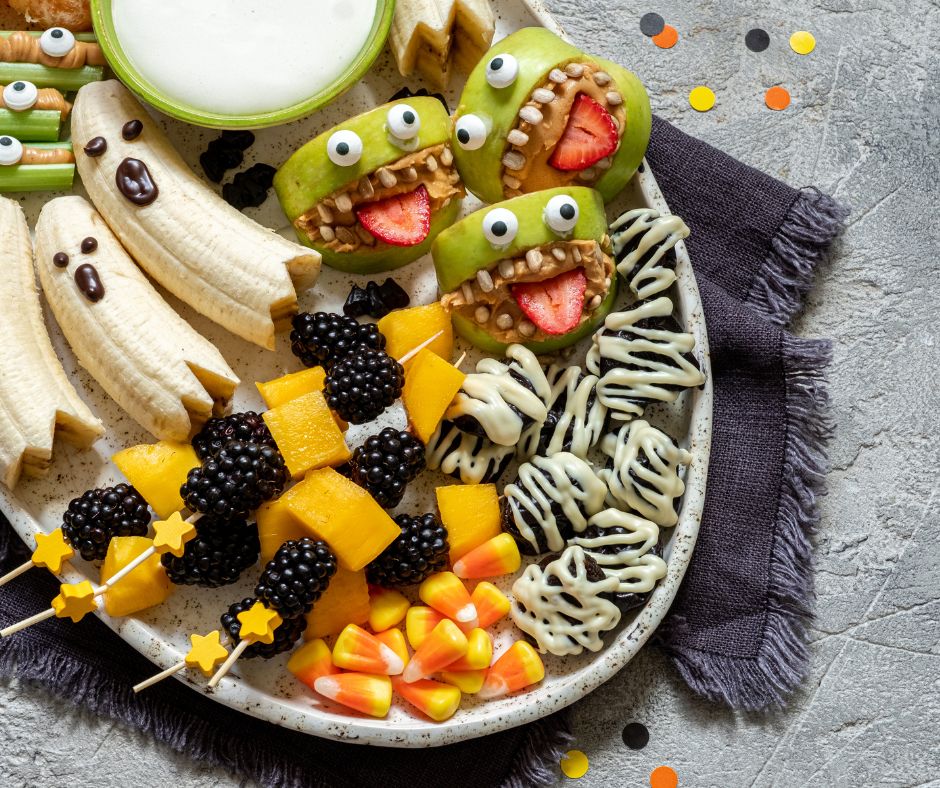
- Do a little research. Pick three new plant-based recipes that you really get excited about, it could even be a healthy snack recipe. Commit to trying them and then add them to the rotation. Going vegan or vegetarian can require different cooking skills so it’s best to start slowly.
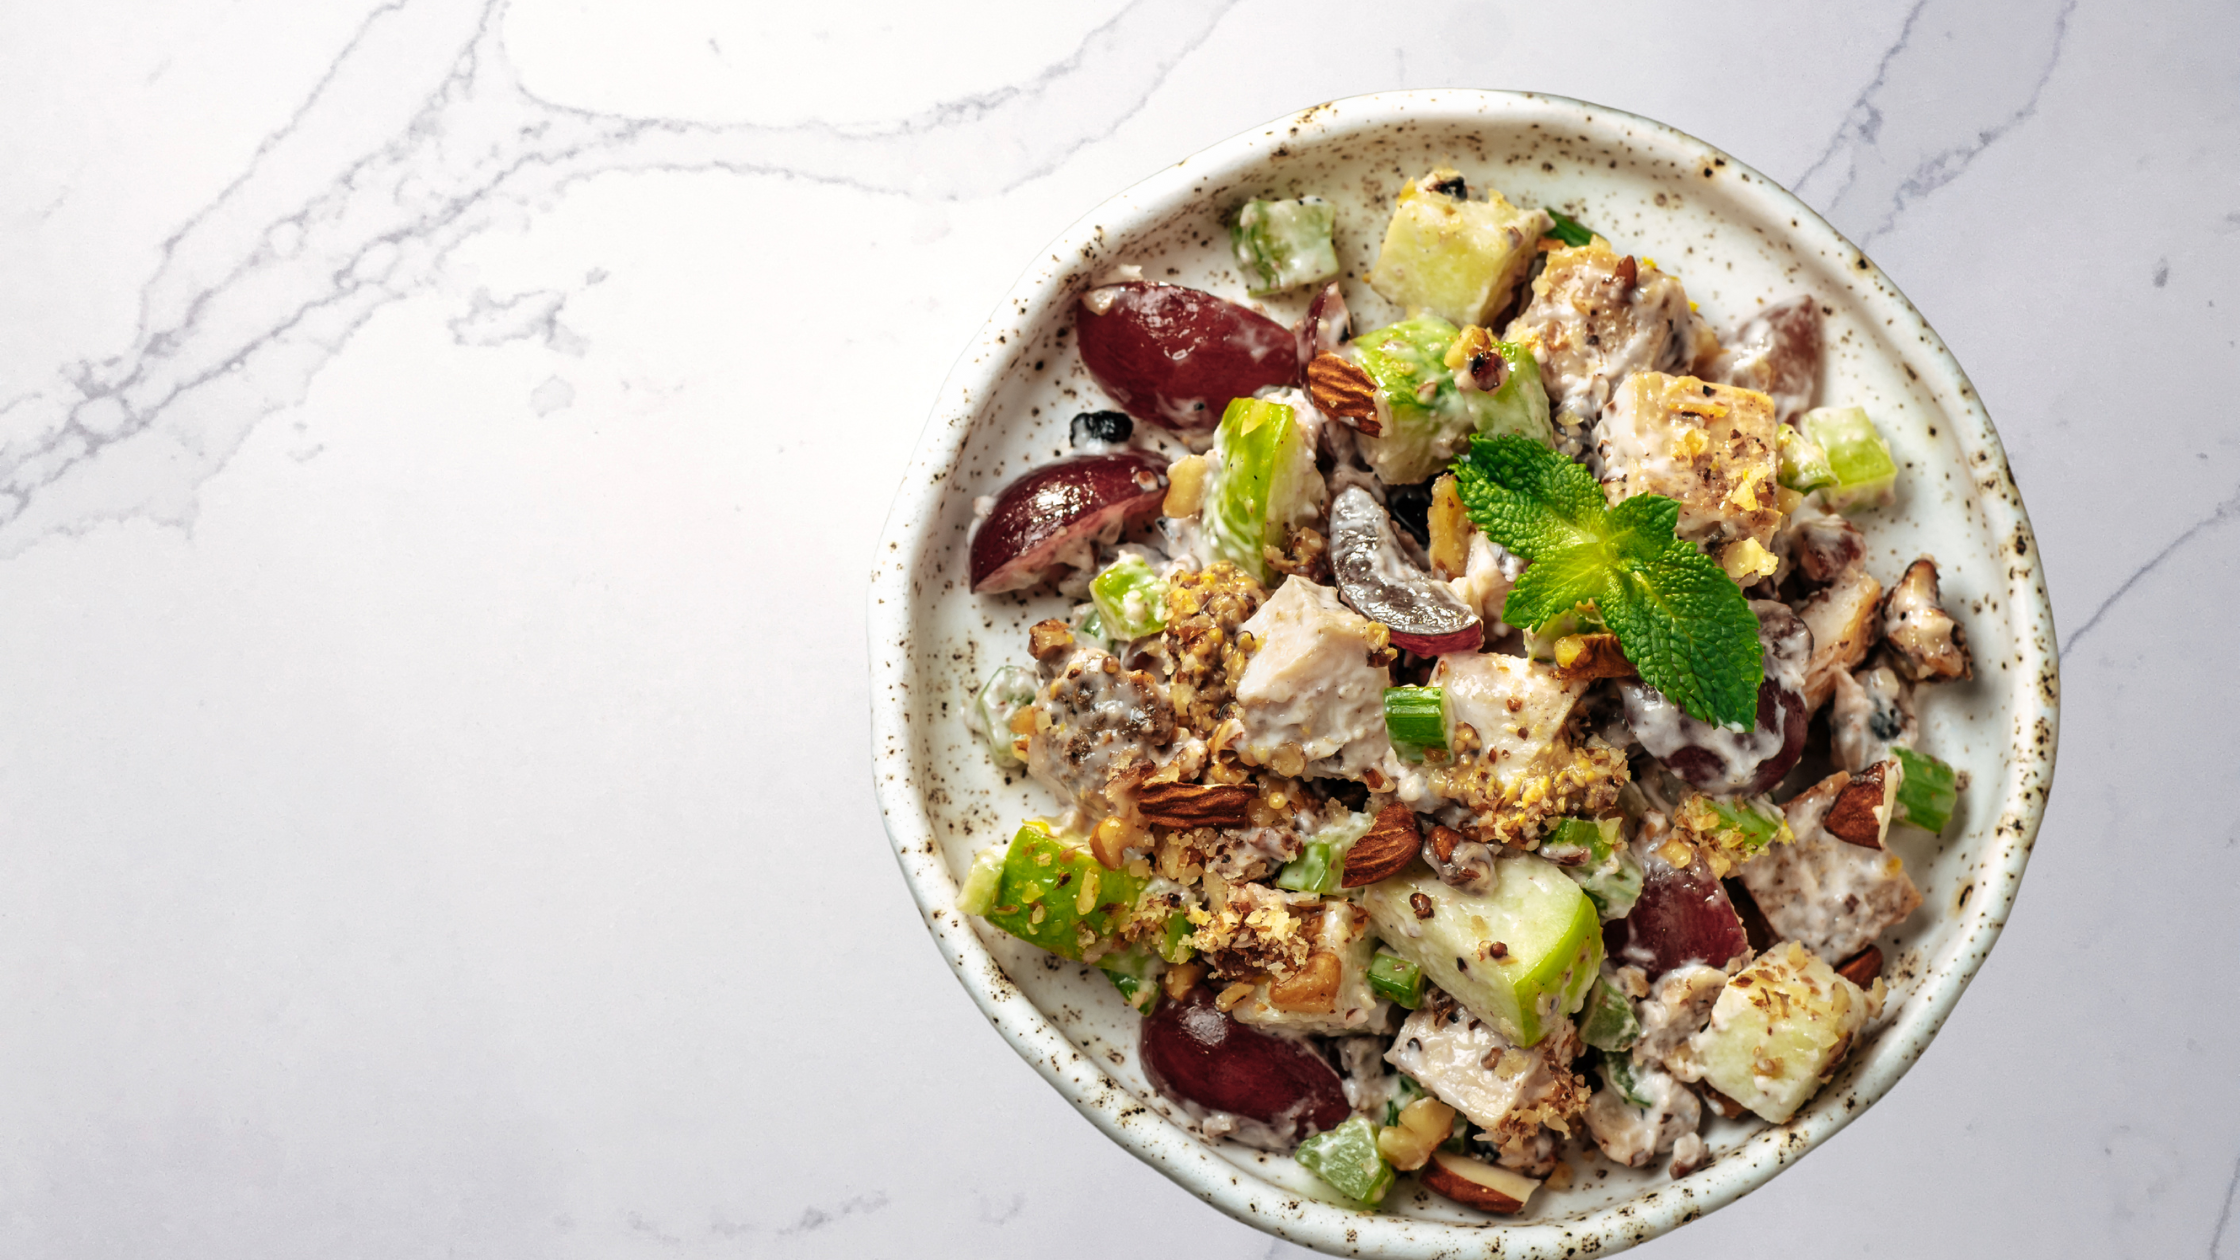
- Stick to what you know how to make – it’s a good idea, especially in the beginning. Do you have chicken salad on repeat for a quick lunch? Try using mashed chickpeas instead. Are Taco Tuesdays on rotation? Add more produce with this recipe that includes the DOLE® Ultimate Caesar Kit.
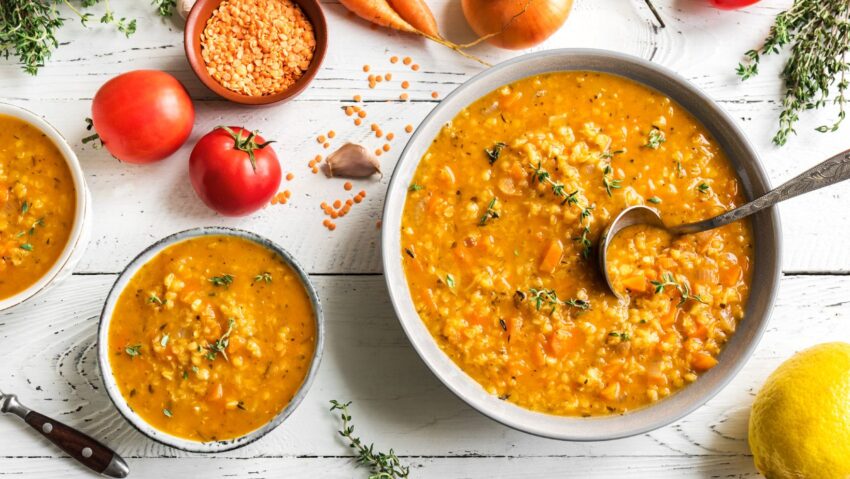
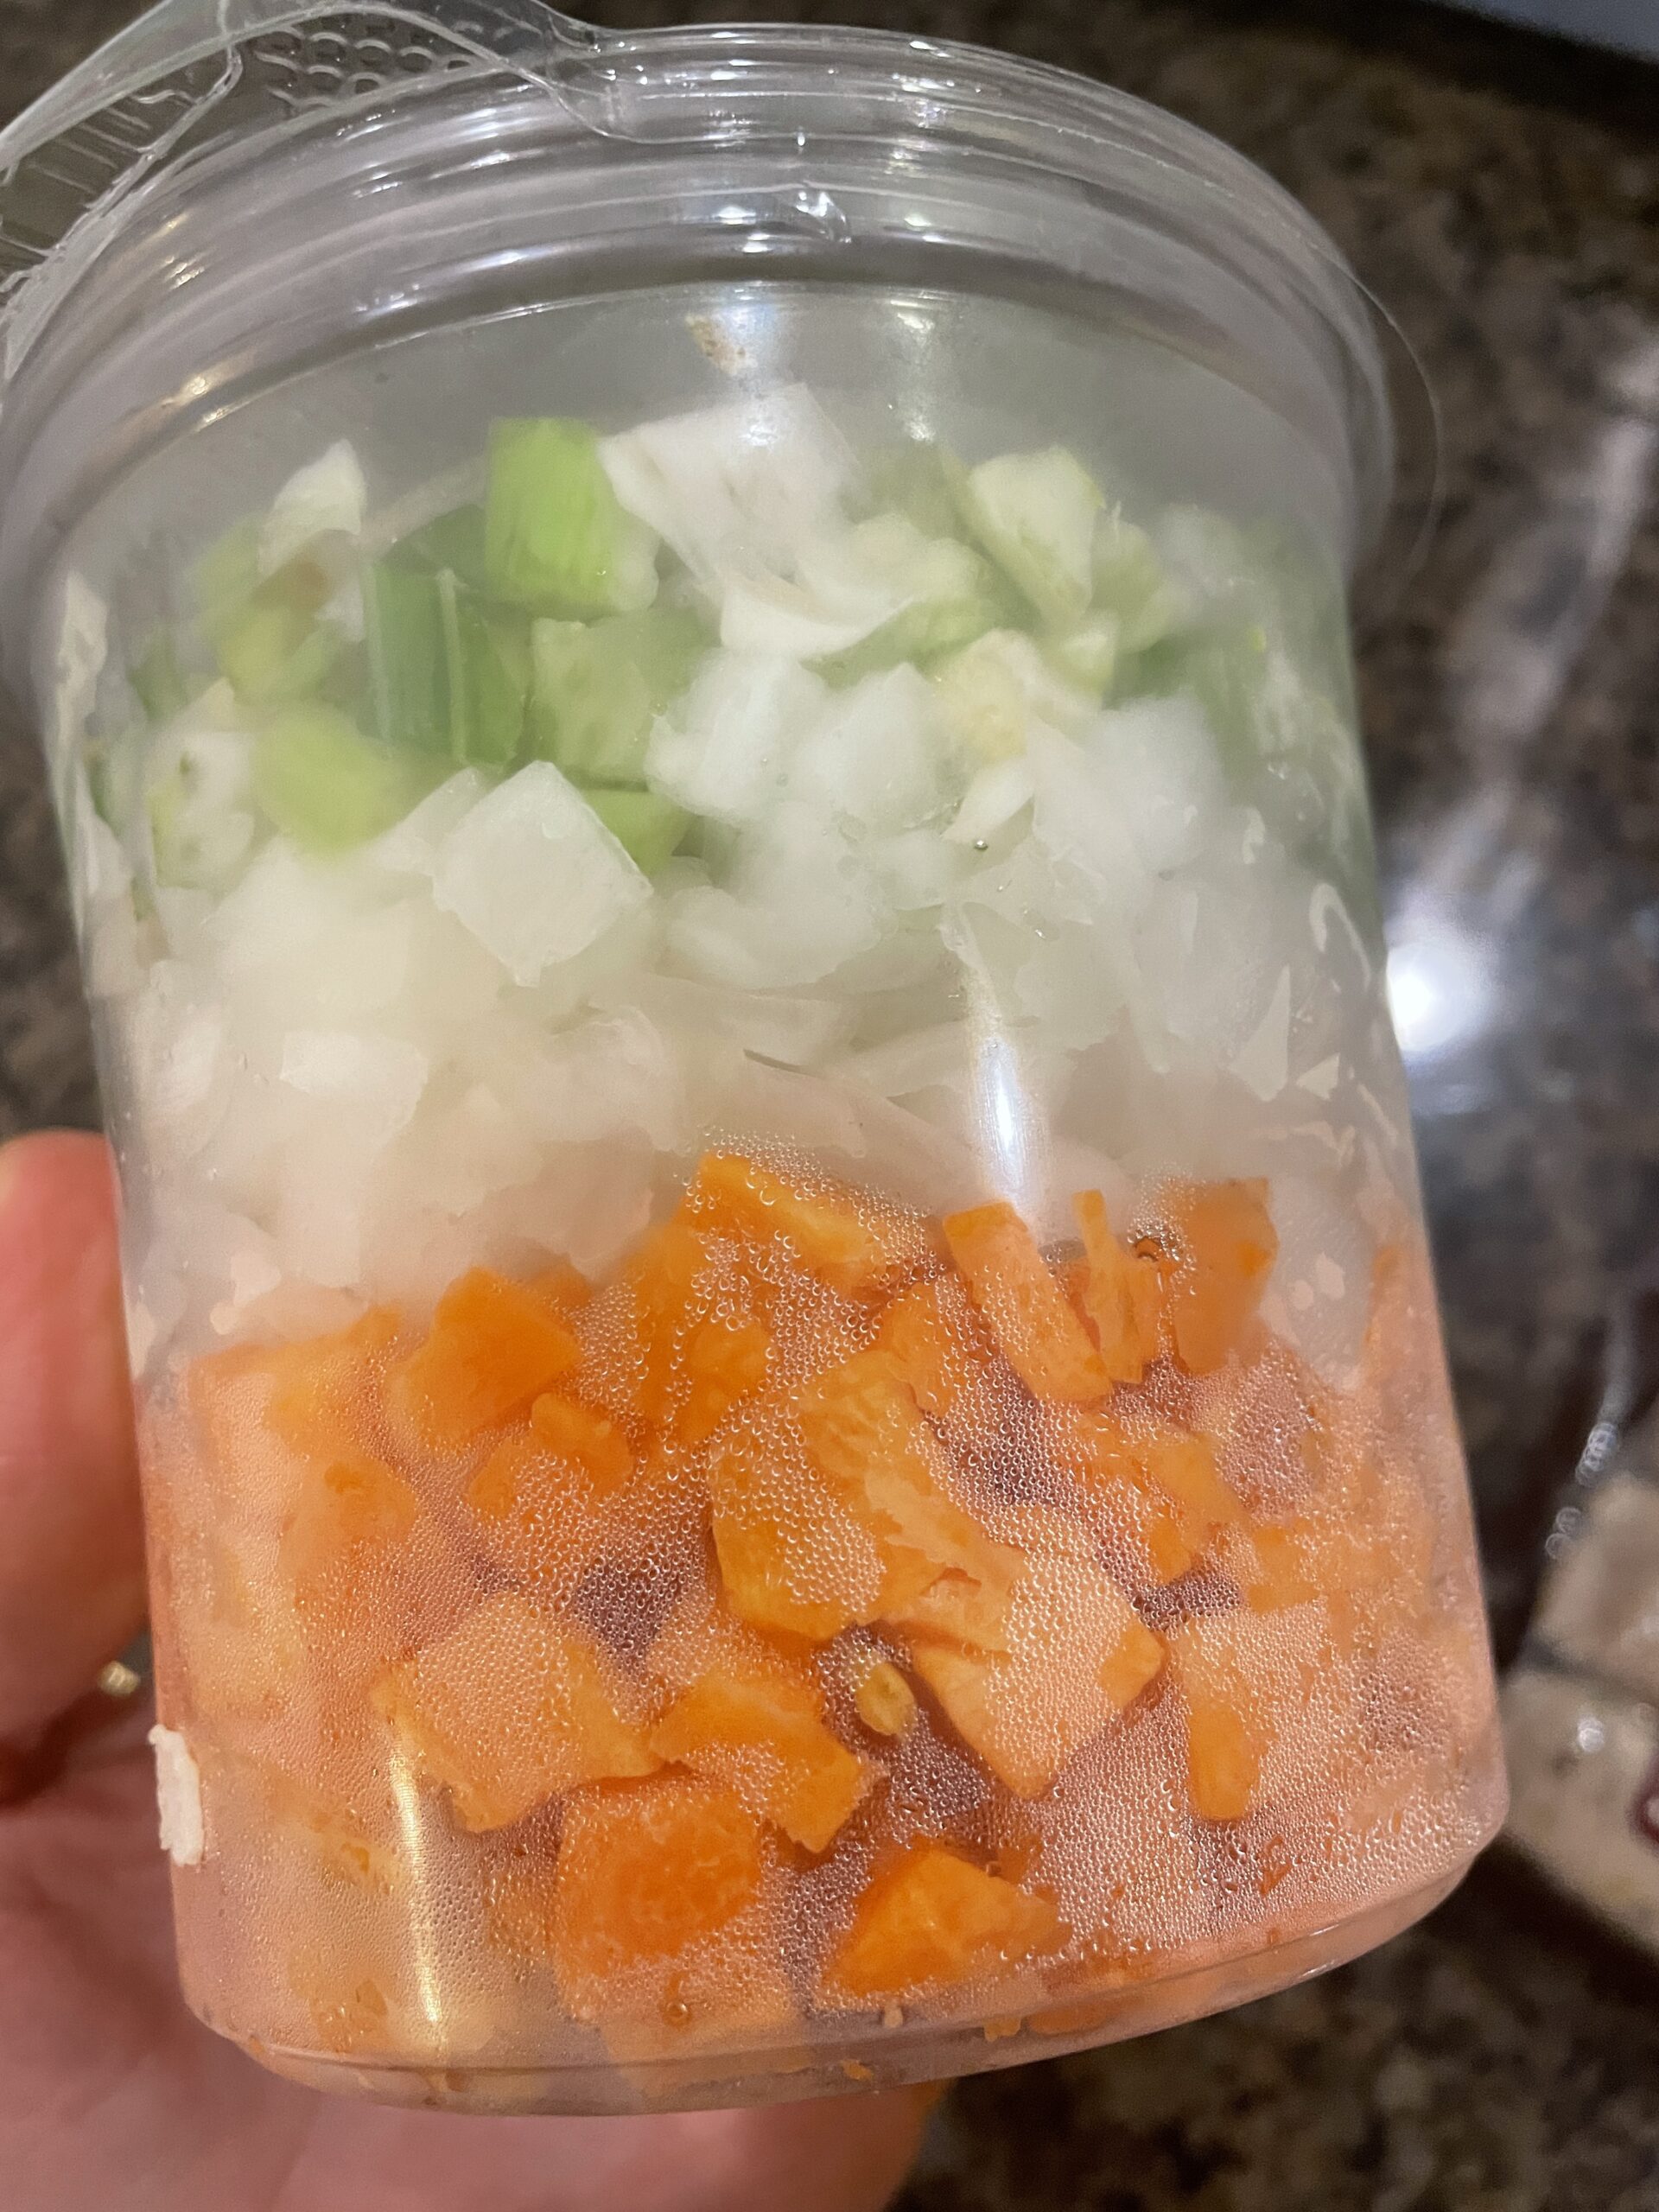
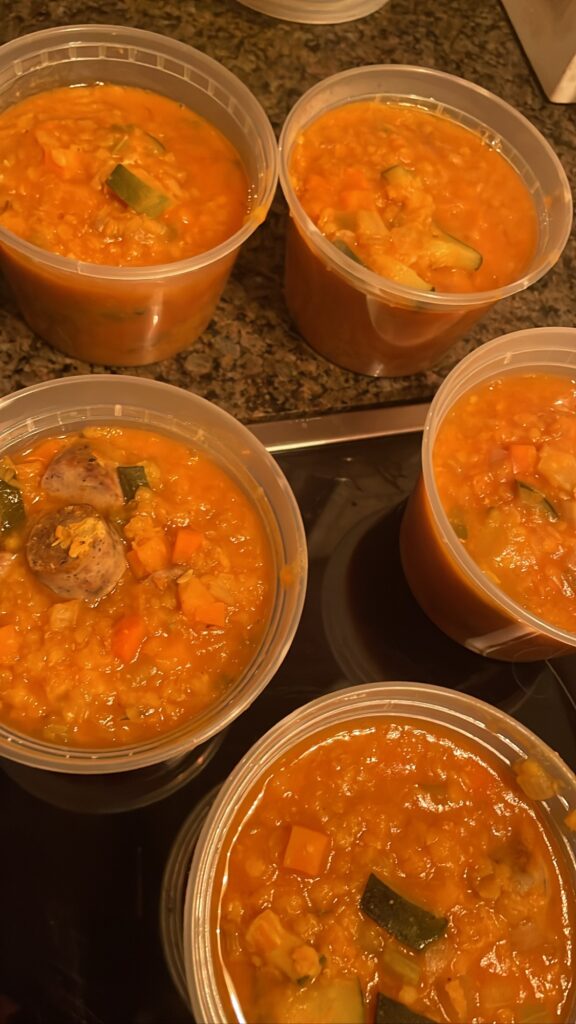
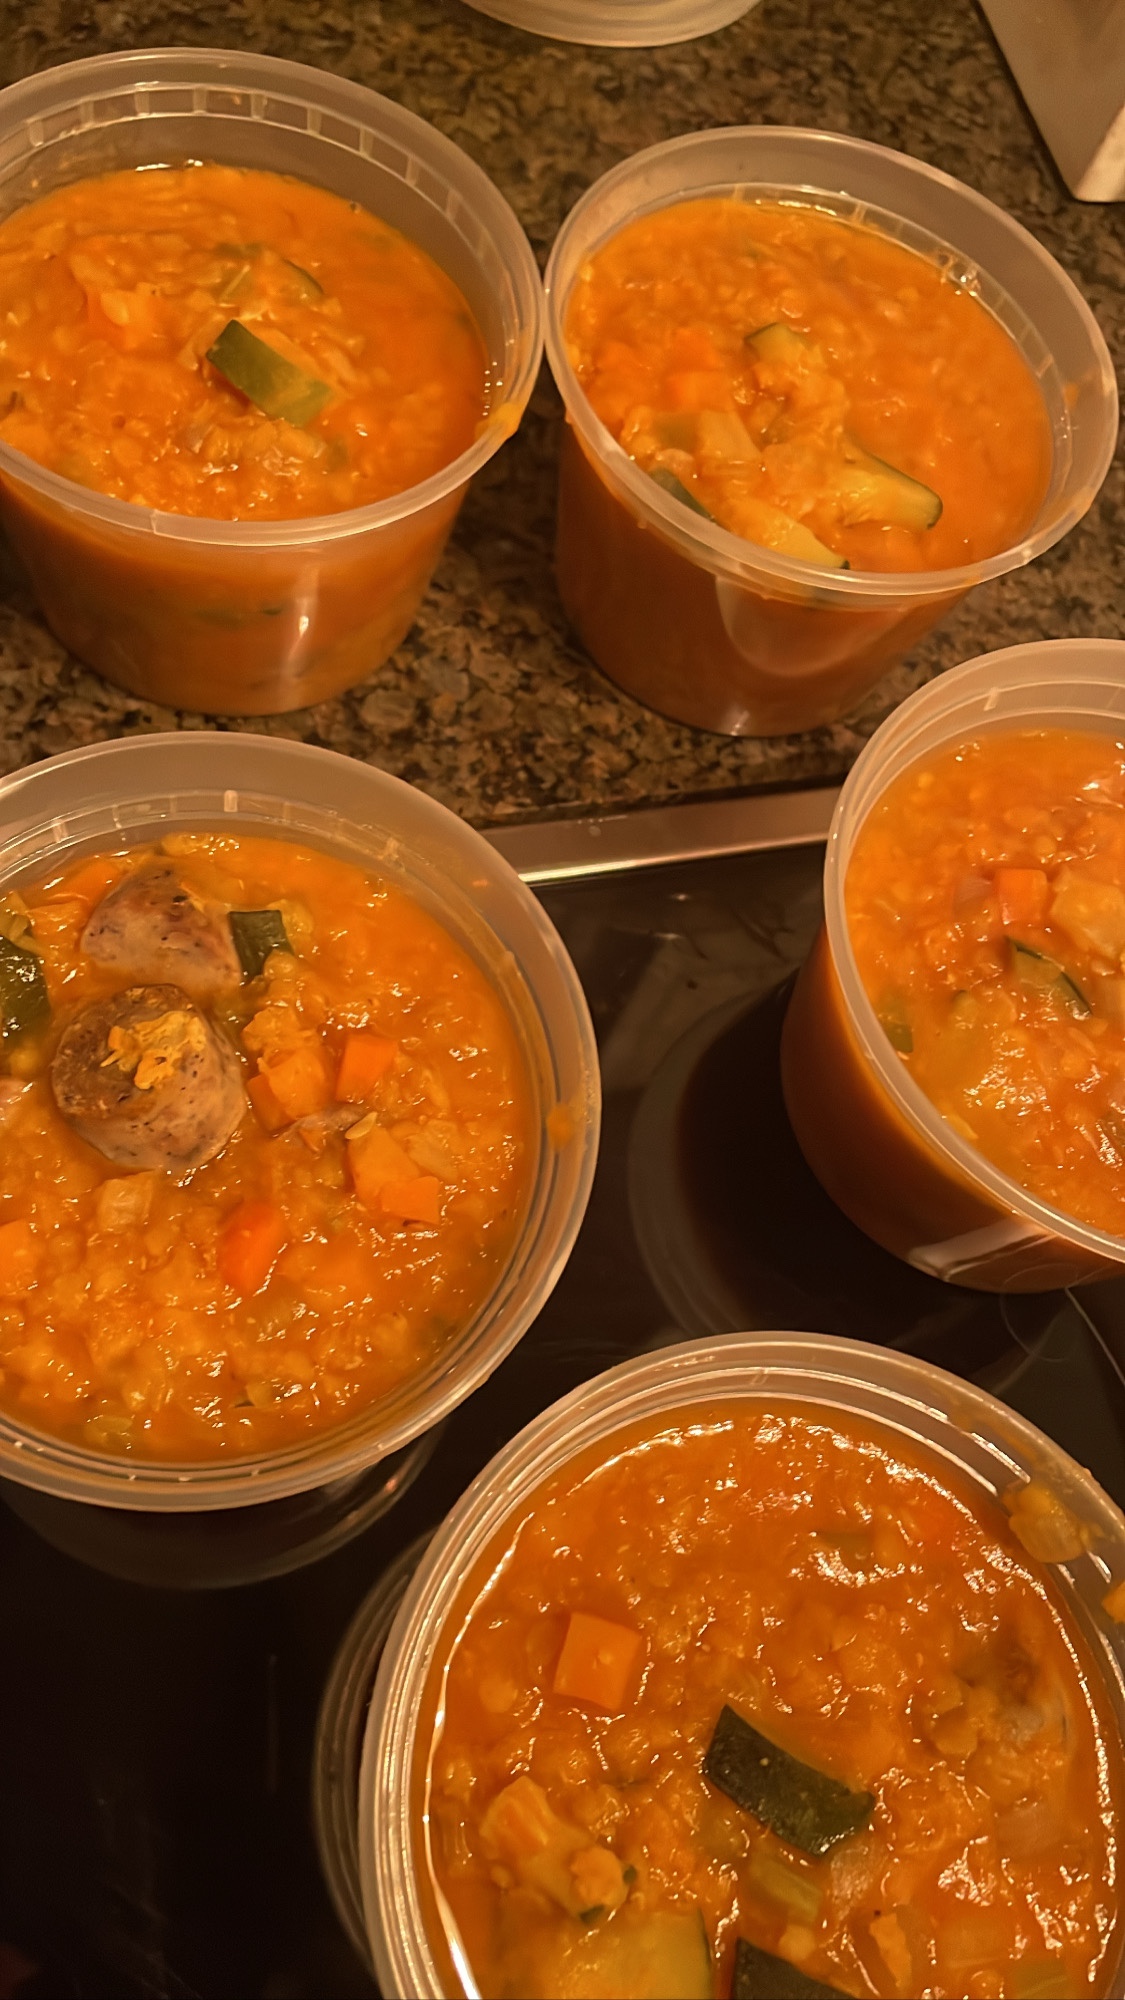
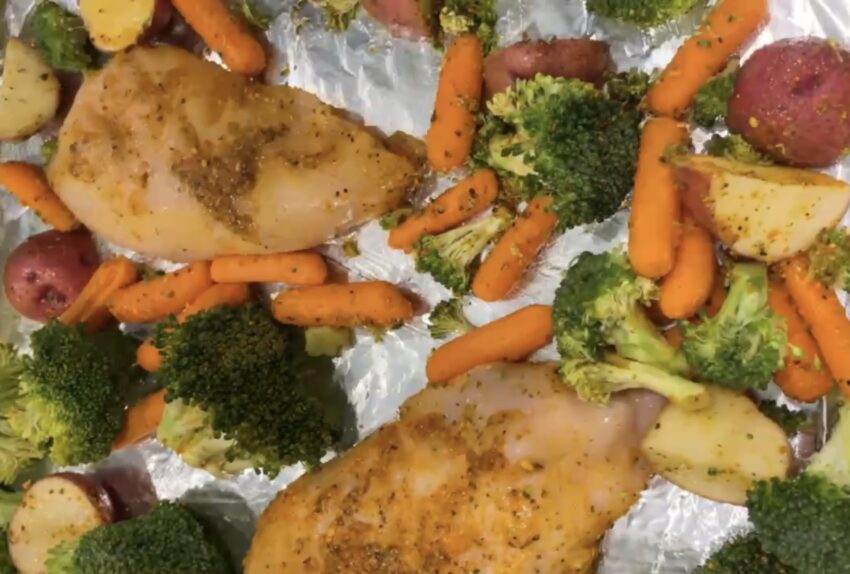
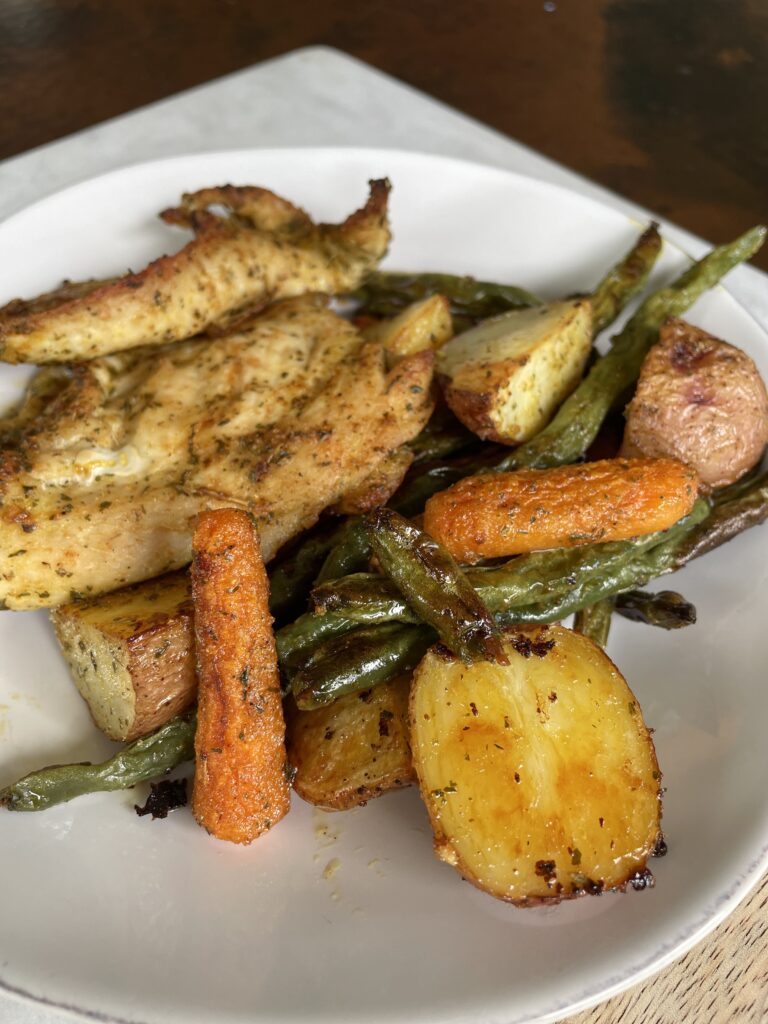
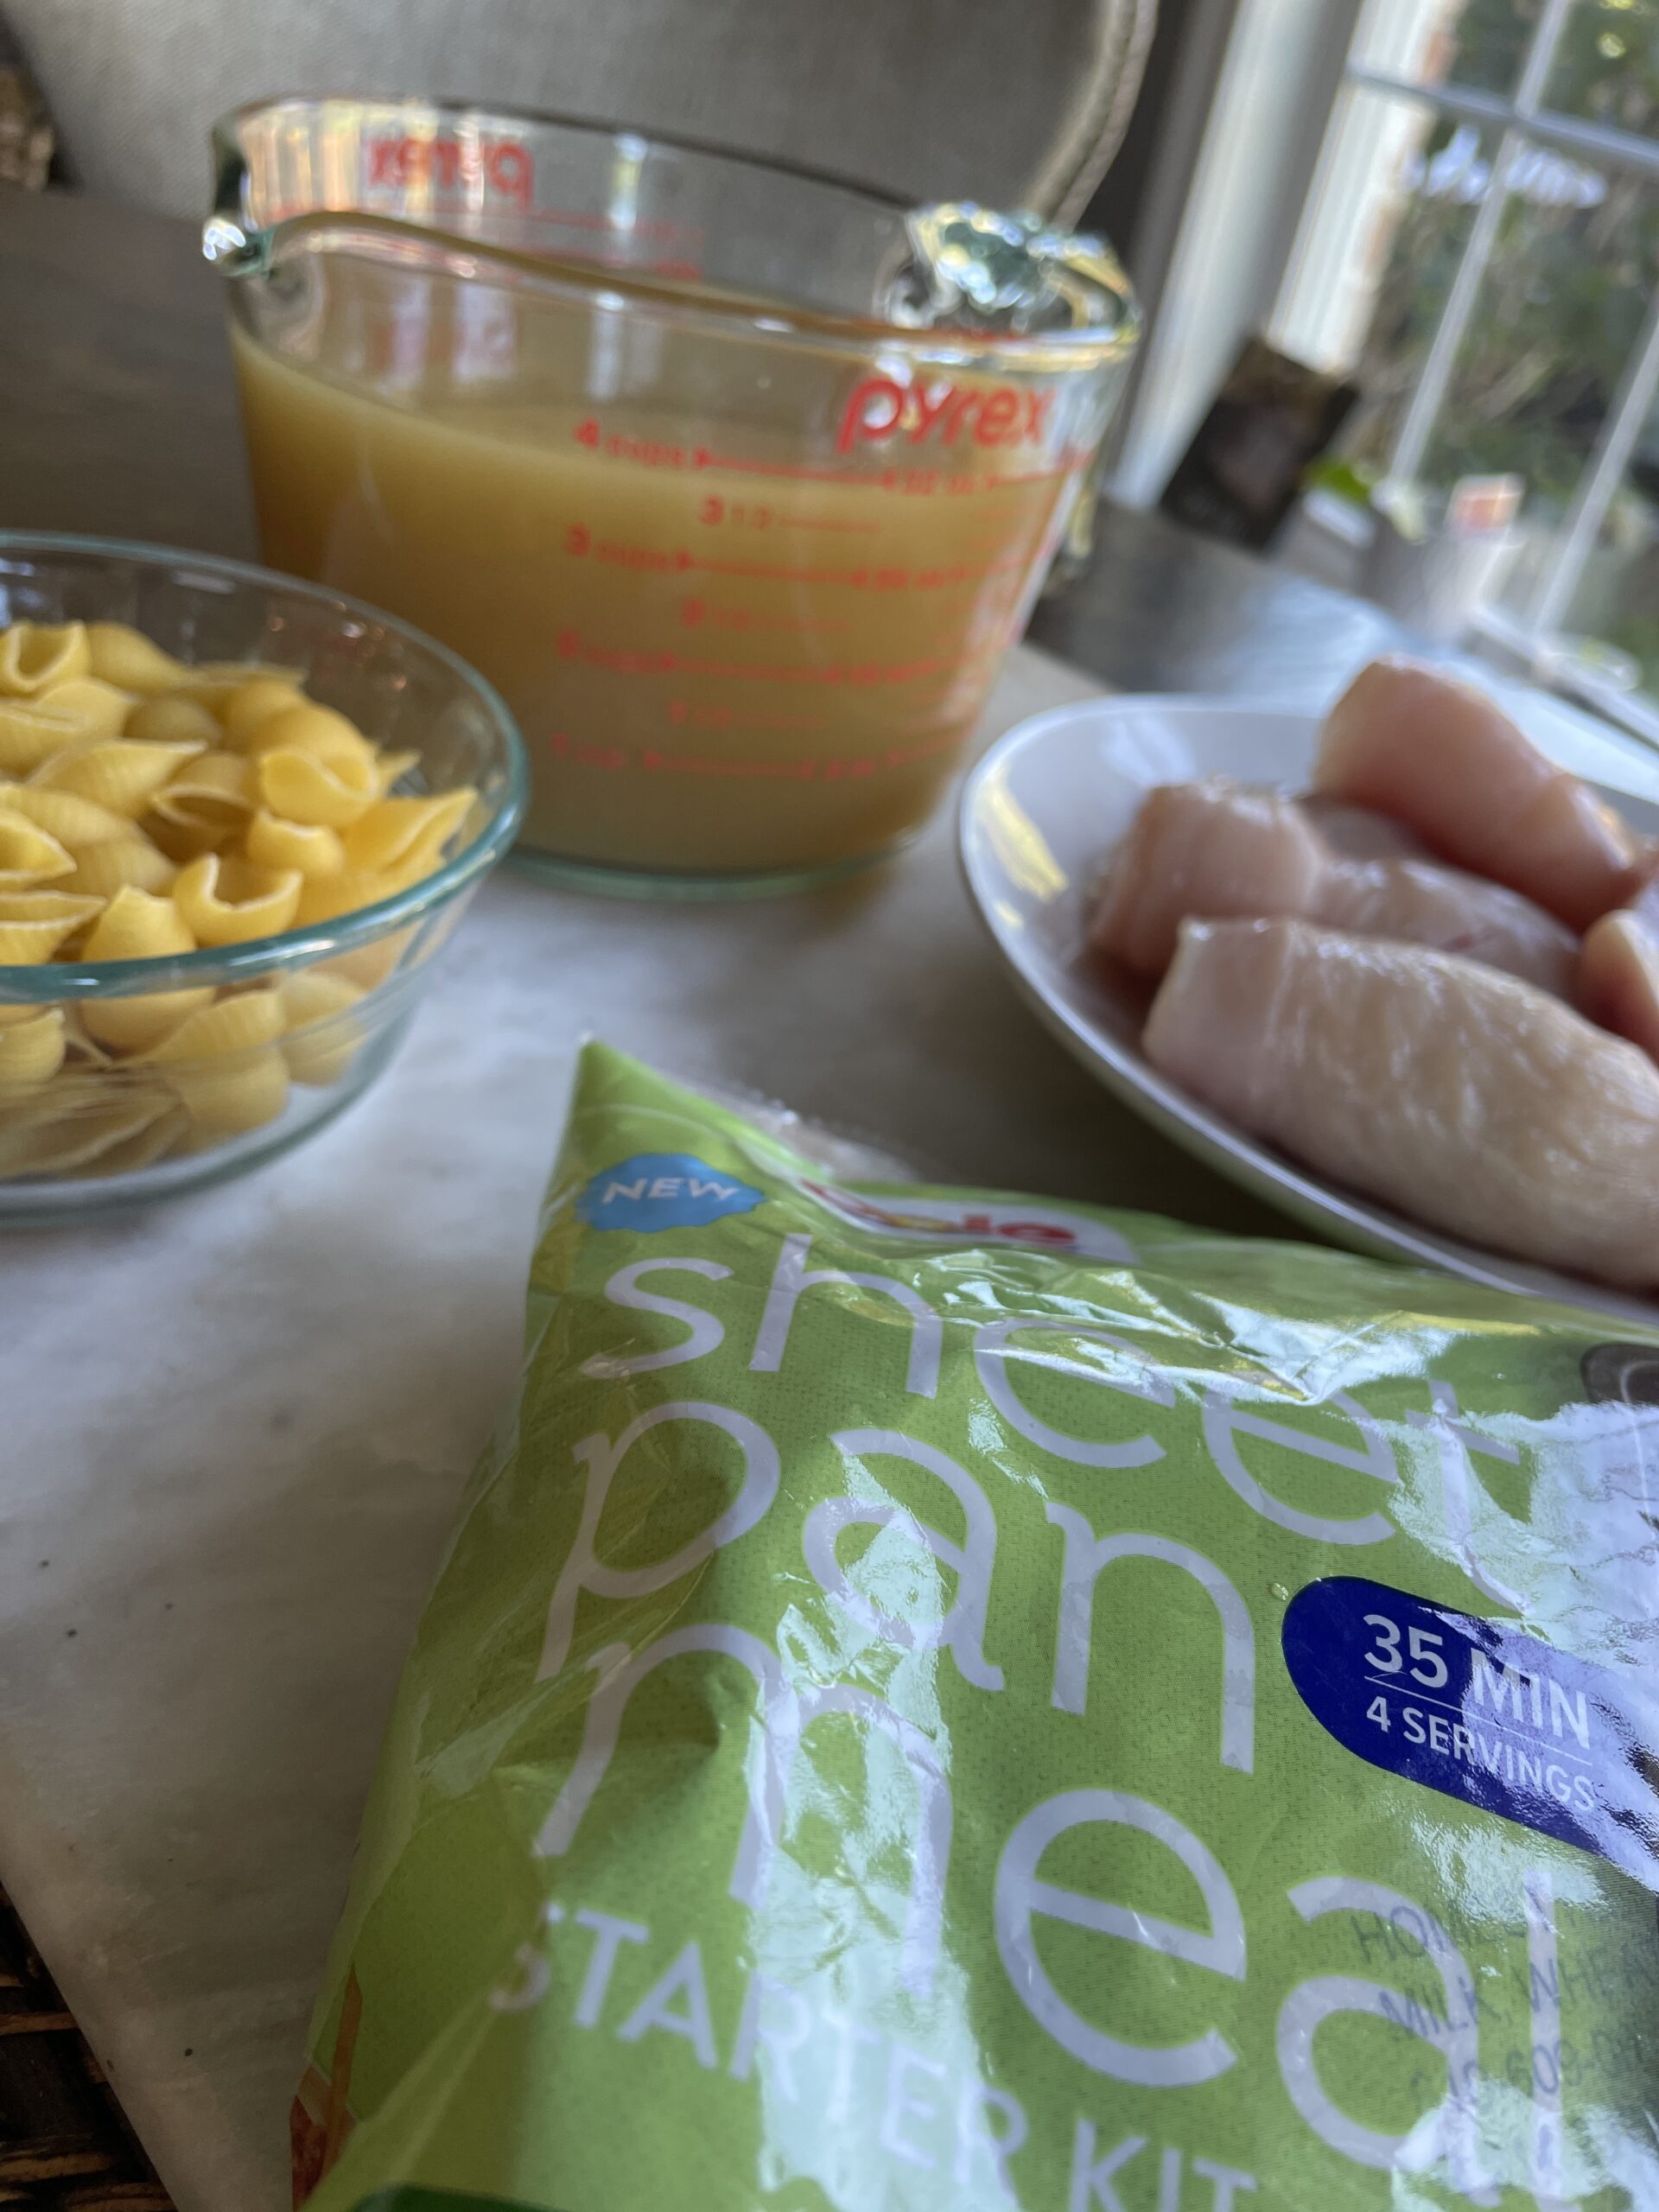
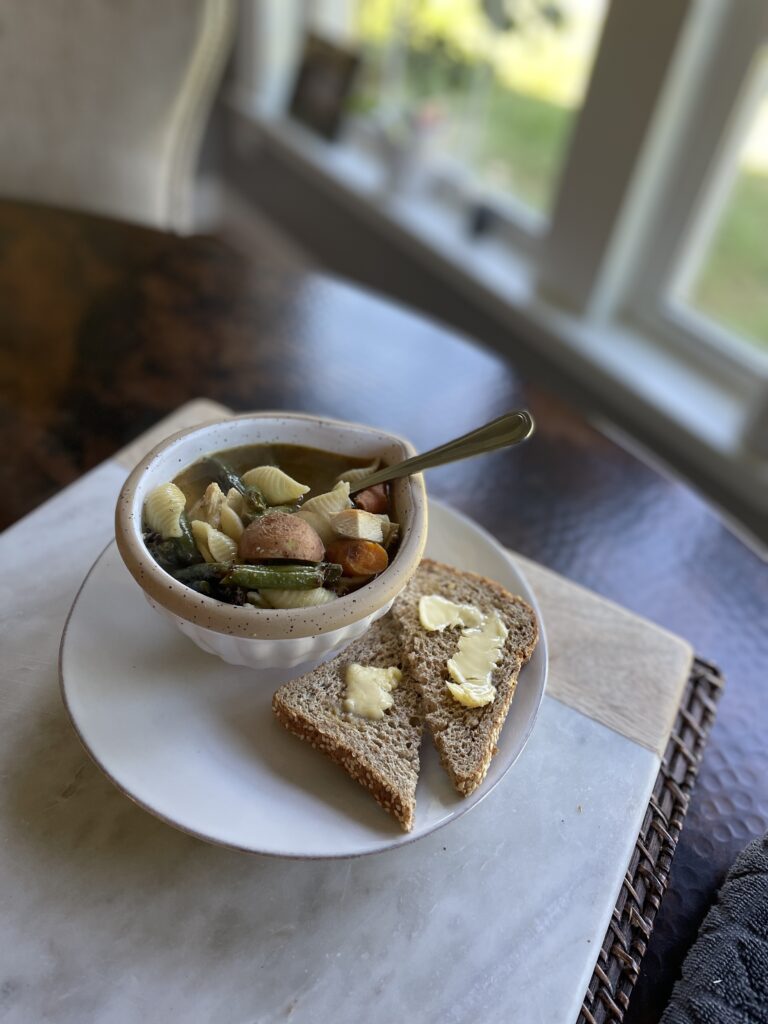
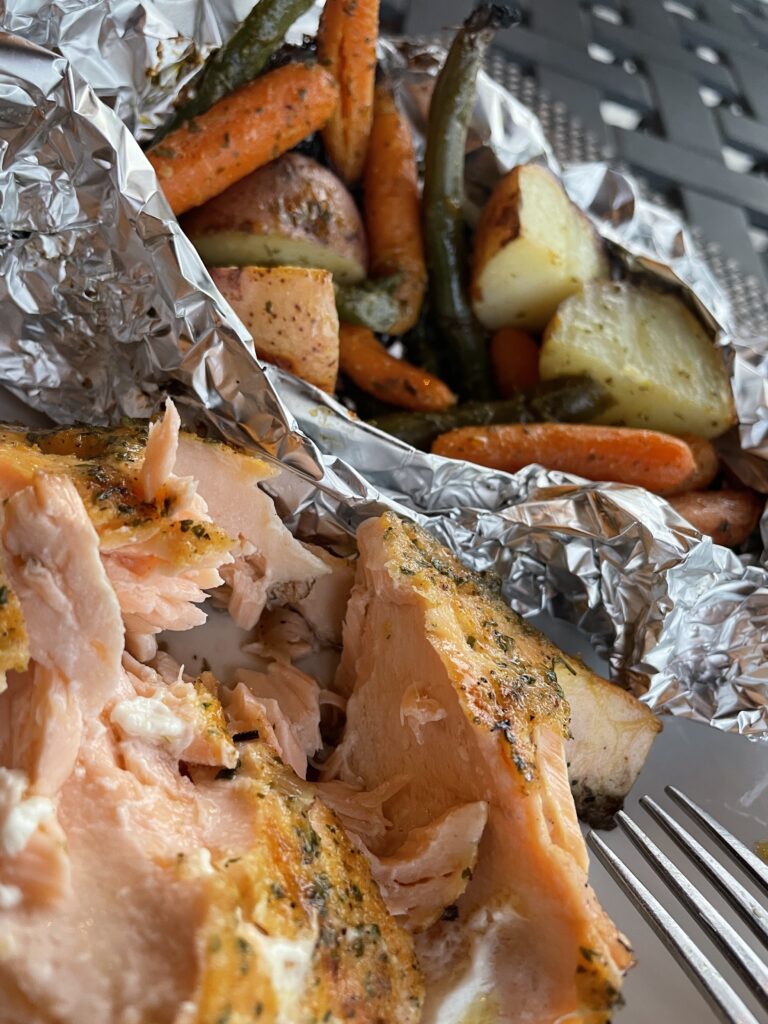
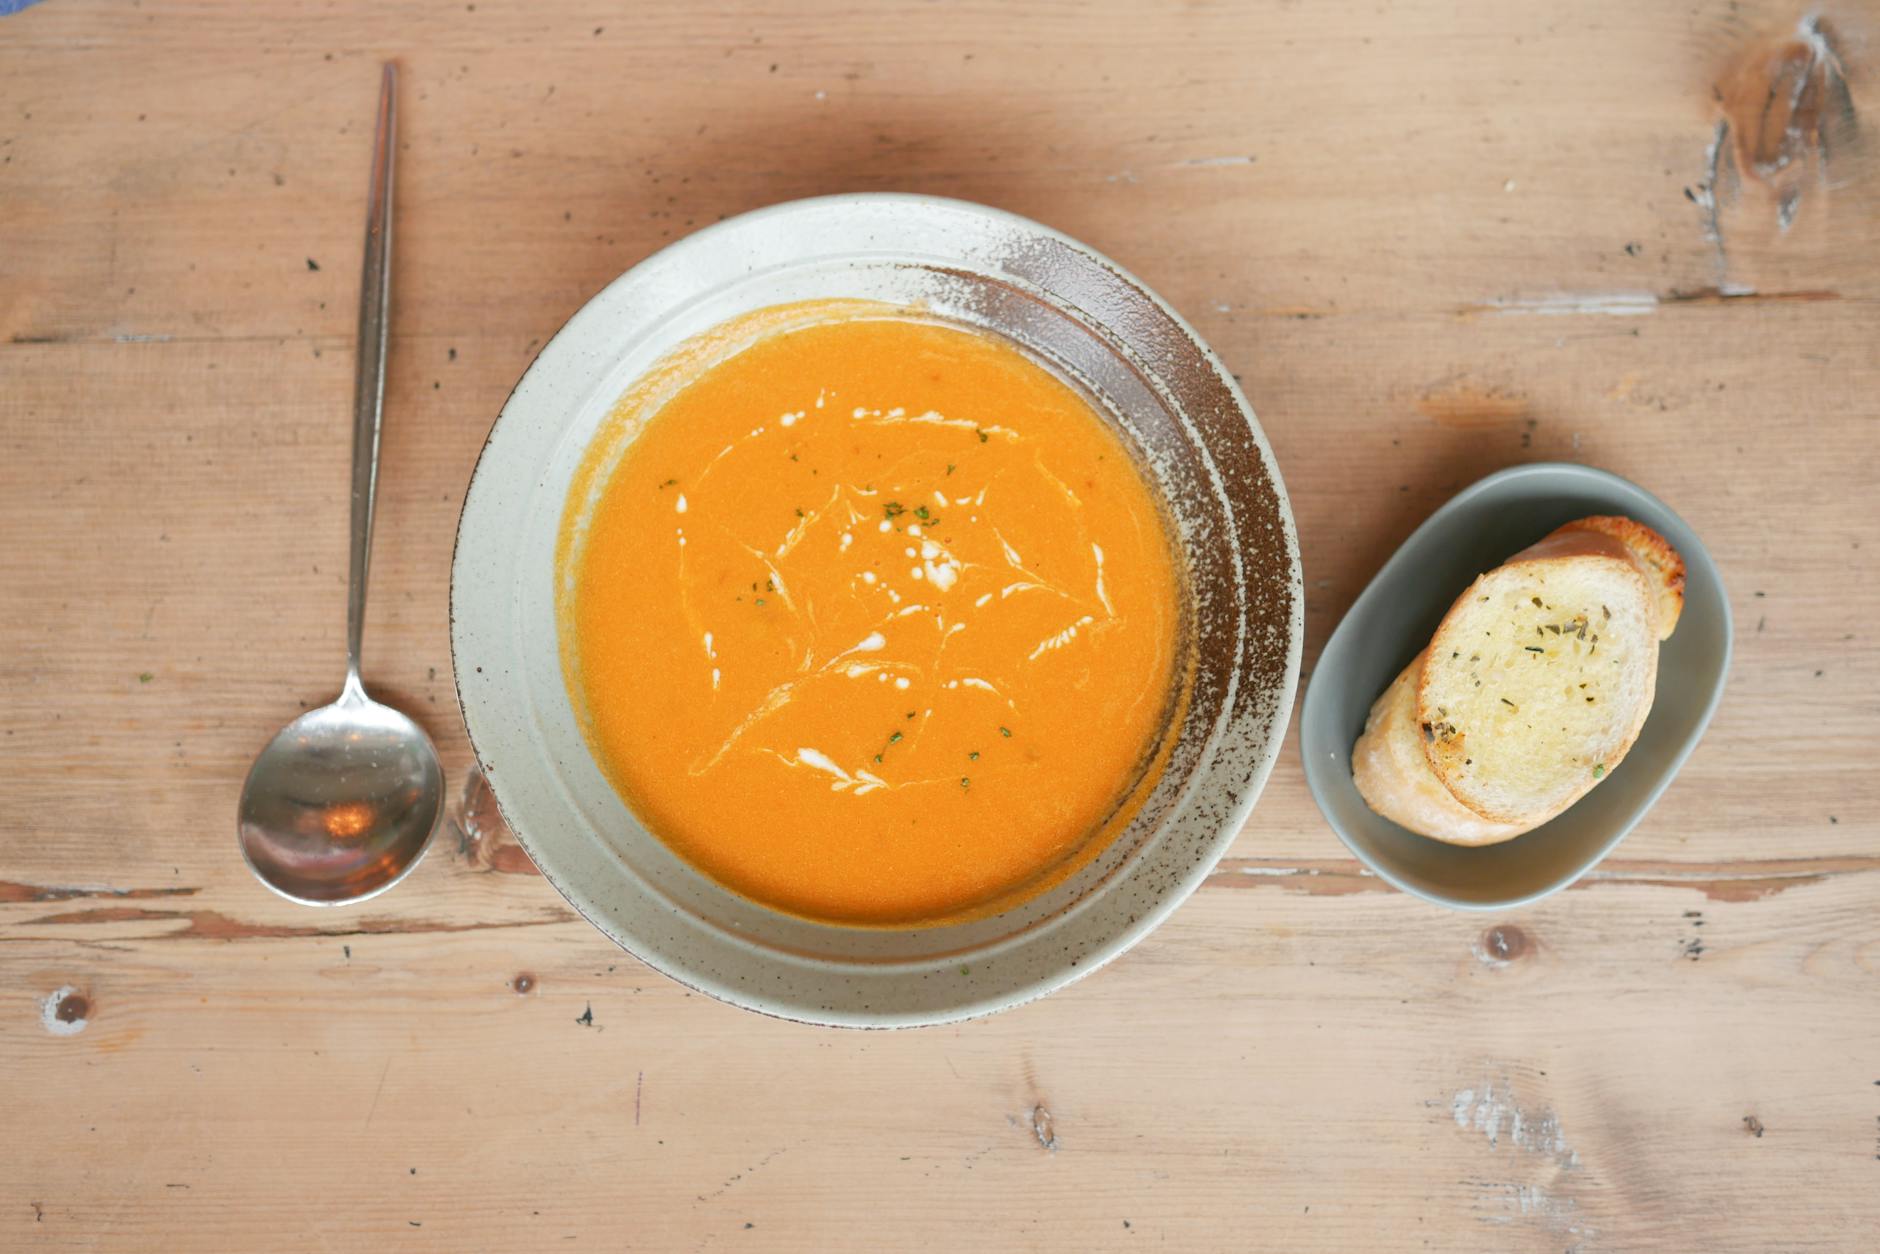
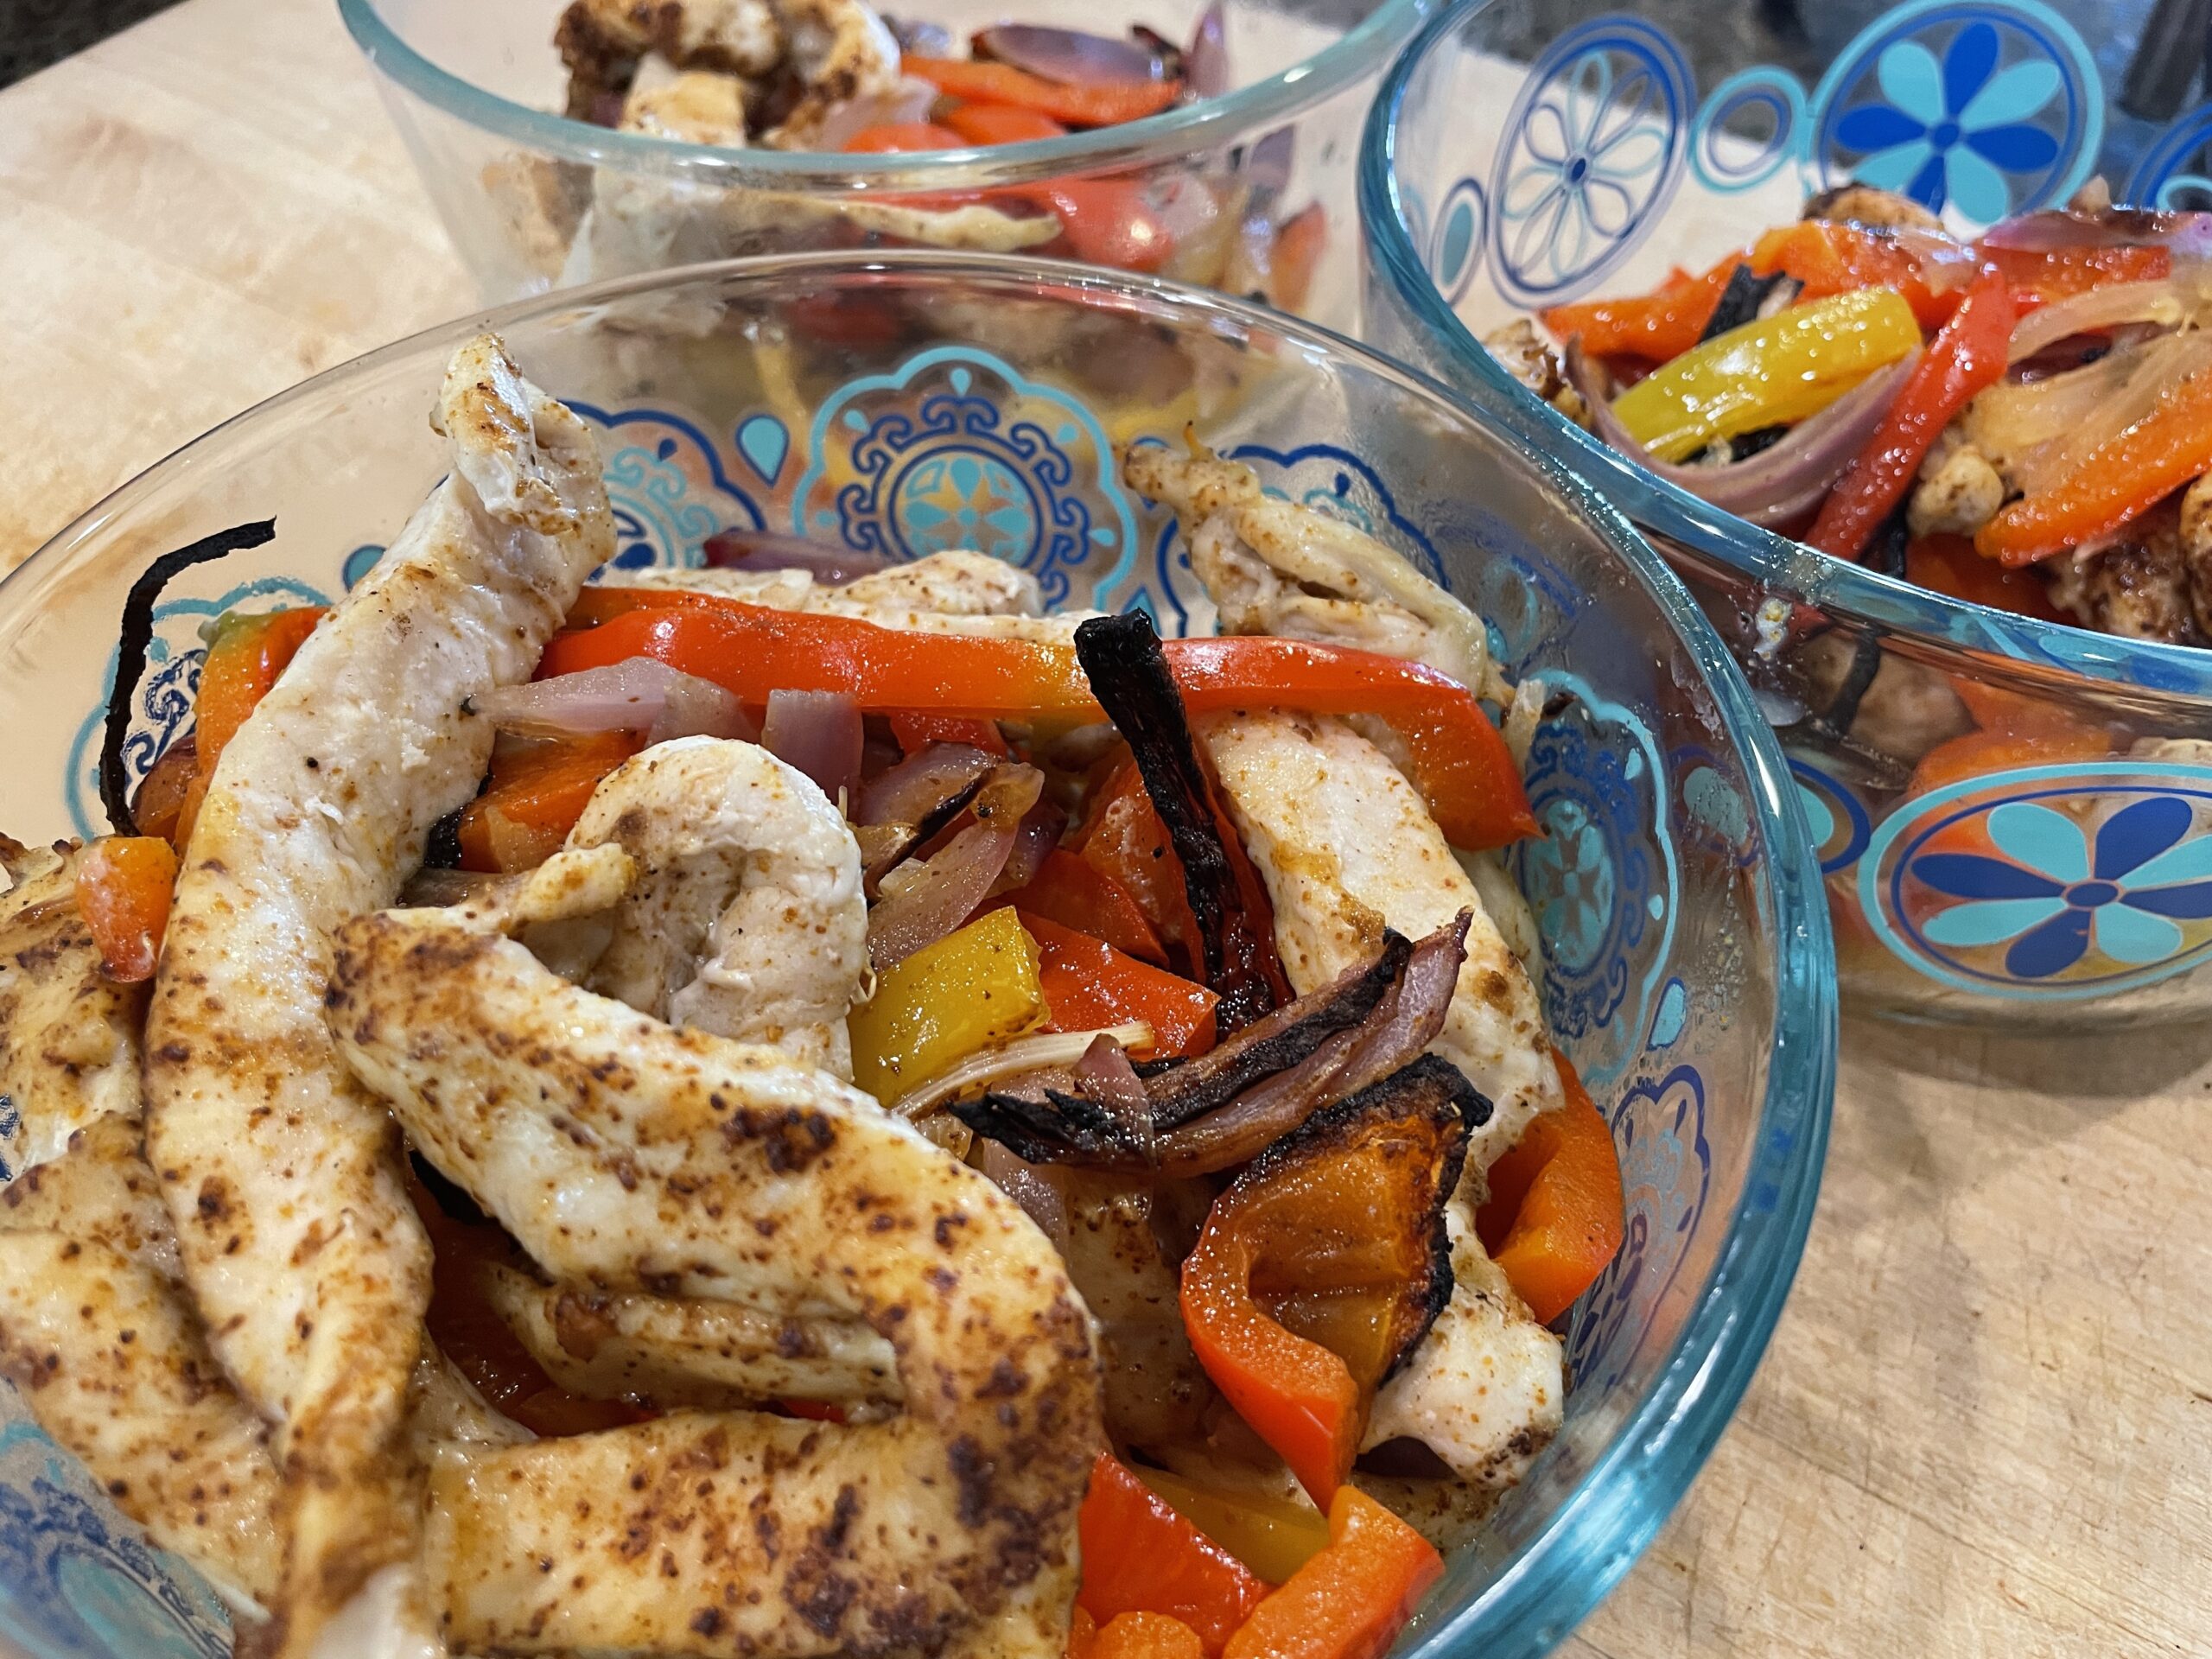
- Lean on your grocery stores for meal prep. Will buying a pre-made mirepoix (chopped carrots, celery and onions) make a quick minestrone soup come to life for you? What about meal prep kids like Dole’s Sheetpan Meal Starter Kit?
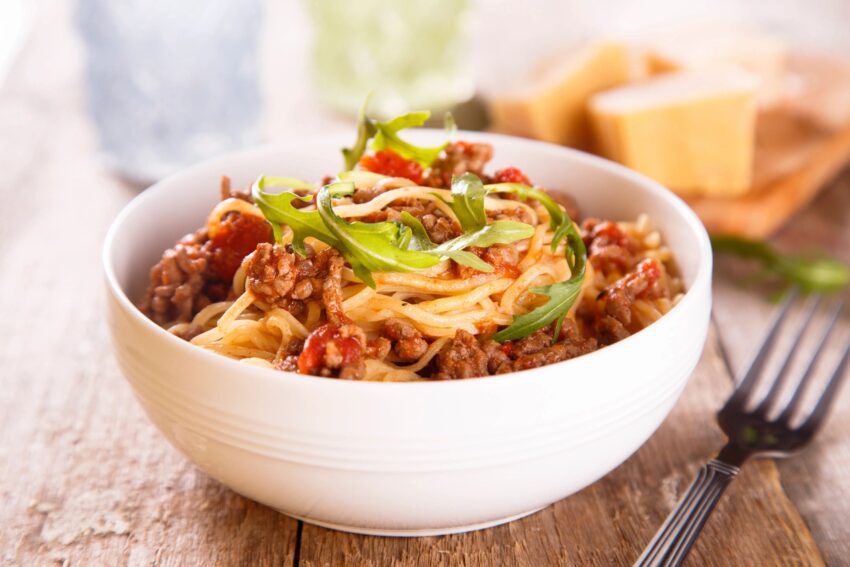
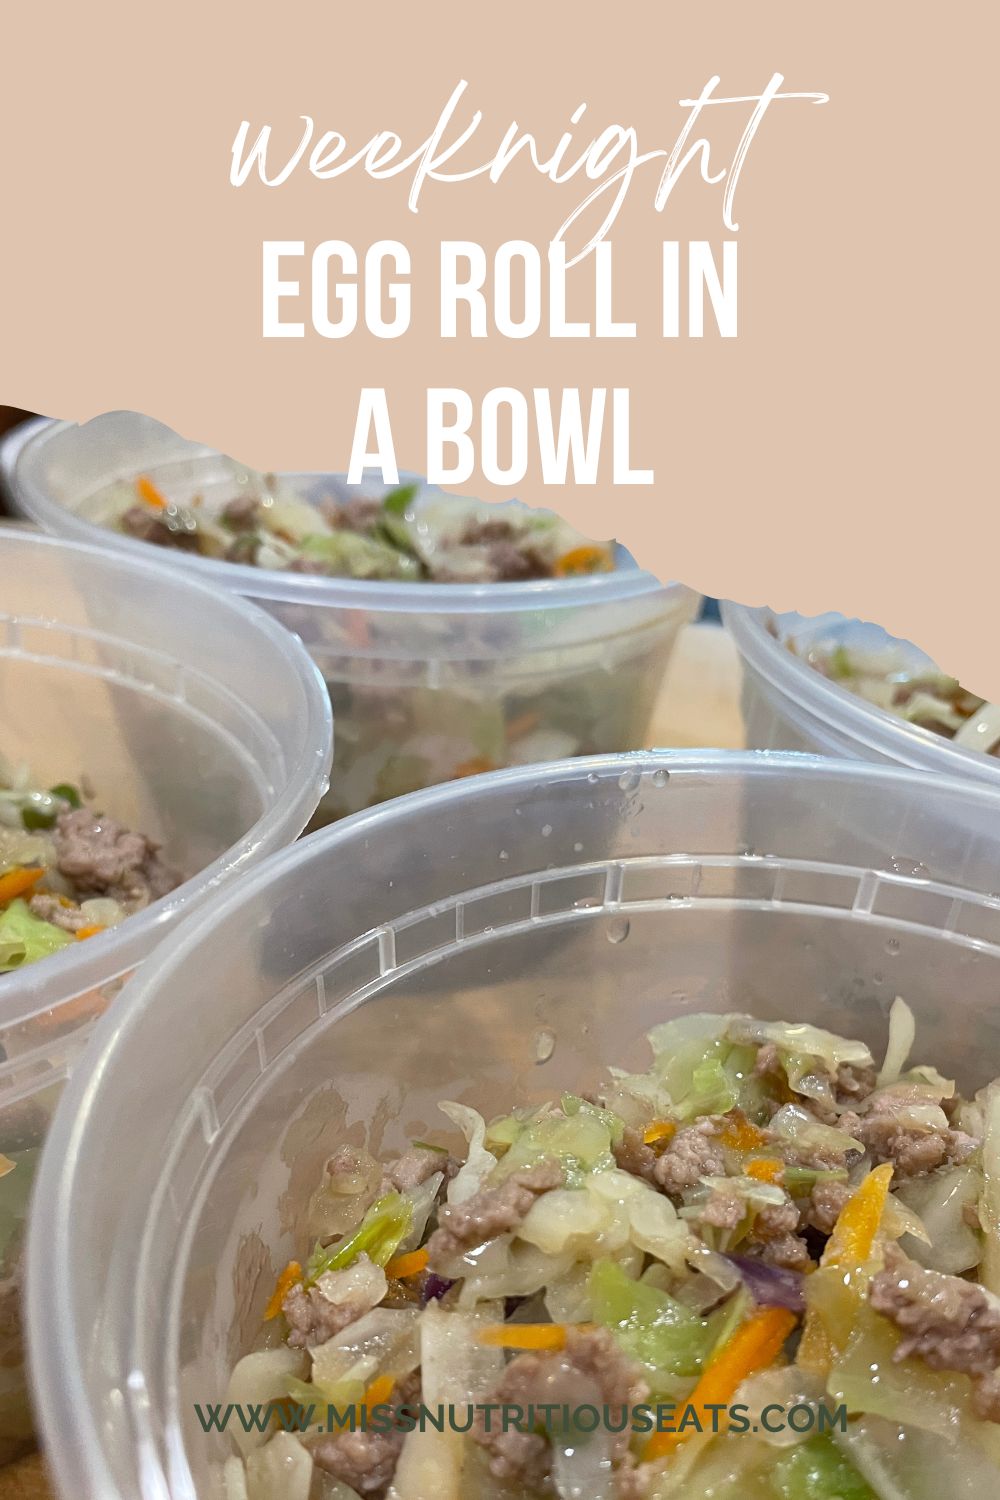
- Substitute, in full or partially! Take a meal your family already loves like meatballs or baked ziti and substitute half of the ground beef with whole plant foods like diced mushrooms or lentils. You could substitute all of the ground meat the celebrate meatless Mondays too!
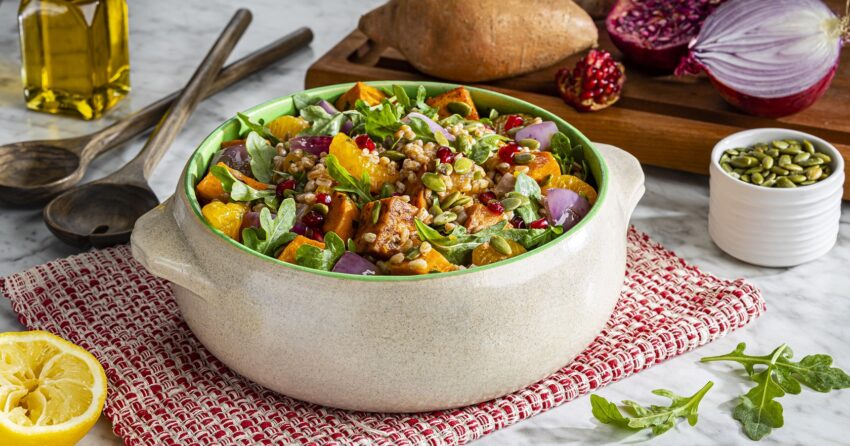
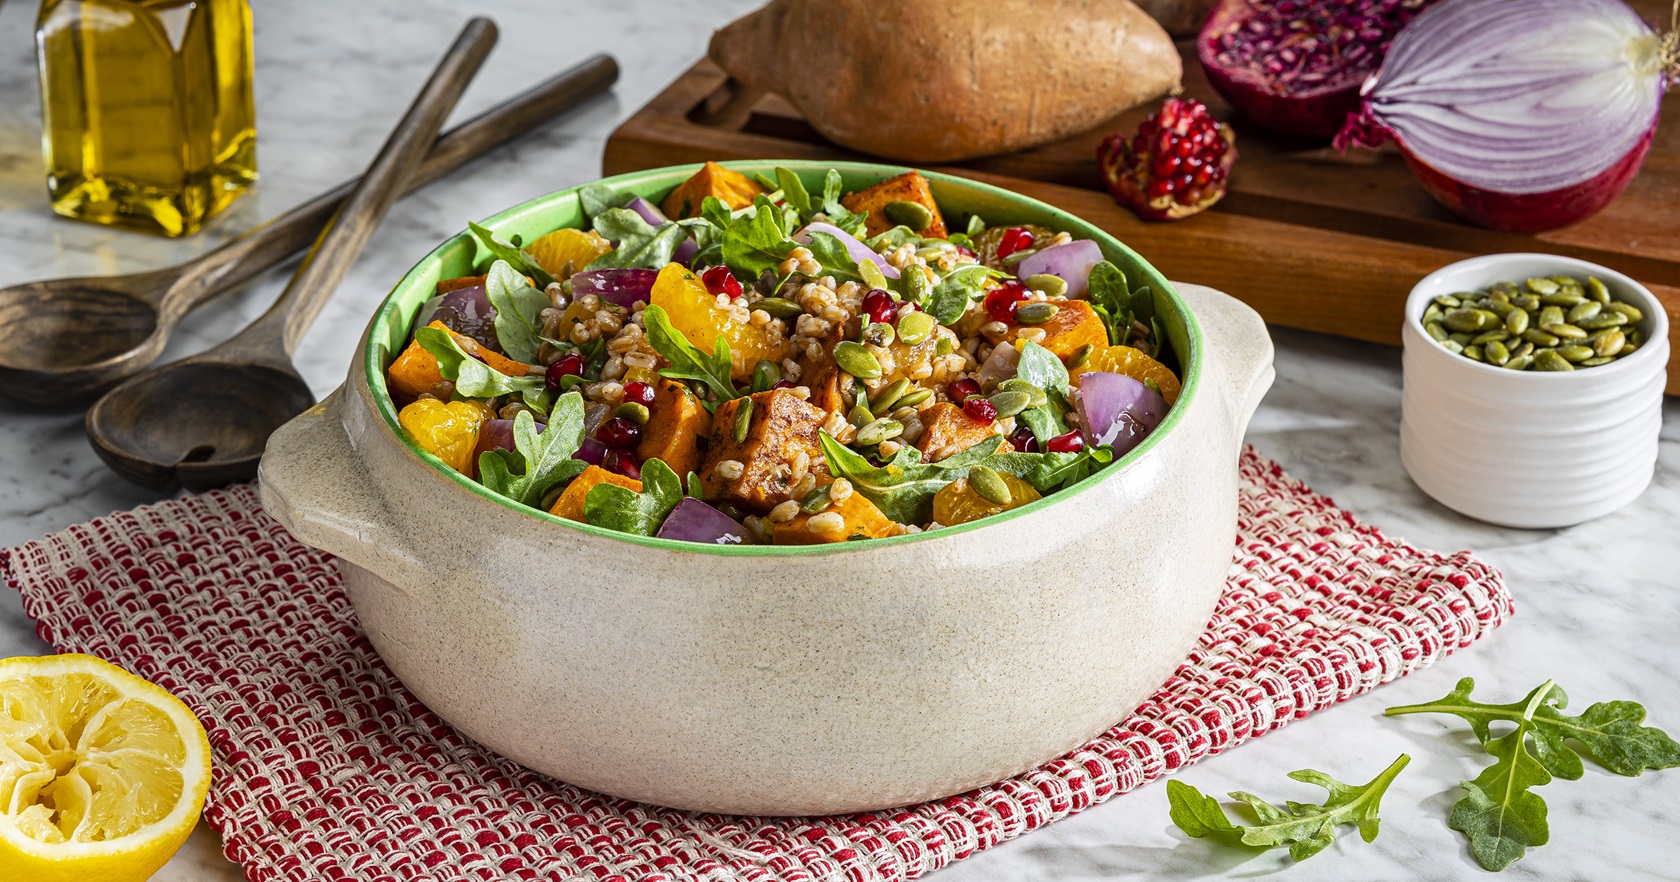
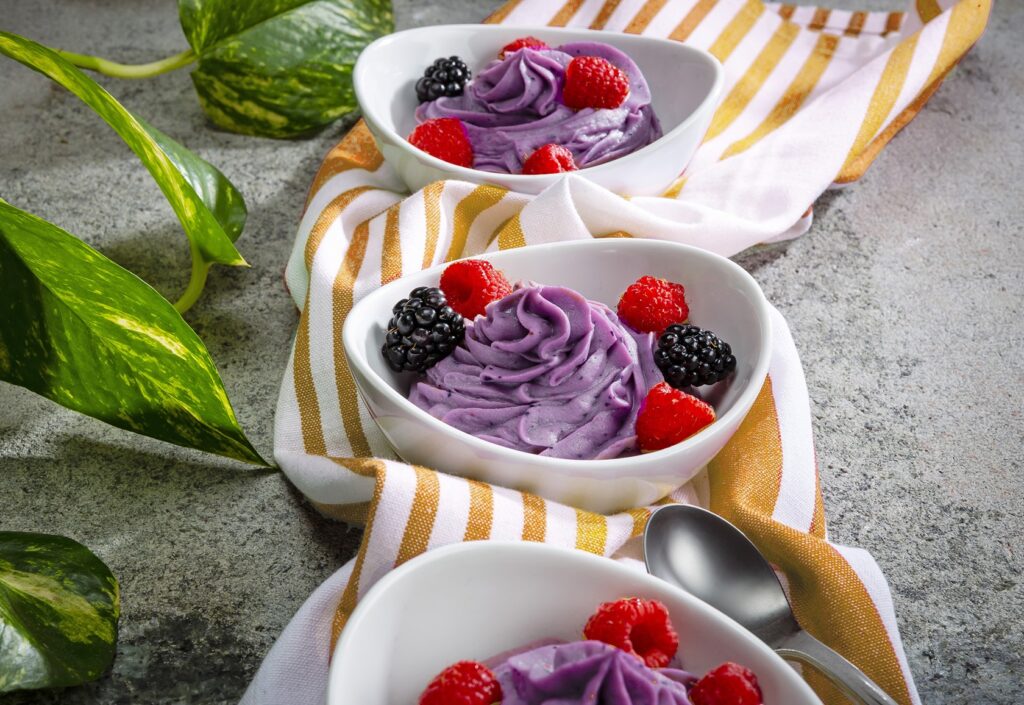
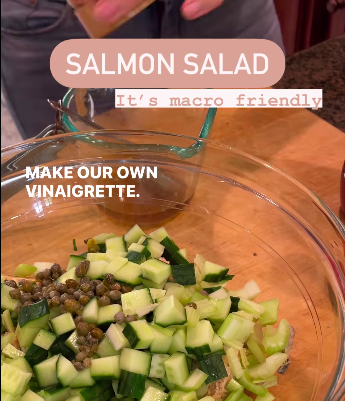
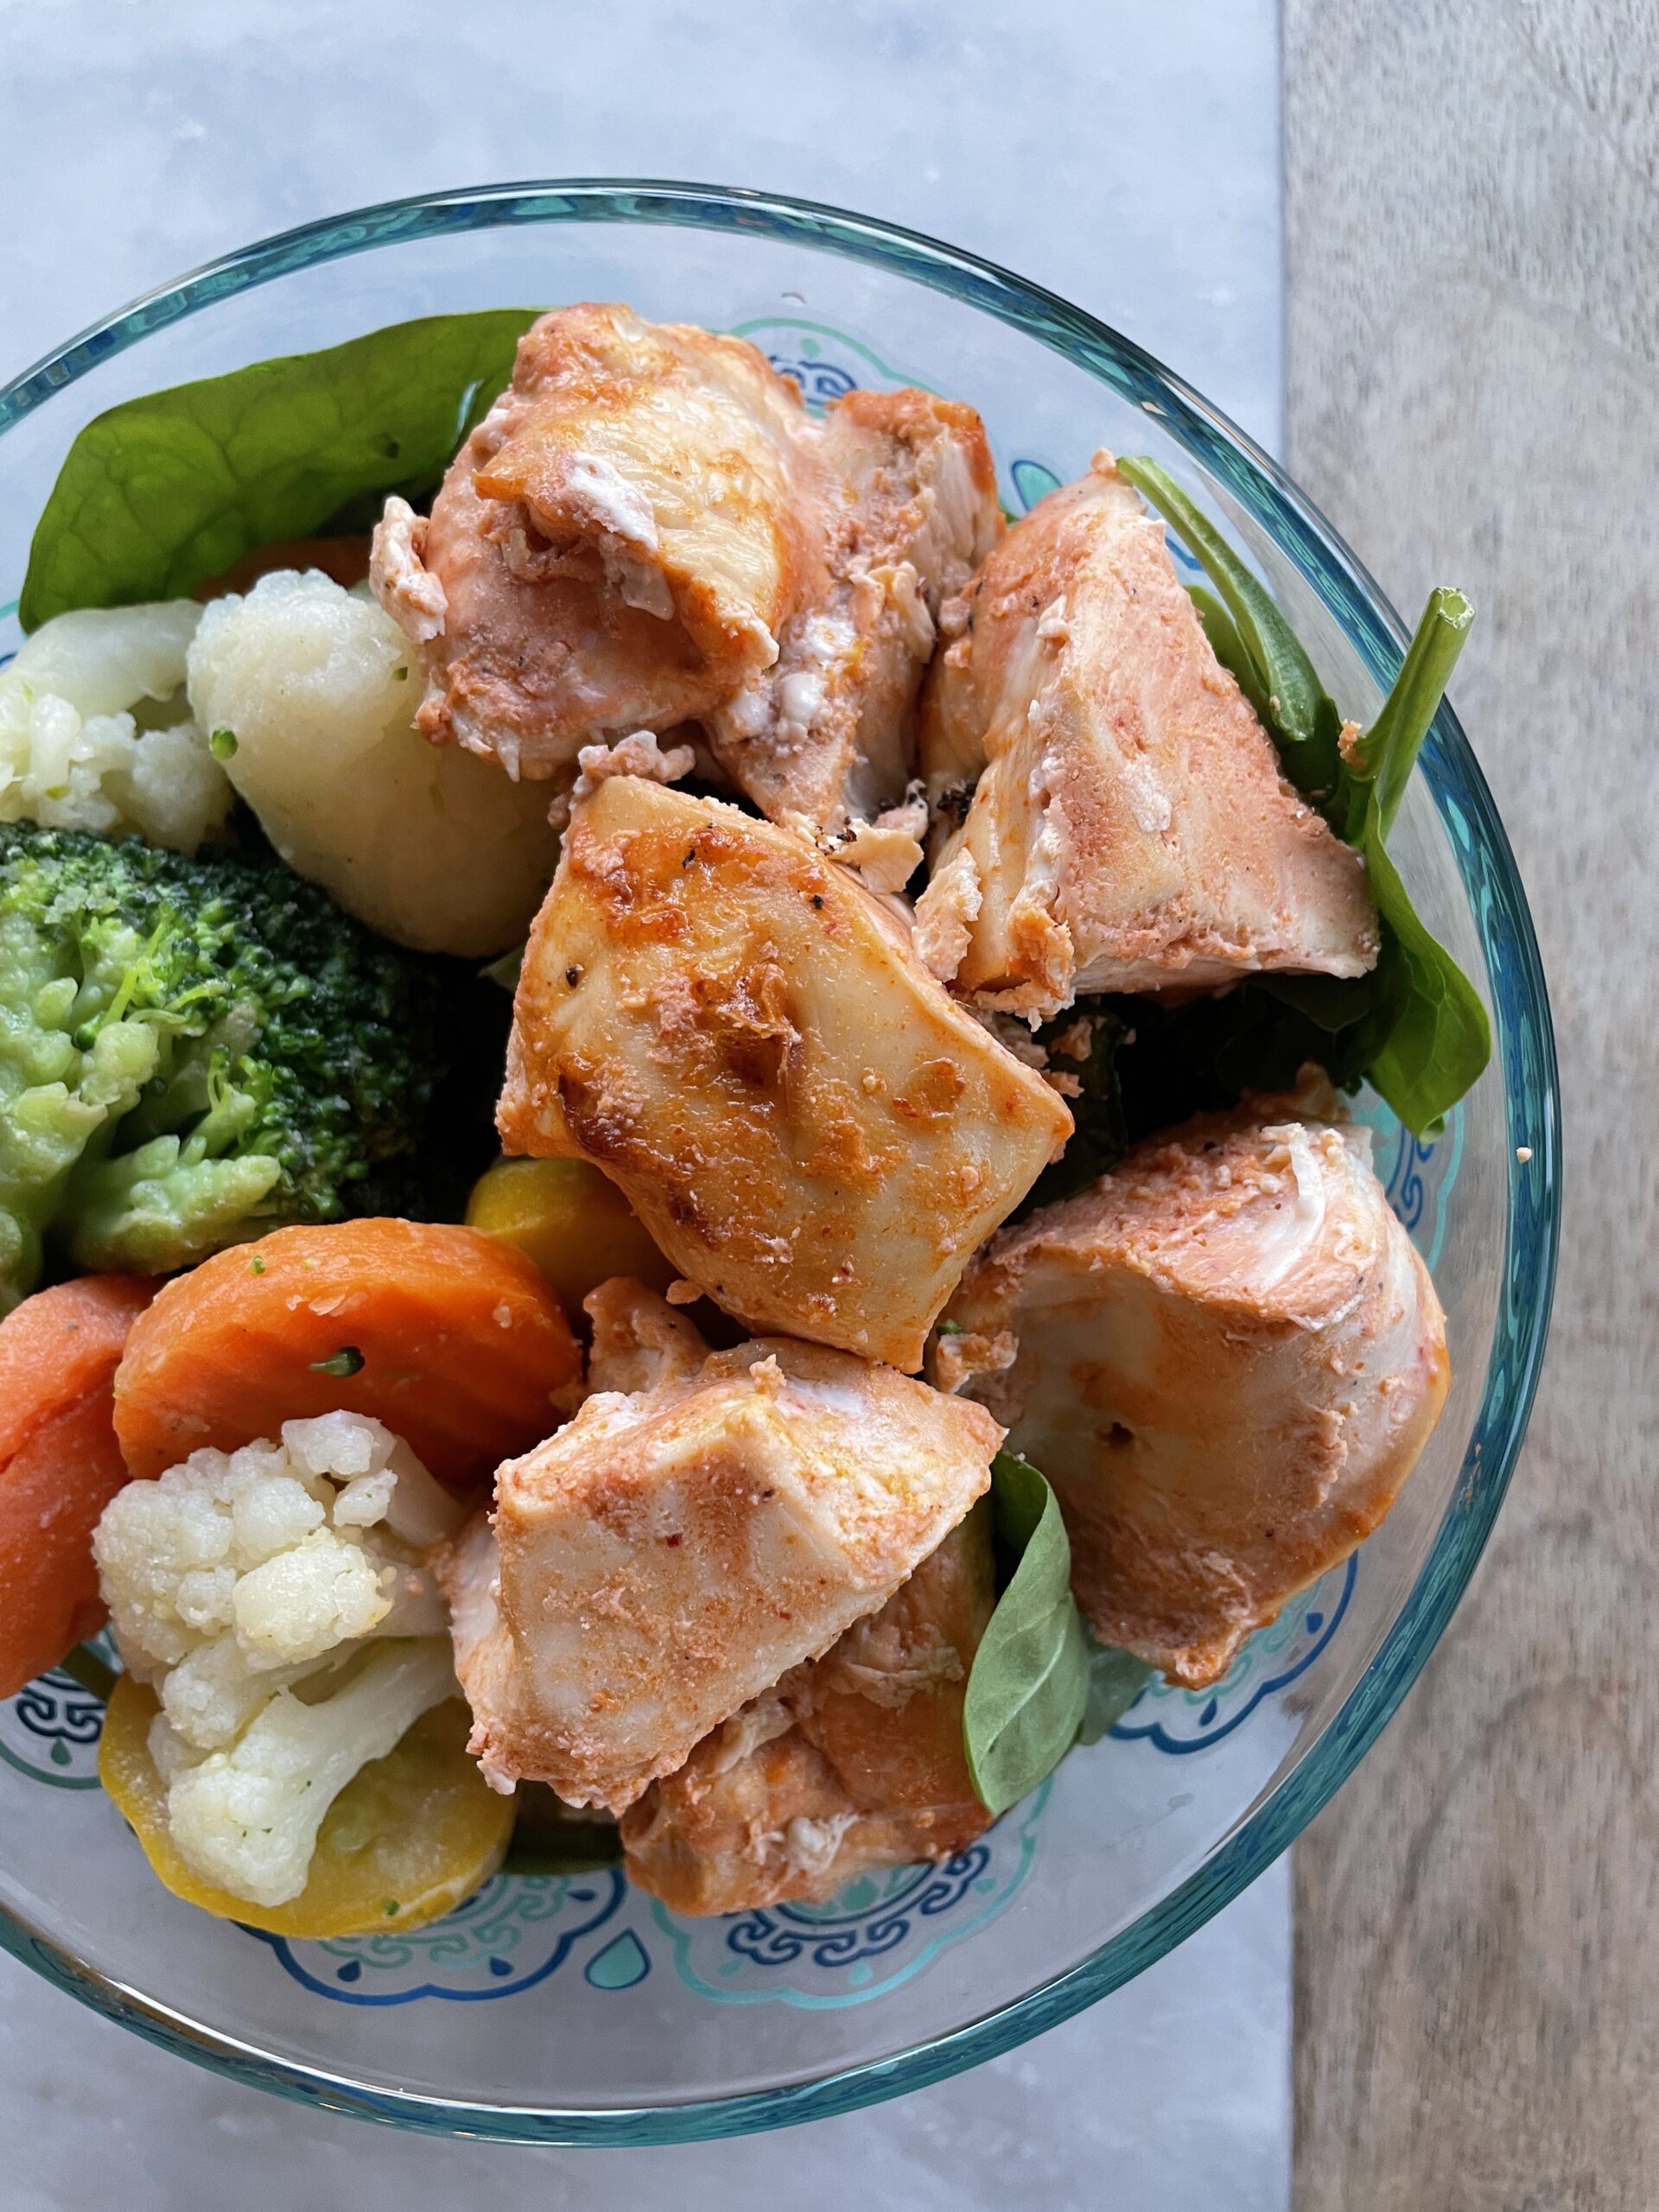
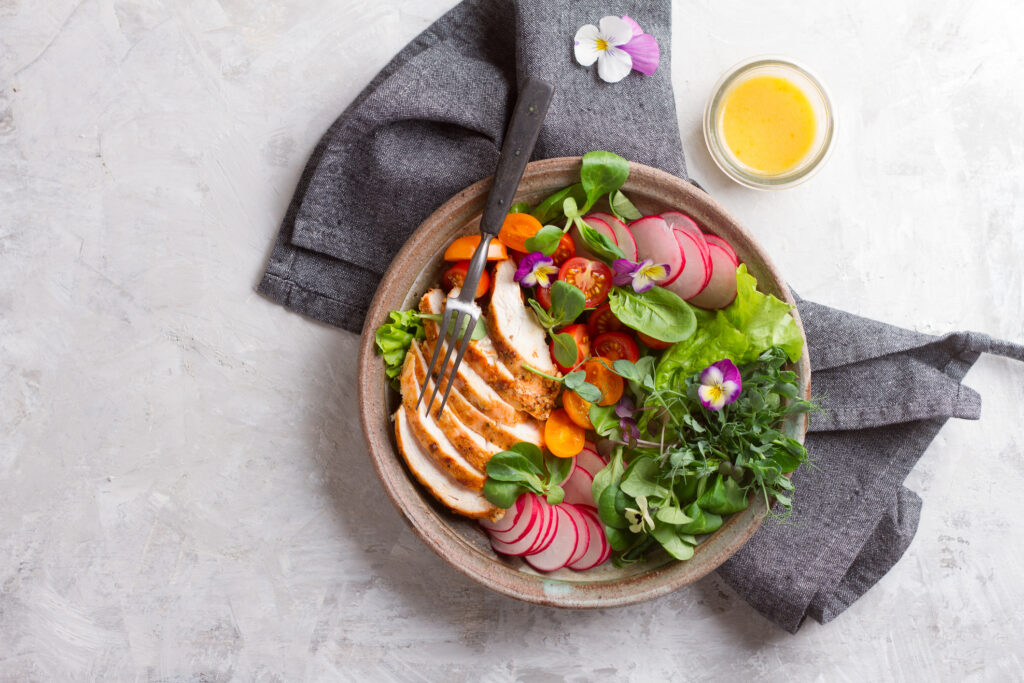
7. Jump on the “bowl” craze. Literally, grab your favorite bowl, start with a base of greens and add from there! You could create a cold Buddha bowl with other vegetables and proteins or add cooked brown rice and curry for a warm option.
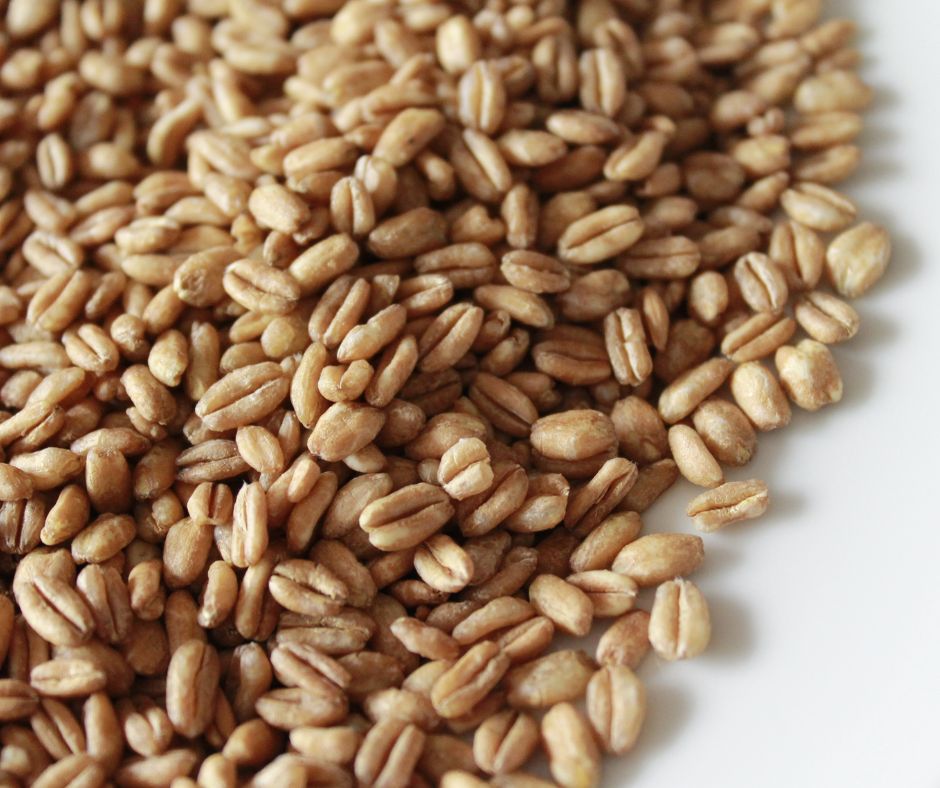
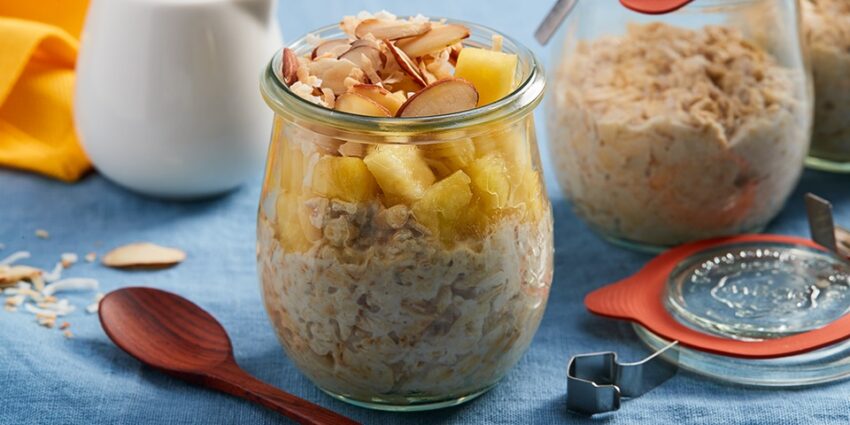
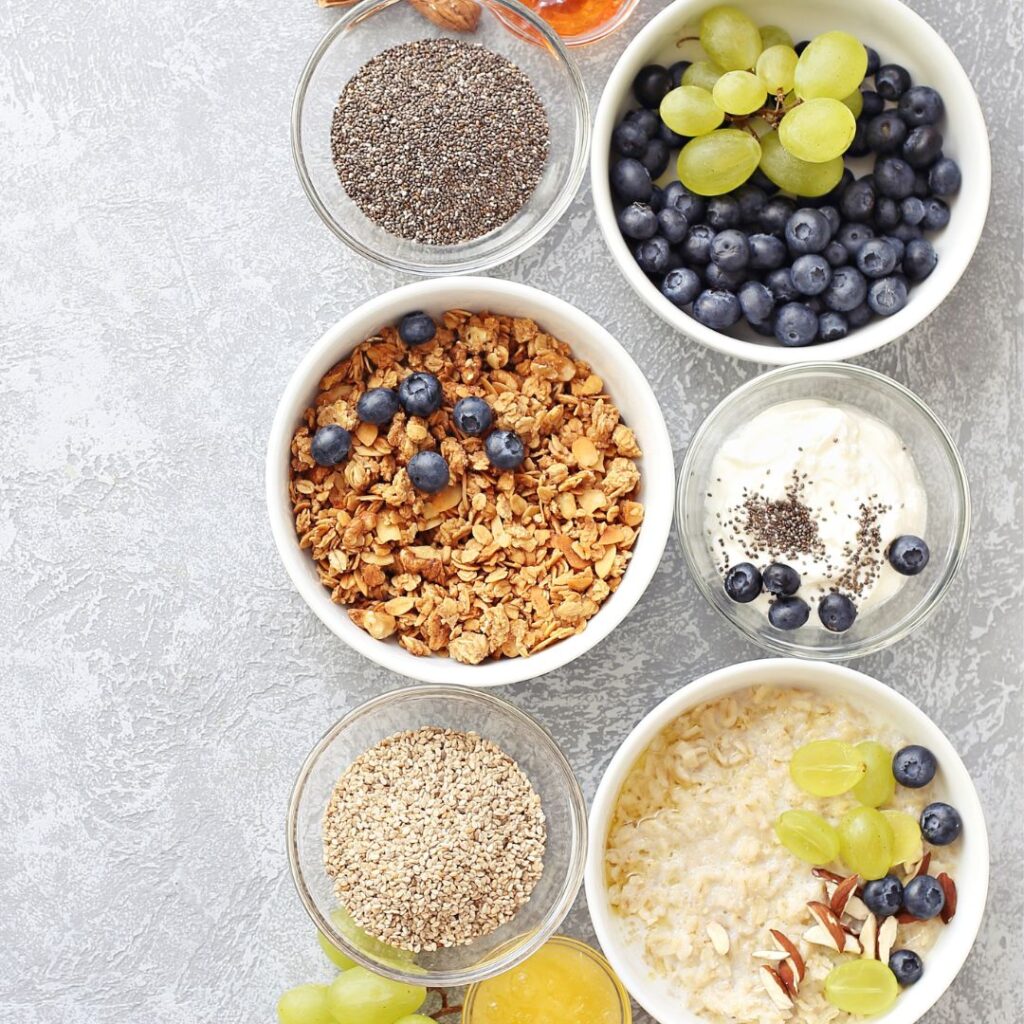
- Remember that whole grains are plants too! Oatmeal, quinoa and farro are great additions to make at meals, and they’re particularly easy to have for breakfast!
- Be sure to get enough protein! When going plant-based it’s easy to eliminate animal proteins and substitute them with vegetables. But, if you don’t add plant-based proteins, you will feel unsatisfied. Turn to beans, tofu, nuts, seeds, lentils if you’re looking for plant-based options!
Foods to stock up on for your plant based journey
Nut butters – peanut, cashew, almond, walnut, chunky or sooth, they are all full of healthy fats plus protein and can add satisfaction to any meal, snack or smoothie. Just be wary, that many of the natural versions without added oils, sugars or stabilizers must be refrigerated for best quality.
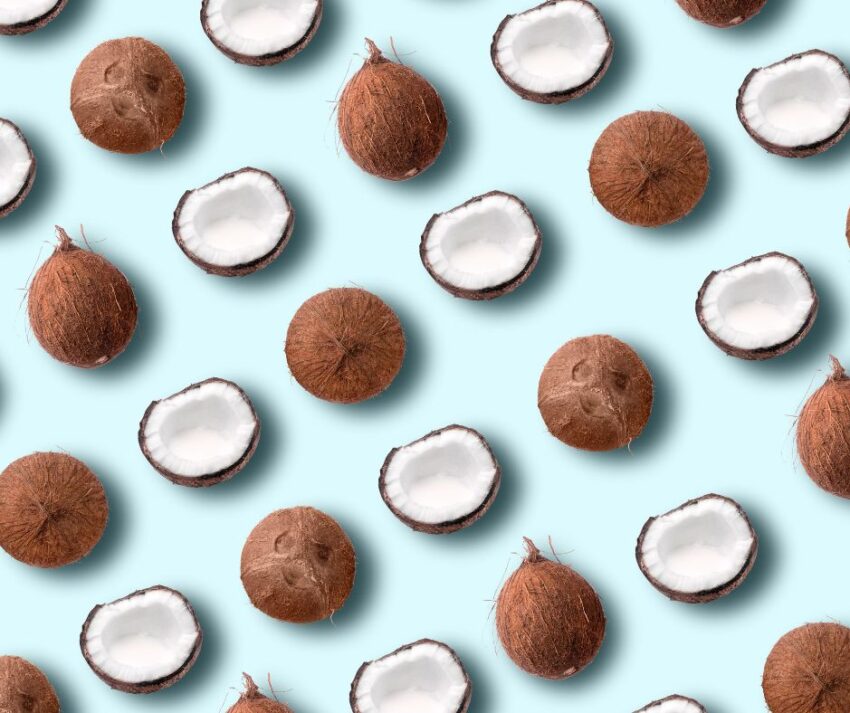
Soy milk – yes, soy milk and soy products are most like milk and dairy when it comes to macronutrient profile of protein, fat and carbohydrates. Plus I happen to think it tastes better than a lot of the other dairy alternatives too! If you’re not a fan of soy, almond milk or coconut milk are fine options, but they will not offer the protein that traditional dairy or soy can provide.
Beans, beans beans – whether canned or dried, beans such as black beans, chickpeas and lentils are a pantry staple that ensure you can make a plant-based version of your favorite burgers and sauces.
Oatmeal – Choose from quick oats, rolled oats or unsweetened steel cut oats for a variety of uses. Traditional breakfast cereals have a lot of added sugar, but when you choose oatmeal, you have an ingredient that makes for a quick breakfast but can also be used in a variety of other dishes too.
Other meat substitutes – Think about tofu and seitan. You may want to pick up a brick for when you’re ready to move beyond beans and edamame!

Seasonings– Whether you already have a favorite blend or your looking for something new, I highly recommend finding a seasoning mix that you like. Mine is Seasonello. It is an Italian seasoning salt that is amazing on everything from poultry to tofu to veggies. I also recommend trying nutritional yeast if you’re trying to find a cheese replacement! It’s also a good source of B6 and 12!
A really good olive oil – (or two!) Choose a good quality olive oil for most cooking and then select a higher quality extra virgin oil for finishing dishes or dressing salads. A high quality oil can make a big satisfaction impact!
Leafy greens – Spinach, kale, spring mix, arugula are just a few. I suggest a variety of fresh and frozen for versatility!
Starchy vegetables – Potatoes, sweet potatoes, yams, yucca, corn, peas, and beets. Stock up on these for filling and colorful meals! Many can be found semi prepared in your produce department so you won’t have much prep to do at home!
If you are thinking about going all plant based or vegan, there is more to learn about vitamin B and vitamin D, these nutrients are primarily found from animal sources and may require supplementation. If you have questions or concerns about your unique nutritional needs, speak with your doctor or schedule a consult with a registered dietitian.