Keep Your Nespresso Vertuo Machine Fresh: Step-by-Step Cleaning Guide

If you’re like me, you’re reading this because you’ve never cleaned your Nespresso coffee machine!
Since starting the FASTer Way to Fat Loss, with intermittent fasting, my morning coffee time has been more important than ever. I wake up early when the rest of the house is asleep, make my coffee and catch up on reading, or writing in total quiet! I love resetting my day like this, but was truthfully stumped when I realized that I never thought to clean my machine! If you follow me on IG, you know I post my coffee in stories almost every day!
I realized my fatal mistake when having coffee with coworkers. A friend mentioned how much she love her Nespresso coffee maker and that cleaning it on a regular basis wasn’t so bad… when my mouth dropped! I’ll admit it, I have never run the descaling process on my Breville Nespresso Vertuo model. But I have to give myself grace – my machine didn’t have an unpleasant smell, my morning coffee tasted the same as always and I didn’t have a warning light!
To my credit, I have wiped the outside with a damp cloth and have always kept the water and discard bins clean – but regular cleaning was not in my rotation. Oops!
Jump to RecipeTable of contents
Read on for a step-by-step guide on how to get a clean Breville Nespresso Vertuo machine.
We’ll talk through removing obvious dirt like old coffee grounds, how to turn on the descaling mode and what you should use to clean a dirty machine to keep your coffee tasting delicious! In addition to improving the taste of your coffee it will extend the life of your machine, keeping it in good condition.
How Often Should You Clean Your Machine?
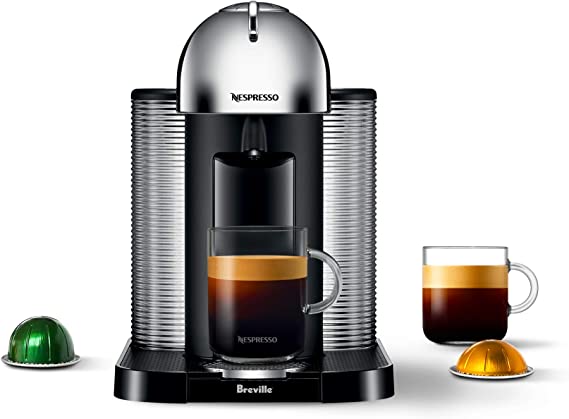
This is my machine here.
The general rule for all espresso machines is to clean them every few months, or when you notice that the indicator light color has changed from green to orange. If you use your Nespresso Vertuo every day, then cleaning it once every two months should suffice. Just make a note of your cleaning schedule if you have the Breville model because you won’t get an indicator light.
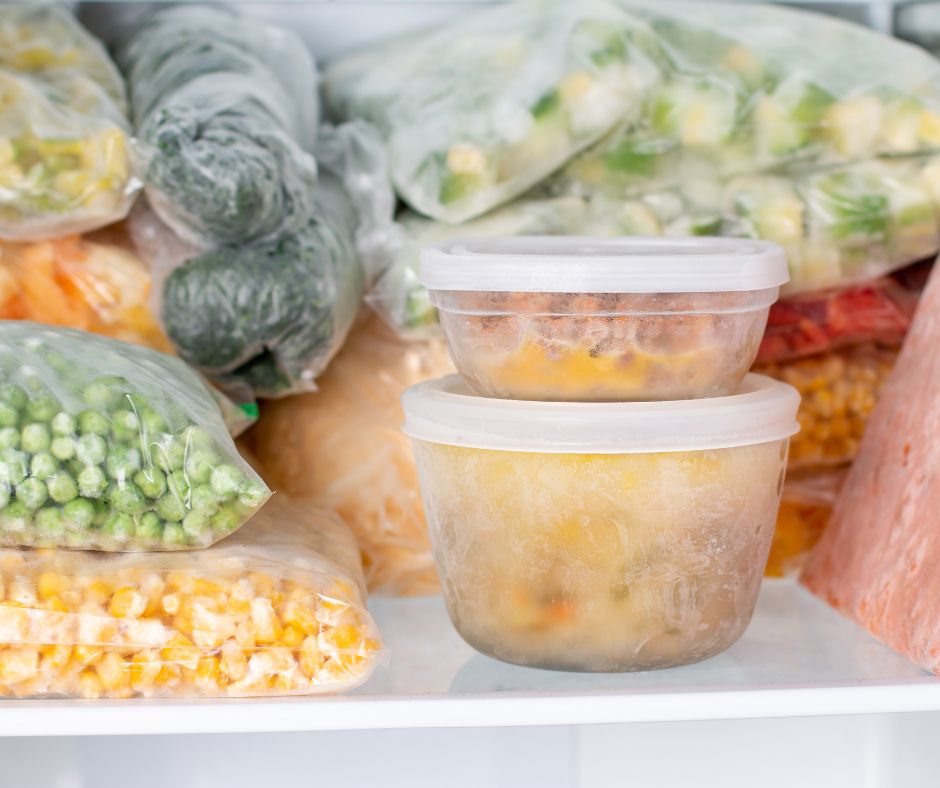
Jump to RecipeClean the Used Capsule and Water Reservoir
Clean the outside of these containers with a clean microfiber cloth. You can use lemon juice or white vinegar with water as a quick and effective solution. Use dish soap and water to remove any mineral deposits in the water reservoir, especially if you have hard water. The used coffee pod container may have a bit more build up from coffee residue, but can easily be removed with the cleaning process. Let both air dry before returning to the machine.
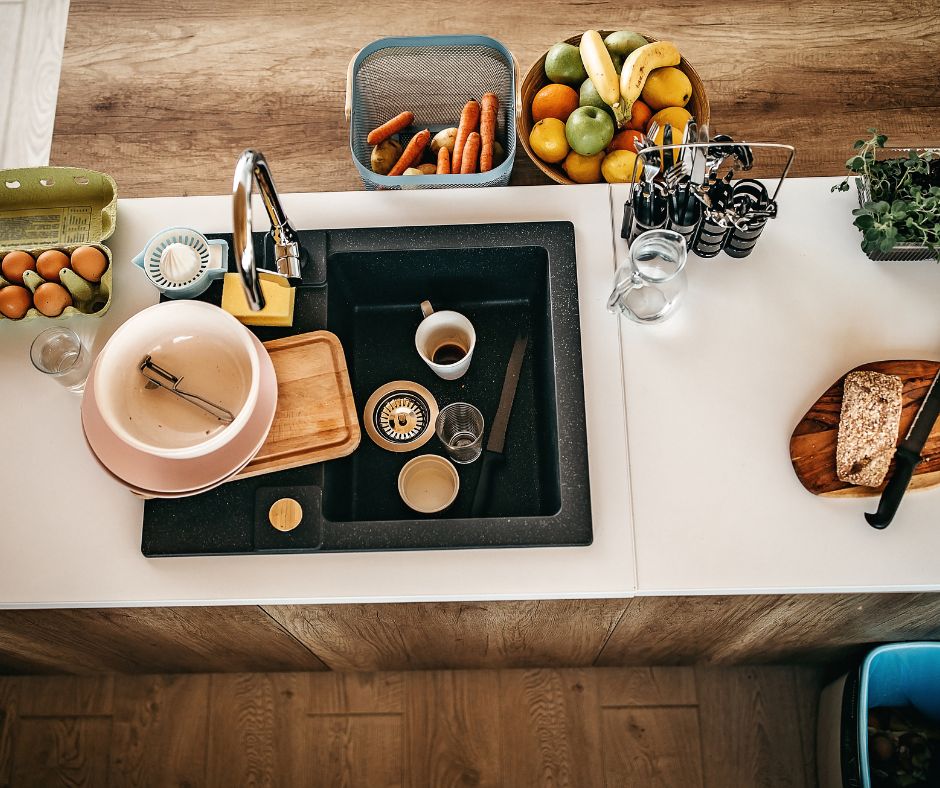
Cleaning the Drip Tray
Next you’ll want to start by removing the drip tray from beneath your machine and emptying any residual water into the sink. Then, wash and rinse it with warm water and a mild detergent. Let it air dry before returning it to the machine. Make sure to empty and clean the drip tray after each use.
Jump to Recipe
Descaling Cycle
The Nespresso website recommends that you descale your machine regularly. About every three months or every 300 pods, whichever comes first. It’s an important step to remove build-up of coffee oils that can build up over a long time.
(Most) Nespresso Vertuo have an automatic descaling system that will alert you when they need attention—the orange indicator light comes on when this happens. The descaling cycle can be activated in just a few steps: first, fill up the water tank with fresh tap water (though filtered or bottled water is recommended – not soapy water). Next, open the capsule container lid at the top of your machine and press the button for “descale” until you hear a beep; at this point, close the lid and press start. Once finished, discard any remaining water in the container and run two more cycles without adding any additional ingredients or capsules—this will ensure that all residue is removed from inside your machine.
The Breville cleaning system is just a bit different. There’s no colored indicator light, and there’s no button inside the top of the machine. Instead, start by by filling the water reservoir with clean water. Then place a 20oz container under the spout. Close the capsule container lid at the top of the machine and press the button 3 times within 2 seconds to initiate the cleaning cycle. Keep your container in place for up to 5 minutes as water runs through the system. Once finished, discard any remaining water in the container and run two more cycles without adding additional ingredients or capsules.
Do You Need Special Cleaning Products?
No! You don’t need special cleaners or chemicals when cleaning your Nespresso Vertuo; plain old soap and water will do just fine! However, if you do want to use special cleaning products made specifically for espresso machines, make sure they are non-abrasive so as not to damage any internal components of your device. Also note that some detergents contain chlorine which could leave behind an unpleasant taste in your coffee – so only use these products if necessary!
With just a few simple steps every couple of months, you can keep your Nespresso in top shape and enjoy delicious cups of coffee for years to come! Cleaning does more than just improve flavor; regular maintenance helps extend the life of your appliance too! So take some time out today to give your machine some TLC – you’ll be glad you did!
Tips for cleaning your coffee maker
- Create a phone reminder or jot your next cleaning on the calendar
- Tip: note how many pods your case holds and make a judgement based on that, for example, you may have to run through it twice before cleaning.
- Have a 20oz container, or large glass handy when it’s time to clean.
- When it comes time to clean, just refill the reservoir and run the cycle after you’ve made your morning coffee. It’s automatic and hands off, so no reason to dread!
- Rinse the drip tray and clean visible debris from the side containers weekly or as often as needed.
How I take my coffee
It took me a few weeks to get used to my Nespresso, but I truly enjoy my coffee so much that just one cup in the morning is enough. And I look forward to it every day!
The pod is key. I go back and forth with the melozio pods and the odacio pods, but I think odacio is my favorite. (They’re the turquoise ones). I keep it simple by adding 2 pumps of sugar free vanilla or hazlenut with 1/4 cup of foamed 1% milk. I don’t stray to far from this. If I try to make a 2nd cup, the satisfaction value just isn’t there. With one cup the calories stay under 50, I keep my fasted state and can stay on track with intermittent fasting!
If you like to take your coffee up a notch, try this Vegan Cold Creme recipe. Add a dolop
Cheers to excellent coffee.
How to clean your Nespresso Machine
Equipment
- 1 Nespresso Machine
- 1 20 oz container
Materials
- 20 oz water
Instructions
- Remove and clean both the water reservoir and the used pod container with warm soapy water. Let air dry before returning to the machine.
- Fill the water reservoir with at least 20oz of bottled water.
- Press the on button 3 times within 2 seconds to initiate the clean cycle. Be sure your 20oz container is under the spout.
- It can take up to 2 minutes for the process to start. Leave container under the spout for the entire time. About 5 minutes.
- Remove the drained water. Repeat if necessary.