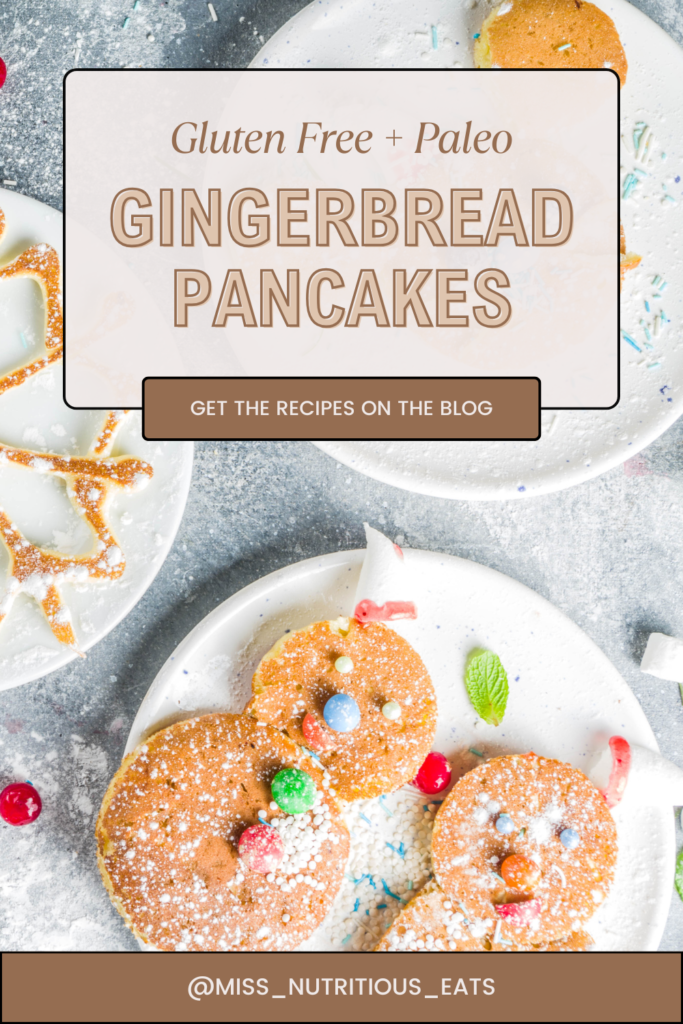
Holiday Gingerbread Pancakes (Paleo + GF)

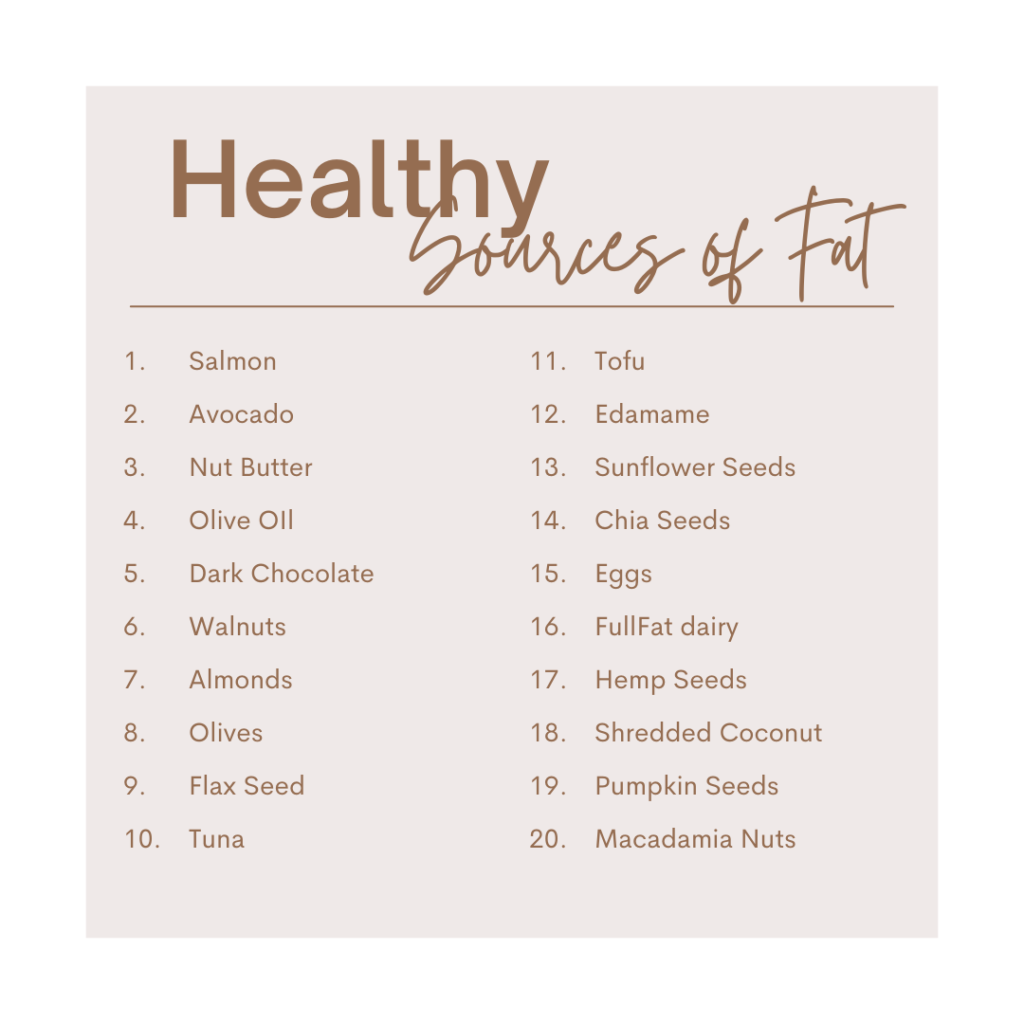
I’m officially moving on from pumpkin spice to gingerbread 😆. There’s just something about December that calls for warm, comforting breakfasts to start the day right. And guess what? These pancakes are perfect for your low carb days because they will help you reach your higher than usual fat goal. This recipe combines classic gingerbread spices with the rich, fluffy texture of pancakes in a gluten-free version, making it the ultimate Christmas slash anytime breakfast.
Table of contents
Join my new 21 DAY reset!
Tired of endless diets and no results? This reset is for you if you want to gain energy, cut the cravings, build strength, decrease bloat and feel amazing going into the holiday season!

😍 Why You’ll Love these Gingerbread Pancakes
- Simple Ingredients with Big Results – Forget the boxed mix, you don’t need anything fancy for these.
- Big nutrition in a small package – if you (or kids or loved ones) need more calories to keep weight on or gain muscle, these need to be on your list!
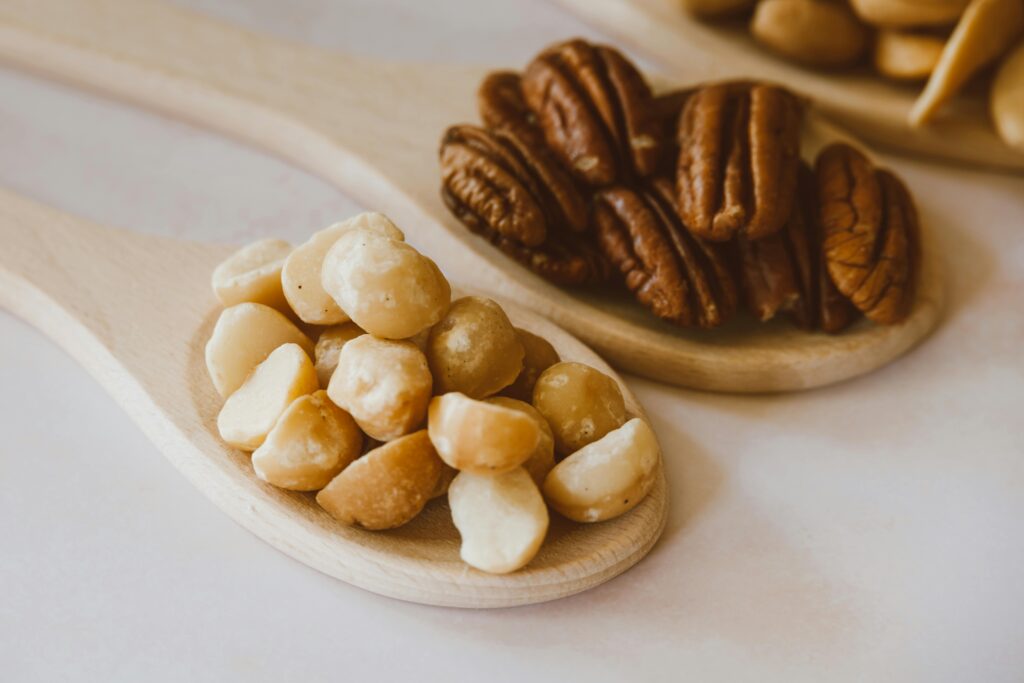
- Nutritious and Delicious – Made with almond flour and ground flaxseeds, this is one of those healthy pancakes that tastes just as indulgent as regular pancakes.
- Versatility – Go with what you have – almond milk, coconut milk, or soy milk, this recipe allows substitutions to meet dietary needs.
- Easy to Make – With one large mixing bowl, you’ll have fluffy gingerbread pancakes in no time.
- The Perfect Holiday Breakfast – These pancakes are big on flavor and a festive aroma, perfect for cozy mornings.
🗒️ Ingredients
Dry Ingredients:
- Almond flour
- Baking powder in a pinch you could use baking soda, but reduce the amount to 1/3 of what’s called for in the recipe, and add an acid like vinegar or lemon juice
- Cinnamon, ground ginger & nutmeg If you’re not a fan of any of these you can use more cinnamon or sub in pumpkin pie spice or a combination of ground cloves and allspice
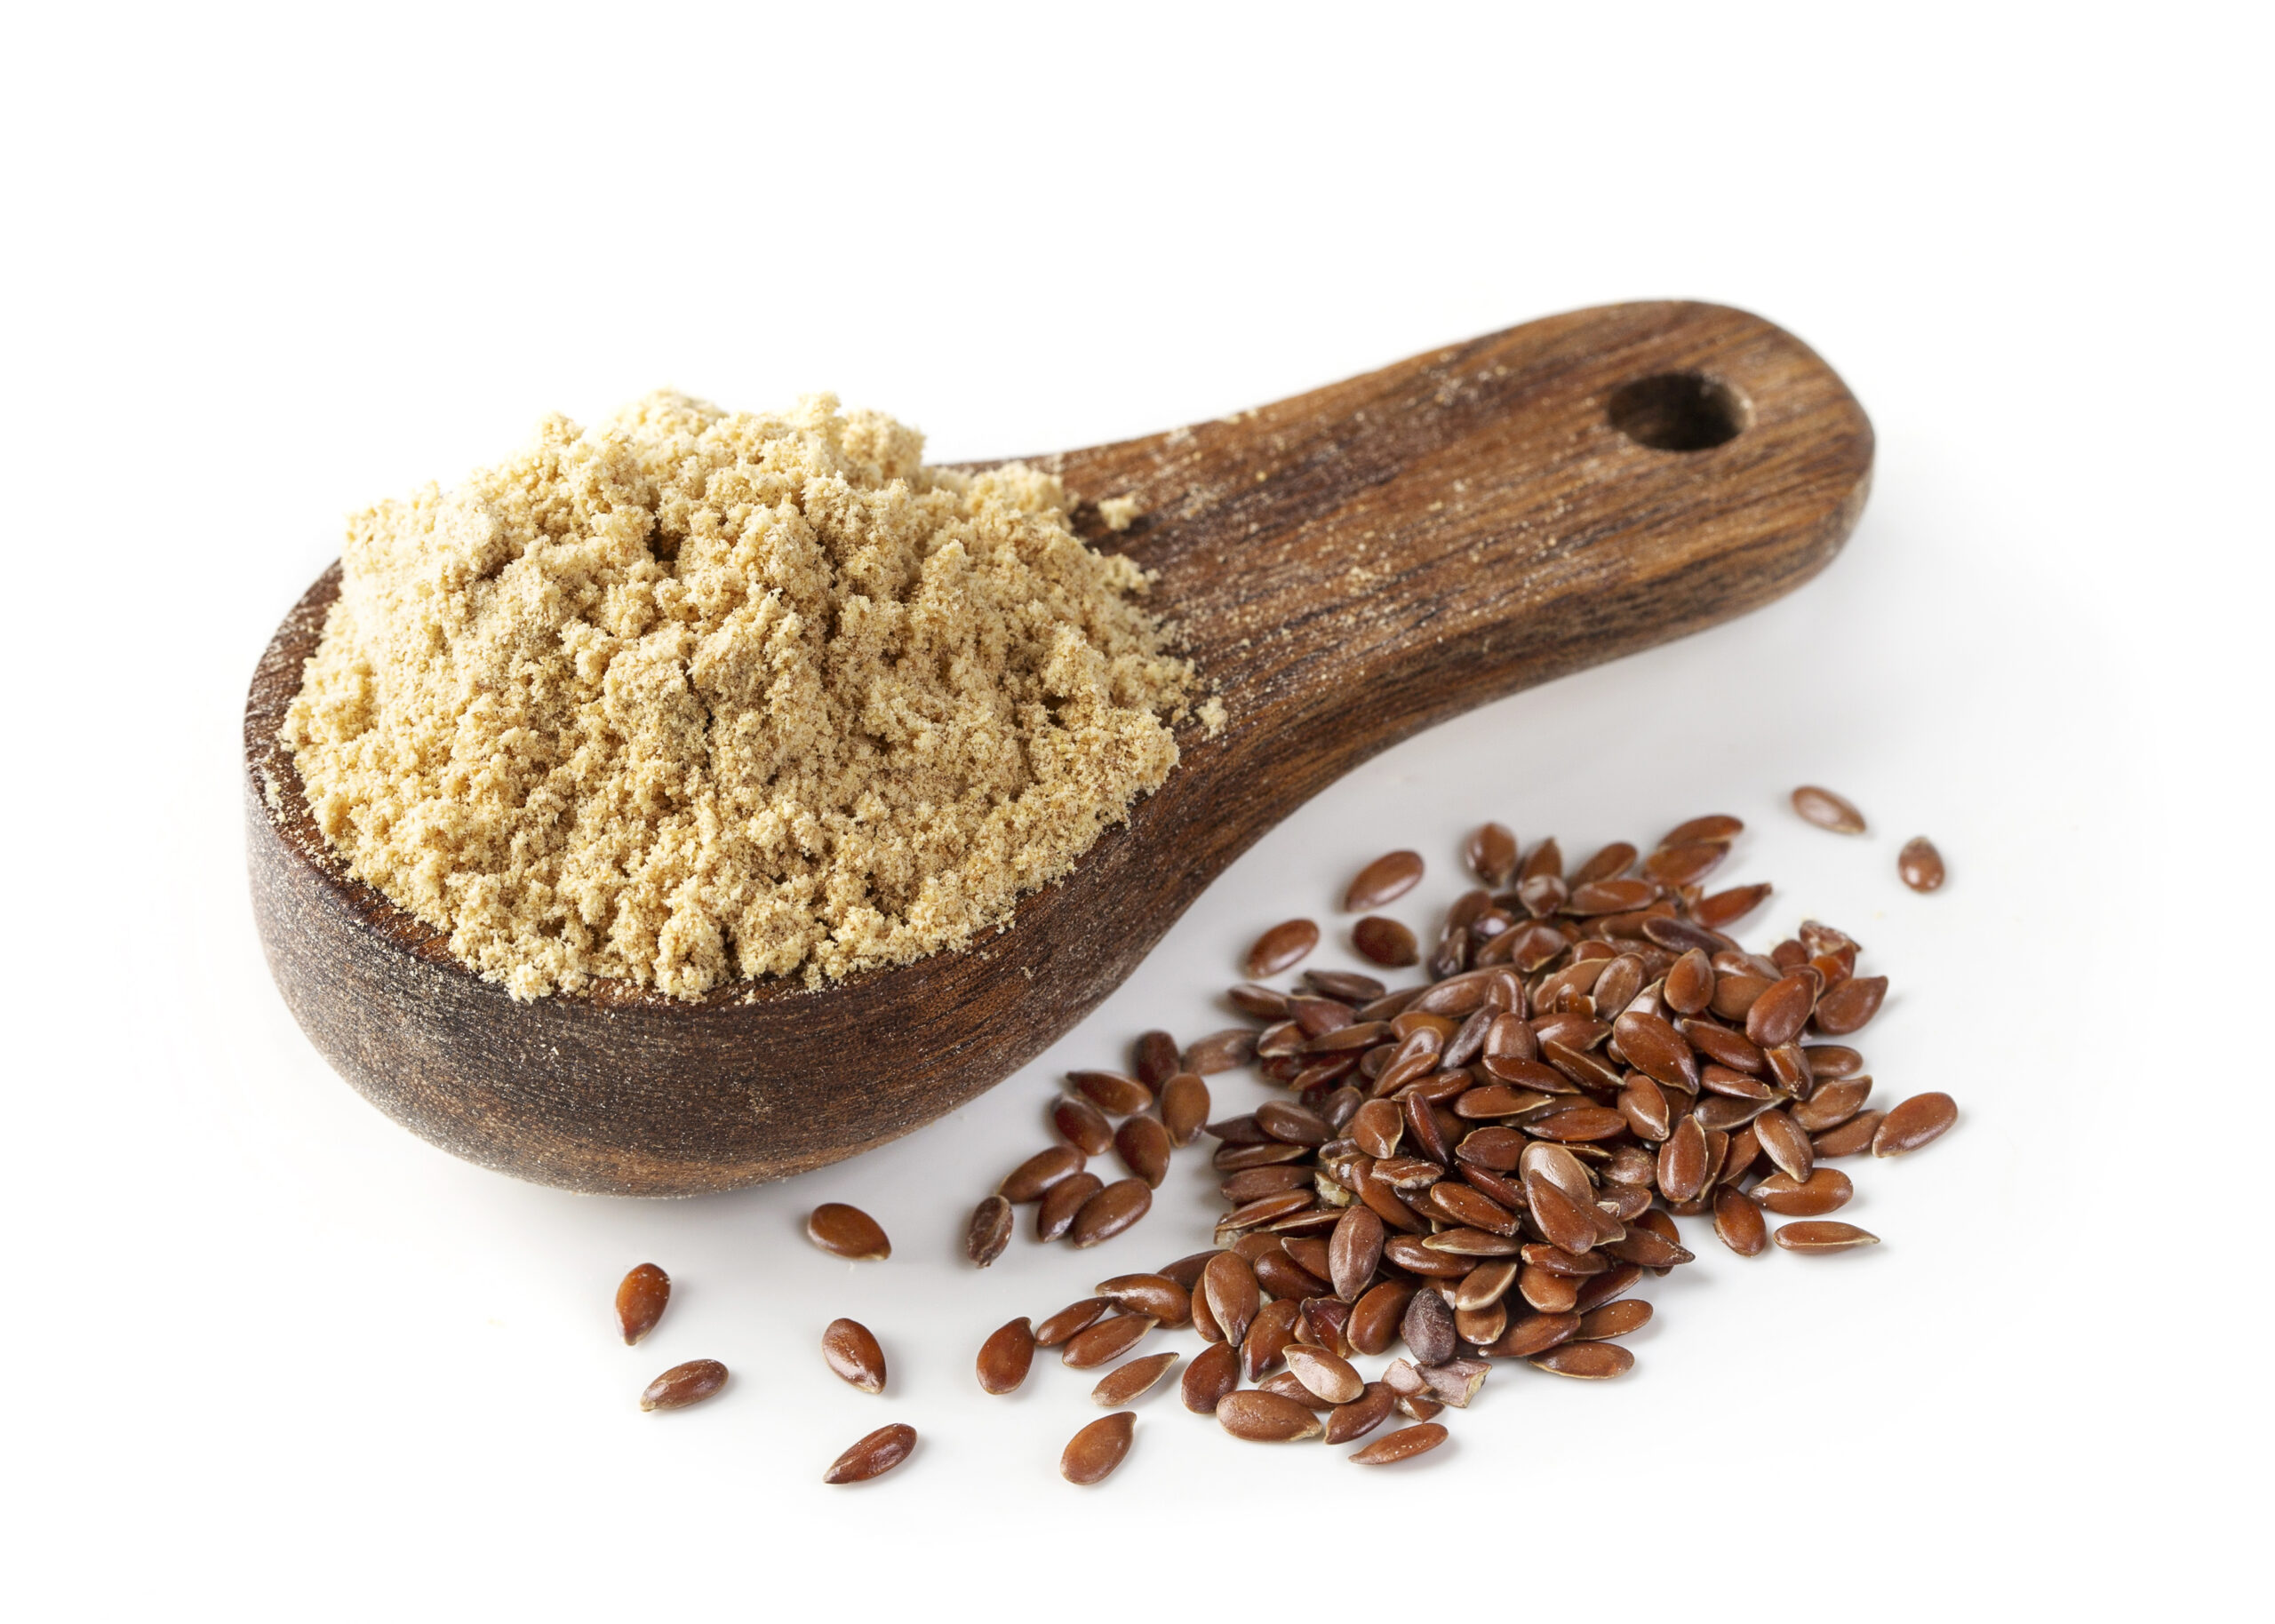
- Ground flaxseeds If you don’t have flax seed try chia seeds instead
Wet Ingredients:
- Large eggs If you want to go vegan use a flax egg – 1 tablespoon ground flaxseed + 3 tablespoons water, mixed and allowed to sit for 5 minutes
- Unsweetened almond milk any milk you have on hand will work including coconut milk, oat milk, or any other plant-based milk
- Vanilla extract try a small amount of almond extract or maple extract
- Pure maple syrup other sweeteners will work like honey, agave syrup, or coconut nectar, or omit entirely for a sugar-free version
Optional Add-ons:
- A drizzle of blackstrap molasses for deeper gingerbread flavor
- A pinch of coconut sugar or brown sugar for a touch of sweetness
💡 Gluten-Free? Read This!
In this recipe we skipped the all purpose flour – instead, this recipe uses almond flour, which not only makes it gluten-free but also adds a slightly nutty flavor and fluffy texture.
👩🍳 How to Make My Gluten-Free Gingerbread Pancakes
Step-by-Step Instructions
1. Prepare the pancake batter:
- Grab a large mixing bowl and combine the dry ingredients (almond flour, baking powder, cinnamon, ground ginger, nutmeg, and ground flaxseeds).
- In a separate small bowl, whisk the wet ingredients (eggs, almond milk, vanilla extract, and pure maple syrup).
2. Mix it up:
- Slowly combine the wet ingredients into the dry ingredients to create your pancake batter. Pro Tip! Add a dash of blackstrap molasses for deeper ginger flavors.
3. Heat the griddle:
- Preheat an electric griddle or non-stick skillet over medium heat (reduce to medium-low heat if it gets too hot). Lightly grease with cooking spray or coconut oil.
4. Cook the pancakes:
- Pour about 1/4 cup of batter for each pancake. Cook the first side for 2 minutes until bubbles form on top, then gently flip and cook for another 1-2 minutes until golden brown.
5. Keep warm:
- Place cooked pancakes on an oven-safe plate or a wire rack set over a baking sheet to keep them warm until serving.
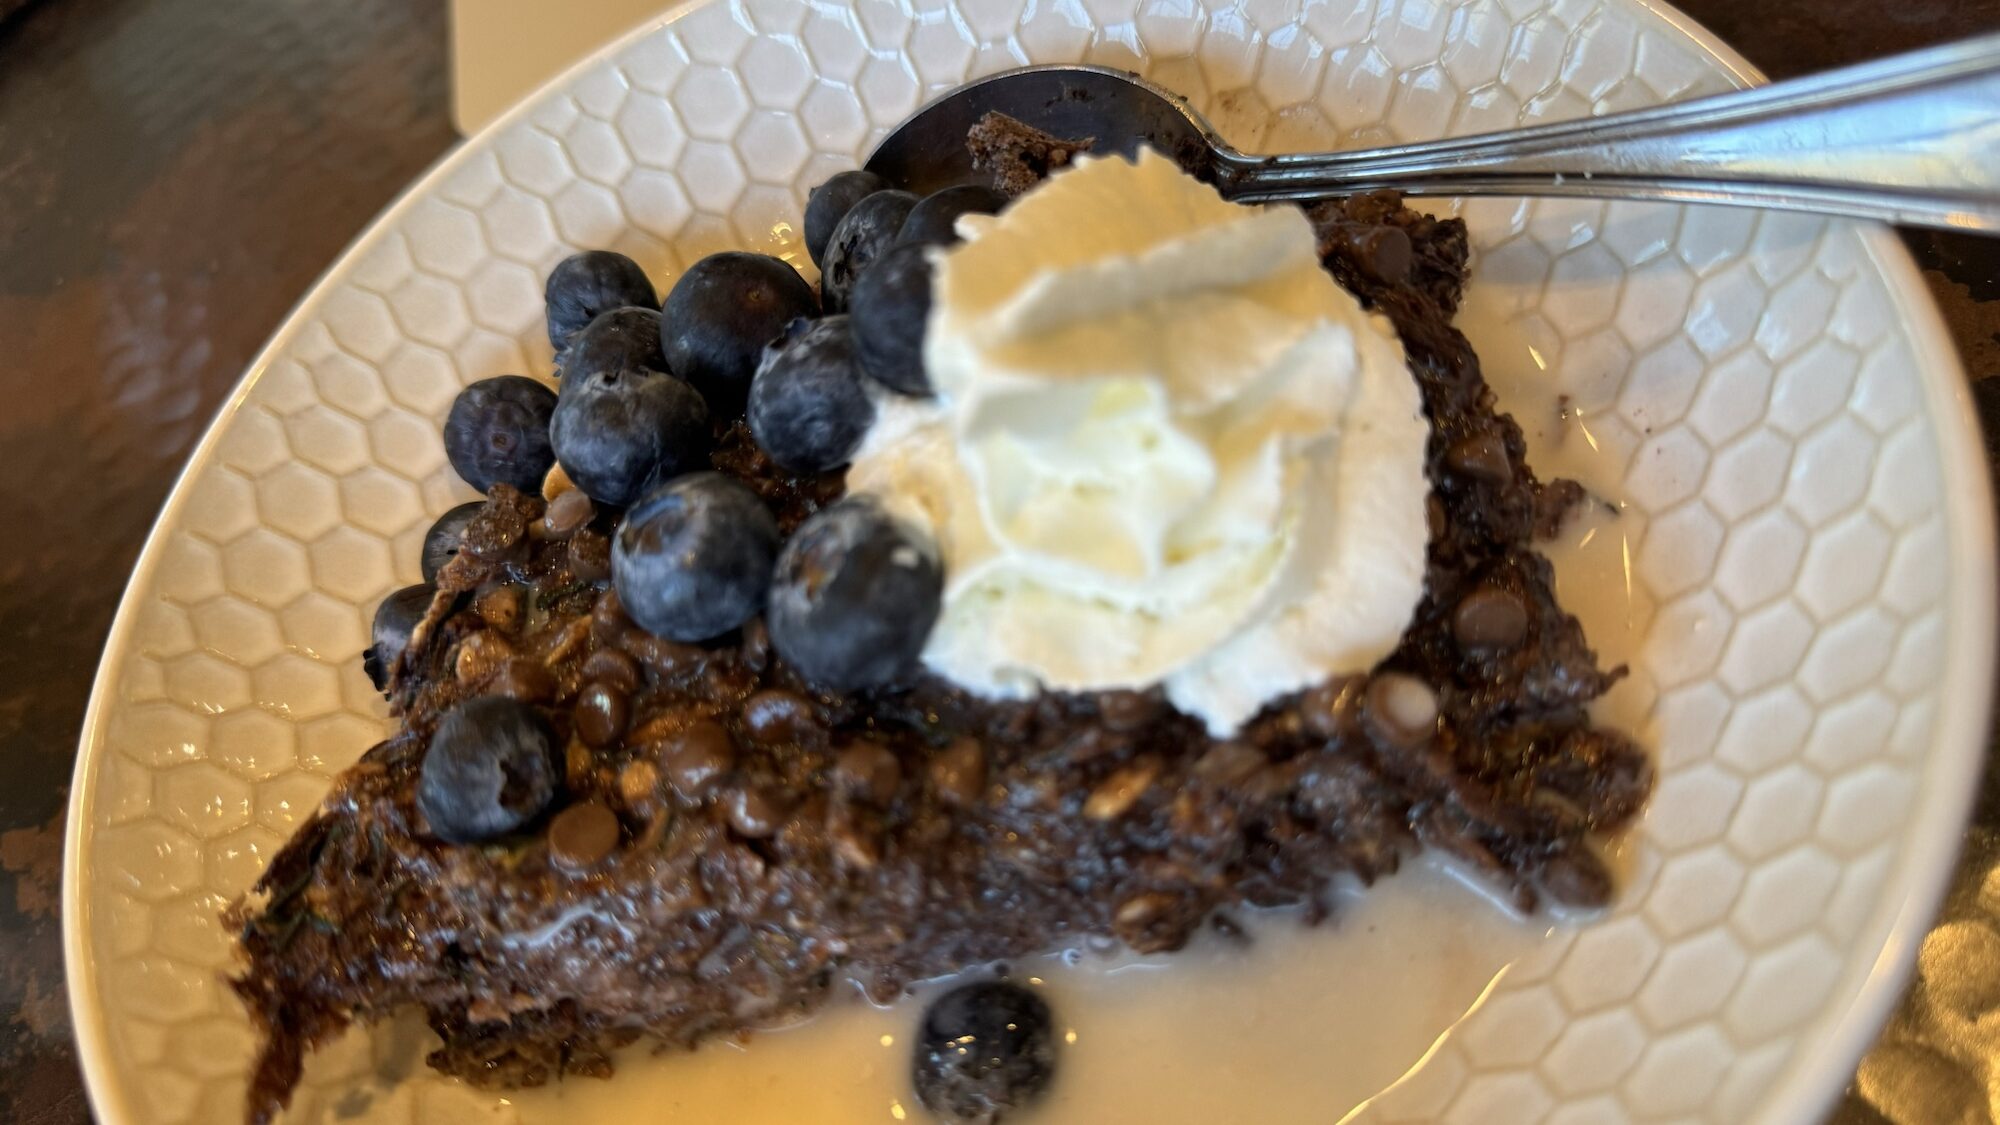
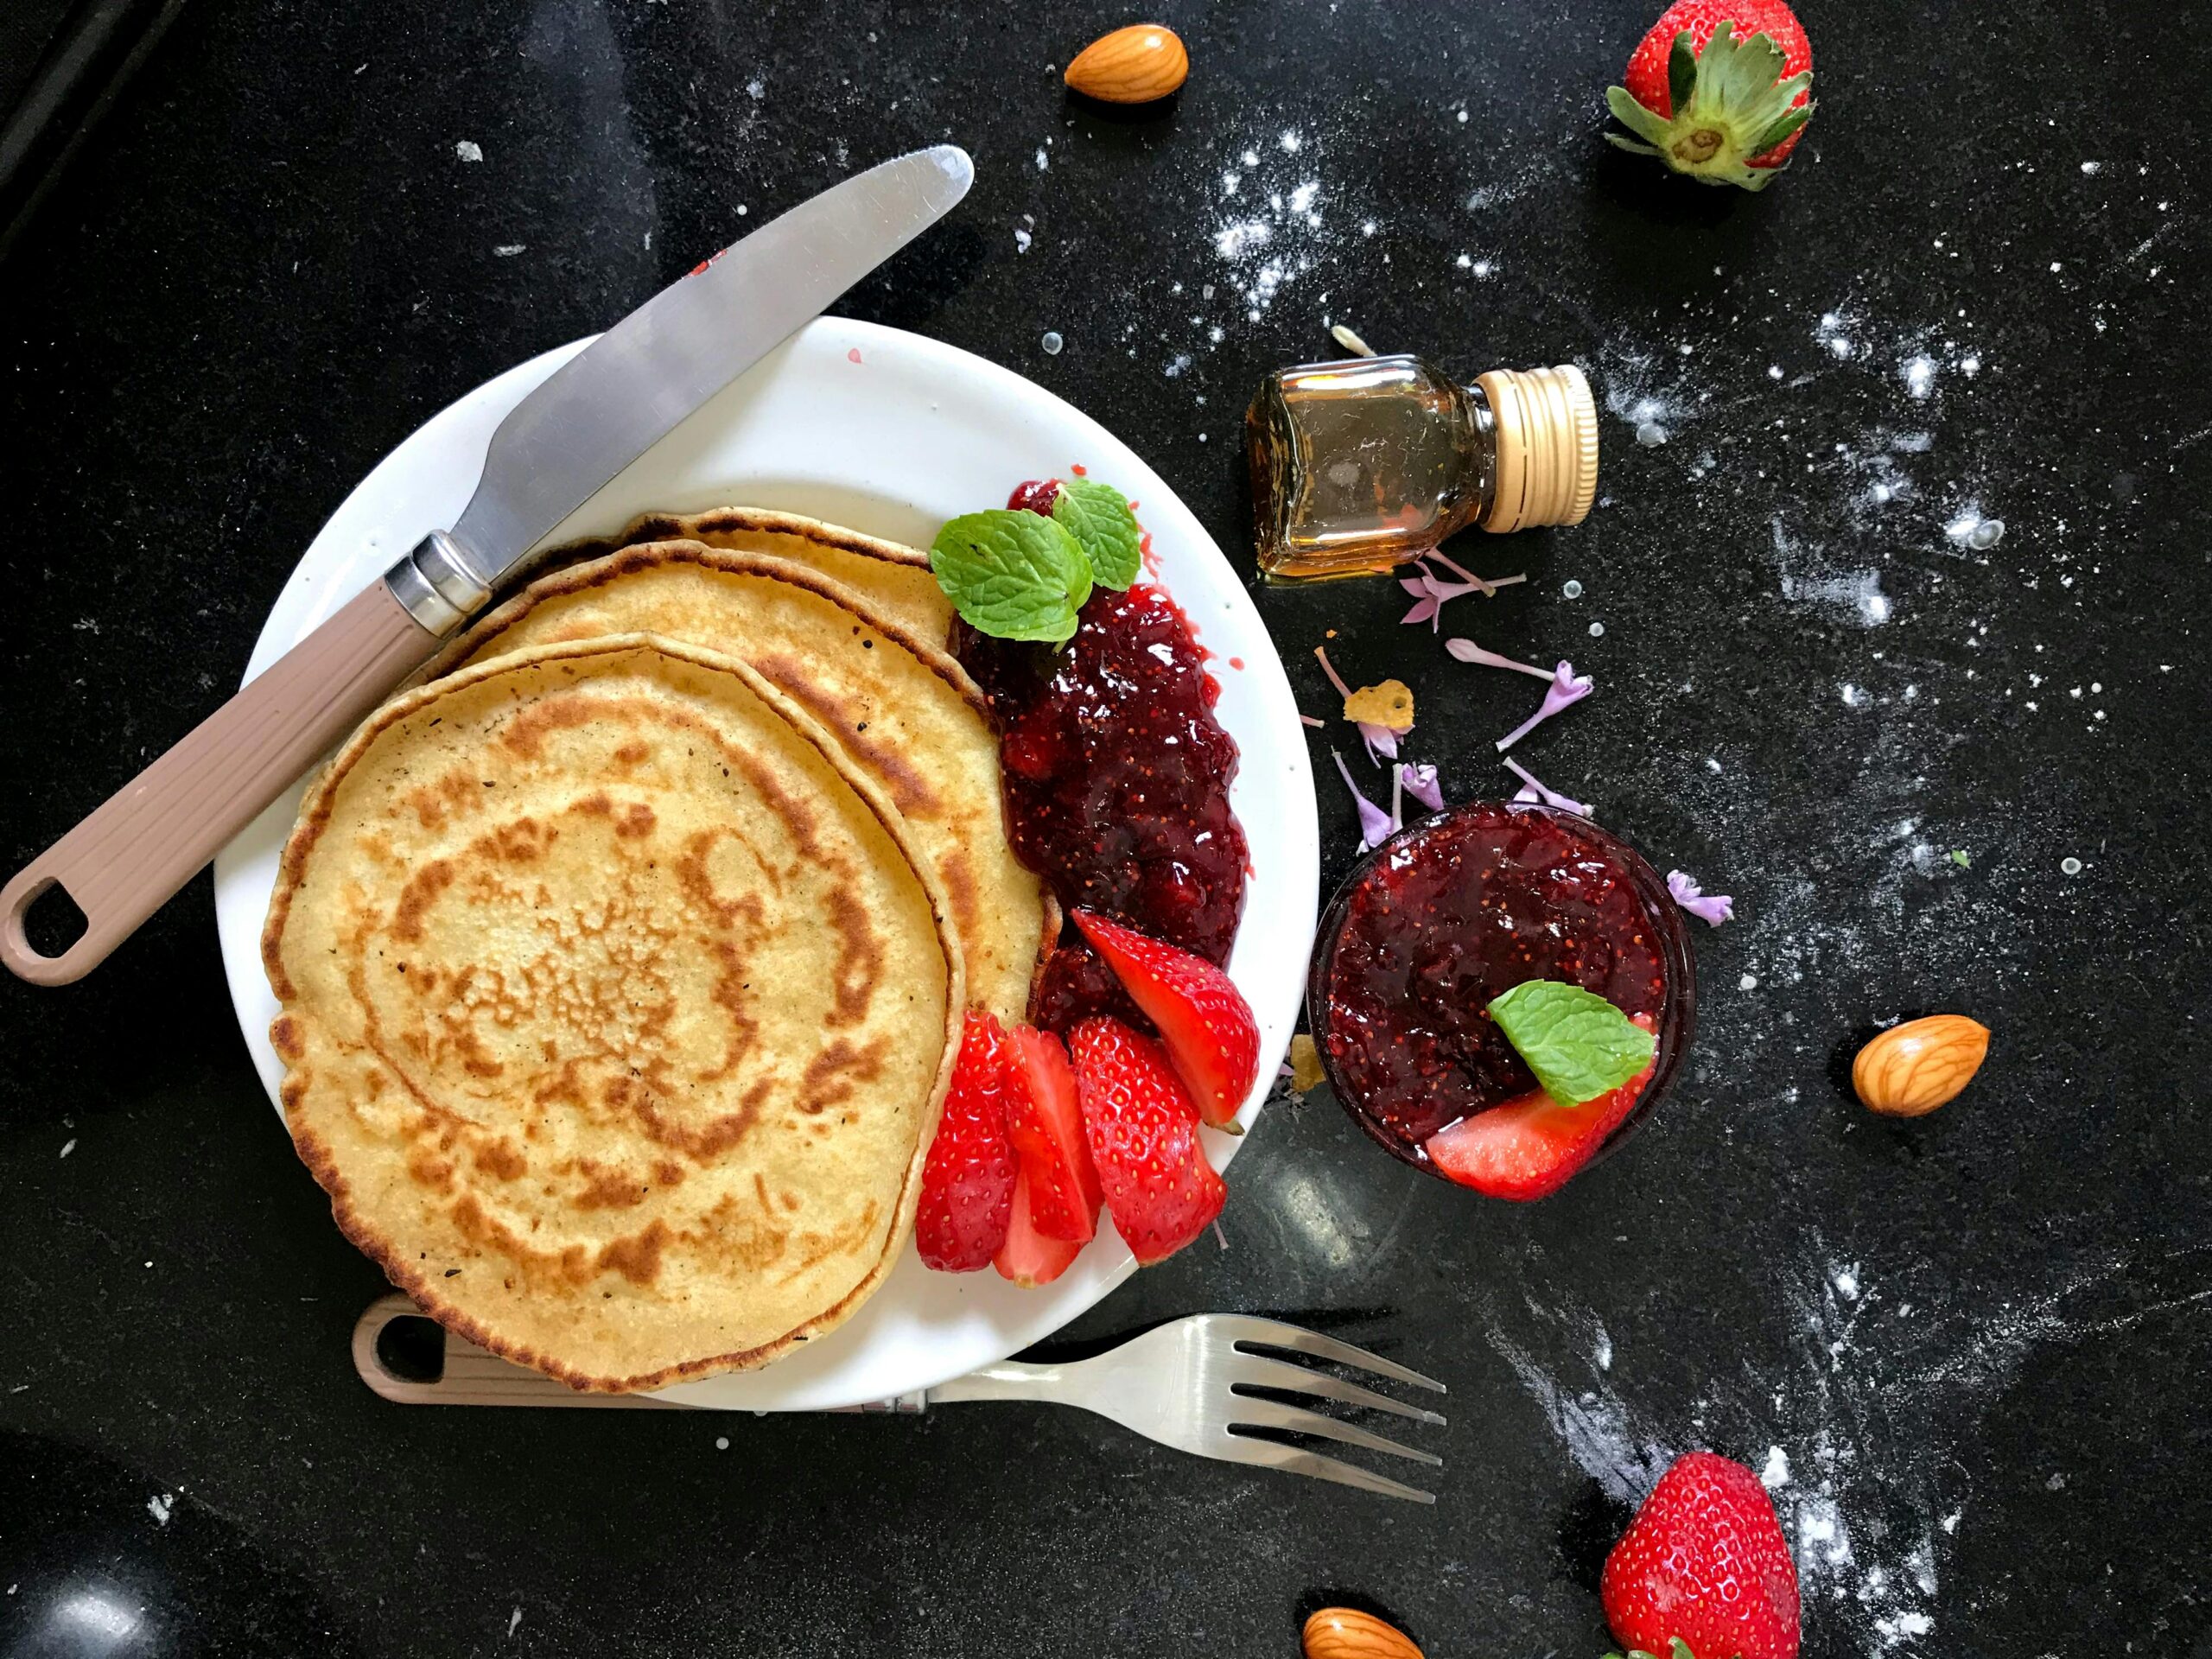
📓 Best Served With
These pancakes aren’t just festive—they’re versatile! Here are some ideas for serving your fluffy gingerbread pancakes:
- A generous drizzle of maple syrup
- Fresh berries or sliced bananas
- A dollop of whipped cream or Greek yogurt
- A serving of peanut or cashew butter
- A sprinkle of powdered sugar for that snowy holiday vibe
👝 How to Store Leftovers
Got extra pancakes? Here’s how to save them for later!
- Refrigerate: Store leftover pancakes in an airtight container for up to 3 days. Reheat in the toaster oven.
- Freeze: Place cooled pancakes in a freezer bag with parchment paper between each pancake. They’ll stay good for up to 2 months.
Next time, just reheat them in a toaster or oven for a quick free breakfast on busy mornings.
🧠 Common Questions
Can I make these vegan?
Yes! Swap the eggs for flax eggs and use vegan buttermilk (soy milk + lemon juice or apple cider vinegar).
What if I don’t have almond flour?
No problem! You can try oat flour pancakes or replace almond flour with a gluten-free flour mix that includes potato starch for a similarly fluffy texture.
Can I make these ahead of time?
Absolutely! These pancakes hold up well as leftovers. Use an airtight container or freezer bag to store them and pull for a quick meal on the go.
How do I ensure a fluffy texture?
Make sure not to over-mix the pancake batter. Mixing too much can make the batter dense. Also, cooking at medium-low heat ensures an even cook with no burnt sides.
The Perfect Christmas Morning Breakfast
When it comes to holiday season breakfasts, these easy gingerbread pancakes are a must-try especially if you’re following a gluten free diet. With their gingerbread flavor, fluffy texture, and simple ingredients, they’re the perfect balance of healthy and indulgent. Personally, I love their nutty, wholesome texture and the fact that they are very filling.
Check out the full recipe in the recipe card below. If you make this, and I hope you do, don’t forget to share photos of your creations with me! Tag @miss_nutritious_eats. For more easy recipes subscribe to my newsletter—Happy Holidays and Happy Cooking! 🎄
Ingredients
Method
- To make these gingerbread pancakes, mix the dry ingredients (almond flour, baking powder, cinnamon, ginger, nutmeg, and flaxseeds) in one bowl.
- In another, whisk together the eggs, almond milk, vanilla extract, and maple syrup (if using).
- Combine the wet and dry ingredients until smooth.
- Heat a non-stick skillet over medium heat and lightly grease it.
- Pour about 1/4 cup of batter for each pancake and cook until bubbles form, then flip and cook for another 1-2 minutes until golden brown.
- Serve warm with fresh berries or Greek yogurt, and drizzle with sugar-free syrup for a festive touch.