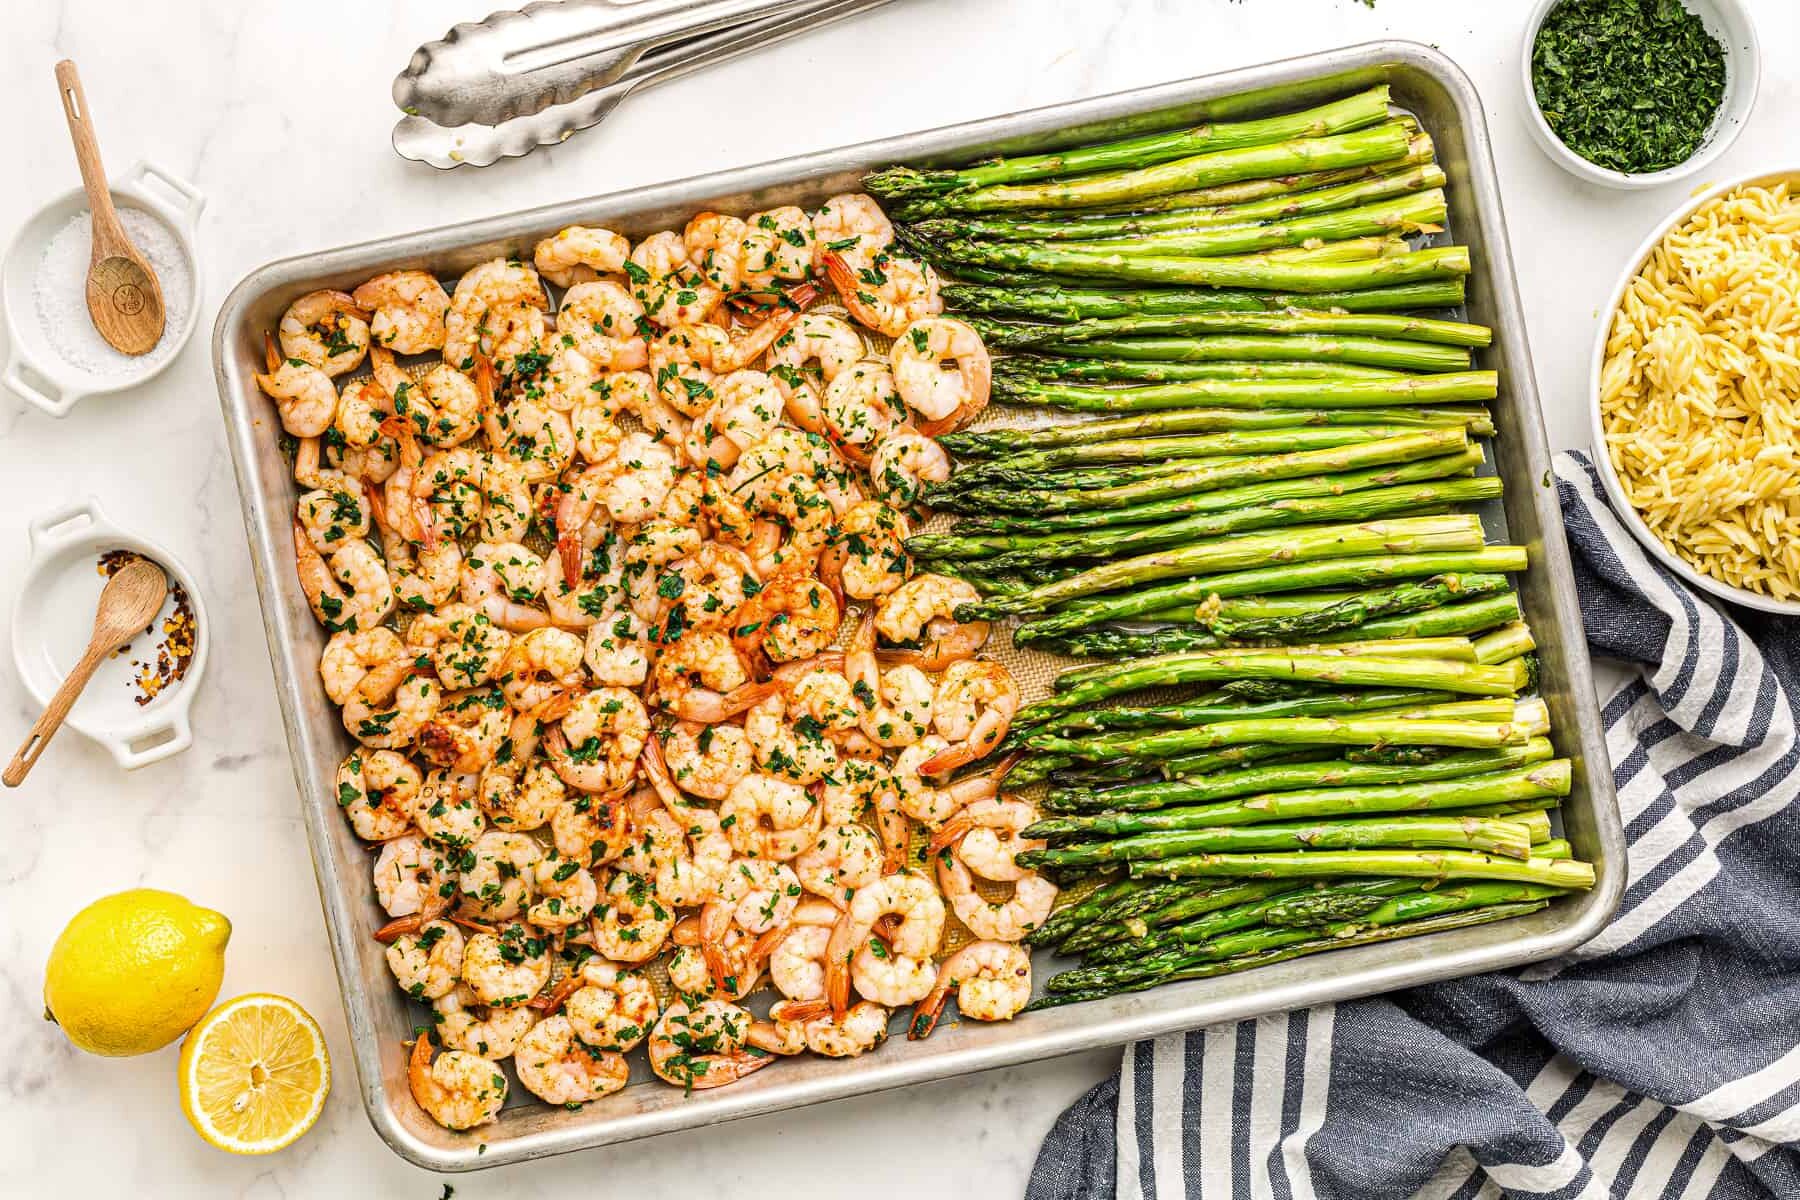
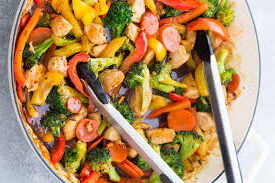
Shrimp & Chicken Veggie Stir Fry with 42g Protein
When life gets hectic and I need a quick dinner that’s both satisfying and packed with protein, this Shrimp & Chicken Veggie Stir Fry is my go-to. I can’t tell you how many times this recipe has saved me on busy weeknights. It’s made with simple ingredients I almost always have on hand—chicken, shrimp, fresh veggies, and a quick homemade stir fry sauce.
The first time I made it, I was skeptical about how easy it seemed, but wow—it was a hit. Not only does it taste amazing, but with 42g of protein per serving, it’s perfect for keeping everyone full and helping me hit my macro goals. Now, it’s a family favorite I keep coming back to. If you’re looking for something delicious and effortless, trust me—save this recipe. You’ll thank yourself on those crazy weeknights!
😍 Why You’ll Love Shrimp & Chicken Veggie Stir Fry
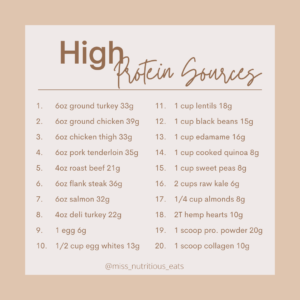
- Packed with Protein – Each serving contains 42g of lean protein from boneless chicken breast and large shrimp, making it a great meal for active families and women who have weight loss goals!
- Quick and Easy – With a cooking time of just 30 minutes, this dish is the best way to enjoy a wholesome meal when you’re short on time.
- Customizable – Use different vegetables like bok choy, snap peas, or green beans, or swap soy sauce with coconut aminos to make it gluten-free.
- One-Pan Wonder – Everything is cooked in a large skillet, which means less cleanup for those busy weeknights.
- Kid-Friendly – The mild flavors can be adjusted for the whole family by changing the spice level.
🗒️ Ingredients + Substitutions
Here’s what you’ll need to make this delicious dish. You can find most of these at your local grocery store.
Protein:
- boneless, skinless chicken breasts, diced
- large shrimp, peeled and deveined
Vegetables:
- red bell pepper, sliced
- yellow bell pepper, sliced
- zucchini, sliced
- broccoli florets
- garlic, minced
- fresh ginger, grated
Sauce:
- low-sodium soy sauce (or substitute with coconut aminos)
- lime juice
- Optional—chili flakes or red pepper flakes and a dash of sesame oil
Cooking:
- olive oil or substitute with avocado oil or peanut oil
- sesame seeds
Substitutions:
- For a gluten-free option, use coconut aminos or tamari instead of regular soy sauce.
- Swap out the shrimp with cooked chicken (if preferred), or add snow peas or snap peas if you have them on hand.
💡 Gluten-Free? Read This!
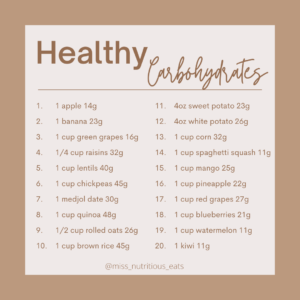
If you’re avoiding gluten, simply replace the soy sauce with coconut aminos for all the flavor without the gluten. Pairing the stir fry with cauliflower rice instead of white rice or lo mein noodles is also a good option to lower the carb count.
👩🍳 How to Make My Shrimp & Chicken Veggie Stir Fry
Follow these easy instructions to create this complete meal in little time!
Step 1: Cook the Protein
- Heat a hot skillet (or wok) over medium-high heat with ½ tablespoon of oil.
- Add the diced chicken in a single layer, season with a pinch of salt and pepper, and cook for 6-8 minutes until browned and fully cooked. Remove and set aside.
- Add the remaining oil to the hot pan and cook shrimp for 2-3 minutes per side until pink and opaque. Remove and set aside.
Step 2: Cook the Veggies
- Using the same skillet, reduce to medium heat and add the garlic and ginger. Sauté until fragrant (about 1 minute).
- Stir in the bell peppers, zucchini, and broccoli florets. Cook for 4-5 minutes, stirring occasionally, until crisp-tender.
Step 3: Bring it Together
- Return the cooked chicken and shrimp to the skillet. Add soy sauce and lime juice, then stir to coat everything evenly.
- Sprinkle with chili flakes for a bit of heat if desired, and cook for 2-3 more minutes.
- Garnish with sesame seeds or green onions before serving.
📓 Best Served With…
Pair your shrimp stir-fry recipe with any of the following to create the ultimate dinner.
- White Rice: A classic option that soaks up the delicious sauce.
- Brown Rice or Brown Jasmine Rice: A high-fiber alternative.
- Zucchini Noodles or Cauliflower Rice: Perfect for those watching their carb count.
- Lo Mein Noodles: For a comforting, takeout-style twist.
👝 How to Store Leftovers
Got leftovers? This shrimp and vegetable stir fry stays fresh for 3-4 days when stored in an airtight container in the fridge.
- Reheat in a hot skillet with a splash of water for a just-cooked taste.
- Pro tip: Save the cooked shrimp for last when reheating to avoid overcooking.
🧠 Common Questions
Can I make my own stir fry sauce?
Absolutely! If you prefer to use your own sauce, combine soy sauce (or coconut aminos) with a bit of rice vinegar, dry sherry, and a pinch of brown sugar for a quick homemade option.
How can I reduce the spice level for kids?
Simply omit the chili flakes or red pepper flakes and use a little bit of teriyaki sauce instead!
What other vegetables work well in this recipe?
Great options are bok choy, green beans, snap peas, or even medium red onion for an extra pop of flavor.
💪🏼 Tracking Macros? Check this out
Each serving (½ chicken breast + 2 oz shrimp + 1 cup veggies) contains approximately:
- Calories: ~370
- Protein: ~42g
- Fat: 15g
- Carbohydrates: 19g
- Fiber: 6g
This low-carb, high-protein dish is perfect for anyone managing their macros or looking for a healthy dinner option.
If you try this recipe and I hope you do – scroll down to the recipe card to leave a star rating.
Ingredients
Method
- Heat ½ tbsp olive oil in a large pan or wok over medium heat. Add the diced chicken, season with salt and pepper, and cook for 6-8 minutes until browned and fully cooked. Remove and set aside.
- Add the remaining ½ tbsp olive oil to the pan. Add the shrimp, season lightly, and cook for 2-3 minutes per side until pink and opaque. Remove and set aside with the chicken.
- In the same pan, add the garlic and ginger, cooking for about 1 minute until fragrant.
- Add the bell peppers, zucchini, and broccoli. Stir-fry for 4-5 minutes until the vegetables are tender yet crisp.
- Return the chicken and shrimp to the pan and pour in the soy sauce and lime juice, stirring to coat everything evenly.
- Add chili flakes for extra heat if desired, and cook for an additional 2-3 minutes to allow the flavors to meld together.
- Garnish with sesame seeds before serving.


")