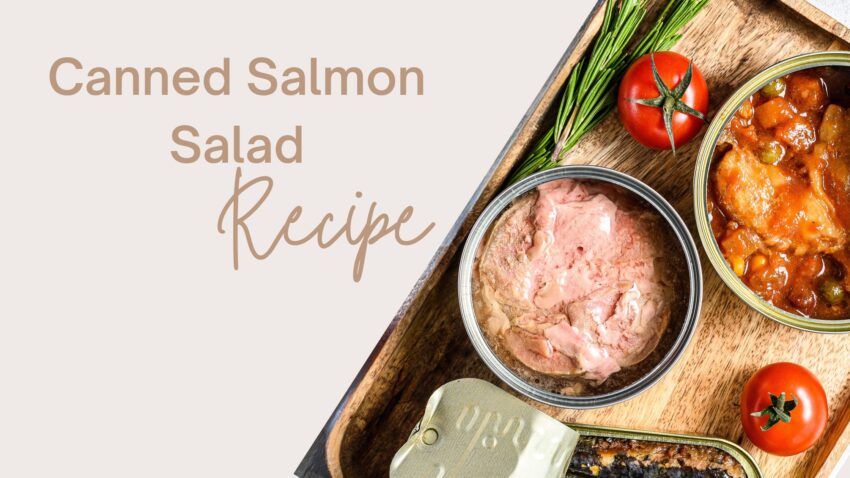
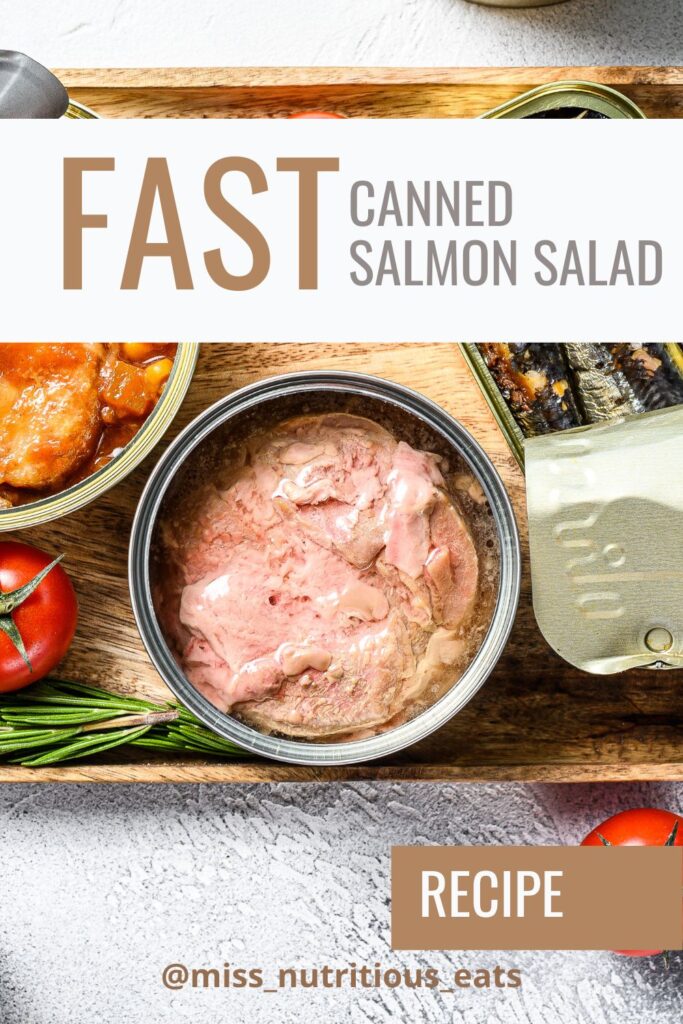
Quick and Easy Canned Salmon Recipe for fast lunches
If canned salmon isn’t currently in your pantry – it should be. I love this canned salmon recipe because it’s got a ton of flavor and it can be eaten in a bunch of ways. It’s a tasty recipe that makes a great meal from lettuce wraps to on top of toast, however you eat it, you’ll be getting a good dose of healthy fats that will support heart health and your mood. It’s also a great source of protein. If you like egg salad, chicken salad or classic tuna salad, you should definitely give this healthy salad recipe a try.
Plus… did I mention it’s easy to put together? I’ve tried salmon salads that use fresh salmon fillets, and it was just too much work. Canned salmon, has all of the same nutritional properties as fresh – at a fraction of the price.
This salad recipe packs a punch of healthy omega-3 fatty acids, vitamin D, and calcium (if you go for bone-in salmon) while clocking in as a protein powerhouse!
Table of contents
Ingredients and substitutions
- Canned salmon – I prefer to choose salmon with the bones because it’s a great source of calcium especially if you’re avoiding dairy. The bones just kind of disintegrate into the salad, you can’t even tell that they’re there! You can use red salmon, canned wild salmon, pink salmon or just a can of tuna if that’s what you have!
- Capers – a little goes a long way with these guys. They add a saltiness that goes well with the crunch of all the veggies. If you don’t like capers you can chop up kalamata olives to get a similar effect.
- English cucumber – you can substitute whatever kind of cucumber you have, I would just remove any seeds and most of the skin if it’s thick.
- Celery – don’t skip the celery in this recipe, it adds such a great crunch!
- Feta – I prefer sheeps milk feta to add a creamy tang. It also makes for a pretty presentation because the white contrasts well on the salmon.
- Red wine vinegar – substitute with champagne vinegar, or apple cider vinegar. Fresh lemon juice works too!
- Olive oil – other neutral oil such as avocado oil will work, but olive oil has such great flavor.
- Dijon mustard – use a high quality dijon mustard for the best flavor.
- Optional – you can add in red onion, bell peppers if you like. A dollop of greek yogurt will make it creamier if you prefer. If you have fresh herbs like basil, fresh dill or parsley, add a few tablespoons for freshness.
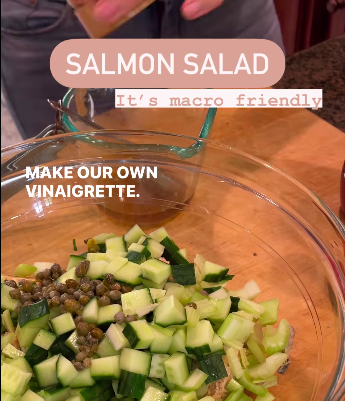
How to make salmon salad
I like to start by making the vinaigrette in a large bowl. Combine your vinegar and olive oil with mustard. Mix it with a small whisk or fork. Add in your salt and black pepper to taste. I like to use truffle salt or Seasonello. If you are a sea salt fan, use that!
Next, chop your vegetables. I find that a veggie chopper makes this salad very easy and fast to make. Start with chopping the cucumber into a larger dice, followed by celery. Then, add them to the bowl with the dressing.
Once your veggies are in the dressing, open and drain your can of salmon and add that to the veggies. Mix everything well and then add your feta and herbs if using!
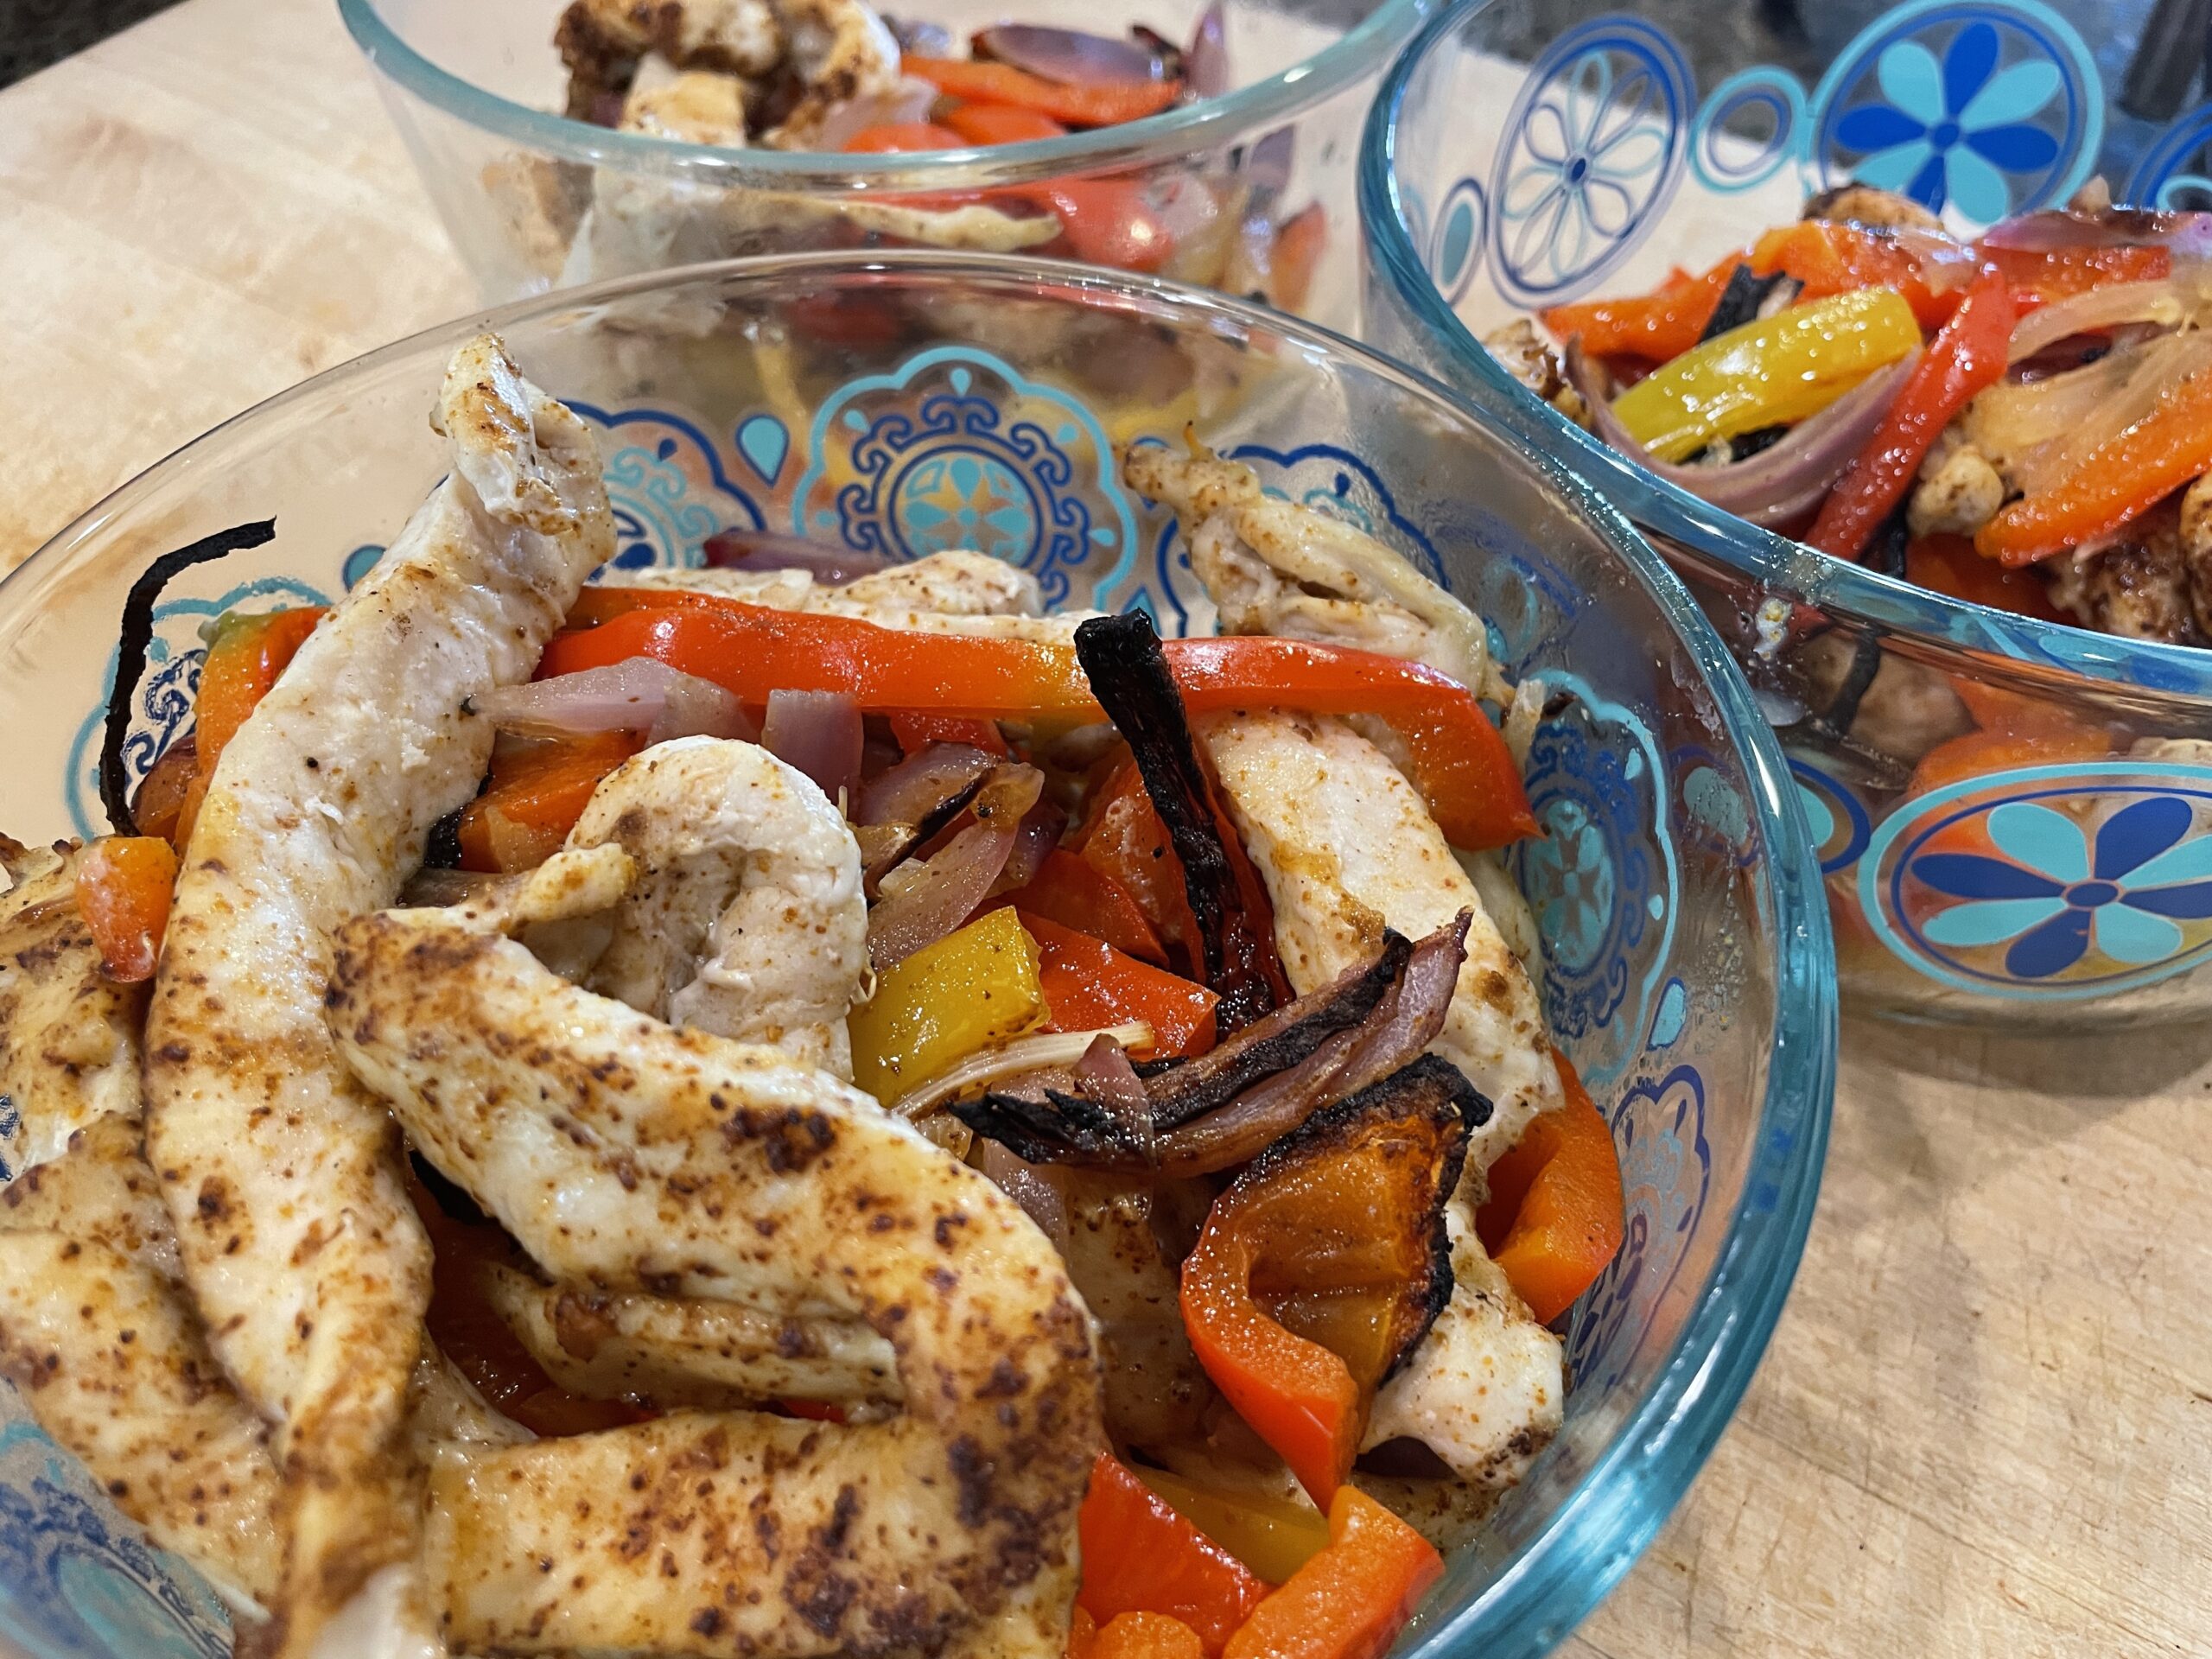
I immediately portion out into 4 small meal prep containers so they’re ready for anytime during the week. Any airtight container will work. And aim to eat it within 4 days.
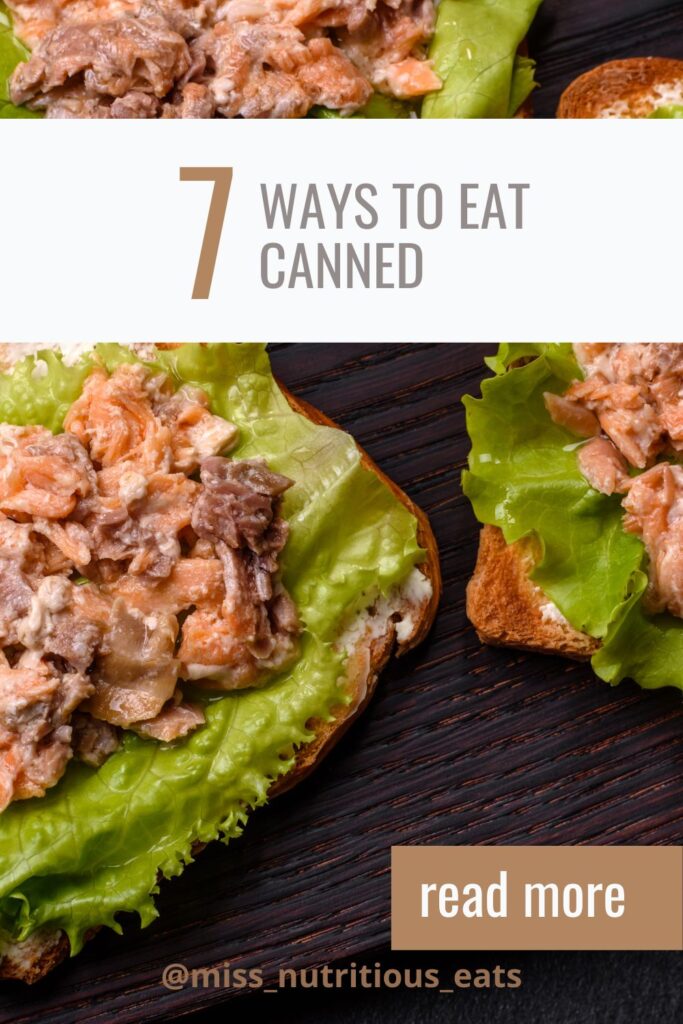
How to eat canned salmon salad
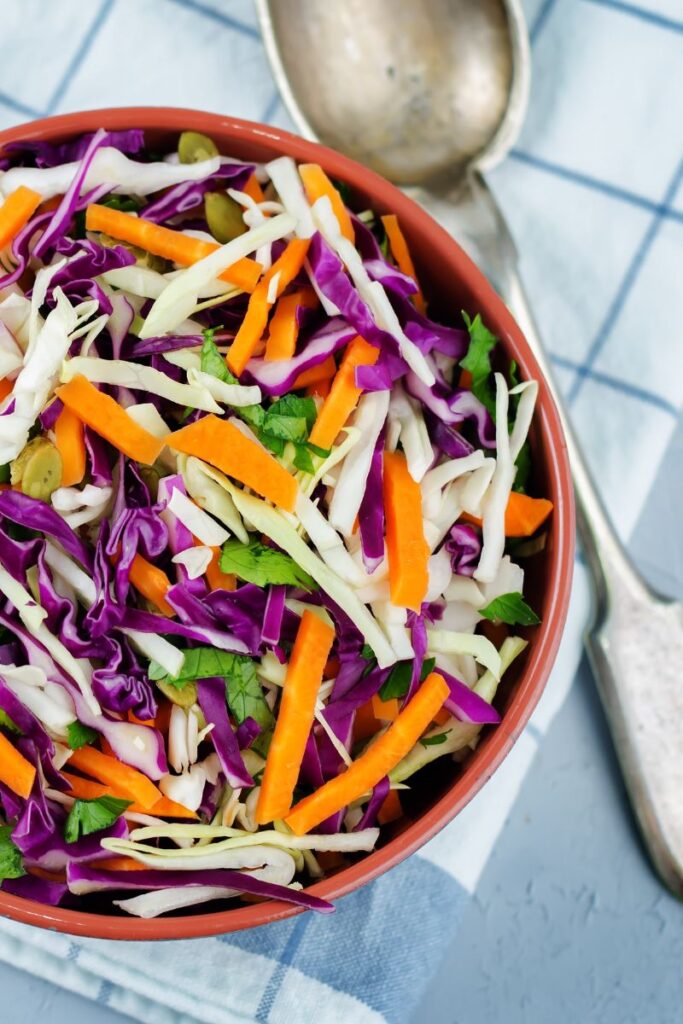
- Pair with all of your favorite fresh veggies – think baby carrots, red peppers, cherry tomatoes, sliced fennel or endive
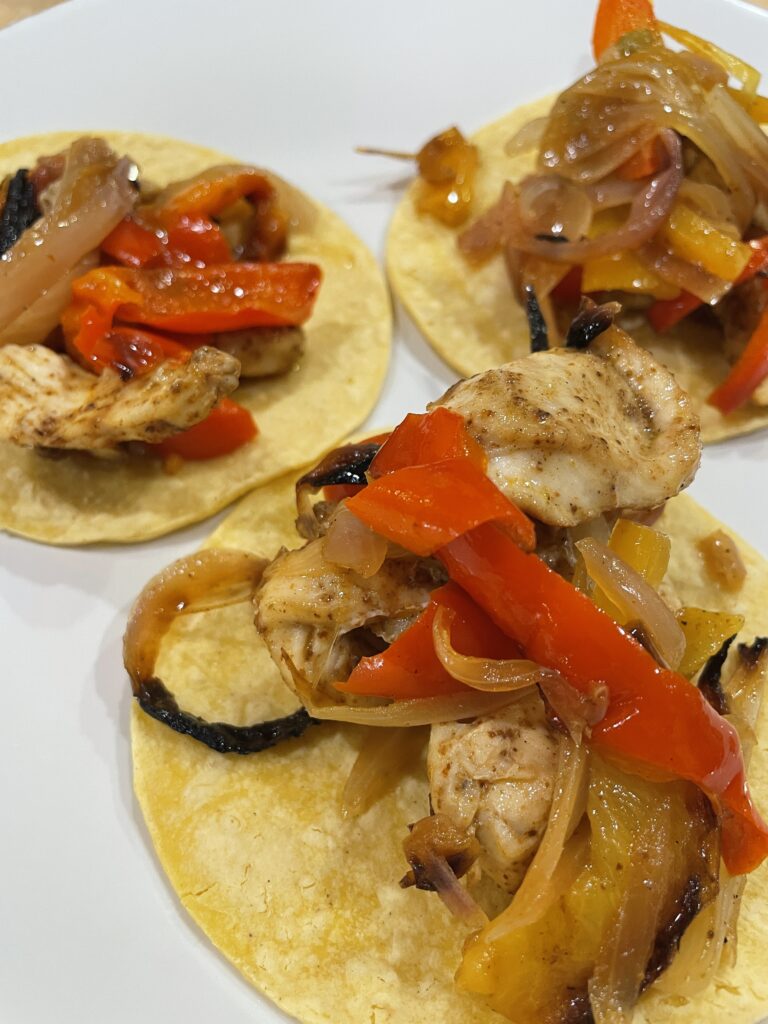
- Romaine lettuce cups
- Stuff into an avocado half
- Over a bed of lettuce or baby spinach
- Eat as a salmon salad sandwich on a slice of toasted whole grain bread topped with a tomato and fresh basil
- Pair with whole grain or seed crackers and more cucumber slices.
- Turn into a wrap stuffed with lettuce and tomato
Nutrition
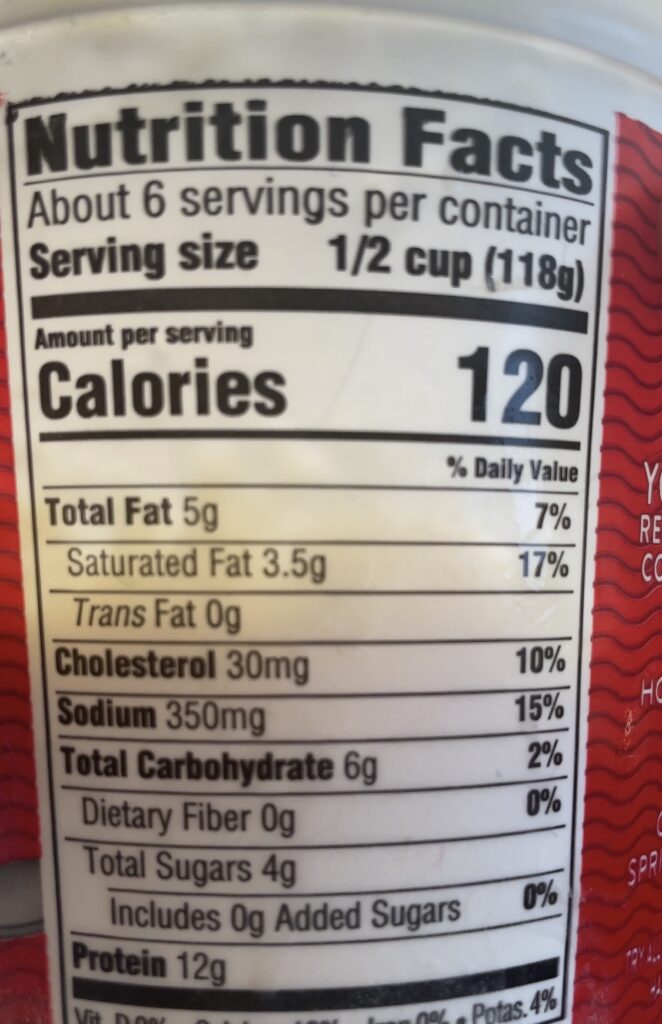
When buying canned salmon, it’s crucial to check the ingredients list. You should aim for one that has minimal ingredients, most often salmon, water, and salt. Once you have selected a few good options, it’s time to compare the sodium level. Choose the brand with the lowest amount of sodium per serving. Simple as that!
If you’re following the FASTer Way to Fat Loss with me, this is a very easy salmon salad recipe that works well for low carb days, and you can also turn it into a complete meal for regular macro days too. It’s full of whole food nutrition, real food, and it’s a great way to meet your macro goals.
This salad recipe packs a punch of healthy omega-3 fatty acids, vitamin D, and calcium (if you go for bone-in salmon) while clocking in as a protein powerhouse!
Macros look like this:
Makes 4 servings
Calories: 176
Fat: 8g
Carbohydrate: 3g
Protein: 21g
Fiber: 1g
More about salmon here…
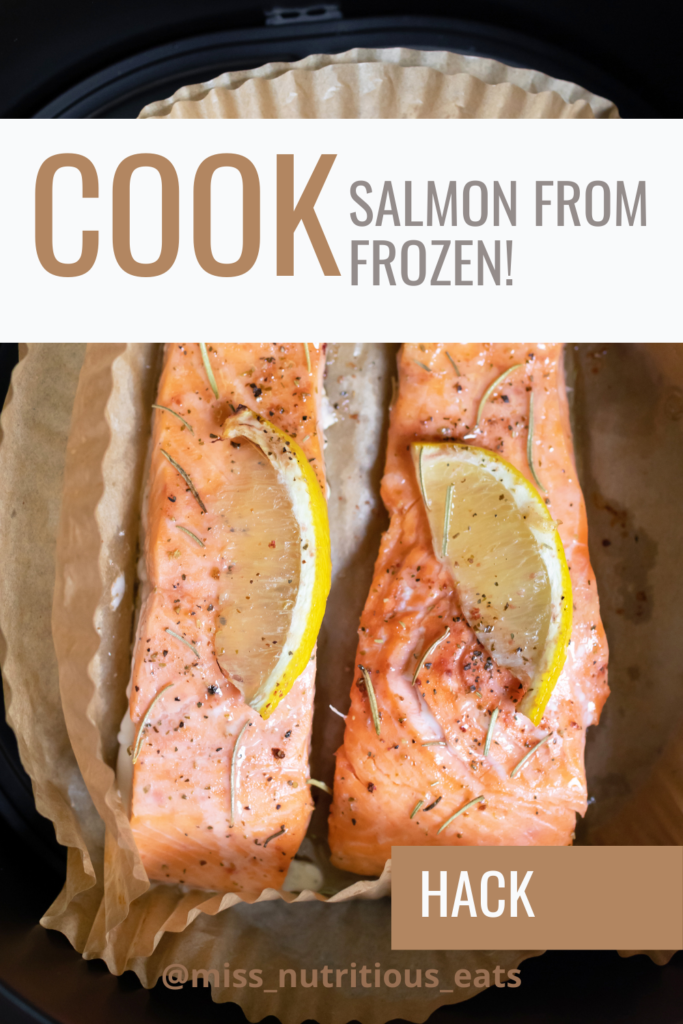
Read more about why I love leftover salmon straight from the fridge. AND how to cook it from frozen in just 14 minutes!
Ingredients
Method
- Combine capers, cucumber, celery , salmon in a large bowl.
- Combine oil, vinegar and dijon mustard together with salt and pepper.
- Drizzle the dressing over the salmon.
- Top with feta.
- Mix in chopped fresh herbs if desired.
Nutrition