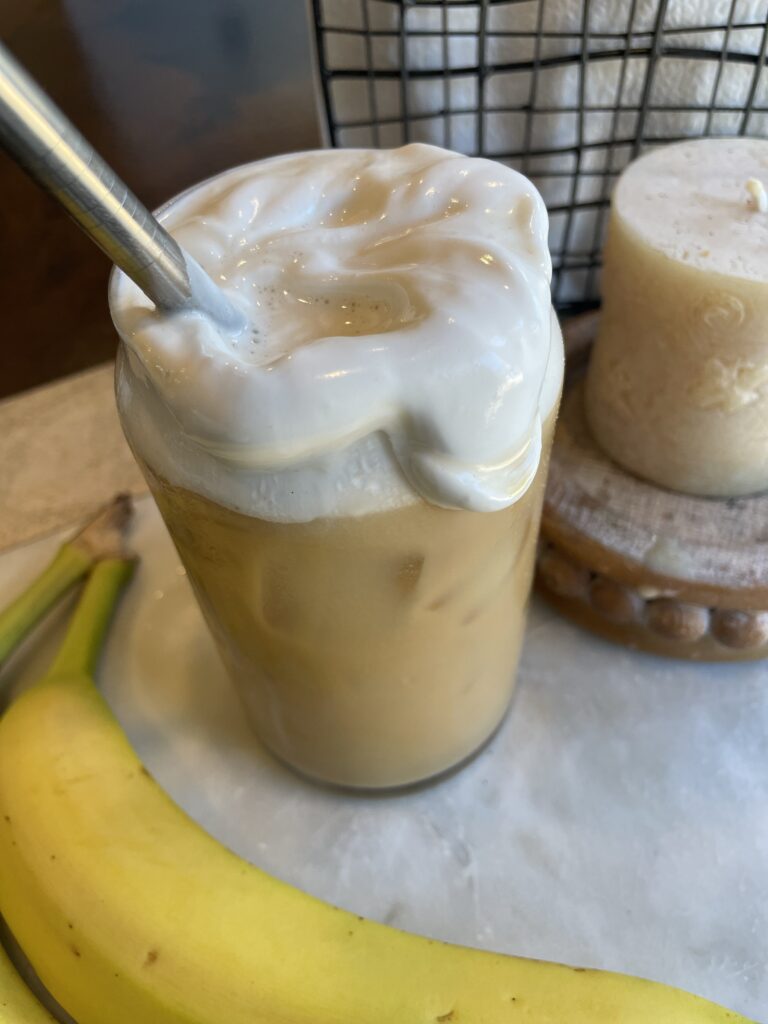
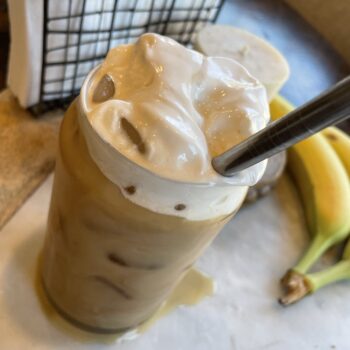
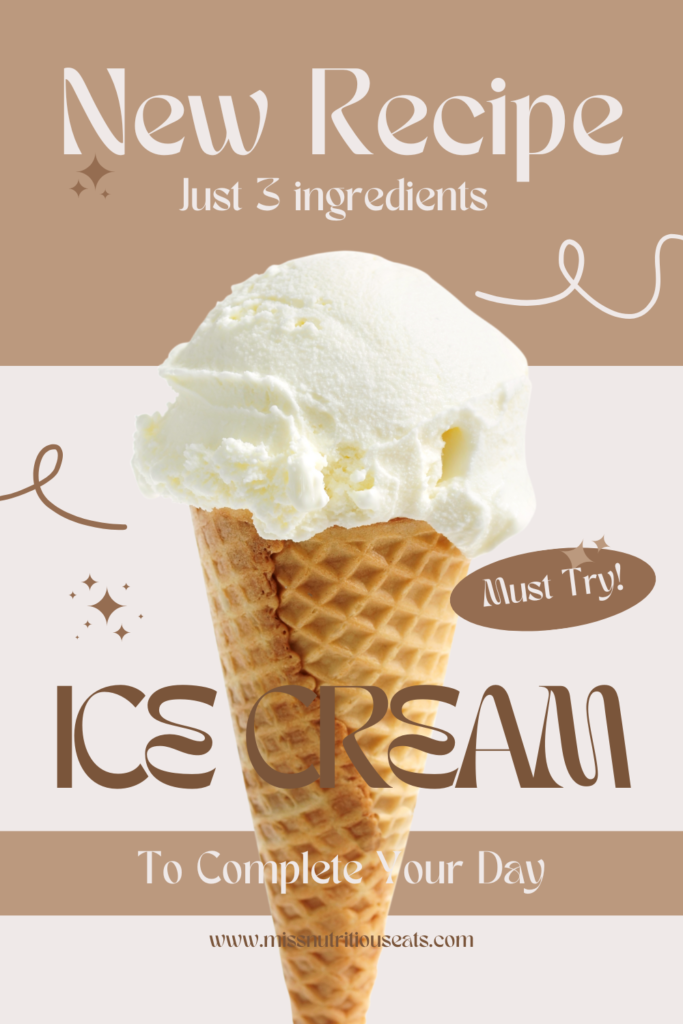
Step-By-Step Guide to make 3-ingredient banana ice cream
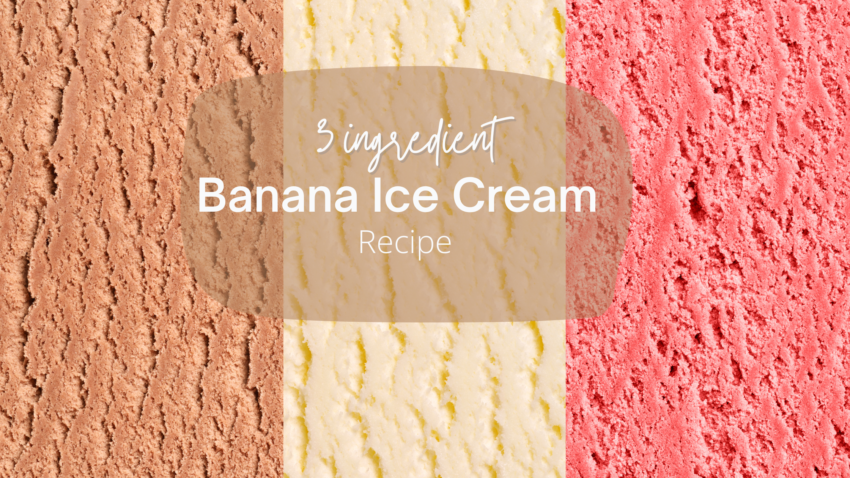
If you’re craving a creamy, guilt-free dessert that satisfies your sweet tooth, I have the recipe for you! This 3-ingredient banana ice cream comes together quickly and the best part is – you don’t need an ice cream maker! With simple ingredients such as frozen bananas, a little milk, and your favorite flavorings, you’ll be serving this banana ice cream in minutes.
Jump to RecipeI’ve even made this with just bananas as a first food for my kids during the summer.
Possible bonus, you’re kids will love it. Shhhh, don’t tell them that it’s a healthier dessert.
Table of contents
Ingredients and substitutions
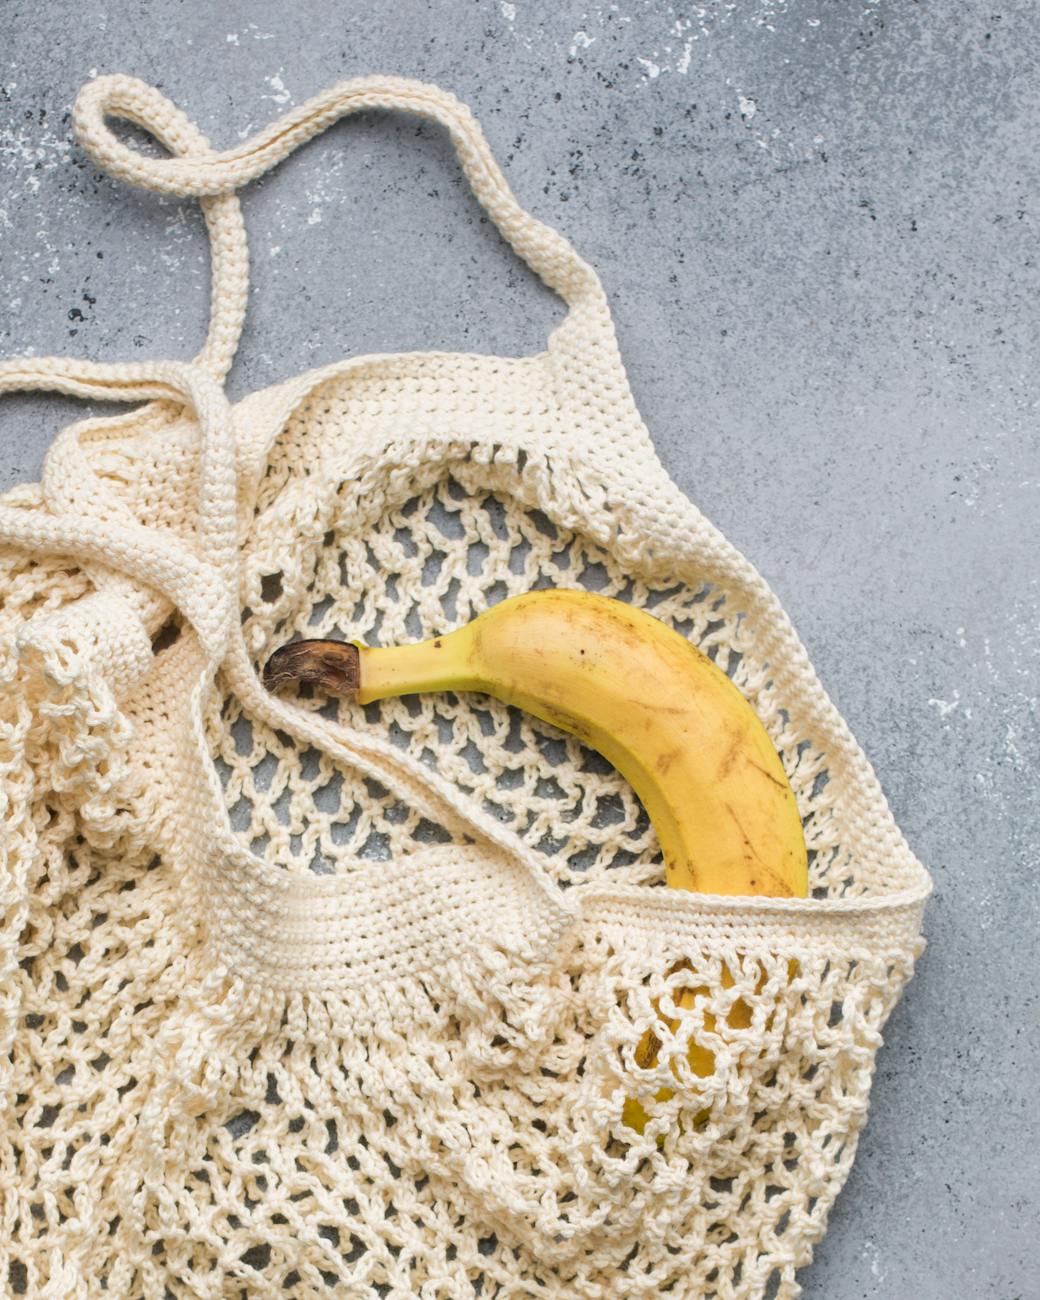
Frozen Bananas
Large whole bananas. Overripe bananas work best. Do not use room temperature bananas, the consistency will not have the texture of ice cream.
Dairy of Choice
Options include cream, regular milk, coconut milk, coconut cream or almond milk. If you’re on the cottage cheese train, you can use that here too! Or check out this recipe for cottage cheese ice cream. Greek yogurt can also be substituted if necessary.
Flavoring Agent
1-2 teaspoons; choose from cocoa powder, vanilla extract, or peanut butter
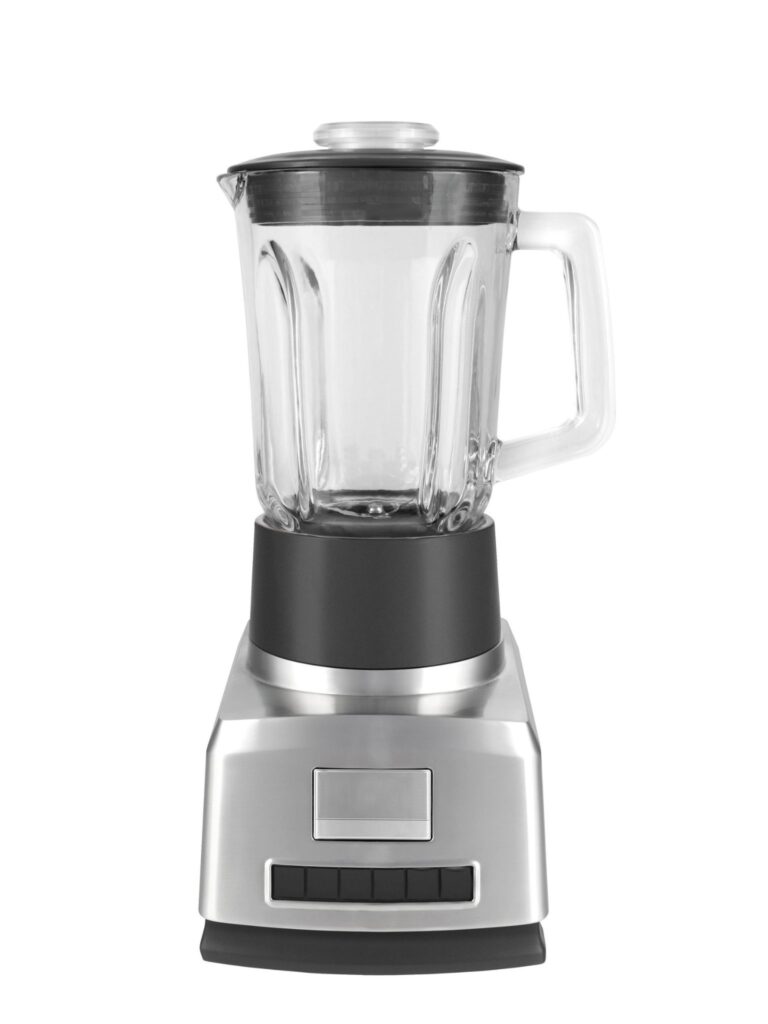
Equipment needed
All you need for this is a high speed blender or food processor to get that creamy soft serve consistency. Vitamix blenders are a perfect tool to use if you have one. A regular blender can work as well, you just may need to scrape side the sides a few times as you blend.
Preparation Steps
Jump to RecipeStep 1: Slice and Freeze the Bananas
- Slice the Bananas: Start by peeling the bananas and slicing them into coins. Place the banana slices in a single layer on a baking sheet lined with parchment paper or a silicone mat.
- Freeze Until Firm: Freeze the banana slices until they are firm, which usually takes about 1-3 hours. If you find that you’ll be making this one on the fly, keep a stash of ripe large bananas in the freezer. Just peel them first and freeze them at least overnight, or until you’re ready to use them.
Step 2: Blend the Ingredients
- Add to Blender: Once the banana slices are frozen, add them to a food processor or a high-powered blender.
- Add Dairy and Flavoring Agent: Pour in your chosen dairy (such as coconut milk) and add your preferred flavoring agent (like a teaspoon of vanilla extract or a dollop of peanut butter).
- Blend Until Smooth: Pulse the mixture until the ingredients are combined. Then blend continuously until you achieve a smooth, creamy texture. You may need to scrape down the sides of the blender a few times to ensure everything is evenly mixed. This should only take a few minutes.
Step 3: Enjoy or Store
- Serve Immediately: For a soft-serve consistency, enjoy your banana ice cream right away.
- Store for Later: If you prefer a harder ice cream, transfer the mixture to a freezer-safe container and freeze for an additional 1-2 hours until it reaches your desired consistency.
Flavor options for homemade banana ice cream:
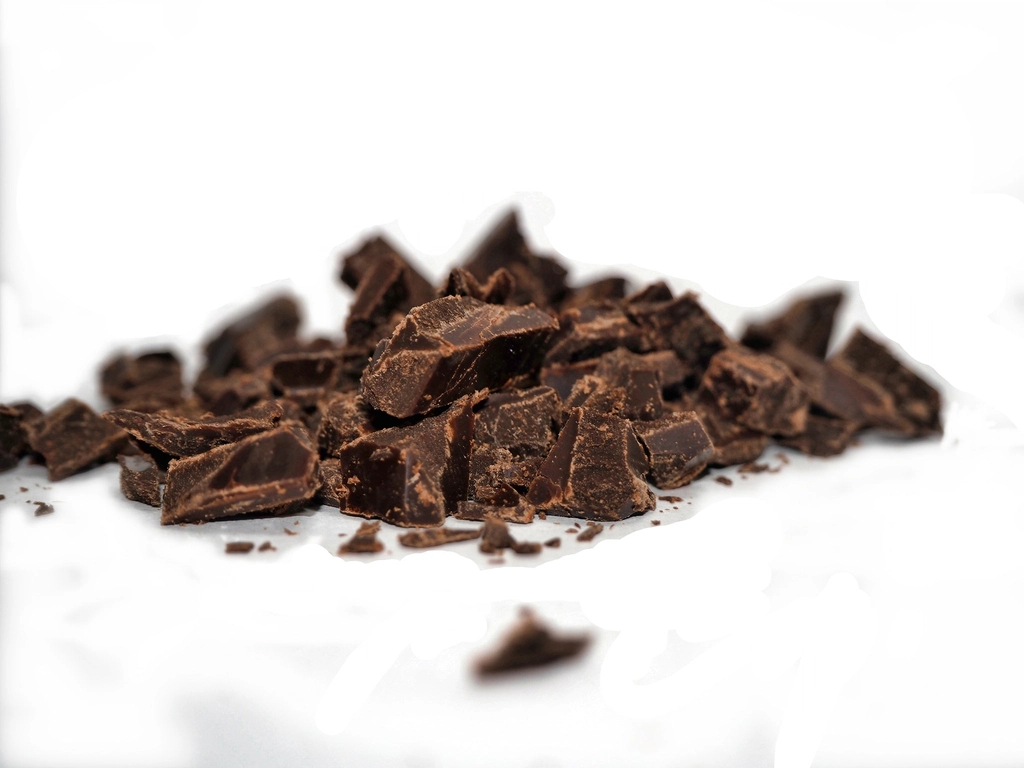
- Chocolate ice cream: Add 2T cacao powder
- Almond chocolate chip ice cream: Make the basic recipe and then swirl in 2T almond butter and chocolate chips.
- Mint chocolate chip ice cream: Add 1/4 cup fresh mint leaves to the banana mixture before blending. Fold in chocolate chips before serving.
- Peanut butter swirl ice cream: Swirl in unsweetened creamy peanut butter before serving.
- Vanilla ice cream: Add a teaspoon of vanilla extract
Enhance any flavor by topping with a pinch of salt. Flakey sea salt works best to give you a pop of flavor with each bite. Let me know if you try these. I’m excited to know which flavor combinations are your favorite.
Serving Suggestions
Elevate your banana ice cream with these tasty additions:
- Sprinkle chopped nuts or dark chocolate chips for extra crunch.
- Drizzle honey or maple syrup for added sweetness.
- Add fresh banana slices and a sprinkle of coconut flakes for a summery treat.
FAQ
How does it compare to real ice cream?
While banana ice cream may not have the exact same texture and taste as traditional ice cream, it is a healthier alternative. That said, if you use a few tablespoons of heavy cream or half and half, you will get a more traditional ice cream consistency and mouthfeel.
Caloric Content
A typical serving of traditional ice cream can range from 200 to 300 calories or more, depending on the flavor and brand. In comparison, a serving of frozen blended banana usually contains around 100 calories, making it a lighter option.
Fat and Sugar Content
Traditional ice cream is rich in saturated fats and added sugars, contributing to higher cholesterol levels and increased risk of heart disease. On the other hand, frozen blended banana is fat-free and contains natural sugars, which offer a healthy energy boost without the crash.
Nutritional Benefits
Bananas are packed with beneficial nutrients such as potassium, vitamin C, and dietary fiber. These nutrients support heart health, boost the immune system, and aid in digestion. Traditional ice cream lacks these natural vitamins and minerals, instead often containing artificial additives and less nutritional value.
One serving of this dessert is just 125 calories, 2g protein, 1g fat, 31g carbs. Totally doable. Especially if you’re being mindful of macros, as we are in the FASTer Way.
Dietary Restrictions
For those with dietary restrictions, frozen blended banana is a versatile choice. It’s naturally vegan, gluten-free, and suitable for individuals with lactose intolerance, whereas traditional ice cream usually contains dairy and gluten, limiting its accessibility.
By choosing frozen blended banana over traditional ice cream, you can enjoy a delightful dessert that’s not only delicious but also aligns with a healthier lifestyle.
How do I know if my bananas are ripe?
Bananas have several stages of ripeness. For this recipe I recommend using yellow bananas that have some brown spots, or bananas that are entirely brown will offer the most sweetness. Do not use green bananas for this homemade ice cream.
Tips
Store for another day by pouring into an airtight container. Smooth out into one layer and top with plastic wrap. Push wrap down to the top layer of the ice cream so ice crystals don’t form. Pop on the lid and store in the freezer.
Creating this 3-ingredient banana ice cream is as easy as it is delicious. Whether you’re indulging in a soft-serve treat or enjoying a scoop of firmer ice cream, you’ll find this dessert to be a healthier alternative to traditional ice cream.
Banana Ice Cream
Equipment
- 1 high power blender food processor
Ingredients
- 2 large bananas frozen
- 1/4 cup almond milk or milk of choice
- Vanilla or cocoa powder
Instructions
- Freeze bananas, if not already frozen.
- Add bananas and milk to the base of your Vitamix or food processor and blend on high until creamy and smooth. Add milk 1T at a time if more is needed to get the blender going.
- Add flavoring agent of choice!
Nutrition