
How to Naturally Dye Easter Eggs with up-cycled ingredients
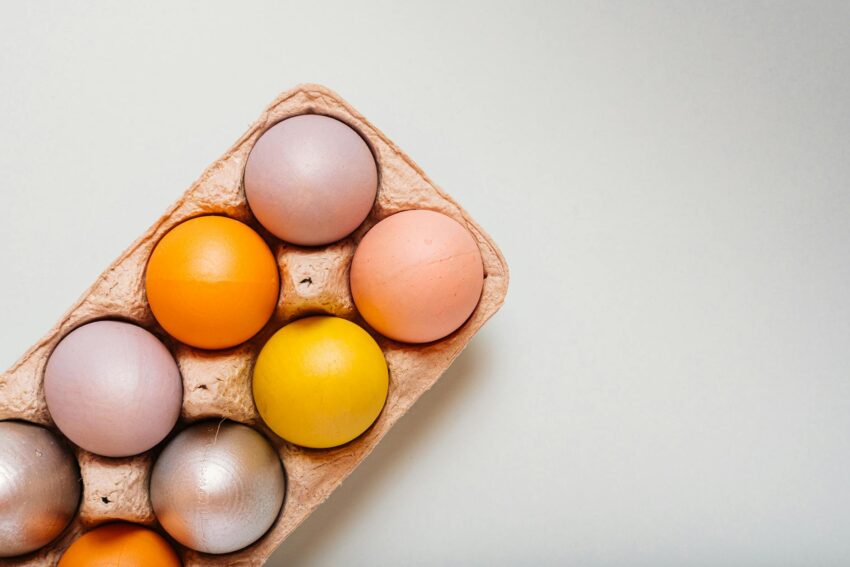
Easter is a special time of year known for family gatherings, egg hunts, the excitement of Easter baskets filled with goodies and of course renewed faith. But have you considered ditching the artificial colors this year for natural Easter egg dyes? It’s an excellent way to get gorgeous, sometimes subdued, sometimes vibrant colors without the chemical dyes. It’s a fantastic opportunity to involve children in a seasonal tradition of creating beautiful Easter egg colors using natural ingredients that would have otherwise been trash. Here’s my easy guide on how to do it.
Table of contents
Growing up my aunt always colored Easter eggs using different things, but I will always remember a large stock pot filled with onion skins on her kitchen stovetop. She even used panty hose to experiment with placing herbs or flowers to make unique designs on the eggs. I always thought it was resourceful and beautiful.
Materials Needed:
- A selection of cooked white eggs and brown eggs
- Natural dye materials: yellow onion skins, red onion skins, purple cabbage, beets, turmeric, paprkia, red zinger tea, raspberries, blueberries, spinach, black coffee
- White vinegar or lemon juice
- Water
- Pots and sauce pan
- Fine mesh strainer
- Disposable cups or mason jars
- Slotted spoon
Natural Dyeing Mediums to Consider
You will be amazed with how many different foods can produce a variety of colors.
Produce items
- Red onion skin – light pink color
- Yellow onion skin – orange color
- Spinach – light green color
- Raspberries – pink color
- Purple Cabbage – blue/purple color
- Red Cabbage – purple color
- Blueberries – blue color
Spices
- Paprika – red color
- Turmeric – yellow color
Beverages
- Red Zinger Tea – red color
- Coffee – blackish brown color
- Tart Cherry Juice – red color
Remember the Ratio
One cup of medium per one cup water. I usually do 4 cups of water so I have plenty to color several eggs at one time.
Step 1: Prepare Your Hard-Boiled Eggs
Before you start, make sure you have plenty of hardboiled eggs in either white or brown. If you need more info on that, check out my article on the perfect hard boiled egg. Keep in mind that brown eggs will give you more muted tones when dyed while white eggs can render bright yellow, green eggs, or even blue eggs based on the natural colors you choose.
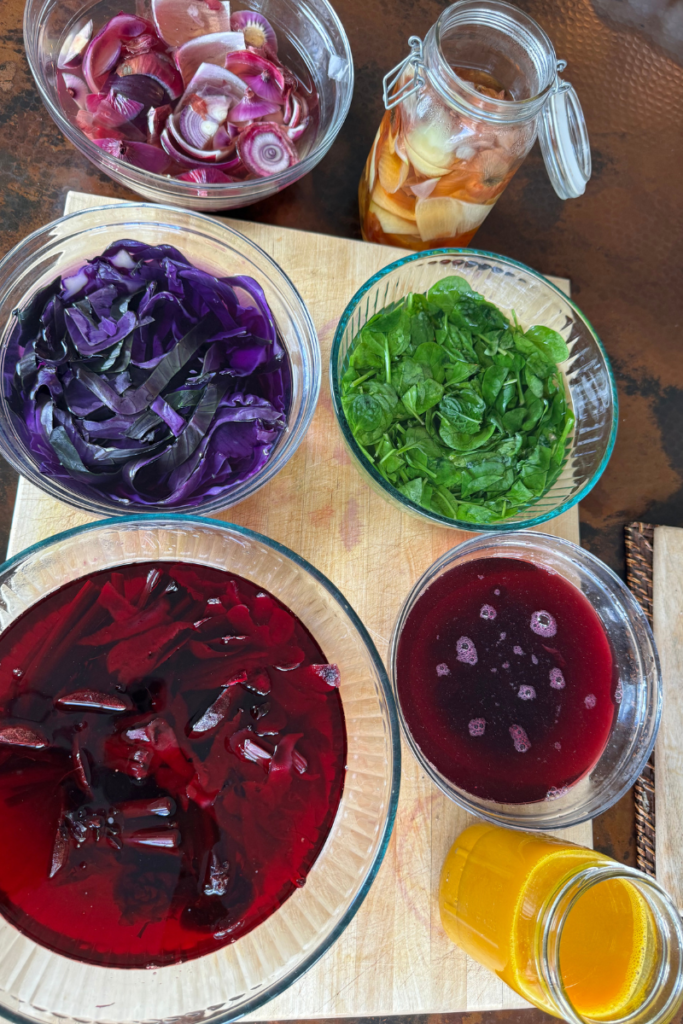
Step 2: Create the Natural Dyes
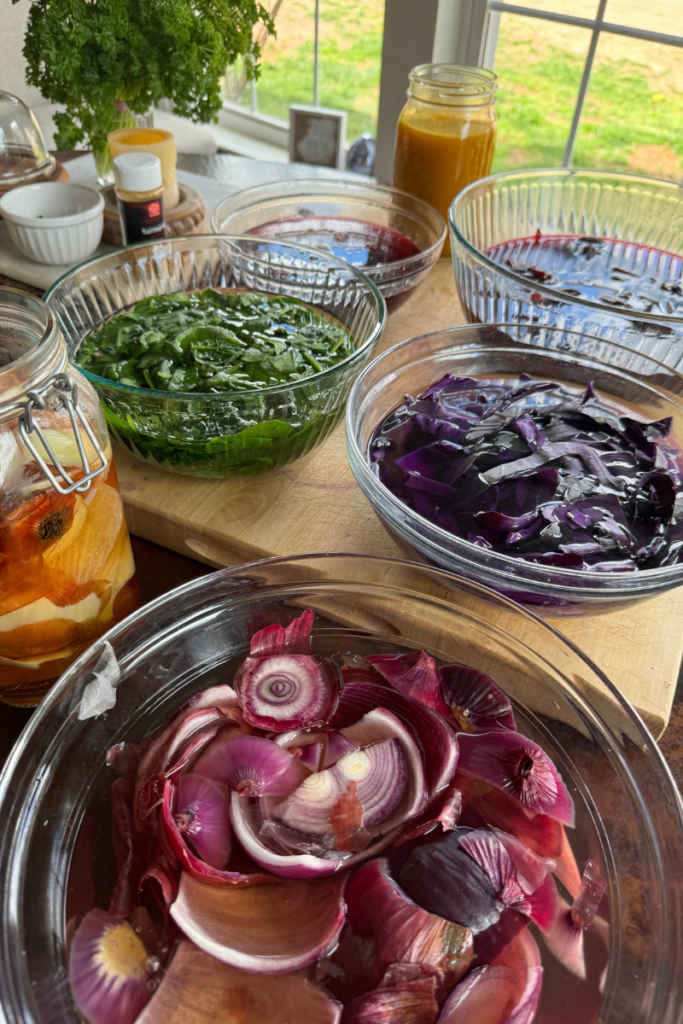
For a true homemade dye, select the natural ingredients you want to use. Last year I experimented with a variety of produce to get different colors including a orange dye from yellow onion skins, purple from red cabbage dye, and green dye from spinach.
To start, place your items in large mason jars and add enough boiling hot water to cover them. For every cup of water, add the same amount of your chosen plant material and let cool completely. This will ensure a high concentration of natural colors in the dye pot.
For spices like turmeric, mix one tablespoon of spice with a cup of water. If you’re using coffee or tea bags, brew them as you would if you were going to drink them, but in a high concentration AKA extra strong.
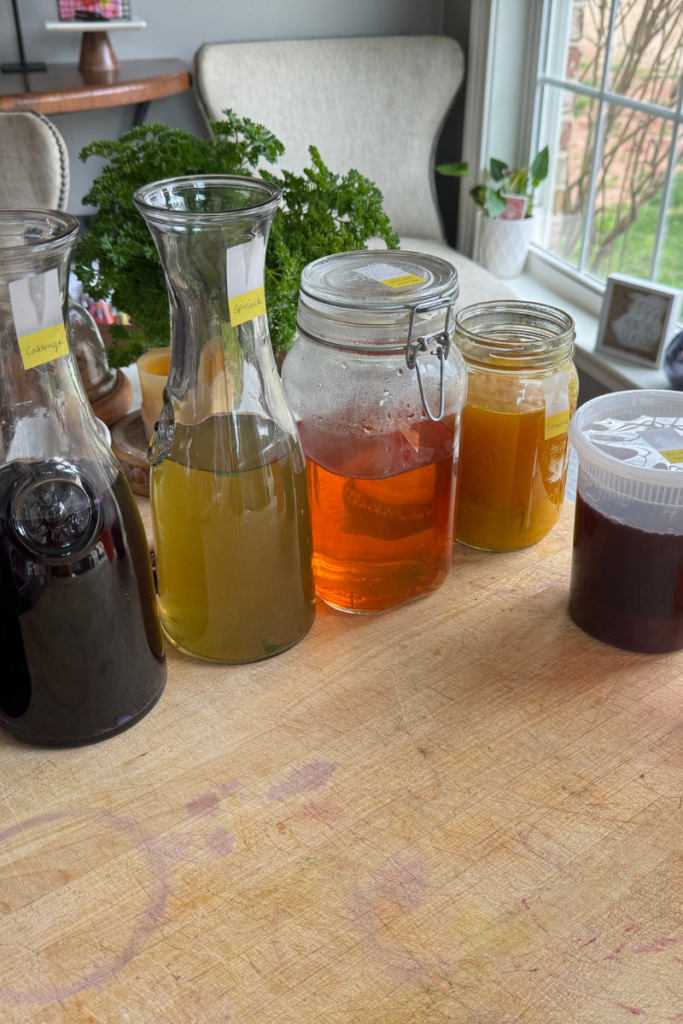
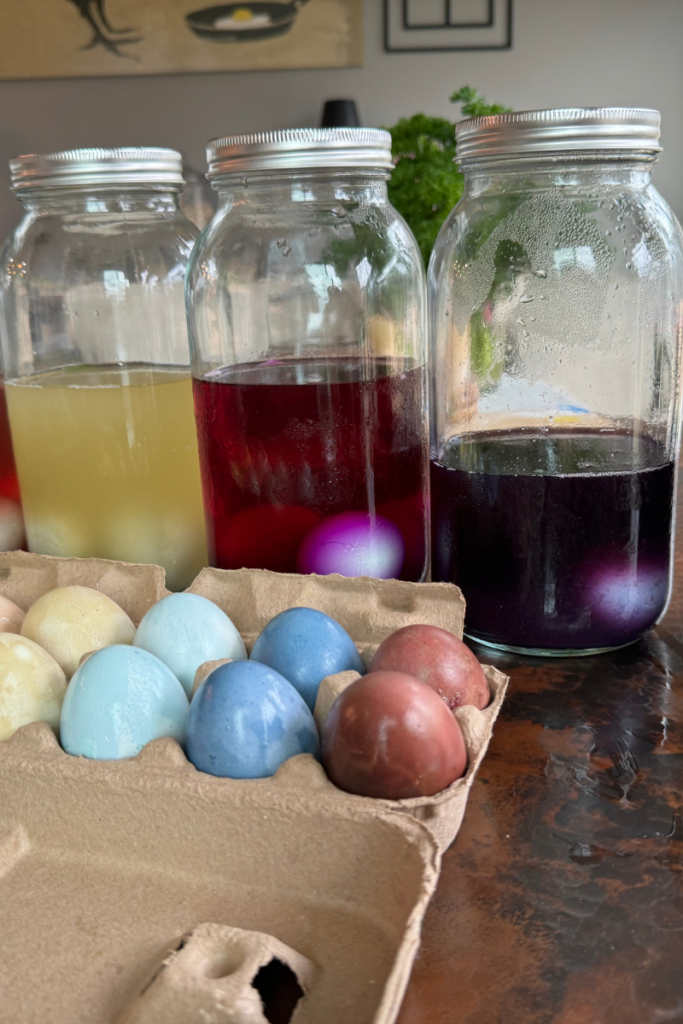
Step 3: Strain and Add Vinegar
Once your dye bath reaches room temperature, use a fine mesh strainer to eliminate any large pieces and pour the fluid back into mason jar. For each cup of natural dye, mix in one tablespoons of vinegar. This step is crucial as the acidity from vinegar helps the egg shells to absorb the natural colors from your homemade dye, ensuring beautiful colors.
Step 4: Dye Your Eggs
Before immersing the eggs, wrap them in various things like silk ties, old pantyhose, or rubber bands for interesting patterns. Or use a white wax crayon to create unique designs. Then gently lay your hard-boiled eggs into the natural egg dyes using a slotted spoon.
If you’re using hollow eggs, the process is much the same, but you may need to fill them with a little bit of water to ensure they sink. Leave the eggs in the dye bath in the fridge for a few hours or overnight for more profound depth of color. (I prefer overnight). The good news is you can check on them occasionally to see if they’ve reached your desired color. These natural options provide various colors, from bright yellow to blueberry’s deep blue dye.
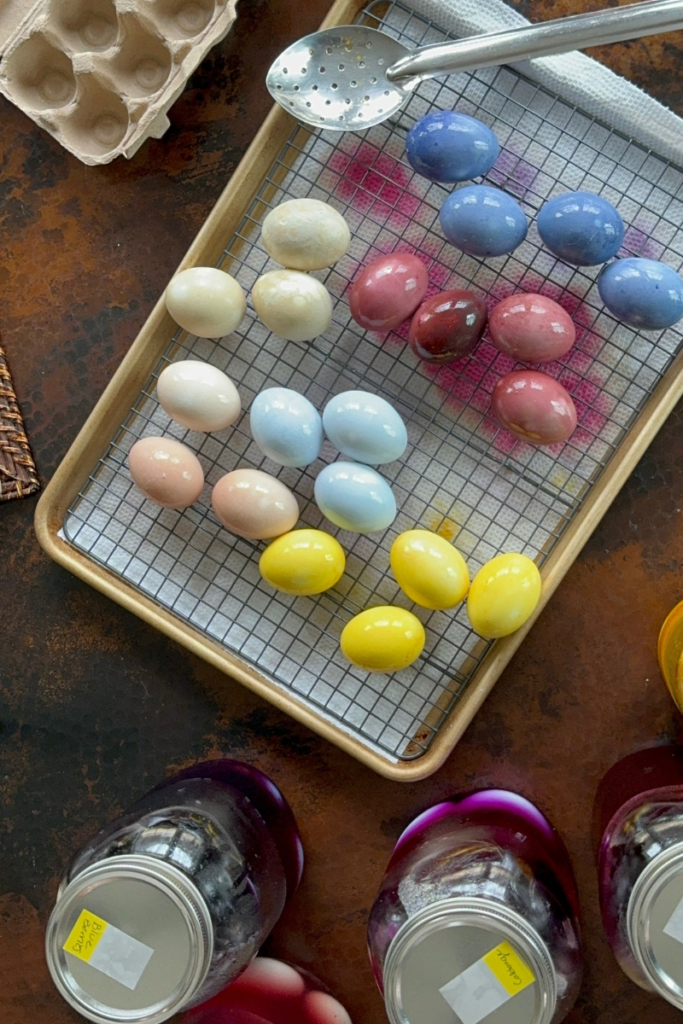
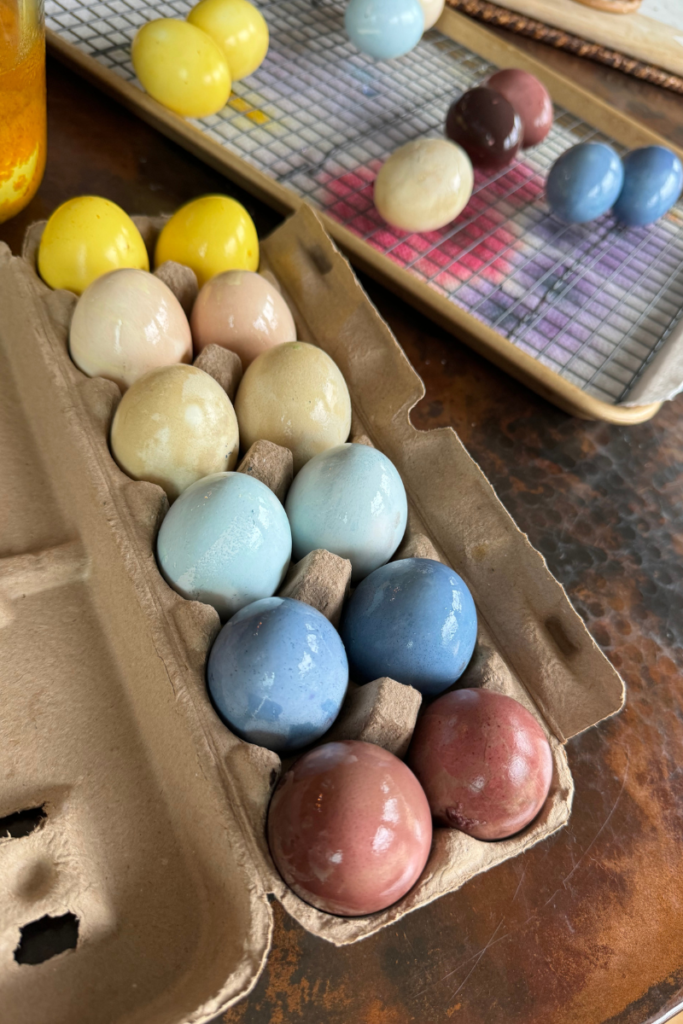
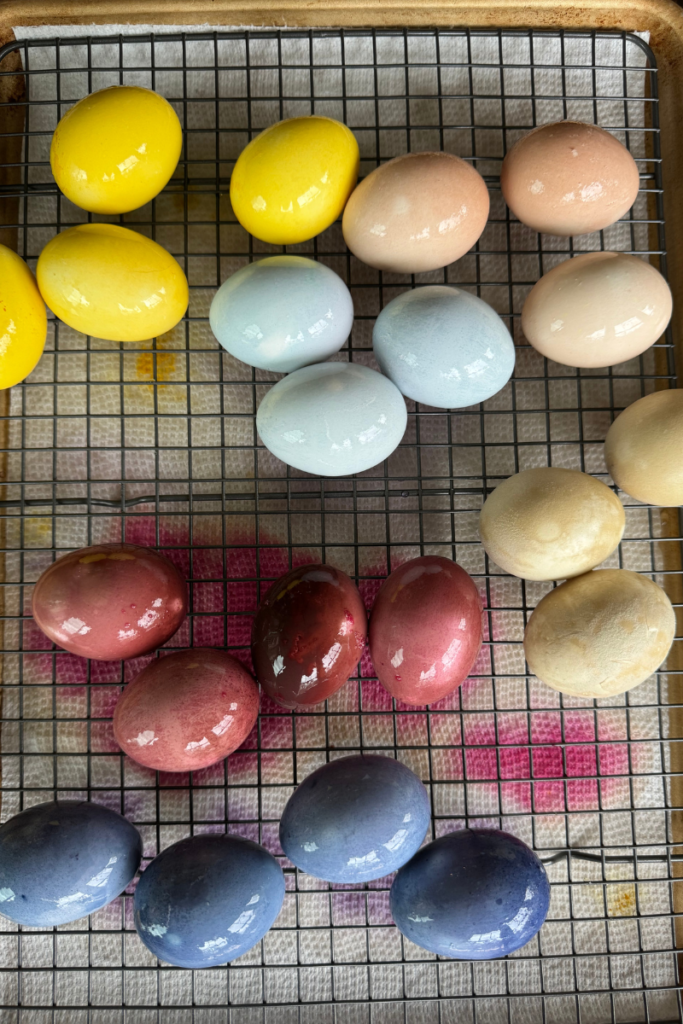
Step 5: Drying the Eggs
Remove the eggs from the dye and set them on paper towels or a rack to dry. Resist the temptation to wipe them down, as you could rub off the natural colors. Instead, let the natural easter egg dye work its magic as the eggs dry to a wonderful sheen.
I’d love to know how your eggs turned out! Tag me on social media to share your creations!
