Creamy Cauliflower Oatmeal (High protein and fiber)

I am fully aware that Cauliflower Oatmeal sounds crazy. But hear me out! As a registered dietitian, I’m always looking for ways to bump up nutrients and keep meals substantially large. This recipe does exactly that! It’s a true game-changer for your morning or break fast routine. Seriously, it’s incredibly filling and surprisingly tasty. Trust.
Table of contents
😍 Why You’ll Love This Cauliflower Oatmeal
You’re going to be amazed by this High-Protein Cauliflower Oatmeal. It takes traditional oatmeal to a whole new level by adding volume and nutrients without a ton of extra calories.
This recipe is for you if:
- You are trying to eat lower carb meals
- You love oatmeal, but a single portion isn’t enough for you
- You need to lower your cholesterol by including more fiber
- You have trouble eating enough veggies
- You just like BIG meals!

The hidden cauliflower rice blends in well, creating a surprisingly creamy texture that makes a simple bowl of oats feel incredibly substantial. It’s an easy way to sneak in a serving of vegetables first thing in the morning.
This recipe is perfect for anyone looking to decrease their carbs (while still getting some healthy ones in), especially since the most important meal of the day should set you up for success. Adding egg whites and a scoop of protein powder supports muscle maintenance and keeps hunger at bay. The total time to prepare this is just a few minutes, making it a perfect breakfast for busy mornings.
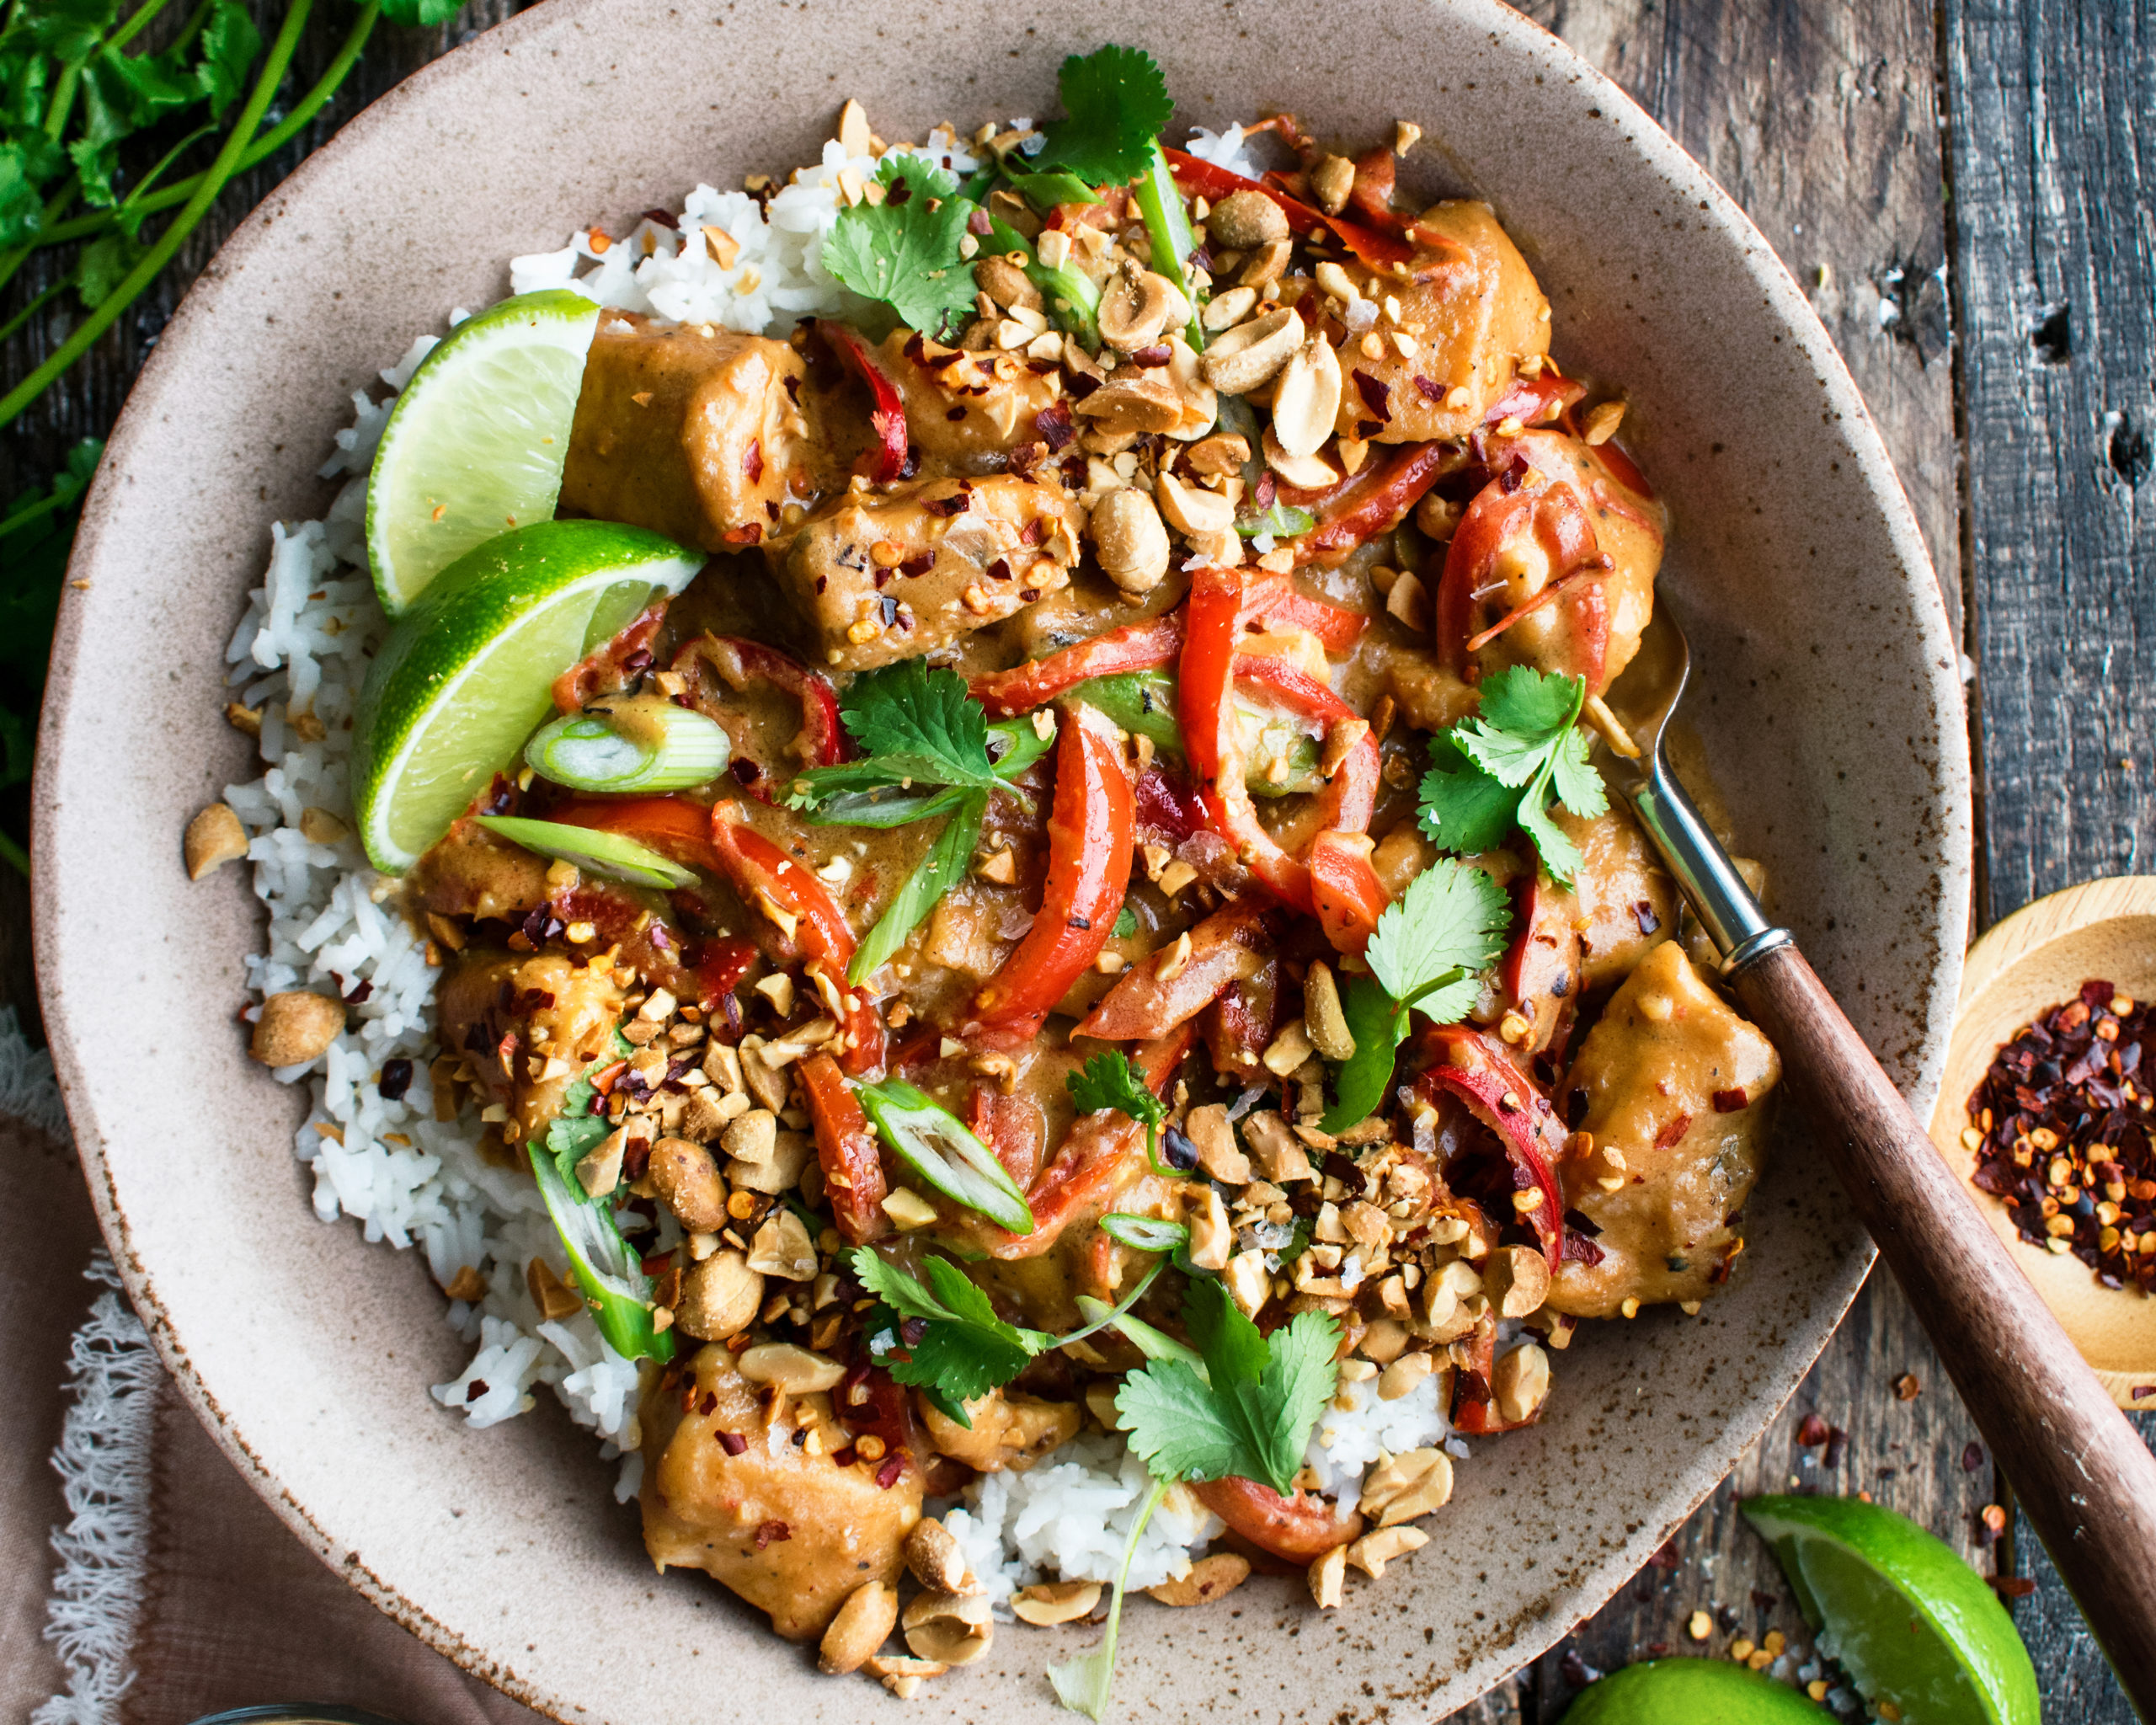
Fast, Fresh & Fat-Loss Friendly! 🚀🥑
Kickstart your health journey with these 3 FREE guides—perfect for intermittent fasting, weight loss on the go, and jumpstarting fat loss. Grab yours and make healthy eating easier than ever! 💪
On The GO

I love cooking, but it seems like with 2 school aged children, we are always on the go. Here are some of my go-tos.
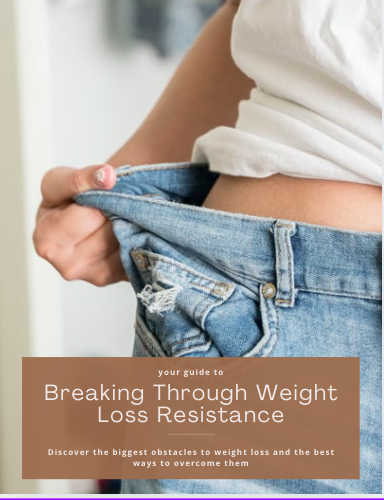
Jumpstart Fat Loss

If your new year’s resolution isn’t delivering results, this fat loss guide is for you. Start feeling the difference right away 🙂
Intermittent Fasting Quiz

Research suggests intermittent fasting can be an effective way to maintain and achieve a healthy weight. But is it right for you?
🗒️ Ingredients + Substitutions
This recipe is simple and flexible. Here’s what you’ll need:
- Rolled Oats: Old-fashioned rolled oats provide the best texture. Quick oats can work too.
- Water: You’ll need a 1/2 cup of water.
- Egg Whites: These add a significant protein boost and create a fluffy texture. You could also use 1 whole egg, but this will deliver more fats.
- Frozen Cauliflower Rice: Pre-riced frozen cauliflower is the easiest option, found at any grocery store. No need for a food processor! If you have a head of cauliflower, you can make your own riced cauliflower, just be sure to cook it well before adding to oats.
- Cinnamon: For a touch of warmth and flavor.
- Protein Powder: This is optional but highly recommended for making sweet oats that are also packed with protein. Vanilla or unflavored whey, casein, or a plant-based blend works well. I like to use the FASTer Way Vanilla Protein.
Substitutions:
- Milk: Instead of water, feel free to use almond milk, coconut milk, or any other milk for a creamier base.
- Sweeteners: If you like your oats sweeter, a drizzle of maple syrup or a sprinkle of coconut sugar are great options.
- Seeds: To add healthy fats and fiber, mix in a tablespoon of chia seeds or flax seeds.
- Flavor: A splash of vanilla extract can enhance the flavor, especially if you’re not using a flavored protein powder.
- Savory oats: Instead of adding cinnamon, add salt and pepper, top with spinach, mushrooms and parmesan cheese. It’s seriously one of my favorite breakfasts.
💡 Gluten-Free? Read This!
To make this cauliflower oatmeal recipe gluten-free, the only ingredient you need to worry about is the oats. While oats are naturally gluten-free, they are often processed in facilities that also handle wheat, barley, and rye, leading to cross-contamination.
To ensure your meal is completely gluten-free, simply purchase oats that are explicitly labeled “certified gluten-free.” These are widely available and guarantee that your healthy breakfast meets your dietary needs without any hidden gluten.
👩🏻🍳 How to Make My Cauliflower Oatmeal
This recipe is designed for the microwave, making it a quick and convenient option.
- Combine the rolled oats and 1/2 cup water in a large, microwave-safe bowl. Microwave on high for 2 minutes. Using a larger bowl prevents it from boiling over.
- Remove the bowl and stir in the egg whites and frozen cauliflower rice.
- Microwave for an additional 2 minutes. Stir everything together again.
- Microwave for a final 1-2 minutes, or until the egg whites are fully cooked and the oatmeal is thick and creamy. Cooking time may vary slightly depending on your microwave.
- If using, stir in your favorite protein powder until it’s well combined. Add a pinch of salt to bring out the flavors.
- Dust with cinnamon and add your favorite toppings.
For a stovetop version, you can combine the oats, water, and cauliflower rice in a medium saucepan or small saucepan. Cook over medium heat until the oats are soft. Then, stir in the egg whites and continue cooking until they are done. Remove from heat to stir in the protein powder.
📓 Best Served With
The best part about this bowl of oats is dressing it up with your favorite toppings! Here are some great options:
- A spoonful of peanut butter or almond butter for healthy fats.
- Fresh berries or sliced banana.
- A sprinkle of cacao nibs or chocolate chips for a touch of indulgence.
- A handful of nuts or seeds for extra crunch.
- A drizzle of maple syrup for added sweetness.
Break Through
This guide walks you through how unknowingly, hormones may be in the way of your fat loss goals.
Nourish Hormones
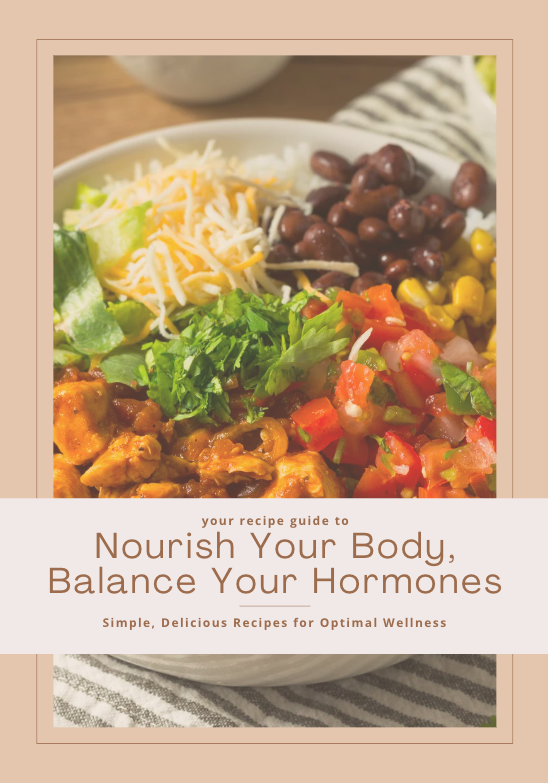
If you’re ready to eat to support your hormones, this guide is for you!
Workout with Me

Try one of the custom workouts that my clients and I do daily! Just 30 minutes for results.
👝 How to Store Leftovers
This meal is super filling. There have been days where I eat half around 11 with berries, and then finish the rest around 1-2pm for lunch.
It’s probably best enjoyed fresh, but you can store leftovers. Place any remaining oatmeal in an airtight container and refrigerate for up to two days. The texture may become denser upon chilling.
To reheat, simply add a splash of hot water or almond milk and microwave until warm, stirring halfway through. This recipe is also a great base for overnight oats; just combine the ingredients (except the egg whites) and let them sit in the fridge overnight for a ready-to-go breakfast.
🧠 Common Questions
Can you taste the cauliflower?
Honestly, no! The cauliflower rice has a very mild flavor that is completely masked by the oats, cinnamon, and any protein powder or toppings you add. It primarily adds volume and nutrients without affecting the taste of your sweet oats. It’s the perfect hidden cauliflower trick.
Can I use fresh cauliflower?
Yes, you can use a fresh head of cauliflower. Simply pulse cauliflower florets in a food processor until they reach a rice-like consistency. You may need to add a little extra cooking time to soften it.
Why add egg whites?
Egg whites are a fantastic source of lean protein. They make the oatmeal incredibly fluffy and satisfying, turning a carb-heavy breakfast into a balanced meal. It’s a great way to stay full longer.
💪🏻 Tracking Macros? Check This Out
Here is the nutritional breakdown for one serving of this cauliflower oatmeal, made without optional protein powder or toppings. Please note that adding protein powder, nut butters, or other toppings will change these values.
- Calories: 298kcal
- Carbohydrates: 45g
- Protein: 25g
- Fat: 4g
- Saturated Fat: 1g
- Polyunsaturated Fat: 1g
- Monounsaturated Fat: 1g
- Sodium: 306mg
- Potassium: 1304mg
- Fiber: 11g
- Sugar: 7g
- Vitamin A: 1IU
- Vitamin C: 154mg
- Calcium: 109mg
- Iron: 3mg
Cauliflower Oatmeal
Ingredients
Equipment
Method
- Combine oats and water to microwave safe bowl. Microwave for 2 minutes.
- Add egg whites and stir. Then microwave for 2 additional minutes.
- Stir again, and microwave for additional 1-2 minutes. Add protein powder if using and mix well.
- Dust with cinnamon and enjoy.