Tag: Kid Friendly

The Best Super Yummy Chicken Dinner Recipe ideas

What is better than a go-to chicken recipe that’s a crowd pleaser and macro friendly? I went ahead and pulled together an array of super yummy recipes catered to women looking to feed their families healthy, macro-friendly chicken dinners. These are recipes that I make on re-peat at home. Whether you’re a busy bee seeking quick meals or a picky eater aiming to indulge without the guilt, these chicken breast-centered dishes are delicious and nourishing.

Why Choose Chicken Breasts?

Chicken breasts are a wonderful source of lean protein and are incredibly versatile. If you’re tracking macros, you know lean chicken breast is a great way to hit your protein macro goals without added fat. They can be baked, grilled, pan-seared, or slow-cooked into a variety of dishes that won’t derail your health goals. Plus, using simple ingredients, you can transform this humble poultry cut into a culinary delight that everyone at the table will love.

If you want to know more about how tracking macros can help you reach your health goal, check out this article.

The Only Thing Better Than Quick Chicken Recipes? Healthy Ones!

​Here’s a roundup of a few of my go-to’s

1
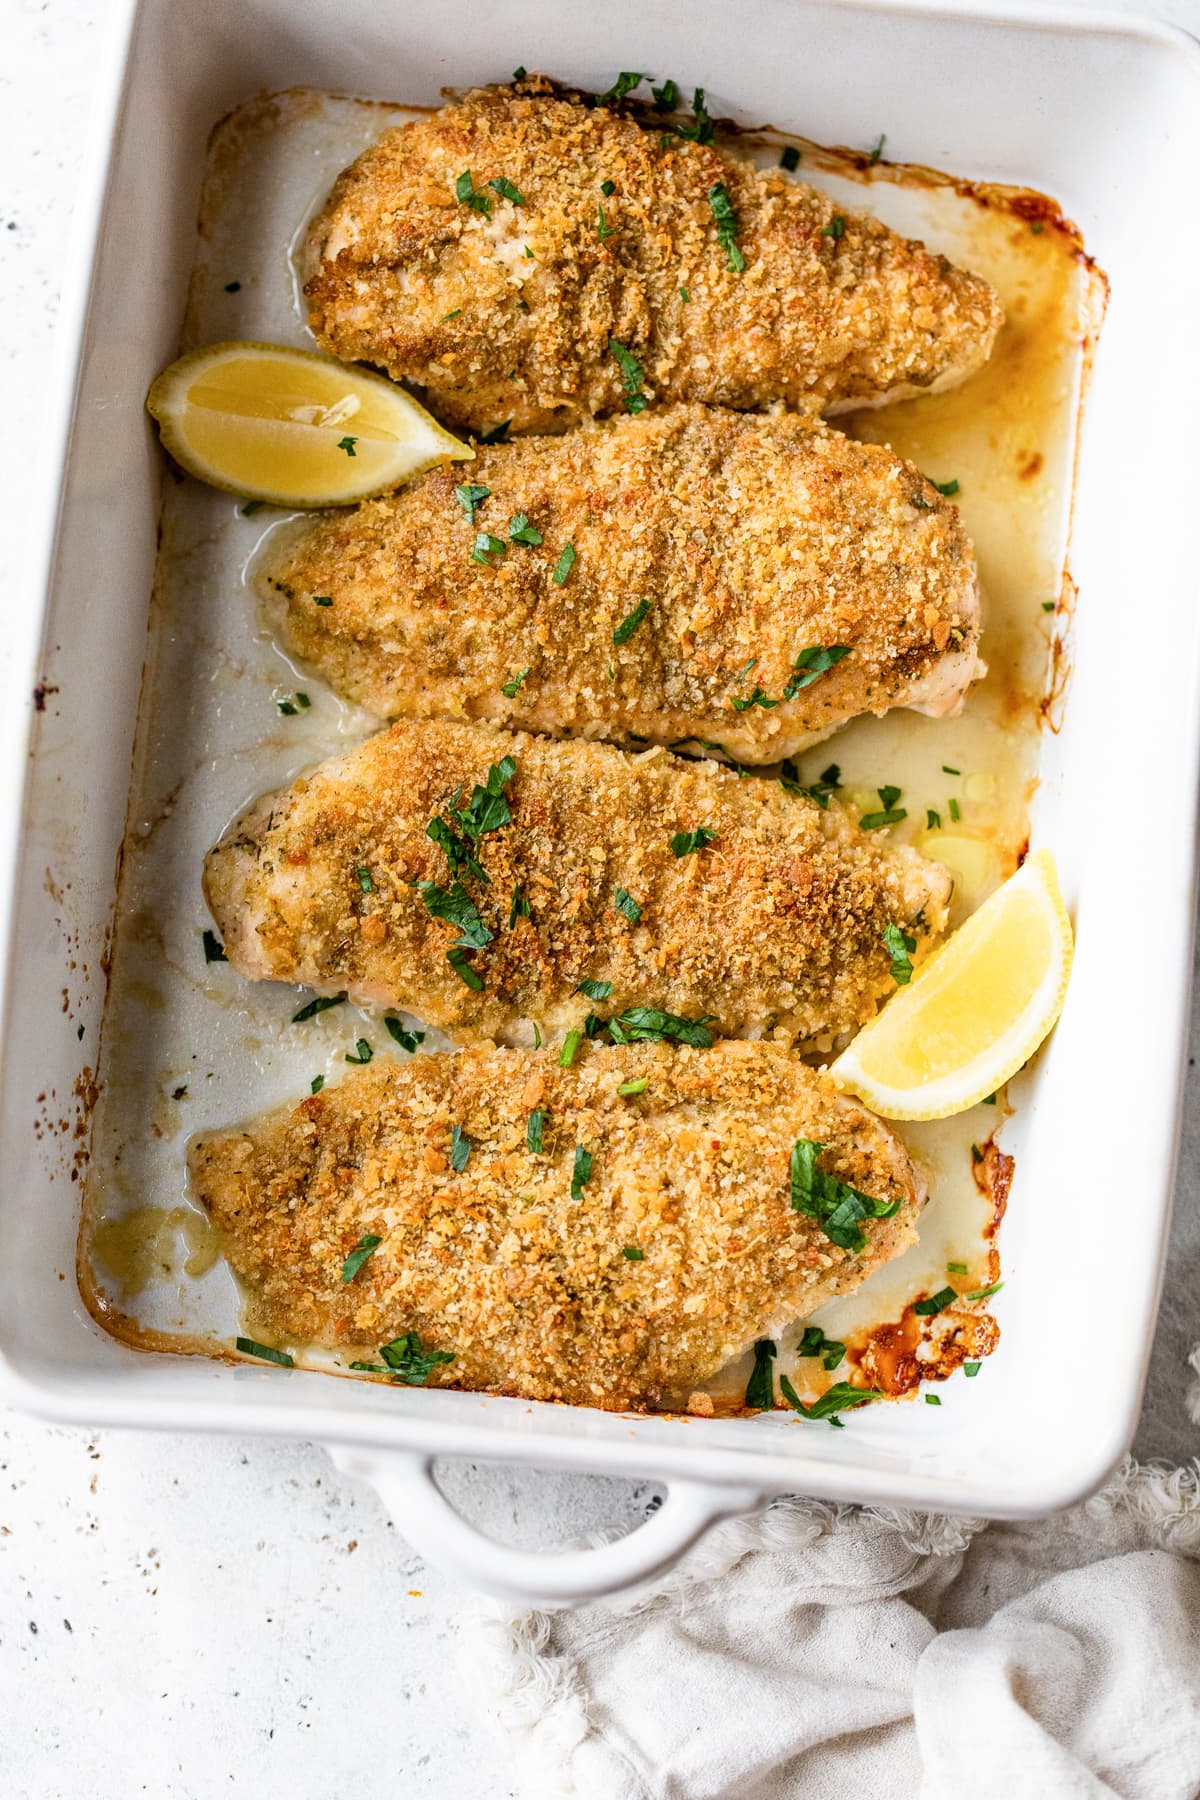
Baked Chicken Breasts
skinnytaste.com
Baked Chicken Breasts
Perfect, juicy Baked Chicken Breasts topped with crispy panko-parmesan crumbs are flavorful and delicious!
Check out this recipe
2
Yogurt Curry Chicken Skewers
This recipes reminds me of the chicken, salad and rice plates that I would get in New York. Even easier to make!
Check out this recipe
3
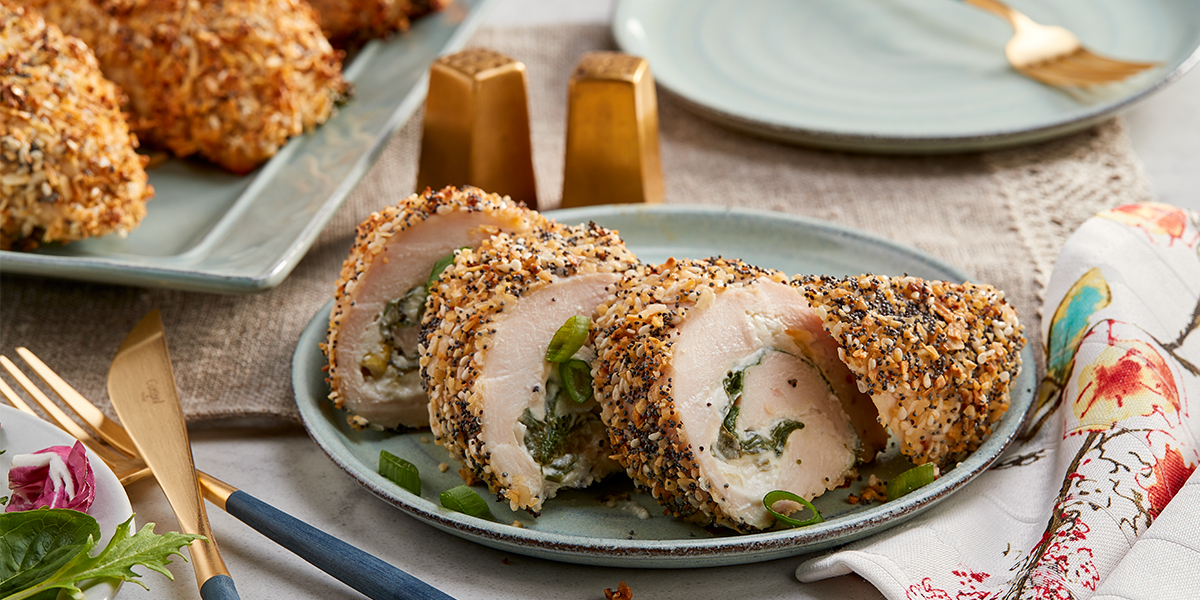
Everything Bagel Chicken Roll-Ups
dole.com
Everything Bagel Chicken Roll-Ups
4 Servings per container
Check out this recipe
4
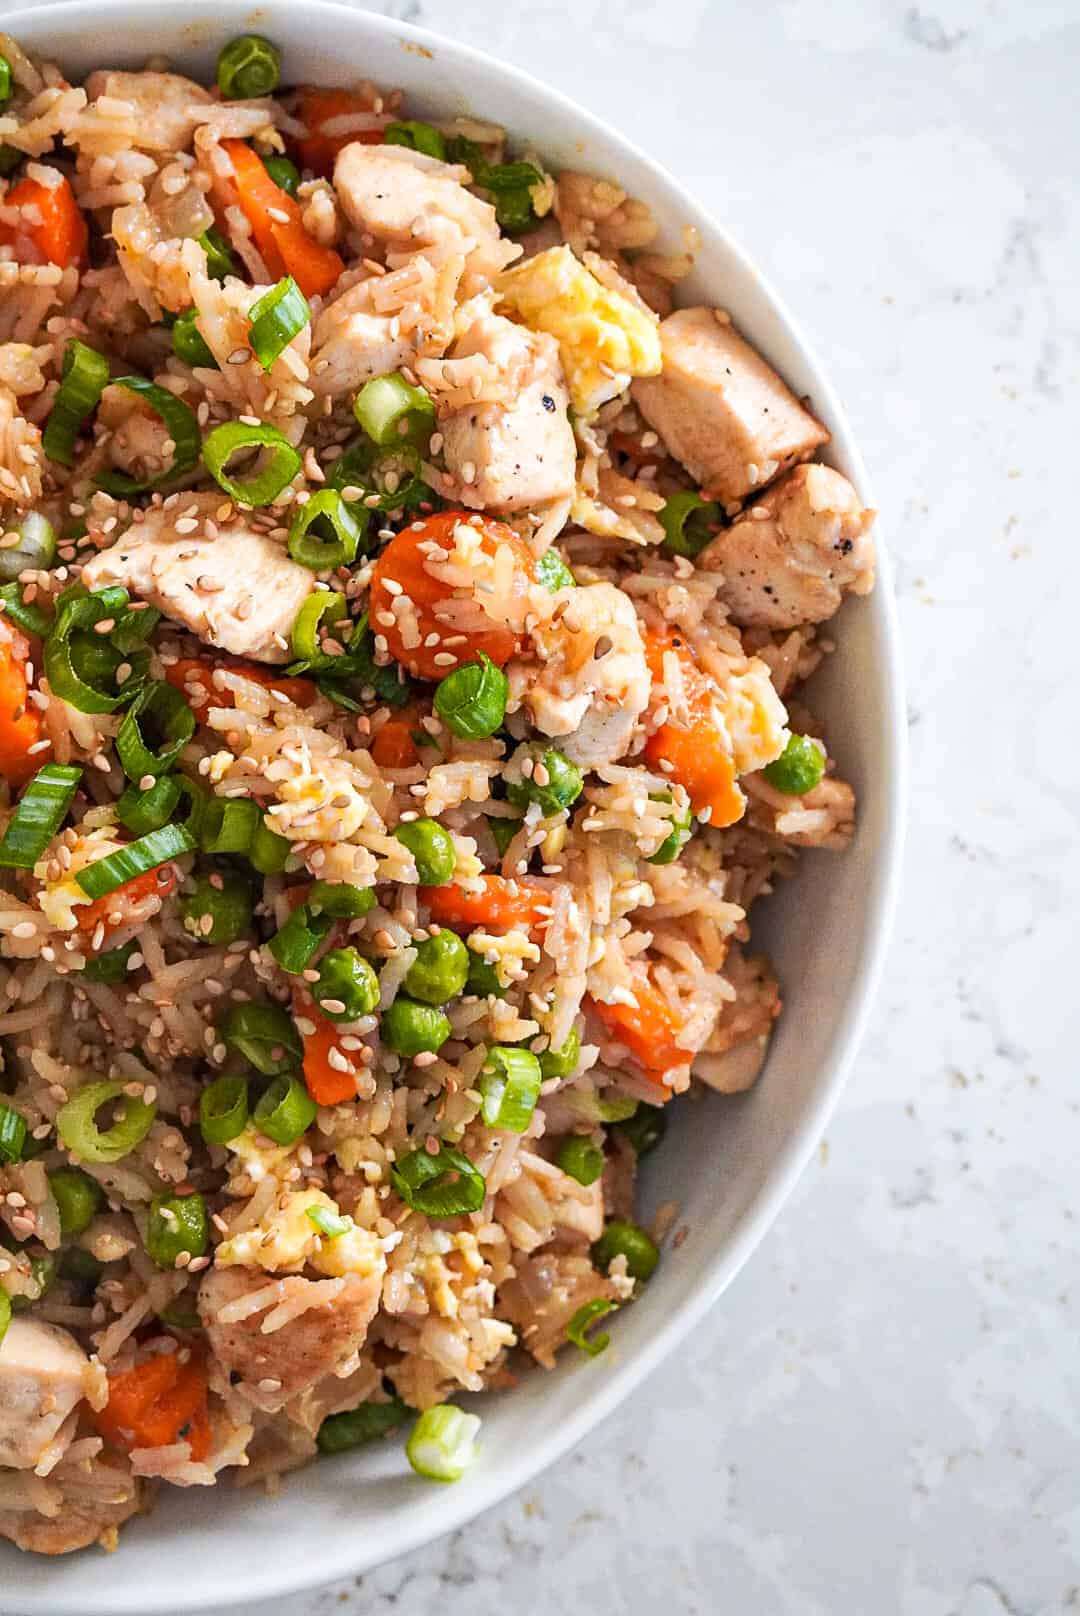
Chicken Fried Rice
ohsnapmacros.com
Chicken Fried Rice
This Chicken fried rice Recipe is packed with chicken, veggies and basmati rice. This Macro Friendly dish is full of flavors and great for meal prep.
Check out this recipe
5
easy pulled chicken
BBQ Pulled Chicken
This one couldn't be easier. Set it and forget it.
Check out this recipe
6
Macro Friendly Caprese Chicken
julieledbetter.com
Macro Friendly Caprese Chicken
Cook this delicious and macro-friendly caprese chicken! Believe it or not, with just four main ingredients and 30 minutes, you can make this super delicious, and incredibly healthy caprese chicken. With mozzarella, tomato, and fresh basil, it tastes just like an authentic, Italian pizza but you won’
Check out this recipe
7
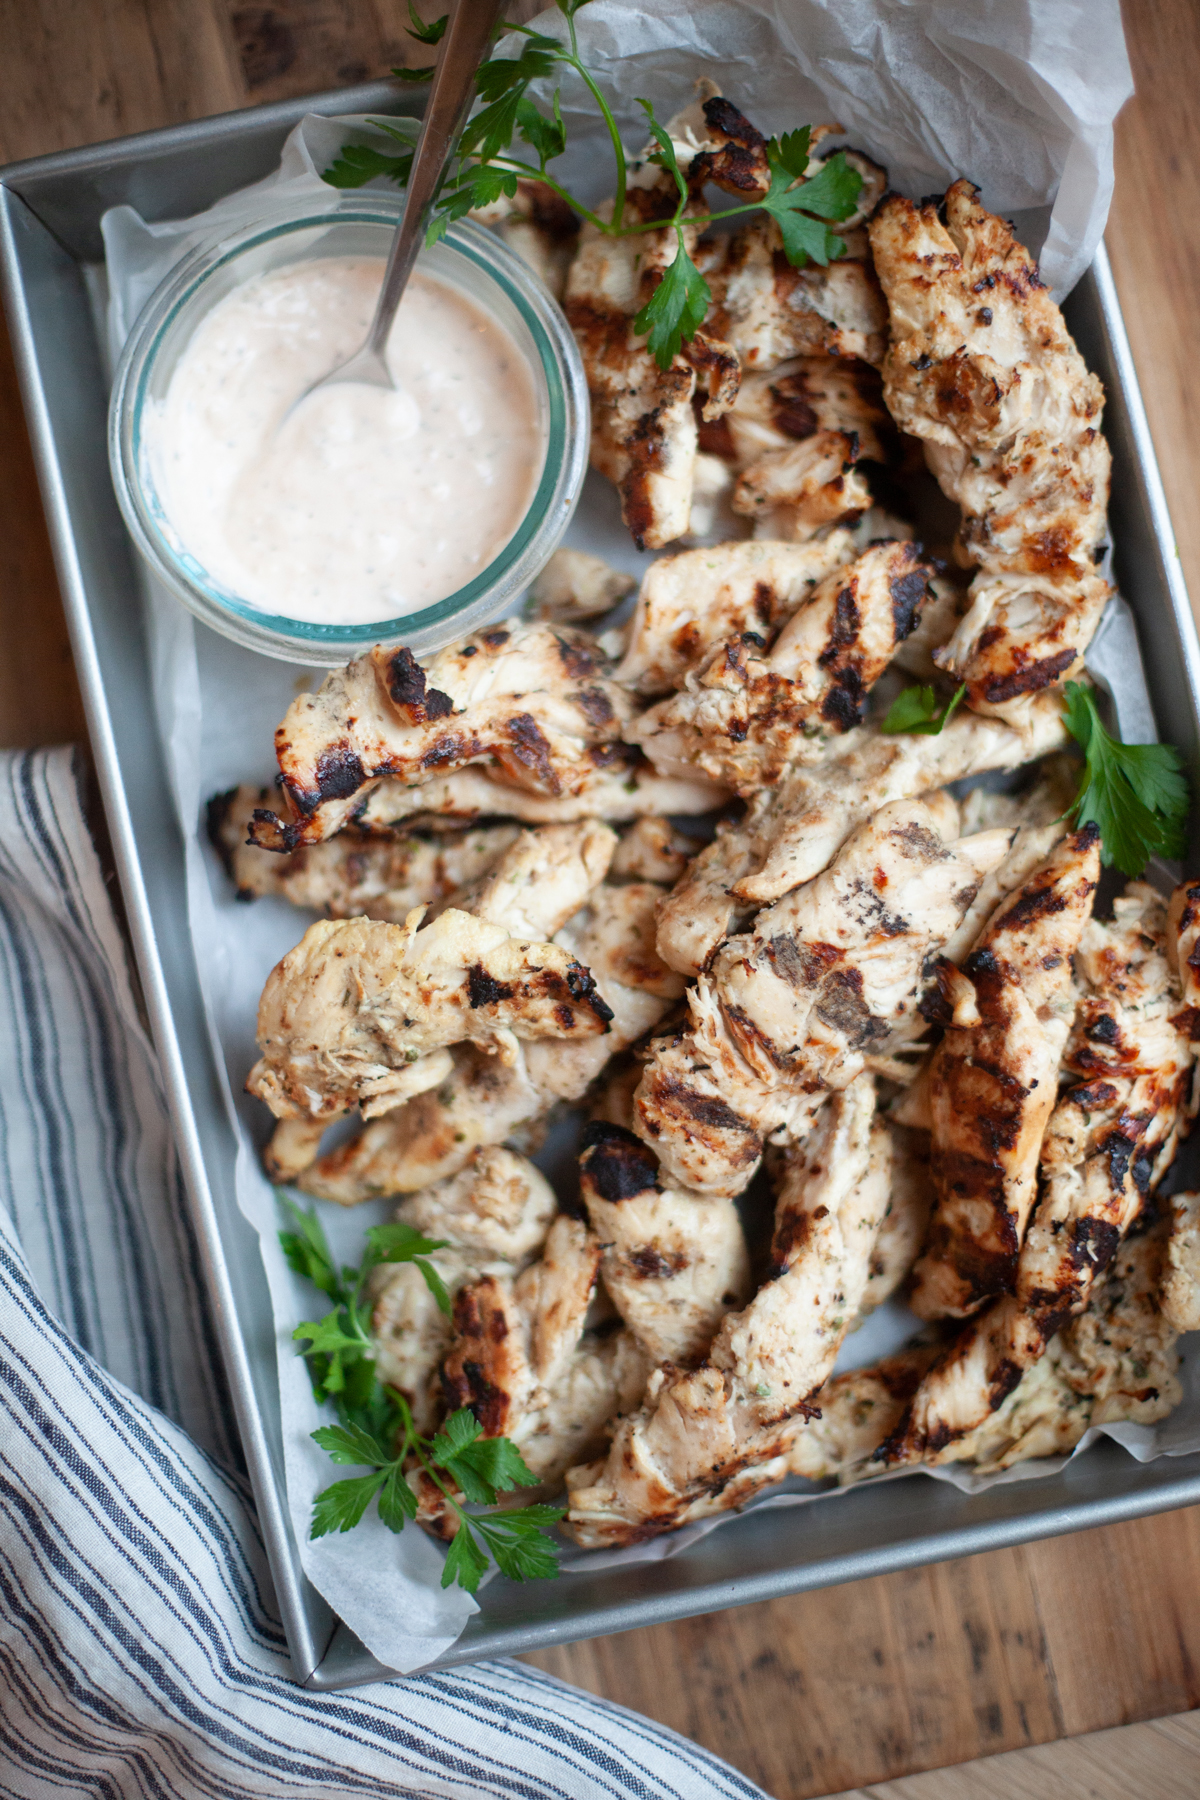
Herby Mediterranean Grilled Chicken Tenderloins
lillieeatsandtells.com
Herby Mediterranean Grilled Chicken Tenderloins
This Herby Mediterranean Grilled Chicken Tenderloin recipe is a great go-to for your favorite recipes that call for grilled chicken!
Check out this recipe
8
Sweet Potato Chipotle Rotisserie Chicken Skillet
lillieeatsandtells.com
Sweet Potato Chipotle Rotisserie Chicken Skillet
With this sweet potato chipotle rotisserie chicken skillet recipe, your macros will be covered and you’ll still get all the comfort you need.
Check out this recipe
9
Chicken Parmesan Rolls (Pizzeria Style Chicken Rolls)
skinnytaste.com
Chicken Parmesan Rolls (Pizzeria Style Chicken Rolls)
These protein packed Chicken Parmesan Rolls (also know as chicken rolls) are wrapped in my homemade pizza dough with marinara and mozzarella.
Check out this recipe
10
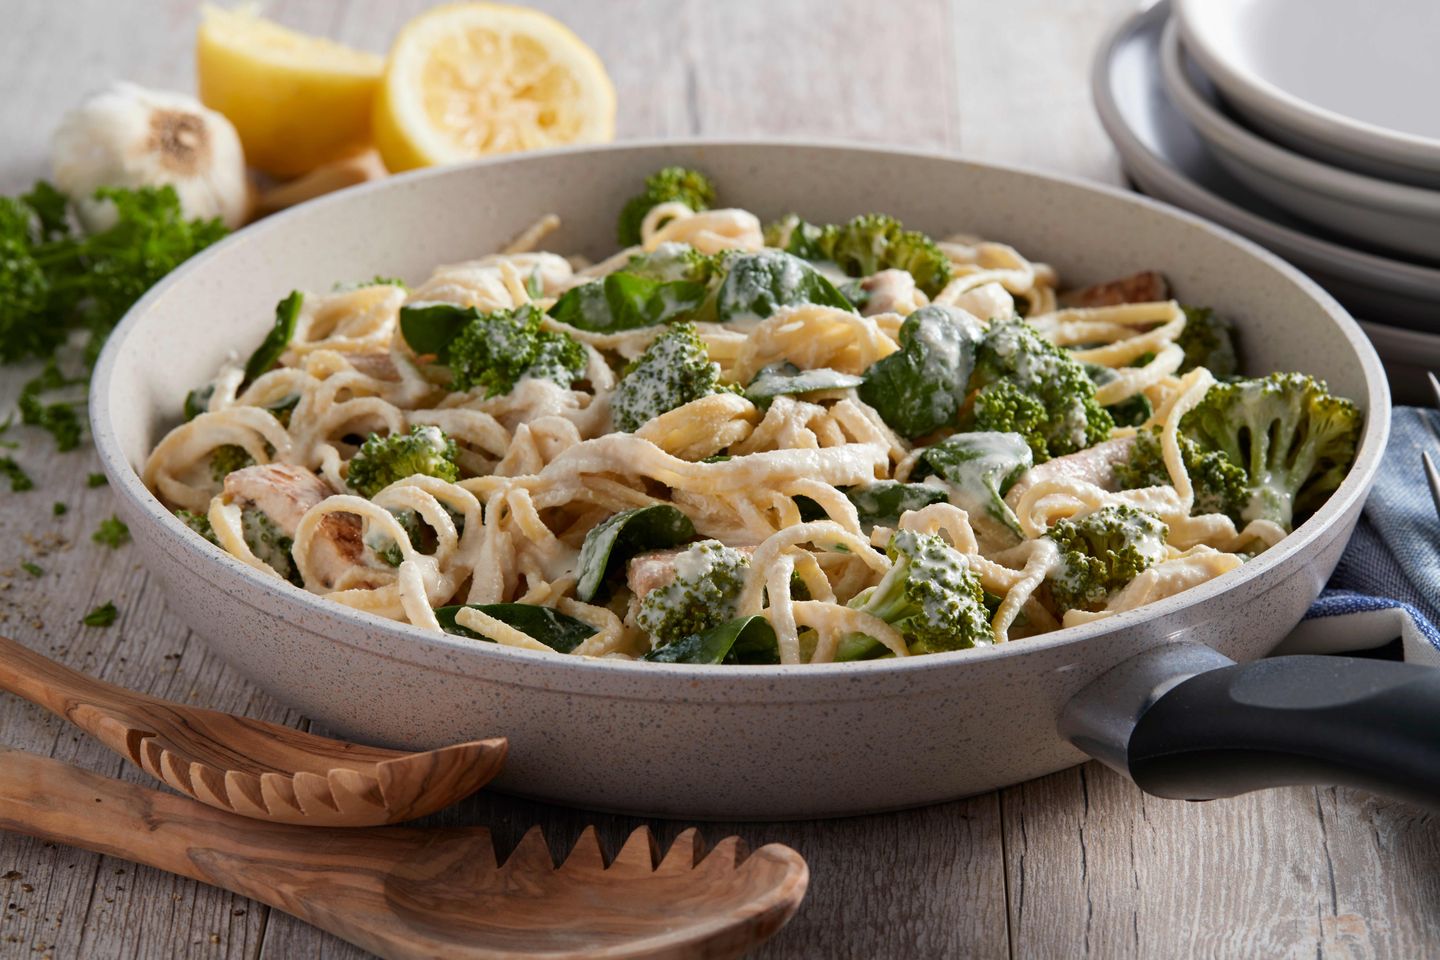
No-Dairy Chicken Alfredo
dole.com
No-Dairy Chicken Alfredo
6 Servings per container
Check out this recipe

Which will you choose?

Healthy dinners don’t have to be synonymous with bland or boring. With these super yummy recipes featuring chicken breasts, you can satisfy every member of the family, including the picky eater at your table. They offer a quick recipe solution when you’re short on time but still want to ensure a nutritious meal.

And remember, while chicken dinners are fabulous, the only thing that might top off your meal perfectly is a scoop of ice cream for dessert (we all need a little treat now and then, after all)!

About Me

I’m Melanie.

I’m a chef, registered dietitian, foodie, wife and mom.
If you’re looking for quick and healthy meal inspiration that serves YOU and your family well, then you’ve come to the right place!

Melanie Marcus Selfie

How to Naturally Dye Easter Eggs with up-cycled ingredients

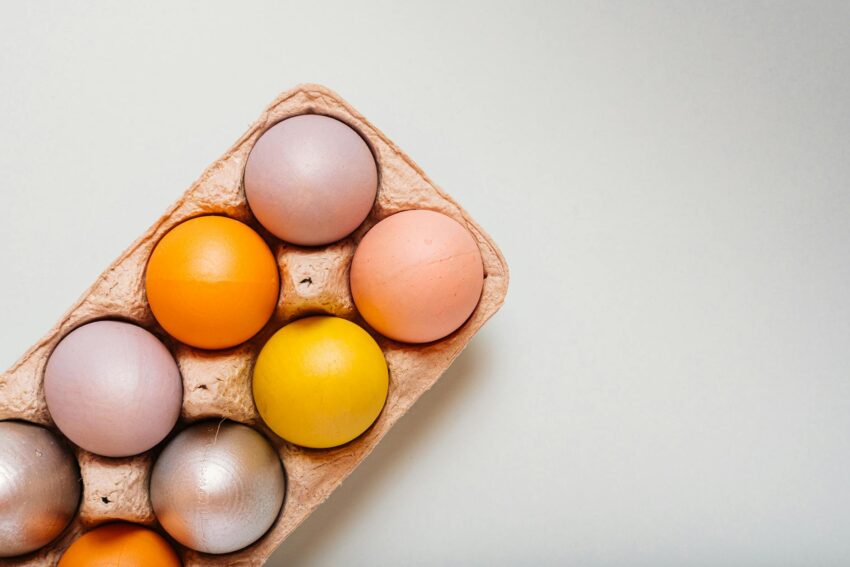
Easter is a special time of year known for family gatherings, egg hunts, the excitement of Easter baskets filled with goodies and of course renewed faith. But have you considered ditching the artificial colors this year for natural Easter egg dyes? It’s an excellent way to get gorgeous, sometimes subdued, sometimes vibrant colors without the chemical dyes. It’s a fantastic opportunity to involve children in a seasonal tradition of creating beautiful Easter egg colors using natural ingredients that would have otherwise been trash. Here’s my easy guide on how to do it.

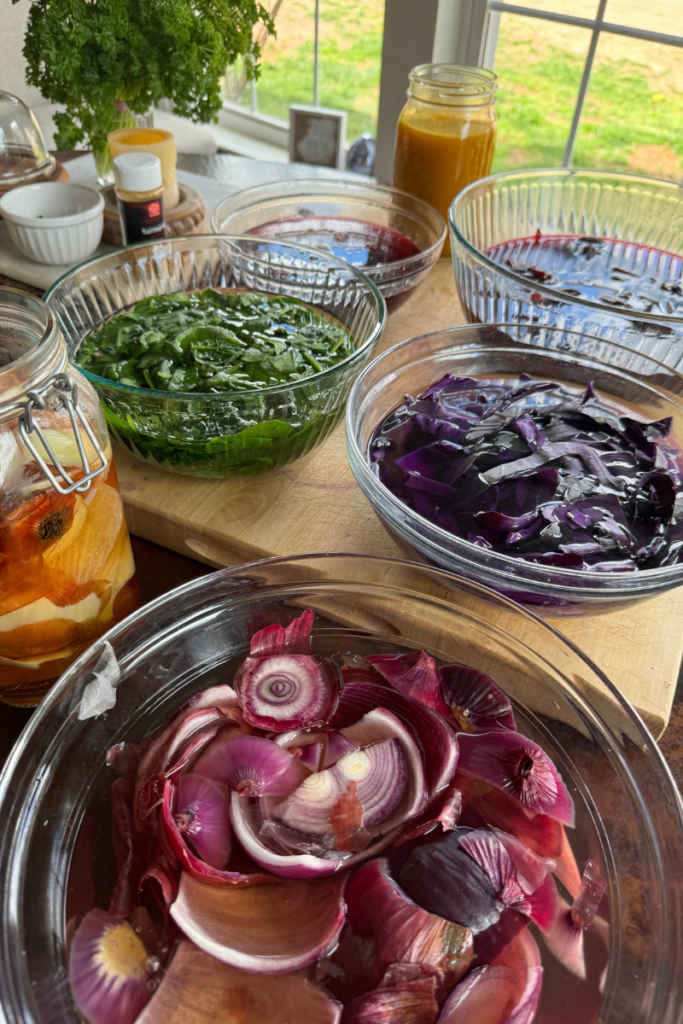
a variety of colorful foods in boiling water to create dye

Growing up my aunt always colored Easter eggs using different things, but I will always remember a large stock pot filled with onion skins on her kitchen stovetop.   She even used panty hose to experiment with placing herbs or flowers to make unique designs on the eggs.  I always thought it was resourceful and beautiful.  

Materials Needed:

  • A selection of cooked white eggs and brown eggs
  • Natural dye materials: yellow onion skins, red onion skins, purple cabbage, beets, turmeric, paprkia, red zinger tea, raspberries, blueberries, spinach, black coffee
  • White vinegar or lemon juice
  • Water
  • Pots and sauce pan
  • Fine mesh strainer
  • Disposable cups or mason jars
  • Slotted spoon

Natural Dyeing Mediums to Consider

You will be amazed with how many different foods can produce a variety of colors.

Produce items

  • Red onion skin – light pink color
  • Yellow onion skin – orange color
  • Spinach – light green color
  • Raspberries – pink color
  • Purple Cabbage – blue/purple color 
  • Red Cabbage – purple color
  • Blueberries – blue color

Spices

  • Paprika – red color
  • Turmeric – yellow color

Beverages

  • Red Zinger Tea – red color
  • Coffee – blackish brown color
  • Tart Cherry Juice – red color

Remember the Ratio

One cup of medium per one cup water.  I usually do 4 cups of water so I have plenty to color several eggs at one time.  

Step 1: Prepare Your Hard-Boiled Eggs

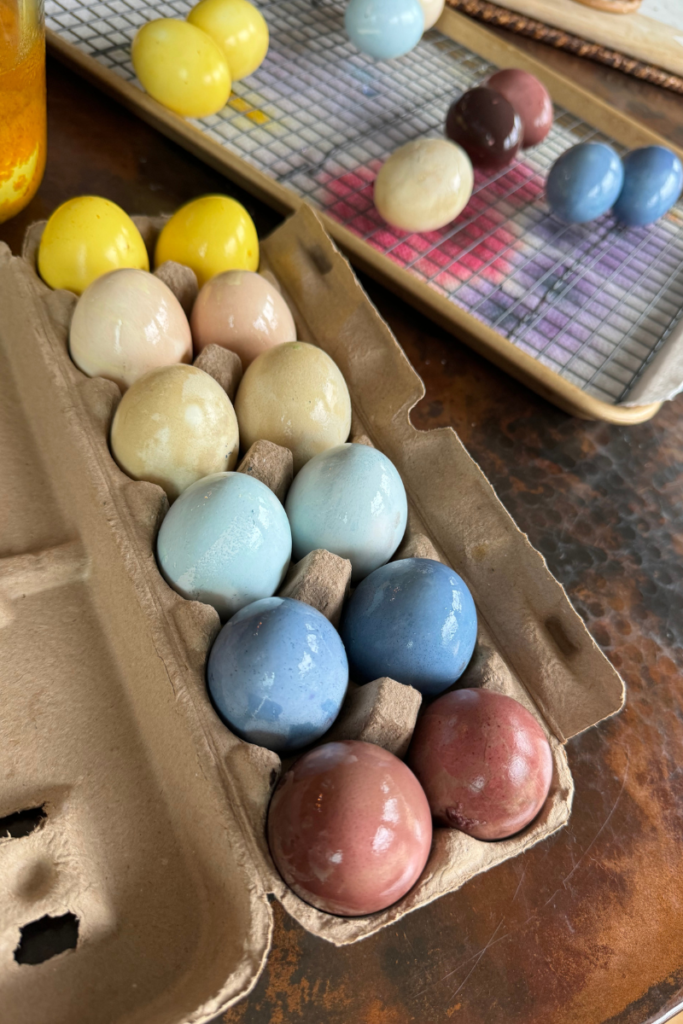
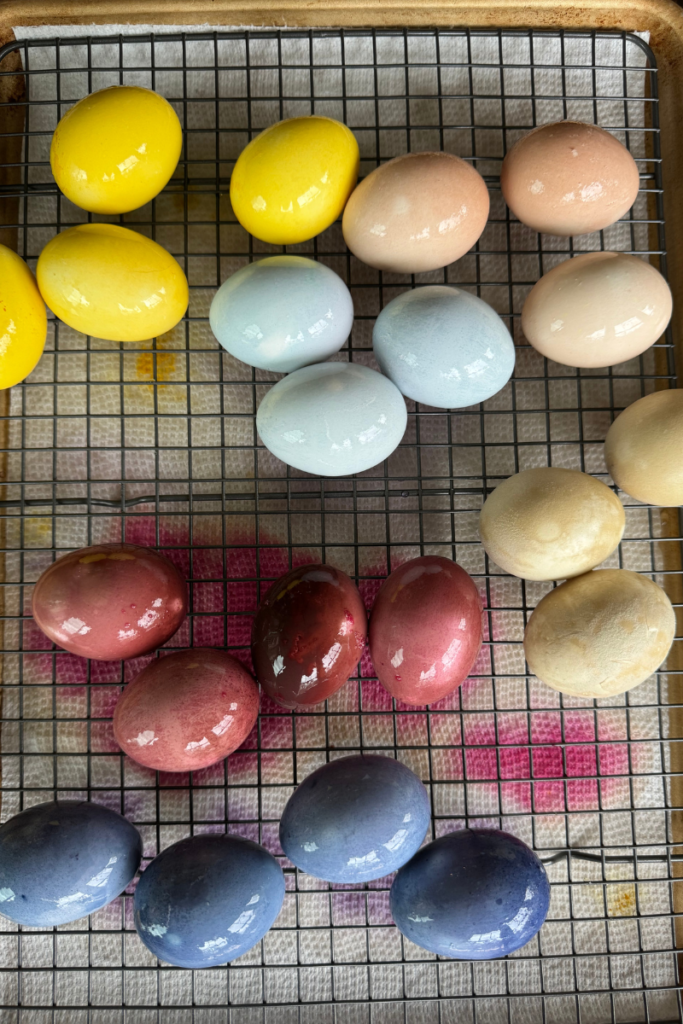
Before you start, make sure you have plenty of hardboiled eggs in either white or brown. If you need more info on that, check out my article on the perfect hard boiled egg. Keep in mind that brown eggs will give you more muted tones when dyed while white eggs can render bright yellow, green eggs, or even blue eggs based on the natural colors you choose. 

Step 2: Create the Natural Dyes 

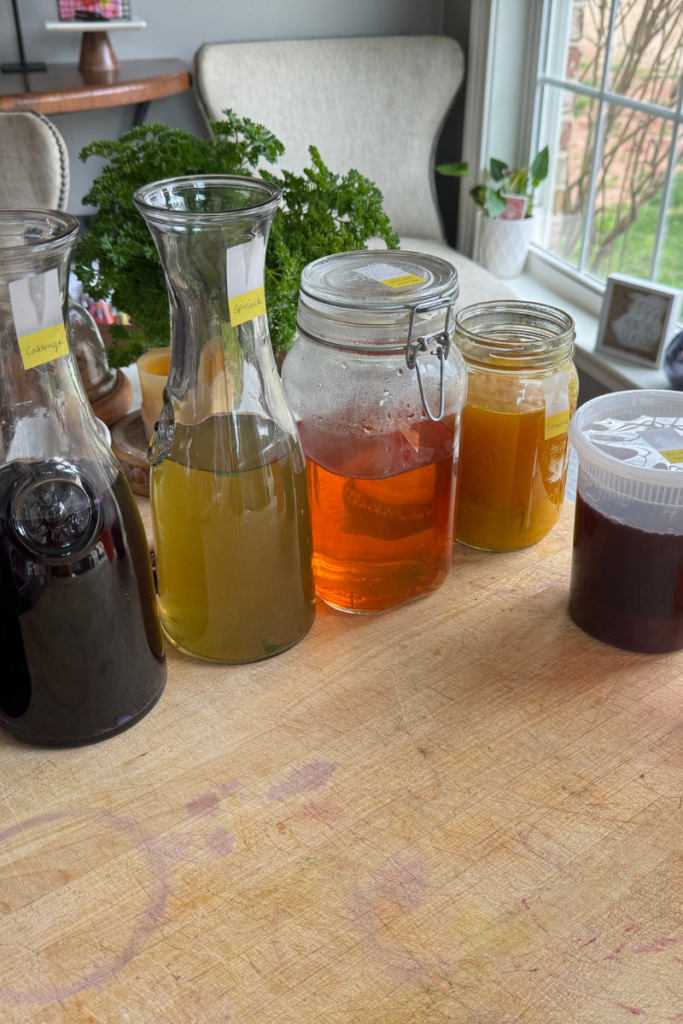
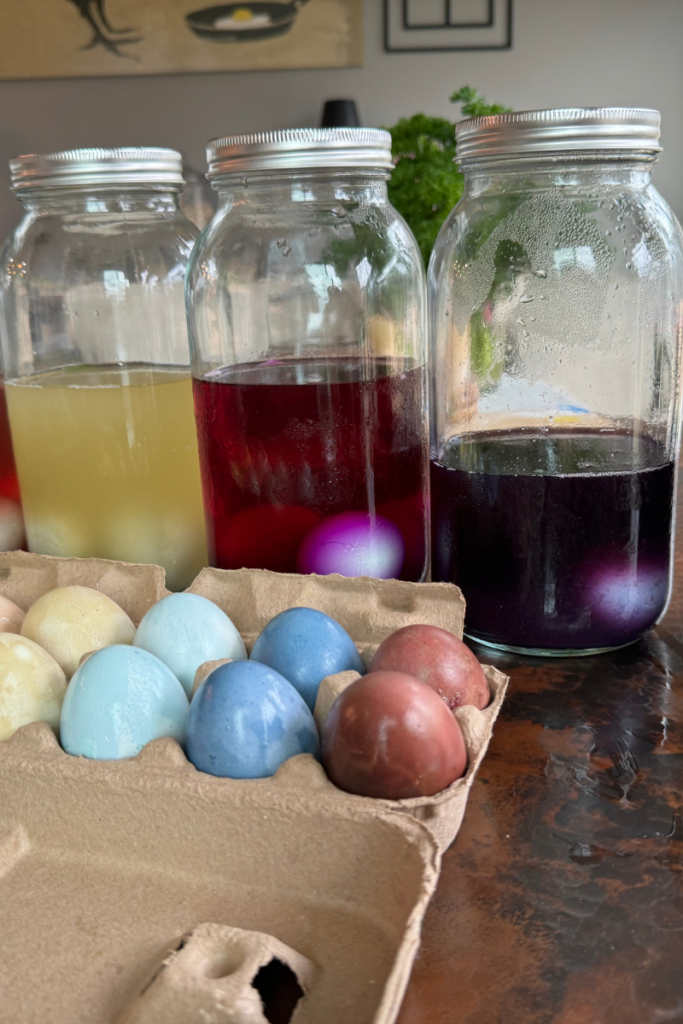
Natural food dyes in jars

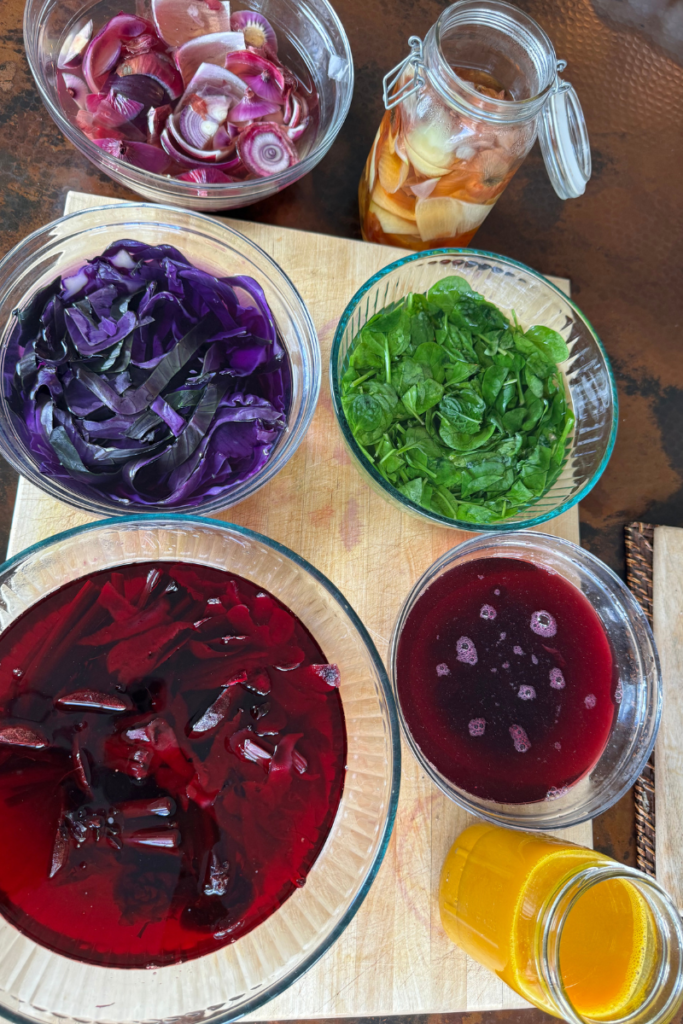
For a true homemade dye, select the natural ingredients you want to use. Last year I experimented with a variety of produce to get different colors including  a orange dye from yellow onion skins, purple from red cabbage dye, and green dye from spinach.  

To start, place your items in large mason jars and add enough boiling hot water to cover them. For every cup of water, add the same amount of your chosen plant material and let cool completely.  This will ensure a high concentration of natural colors in the dye pot.

For spices like turmeric, mix one tablespoon of spice with a cup of water. If you’re using coffee or tea bags, brew them as you would if you were going to drink them, but in a high concentration AKA extra strong.

Step 3: Strain and Add Vinegar

Once your dye bath reaches room temperature, use a fine mesh strainer to eliminate any large pieces and pour the fluid back into mason jar. For each cup of natural dye, mix in one tablespoons of vinegar. This step is crucial as the acidity from vinegar helps the egg shells to absorb the natural colors from your homemade dye, ensuring beautiful colors.

Step 4: Dye Your Eggs

Before immersing the eggs, wrap them in various things like silk ties, old pantyhose, or rubber bands for interesting patterns. Or use  a white wax crayon to create unique designs.  Then gently lay your hard-boiled eggs into the natural egg dyes using a slotted spoon.

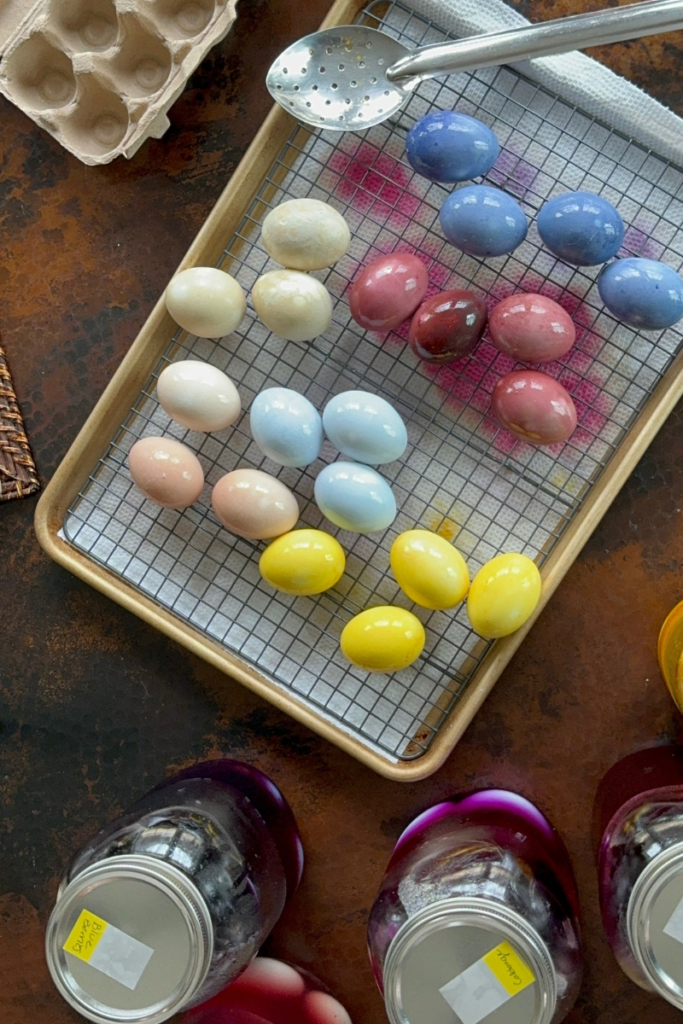
If you’re using hollow eggs, the process is much the same, but you may need to fill them with a little bit of water to ensure they sink. Leave the eggs in the dye bath in the fridge for a few hours or overnight for more profound depth of color. (I prefer overnight).  The good news is you can check on them occasionally to see if they’ve reached your desired color. These natural options provide various colors, from  bright yellow to blueberry’s deep blue dye.

Step 5: Drying the Eggs

Remove the eggs from the dye and set them on paper towels or a rack to dry. Resist the temptation to wipe them down, as you could rub off the natural colors. Instead, let the natural easter egg dye work its magic as the eggs dry to a wonderful sheen.

I’d love to know how your eggs turned out! Tag me on social media to share your creations!

IG: Miss_nutritious_eats

About Me

I’m Melanie.

I’m a chef, registered dietitian, foodie, wife and mom.
If you’re looking for quick and healthy meal inspiration that serves YOU and your family well, then you’ve come to the right place!

Melanie Marcus Selfie

Foolproof method to make perfect hard boiled eggs 

We make a batch of hard boiled eggs on a weekly basis in our house.  It’s just one of those things that I thought everyone knew how to do!  Making the perfect hard-boiled egg isn’t as simple as tossing eggs into hot water.  (So many blogs suggest leaving eggs in hot water hard boil eggs.  However, that method has a lot of room for error.)  

My method places eggs in a pot of water and boils them for a specific amount of time until desired doneness.  This is hands down the best way to do it. Though my mom does love making them in an instant pot… I just can’t commit to another appliance right now!  

Brown Chicken Eggs

Whether you prefer your yolks gooey and soft or fully set, following a few important tips ensures your eggs turn out exactly the way you like them, every single time.  The biggest problem is that timing will vary depending on the size of egg.  But one of the best things is, if you always buy large eggs, you will get perfect hard-boiled eggs every time.  

Ingredients

  • Large eggs (as many as you need)

Note that these directions are intended for large eggs. You may need to adjust boiling times accordingly if using smaller or larger eggs.

Equipment

  • Saucepan or pot
  • Bowl for ice-water bath
  • Slotted spoon or skimmer
  • Timer

Instructions

Step 1: Preparing the Eggs for Boiling

Before boiling, ensure your eggs are at least 10 days old for easier peeling.  I found that older eggs work best.  And don’t worry, this usually isn’t a problem unless you are getting fresh eggs from chickens each week!  Add cold eggs to pot in a single layer (you don’t want eggs sitting on top of eggs because they may break).  Any cracked egg (raw) should be discarded and not cooked or consumed.  

Step 2: Boil the Water

Fill a pot with enough water to cover the eggs by about an inch. Bring the water to a full rolling boil over high heat.

Step 3: Lower the Heat 

Once boiling, reduce the heat to medium.  This should look just above a simmer. This prevents the eggs from moving too much and cracking.

Step 4: Adjust Heat and Start Timer

Immediately set your timer for your desired level of doneness.  

Check out this list for cook time:  

  • 6 minutes: Soft-boiled eggs. Runny yolk, soft white.
  • 6 1/2 minutes: Soft, jammy yolk.
  • 8 minutes: Perfect eggs in my opinion!  Medium yolk, slightly soft. 
  • 10 minutes: Mostly hard with a hint of softness.
  • 12 minutes: Fully hard-boil eggs with a lighter yolk.
  • 14 minutes: Hard-cooked eggs.  Very firm hard-boiled egg.

It’s not advised for anyone to eat raw eggs.  Some whole shell eggs may contain bacteria that can lead to food born illness.1 

Step 6: Ice Water Bath for rapid cooling

While the eggs are boiling, prepare an ice-water bath. This is basically a large bowl filled with ice and cool water from the tap.  Exactly when your timer goes off, remove the eggs with your slotted spoon and transfer them into the ice bath. This will halt the cooking process and make your eggs easier to peel.

Step 7: Peeling

Once the eggs are cooled (about 5 minutes in the ice bath), gently crack them all over and peel under running water for most manageable peeling.

Tips

  • Do not overcrowd the pot; boil in batches if necessary.
  • Fresh eggs are more difficult to peel. Use eggs that have been in the refrigerator for at least a week. As an egg ages, moisture escapes from the shell leaving an air pocket inside.  The more air there is, the easier it will be to peel them.  
  • For extra help with peeling, after cooling the eggs in an ice-water bath, peel the eggs under cold running water or in the water bath itself.

Nutrition & Macros

One large egg contains about 6 grams of protein which is important for building and repairing tissues in the body. It also provides 5 grams of healthy fats that are necessary for brain health and can help with weight management by keeping you fuller longer.

Macros: 6gP, 5gF, 1gC, 0g Fiber

Join my next round of the FASTer Way

Tired of endless diets and no results? Join the FASTer Way to Fat Loss and see real, sustainable changes in just 6 weeks!

Melanie Marcus FASTer Way to Fat Loss Coach

Eggs are also rich in choline, a nutrient that plays a vital role in brain development and function. Furthermore, they contain antioxidants lutein and zeaxanthin which promote eye health.

What to do with hard boiled eggs

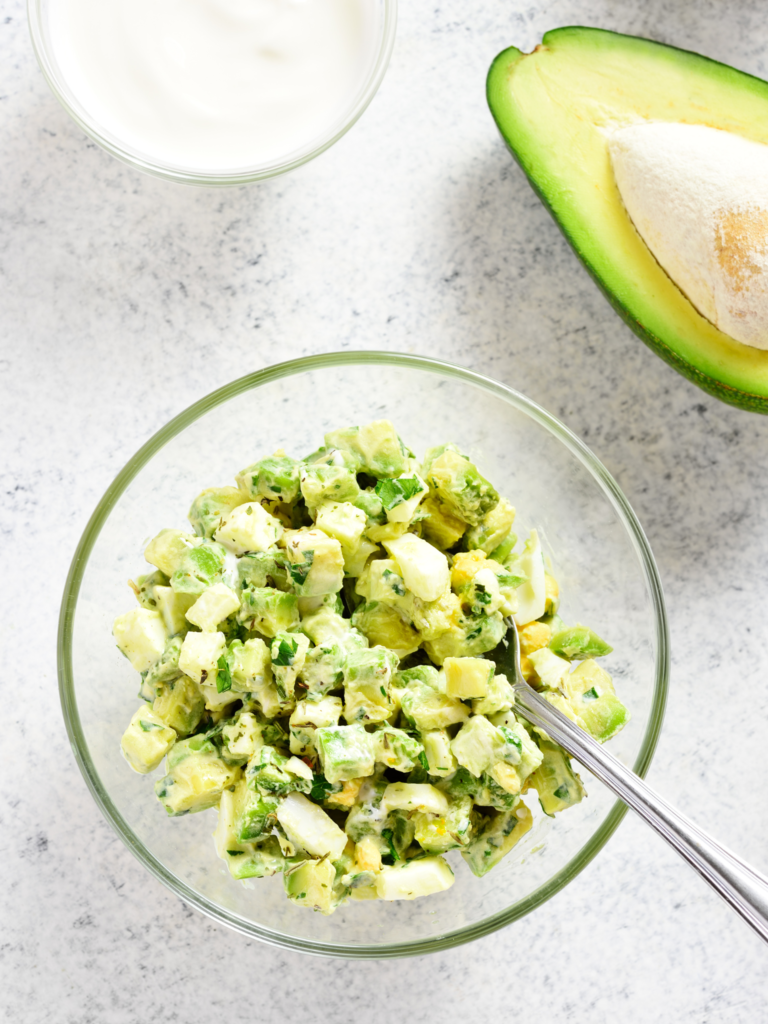
  • Turn into egg salad.  On busy days I like to mix 2 hard boiled eggs with 1 individual serving of avocado mash for a quick low carb option.  
  • On toast!  Slice your hard boiled eggs and place on buttered toast with a bit of Seasonello!
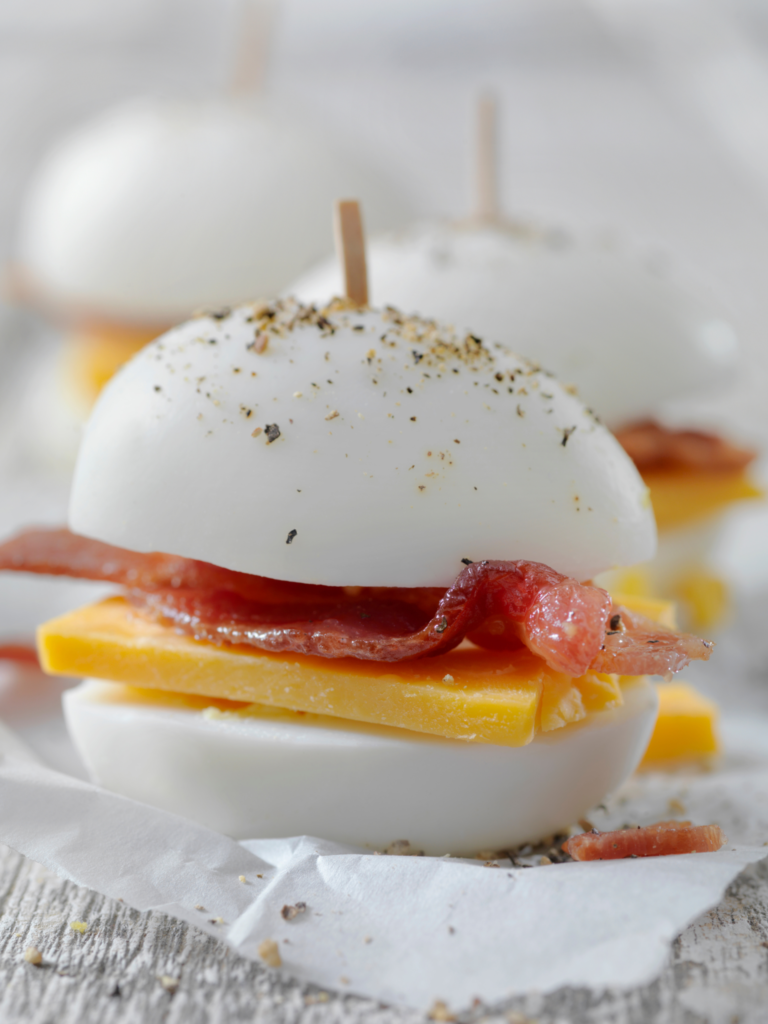
  • Eat them plain as a protein-packed snack.  Pair with berries and whole grain crackers to make it more substantial.  
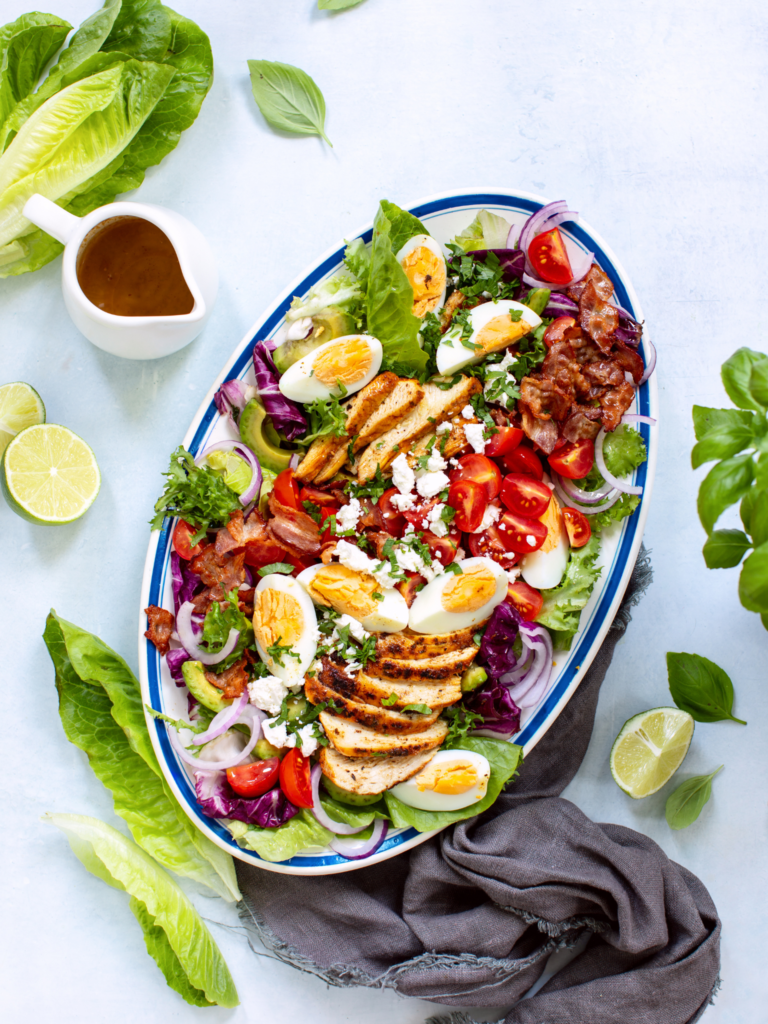
  • Use them to make a Cobb salad for a low carb day meal.  
  • My kids usually grab their own hard boiled eggs in the morning as part of a quick hands off breakfast for me!
  • Decorate them for Easter 🙂

How long will hard boiled eggs last

Hard boiled eggs can last up to one week if stored properly. The key is to keep them in the fridge and not leave them out at room temperature for too long. 

I usually place eggs in a bowl once cooled and store them on the center shelf in my fridge.  This way anytime we open the fridge we can see them, and eat them before the week is over.  

Sources

  1. https://ask.usda.gov/s/article/Is-it-safe-to-eat-lightly-cooked-egg-dishes-or-use-recipes-that-call-for-raw-eggs

About Me

I’m Melanie.

I’m a chef, registered dietitian, foodie, wife and mom.
If you’re looking for quick and healthy meal inspiration that serves YOU and your family well, then you’ve come to the right place!

Melanie Marcus Selfie

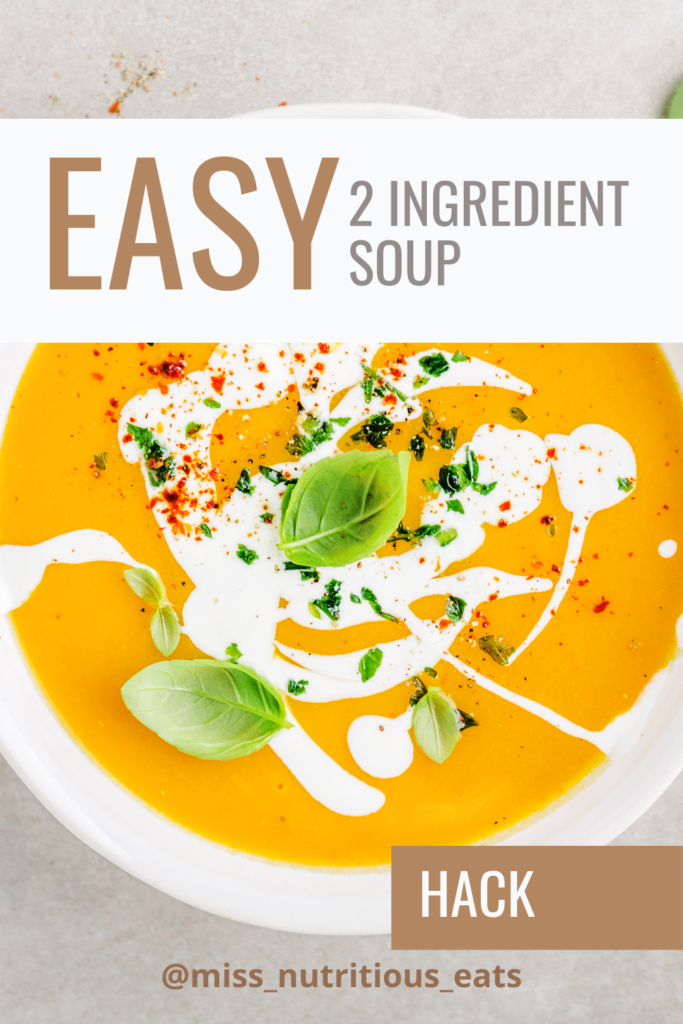
Two ingredient soup hack (creamy + nourishing)

As a mom and dietitian, I’m always on the hunt to make something wholesome and easy to feed myself and my kids – and this one hits the mark for both. You can warm up your soul with this quick and easy two-ingredient soup hack that is perfect for those busy weekdays or whenever you need a quick dinner fix. It also happens to be an excellent way to get your kids to eat vegetables! Plus you can add to it to create a macro balanced meal or snack.  It is literally the easiest soup recipes I have ever tested.

This recipe is built on the convenience of frozen mirepoix and chicken broth from the grocery store, making it a great go-to meal when you’re short on time.

Jump to Recipe

Ingredients and Alternatives:

For this basic recipe, you will only need two main ingredients, frozen mirepoix and broth, but you can add additional ingredients to customize the soup to your own preference. 

Frozen mirepoix

  • This is a combination of pre-diced celery, onion and carrot.  I usually have a bag in the freezer.  
  • This soup is equally as good with fresh mirepoix, my local Trader Joe’s and Harris Teeter always have it available in the produce aisle.  When I buy fresh, I generally try to cook it the same day.  
  • You could always use 3/4 cup each of diced carrots and celery with 1 cup of diced onion.  
Chopped onions, carrots, leeks and turnips for soup.

Chicken stock

Bowl of broth herbs and spices to make chicken soup
  • Vegetable stock is a perfect alternative if you’re vegan, vegetarian or trying to follow a more plant based lifestyle.
  • Beef stock will add a deeper umami flavor to this soup.
  • Turkey stock is a great alternative to chicken stock.
  • Bone broth may also be used.  This option will offer a more protein rich soup.  

​Make it your own

  • Feel free to add fresh herbs, such as thyme or rosemary, to elevate the soup’s flavor, or hot sauce to add an extra kick.
  • Try adding a can of tomatoes to make a tomato-based soup.
  • Grate or add a cube of fresh ginger to the mirepoix for a nutrient and flavor boost.
  • Serve with poached shrimp for an elegant starter or light lunch.
Jump to Recipe

Steps to Make It:

  1. Start by heating up a large pot on medium heat and adding a tablespoon of olive oil.
  2. Add the frozen mirepoix mixture and cook for 5-7 minutes until it’s soft and fragrant.
  3. Pour in the chicken or vegetable broth, enough to cover the mirepoix, and let it come to a boil.
  4. Turn down the heat and let the soup simmer for at least 15 minutes.
  5. Use an immersion blender to puree the soup until you reach the desired consistency.
  6. If you want a thinner soup, add more warm chicken or veggie stock and blend.  
  7. Serve hot with toppings of your choice.
Home blender

The beauty of this recipe is that it is perfect for anyone looking for a warm and hearty soup without having to spend hours in the kitchen. This is perfect for those who are seeking a healthy option but don’t want to sacrifice flavor.

Interesting Ways to Serve It:

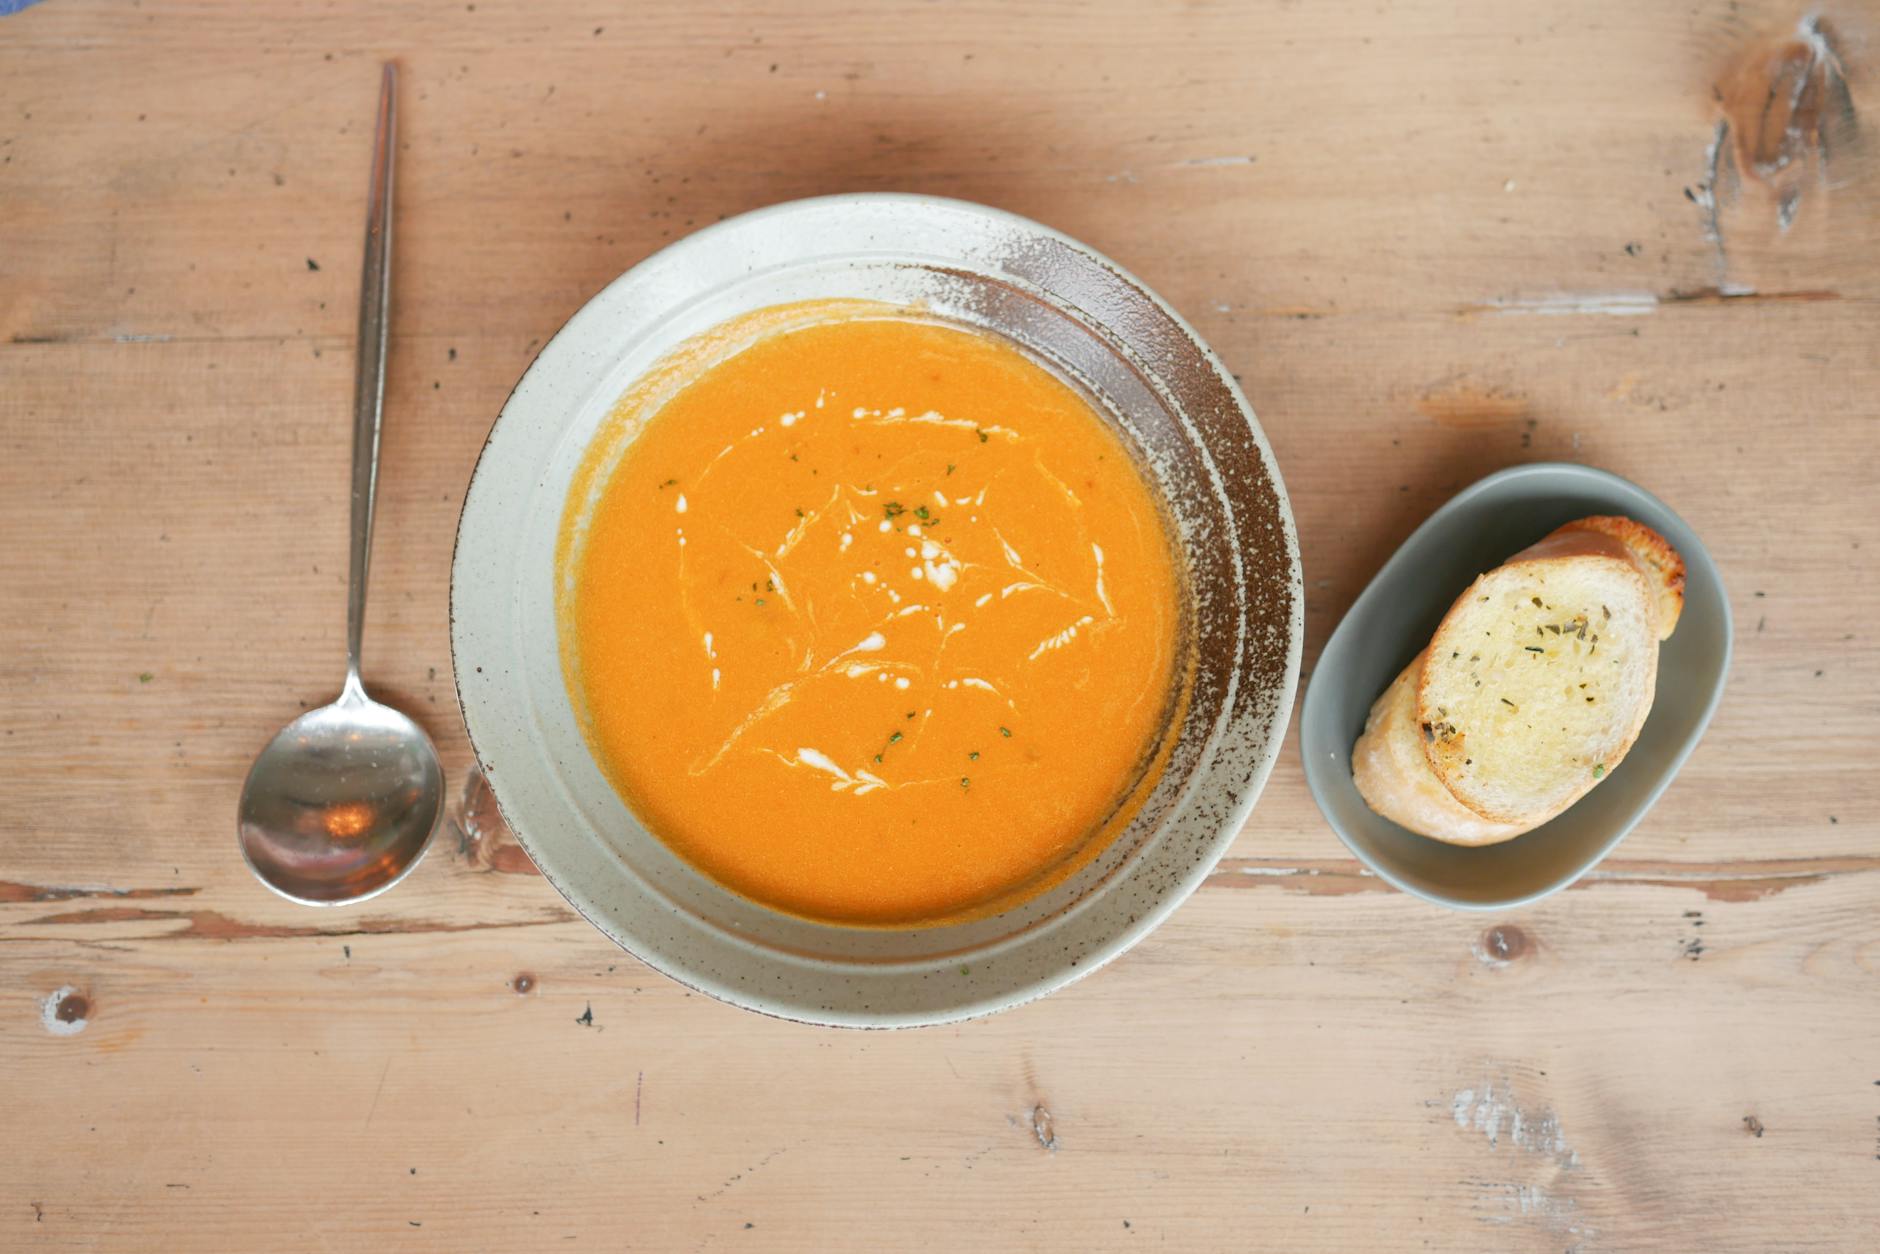
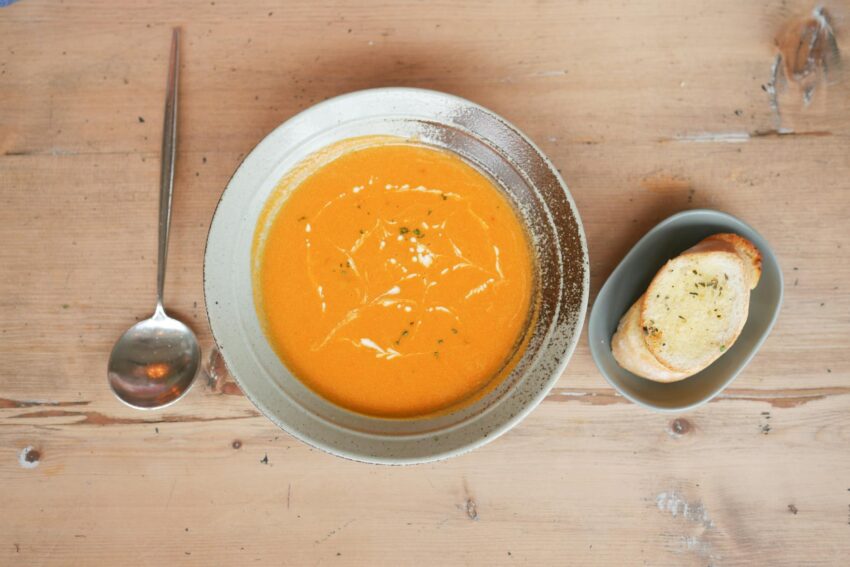
Bowl of creamy soup decoreated with crema and herbs

If you’re looking to mix things up, try serving this soup as a base for a poached egg. 

You can also roast sweet potato cubes and add them to the soup for a seasonal twist. 

For extra creaminess, add a dollop of Greek yogurt, (heavy cream or sour cream work too!) 

 Serve with crusty bread, green onions, and black pepper.

Top with croutons or toasted pumpkin seeds for an extra crunch.

This two-ingredient soup is an easy favorite during any time of year and is perfect for children and adults alike.

How to store It:

You can pop any leftover soup in the freezer in an airtight container for a quick and easy lunch. I recommend pouring into pint containers for easy meal prepping and portioning.

Nutrition & Macros:

This soup is packed with nutrients from the vegetables and broth. Mirepoix, made from a mix of carrots, celery, and onions, is an excellent source of vitamins and fiber. It is also great for hydration.

It has about 100 calories per serving and is made with real whole food ingredients.

  • Carbohydrates 5g
  • Protein 6g
  • Fat 3g

These values may change if you use a different broth such as bone broth or vegetable broth.

If you’re following the FASTer Way, save this recipe for low macro day. It’s will definitely help you feel full and hit your macro targets.

If you’re in a soup mood, you should try this split lentil soup recipe. It’s high protein and fiber gets better with time.

Don’t hesitate to make it your own by adding your own twist to the recipe. Happy cooking!

delicious pumpkin soup in ceramic bowl

2 Ingredient Soup

This recipes is so easy and comes together quickly for a cozy soup.
Cook Time 45 minutes
Total Time 45 minutes
Course Soup
Cuisine American
Servings 4
Calories 109 kcal

Equipment

  • 1 blender

Ingredients
  

  • Frozen Mirepoix
  • 32 ounces chicken stock

Instructions
 

  • Heat 1 tbsp olive oil in stock pot.
  • Add frozen bag of mirepoix and cook over medium heat until translucent and soft. About 10 minutes.
  • Add broth or stock to vegetables and let simmer for 20 minutes.
  • Transfer hot soup to blender and blend until smooth.
  • Serve and enjoy

Nutrition

Serving: 4gCalories: 109kcalCarbohydrates: 15gProtein: 6gFat: 3gSaturated Fat: 1gPolyunsaturated Fat: 0.5gMonounsaturated Fat: 1gCholesterol: 7mgSodium: 374mgPotassium: 238mgFiber: 2gSugar: 7gVitamin A: 35IUVitamin C: 4mgCalcium: 9mgIron: 0.5mg
Keyword easy, kid friendly
Tried this recipe?Let us know how it was!

About Me

I’m Melanie.

I’m a chef, registered dietitian, foodie, wife and mom.
If you’re looking for quick and healthy meal inspiration that serves YOU and your family well, then you’ve come to the right place!

Melanie Marcus Selfie

Mom’s Best Ever Whole-Wheat zucchini bread recipe

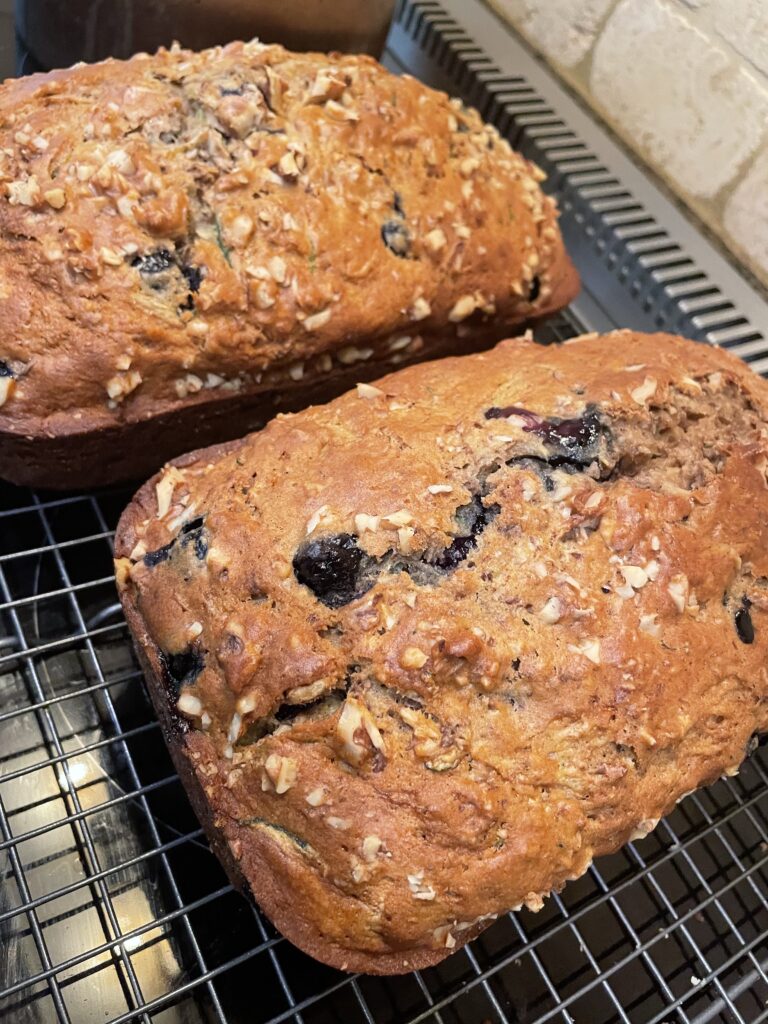
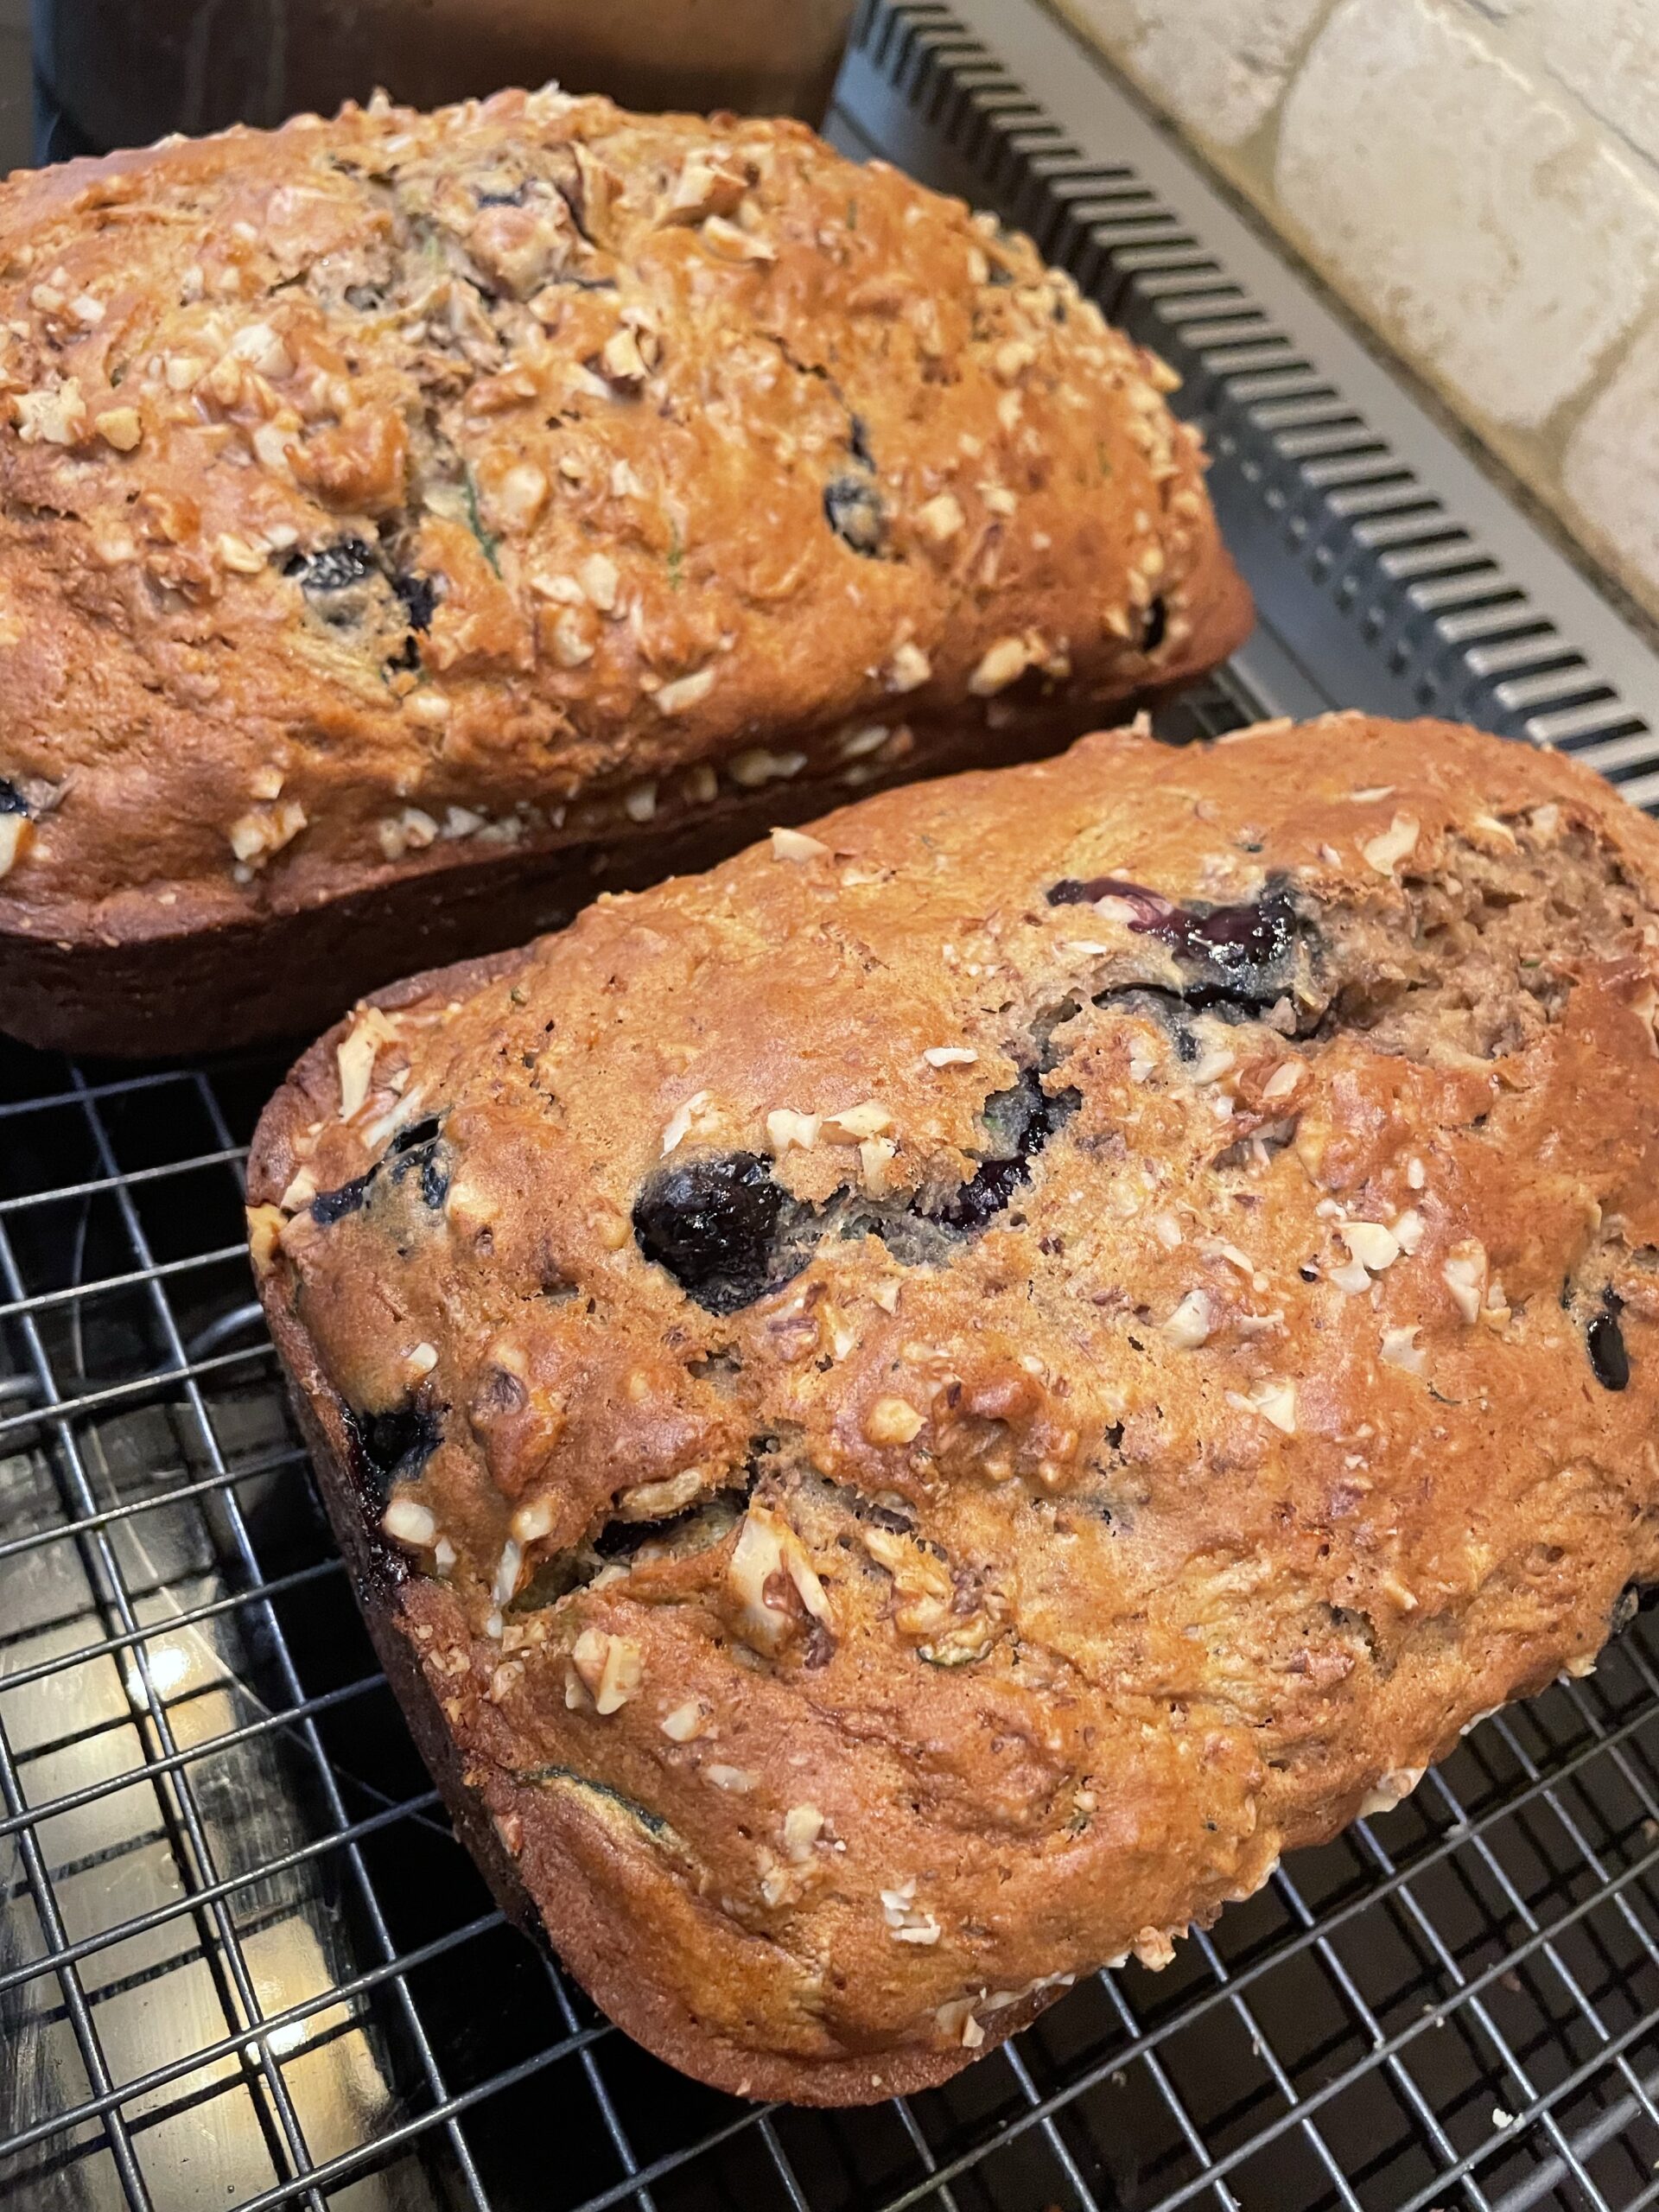
I enjoyed this delicious zucchini bread recipe frequently during my childhood. It was a go-to option for quick breakfast, an after-school snack, and as an adult, a sweet(ish) after dinner treat. One of our family favorites was the blueberry zucchini bread, baked to perfection in a bundt pan. During prime zucchini season, the irresistible aroma of freshly baked loaves would fill the air, waiting to be packaged and frozen for later indulgence.  What a great memory – and now I share it with my children.

Jump to Recipe

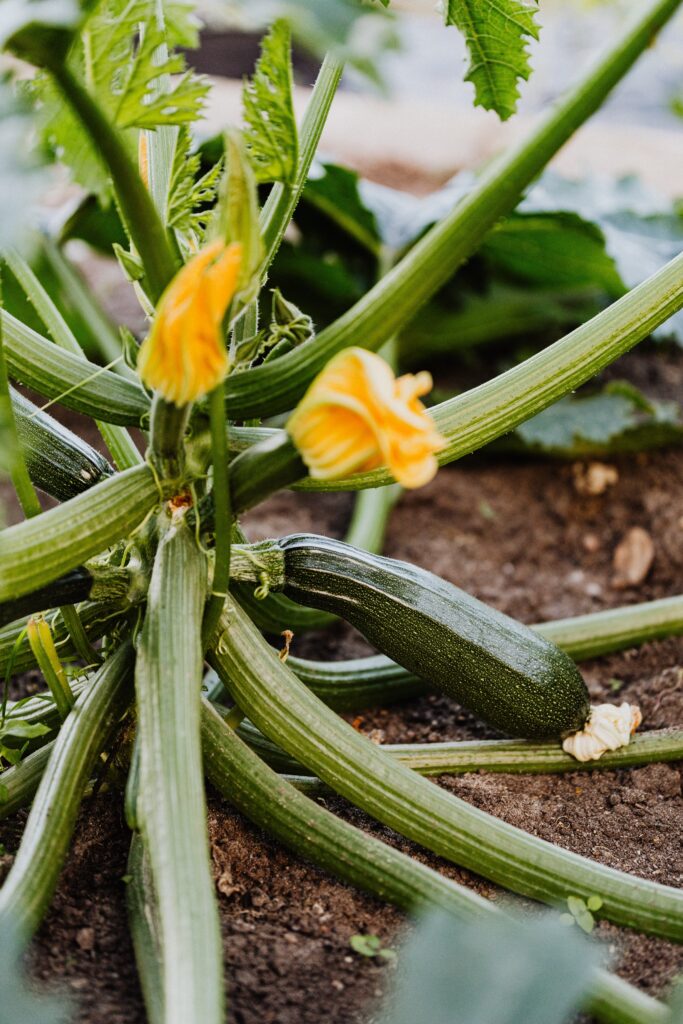
Now that I have my own garden, growing zucchini plants successfully has been quite the challenge.  I’ve learned first hand that squash bugs can take out your crop within a week if you’re not prepared – and to grow them in North Carolina is a labor of love.  After three years of watching my plants die, this year I was ready and have been able to grow amazing zucchini through August! If you are a successful gardener, bookmark this page so you can make this wholesome zucchini bread recipe anytime.  You won’t regret it!

Ingredients and Substitutions for Walnut Zucchini Bread

  • Walnuts – preferably toasted!  Always store walnuts in the fridge to maintain freshness.  
  • Eggs – It’s best to use room temperature eggs.  Also, you can use up to two flax eggs in this recipe if you want.  
  • Sugar – the original recipe called for 2 cups of sugar. If you want to limit sugar, you can go down to 3/4 cup instead – which is what I do! Coconut sugar can be used instead of white sugar if you like.  I don’t recommend using honey or maple syrup because they’ll add extra moisture.  
  • Vegetable Oil – any oil will work.  I’ve used canola oil, olive oil, coconut oil and rapeseed oil and they all turned out well.  Keep in mind that certain oils will impart flavor and potentially more saturated fat than others.  
  • Apple Sauce – I use unsweetened apple sauce to help keep the bread moist.  You can also use plain greek yogurt or mashed banana. 
  • Unsifted White Whole Wheat Flour – You can use half whole wheat (whole grain flour) and half white flour to  bump up nutrients from whole grains.  All purpose flour or AP flour will also work well.
  • Baking Soda
  • Salt
  • Cinnamon
  • Baking Powder 
  • Zucchini shred using food processor or box grater.  This recipe calls for two cups of grated zucchini, I tend to use about 2 1/2 cups or one large zucchini. But remember to remove the seeds!!  Smaller zucchini are more desirable for their smaller, more digestable seeds.  If your zucchini is large, you will need to scoop them out.  
  • Vanilla extract
  • Optional mix ins :  blueberries, raisins, chocolate chips, lemon zest
Jump to Recipe

It’s so good that I’ll even make it in winter!

About white whole-wheat flour

White whole wheat flour is a healthier alternative to traditional all-purpose flour because it is made from whole grains rather than refined grains. Unlike other types of whole wheat flour, white whole wheat flour is made from a variety of wheat that has a lighter color and milder flavor, making it more appealing to those who are used to the taste of white flour. White whole wheat flour retains the bran and germ of the wheat, which are packed with fiber, vitamins, and minerals that are beneficial for our health. 

How to make the best zucchini bread

I love a short and simple quick bread recipes, and this one is my favorite.  

  • First things first, preheat oven to 350F and line two bread pans (aka loaf pan) with parchment paper and spray with nonstick spray.  You can also use one bunt pan.
  • In a large bowl, beat eggs (plus flax eggs) if you’re using, sugar, applesauce and oil. I like to do this by hand, but you can use your stand mixer with paddle attachment.  
  • Next, in a medium bowl combine all of the dry ingredients.  Whisk flour mixture well before gradually adding to wet ingredients.  
  • Now mix in zucchini.  
  • Last stir in walnuts and vanilla.
  • Pour batter into prepared pan or divide batter into two loaf pans and bake at 350F for about 1 hour or until toothpick comes out clean.  Cooking time may vary slightly depending on the moisture content of the zucchini.    
  • When it comes out of the oven, set the pans on a cooling rack and cover with a clean kitchen towel.

How to freeze this classic zucchini bread

  • For best results, let your breads rest on a wire rack until cool to touch. This helps ensure that excess moisture has evaporated and doesn’t get trapped inside.  
  • Wrap tightly with aluminum foil.
  • Then label freezer-safe bag with date they were made.  
  • One loaf will fit into one gallon size plastic bag.  
  • Freeze completely in the coldest part of the freezer.  
  • When you’re ready to enjoy your zucchini walnut bread simply take out of the freezer the night before so you can have it the next day.

When to eat zucchini bread

1.  Serve for breakfast instead of store bought muffins.  

2.  Bring a loaf of zucchini bread to the office to share with co-workers

3.  Enjoy a warm slice with a little butter. There’s nothing like it.  

4.  Cut into individual slices and wrap with plastic wrap.  Store in a freezer safe bag in the freezer for a healthy snack anytime.  

The best part about this whole wheat zucchini bread recipe is that it makes two loaves!  It’s a quick bread batter that is sure to rival your favorite banana bread or pumpkin bread. For me, there is just something incredibly satisfying about this homemade treat – perhaps it was the inclusion of toasted walnuts, adding a perfect crunch to every bite.

Let me know if you try it for yourself!!  

Mom’s Walnut Zucchini Bread

Prep Time 15 minutes
Cook Time 50 minutes
Total Time 1 hour 5 minutes
Course Breakfast
Cuisine American
Servings 16
Calories 288 kcal

Ingredients
  

  • 4 each eggs
  • 1 cup sugar
  • 1 cup vegetable oil
  • 1 tsp vanilla
  • 2/3 cup unsweetened applesauce
  • 3.5 cups white whole wheat flour unsifted
  • 1.5 tsp baking soda
  • 1.5 tsp salt
  • 1 tsp cinnamon
  • 3/4 tsp baking powder
  • 2 cups shredded zucchini
  • 1/2 cup walnuts toasted and chopped

Instructions
 

  • Mix eggs, sugar, oil, applesauce and vanilla in a large bowl.
  • In another bowl, combine all dry ingredients.
  • Gradually add dry ingredients to wet ingredients.
  • Fold in zucchini and walnuts
  • Pour into 2 prepared loaf pans, or 1 bundt pan.

Nutrition

Serving: 16gCalories: 288kcalCarbohydrates: 33gProtein: 4gFat: 17gSaturated Fat: 2gPolyunsaturated Fat: 10gMonounsaturated Fat: 3gTrans Fat: 0.1gCholesterol: 1mgSodium: 343mgPotassium: 95mgFiber: 3gSugar: 14gVitamin A: 36IUVitamin C: 3mgCalcium: 37mgIron: 1mg
Tried this recipe?Let us know how it was!

About Me

I’m Melanie.

I’m a chef, registered dietitian, foodie, wife and mom.
If you’re looking for quick and healthy meal inspiration that serves YOU and your family well, then you’ve come to the right place!

Melanie Marcus Selfie

How to make a vegan Starbucks cold cream copycat

One of my absolute joys during this time of year is strolling around with a warm indulgent beverage in hand from my favorite local coffee shop – or Starbucks. 😌💕 Personally I love a grande Americano with soy milk, or a Starbucks pumpkin spice latte, but any warm and creamy but not too sweet beverage will do!

Doing that everyday, however gets a bit steep on the pocket and sometimes packed with calorie-laden, high-fat dairy… so I gotta savor it judiciously. BUT, here comes the game-changer: dairy-free cold foam! And the best part is that you can make it yourself at home!  The perfect swirl to crown my coffee creations. 😍 No guilt, just pure delight! Let me show you how! 🙌☕️

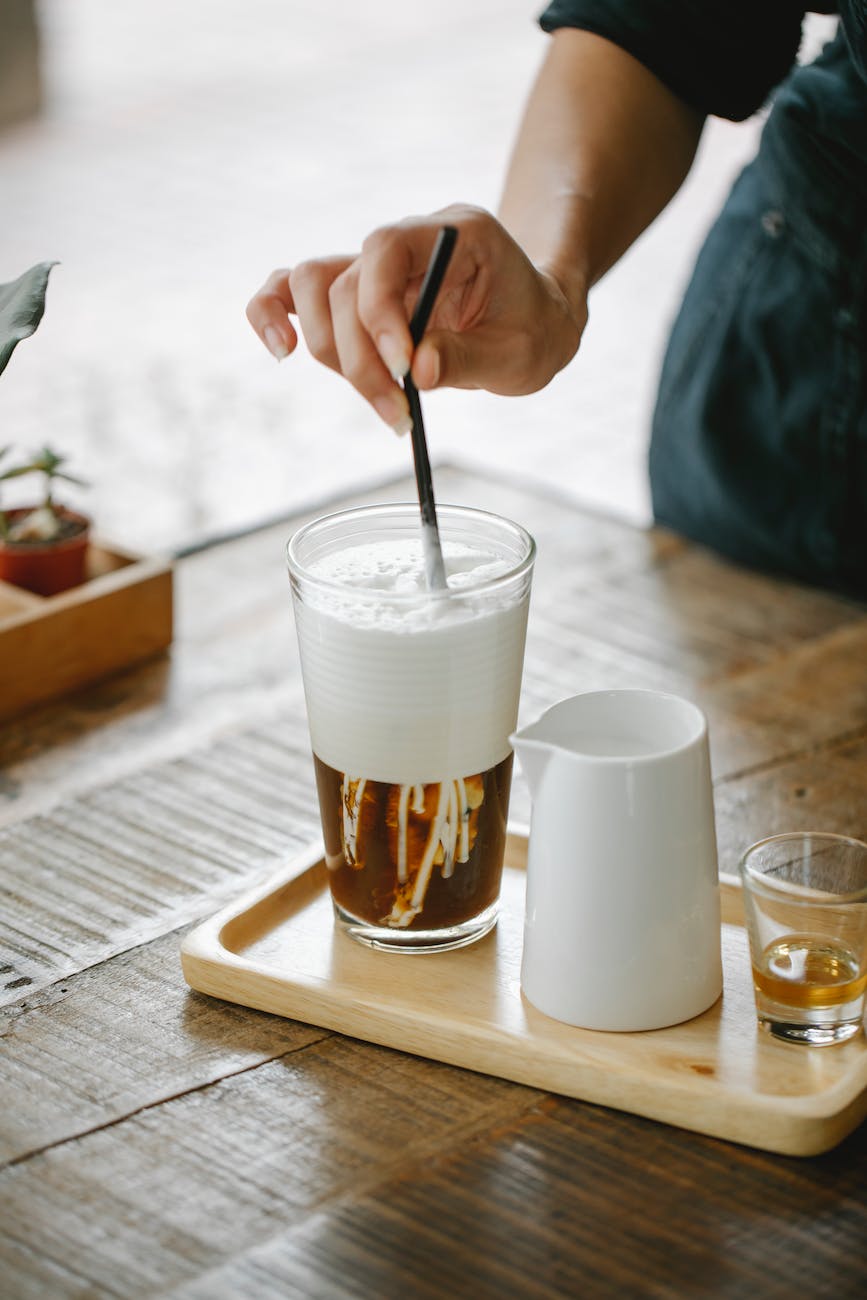
crop unrecognizable woman stirring sweet latte with straw

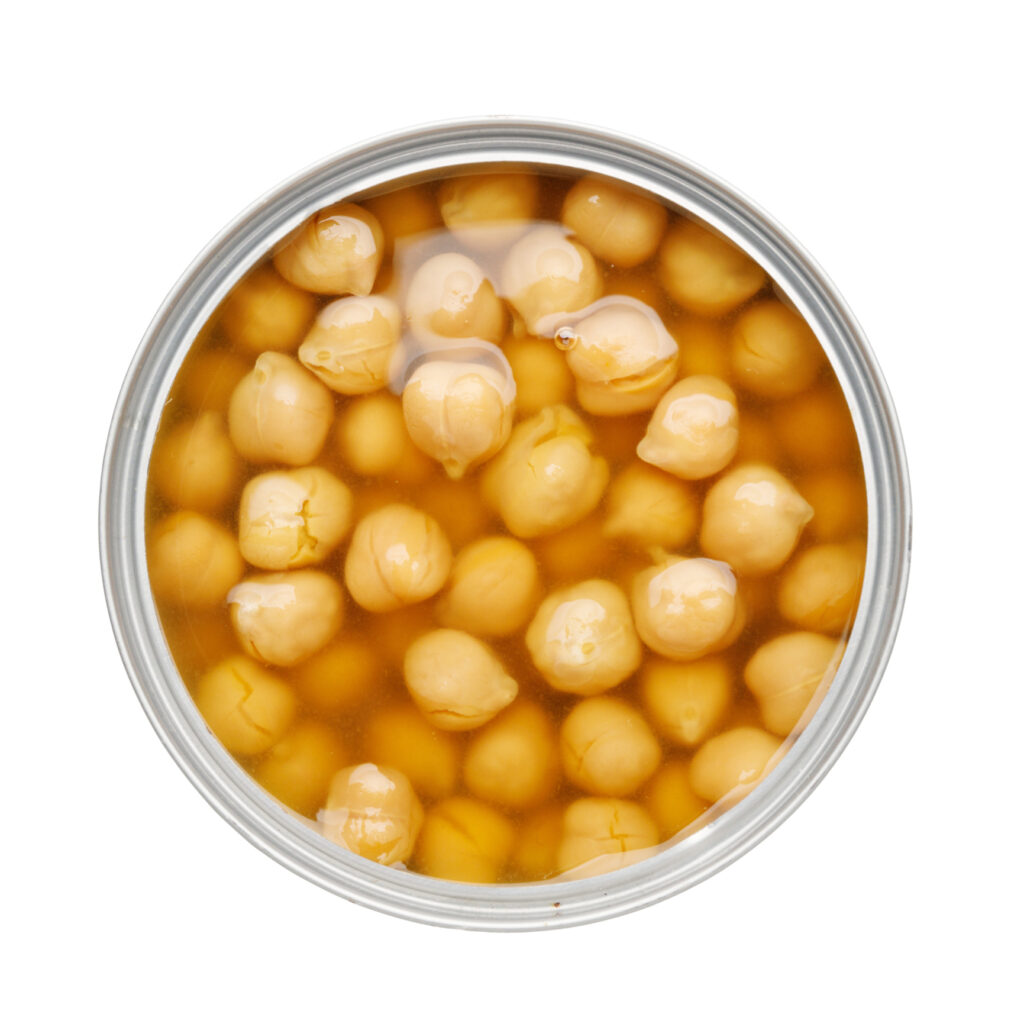
With just a few simple ingredients and a little time, I truly think this is one of the best ways to jazz up your own coffee for less money at home.  It’s actually a cool way to up-cycle chickpea liquid AKA aquafaba which typically is something that would be poured down the drain!  

Jump to Recipe

Why would you want to make a vegan cold foam?  

Well, it’s vegan, dairy-free, and packed with a light and creamy texture. Not to mention it’s super easy to make – all you’ll need is some sugar, aquafaba (the liquid from a can of chickpeas), cornstarch, and a mixer with whisk attachment. 

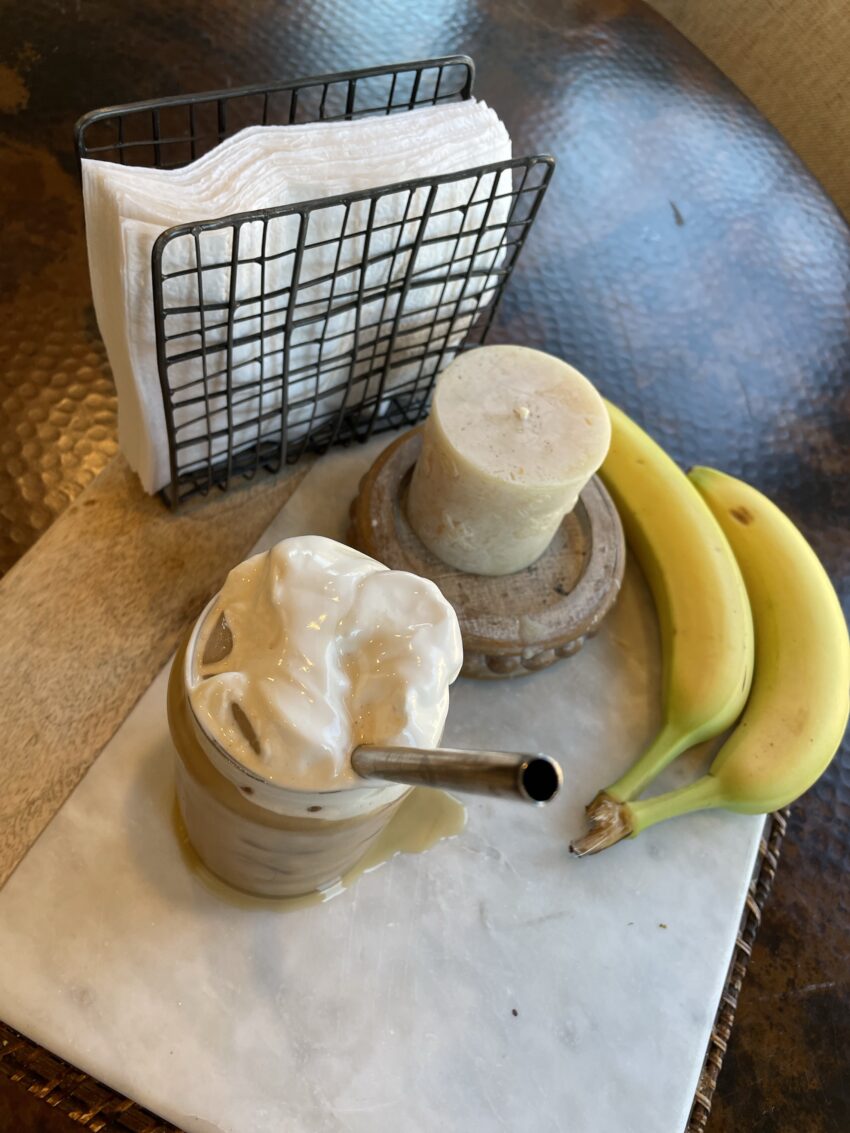
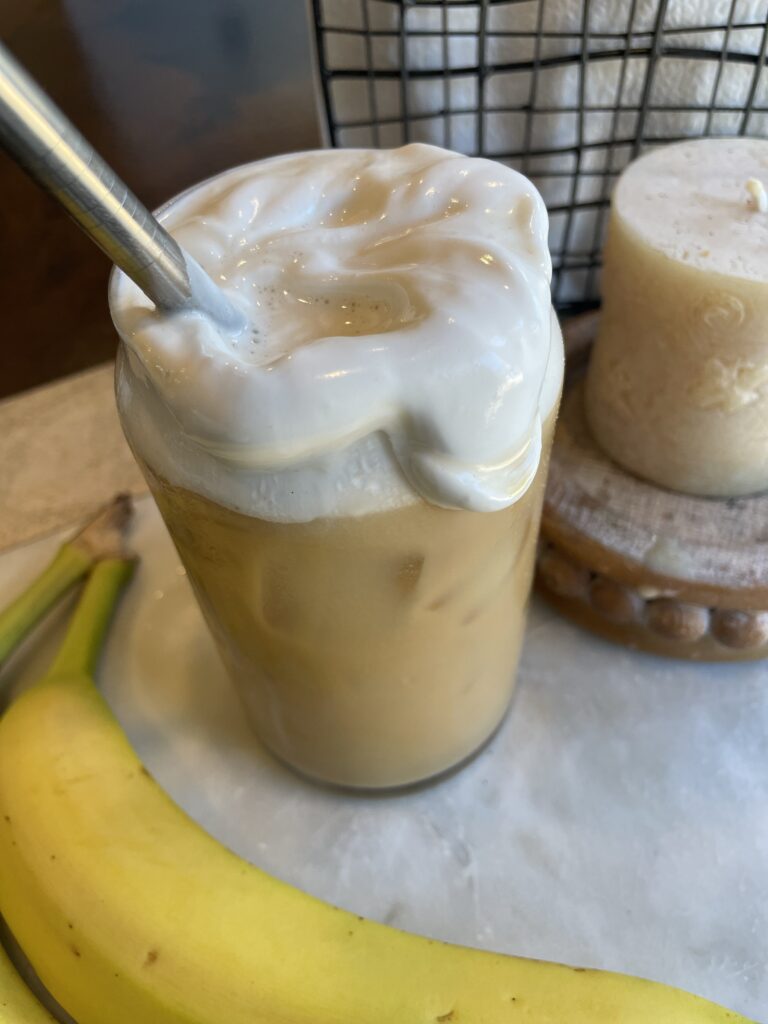
vegan diy cold foam iced coffee
  • If you’re trying to avoid dairy.  Many people are lactose intolerant and don’t even know it!  If that’s you, eliminating dairy can help ease stomach upset and bloating!
  • If you’re trying to limit added calories from saturated fat.  Full fat dairy makes an amazing foam, but it’s also full of saturated fat which could be a concern if you are trying to follow a heart healthy diet.  
  • If you want a lower calorie option.  Fat equals flavor and is double the calories of protein and carbohydrate, so everything that makes a cold creme appealing, will cost you in the calorie department.  This vegan cold foam does have some added sugar, but it doesn’t have any fat which means it’s macro friendly! 
  • If you are trying to follow an animal free lifestyle.  
  • If you are trying to live a vegan lifestyle and missing your sweet cold cream topping!  
  • If you’re looking for a creamy topping that foams better than your average plant milk!
  • You want to make morning coffee time extra special.  
  • You realize that non-dairy milk just doesn’t foam the same way as regular.  
  • ​Make a double batch to use on top of any dessert as a whipped cream alternative.  

I’ve noticed that oat milk, almond milk and soy milk just don’t foam the same way as whole milk or heavy cream.  (It’s because they have a much lower fat content, so they don’t get as airy.)  Coconut milk whips really well, but if you are trying to avoid saturated fat or have a heart condition, coconut milk should be avoided.  

Ingredients and Substitutions

  • Canned chickpeas – Any brand will do.  Personally I like to use Goya canned chickpeas for this recipe.  
  • Powdered sugar – Powdered sugar helps keep the creamy smooth consistency of the final whip.  You could use granulated sugar in a pinch, but it may be more grainy.  Brown sugar will be too dense and result in a flatter result.  
  • Cornstarch – This helps with texture.  You could also use cream of tartar.  
  • Vanilla extract – You can experiment with different flavors, but vanilla is classic.  A tiny drop of almond extract, even peppermint could be interesting too!  
  • I recommend making this in a traditional stand mixer, but a hand mixer or a high speed blender such as a Vitamix will work well. If you’re making a triple batch an immersion blender could be an option.  For it to work, you need to have enough liquid to blend so it can blend under the liquids surface.  A mini handheld frother doesn’t have enough umph for this recipe.  
Jump to Recipe

How to make vegan cold creme

First drain your chickpeas and reserve the chickpea liquid.  You will get about 1/2 cup.  

Next reduce this liquid by half over medium heat in a frying pan.  

Then whip the reduced aquafaba in your mixer for about 1 minute.  Then add your remaining ingredients- cornstarch, powdered sugar and vanilla and let it mix for 8-10 minutes until stiff peaks form.

You’re going to be amazed by how quickly this creamy foam comes together!!

What is aquafaba

Aquafaba is the starchy water from your can of trusty chickpeas.  When chickpeas are placed in the can, water is added and then they are sealed and cooked.  The water then becomes starchy during the cooking process.  As a result it can be used in a variety of ways and they behave similarly to egg whites!  

How to use dairy free cold cream

  • On top of any cold brew coffee recipe, french press, iced coffee or any iced drink for that matter
  • Serve on top of hot tea drinks like English breakfast.
  • Create your own Starbucks drinks at home by combining espresso with simple syrup topped with your homemade cold foam and a dusting of pumpkin spice!
  • Serve it instead of foamed milk or whipped cream.
  • Consider this topping a vegan meringue.  It will even brown if you place it under the broiler!
  • Add a dollop to chocolate milk for kids.  
  • Top puddings or pie for a vegan dessert.  

There are literally tons of different ways you can use this sweet cream foam.  Let me know how you use it!!

This recipe will replace any dairy cold foam recipe and last for five days in the fridge when stored in an airtight container. A mason jar or a small pint container works perfectly for this!      

Share this easy Starbucks copycat recipe with your best girlfriends who love vanilla sweet cream cold foam just as much as you do!

Calorie and nutrition info

Aquafaba typically has about 3-5 calories per tablespoon, mostly from carbohydrates. For the purposes of this recipe, I used 4 calories per tablespoon.

Aquafaba is vegan and gluten free.

This vegan cold cream recipe has about 63g carbs and zero protein, fat or fiber.


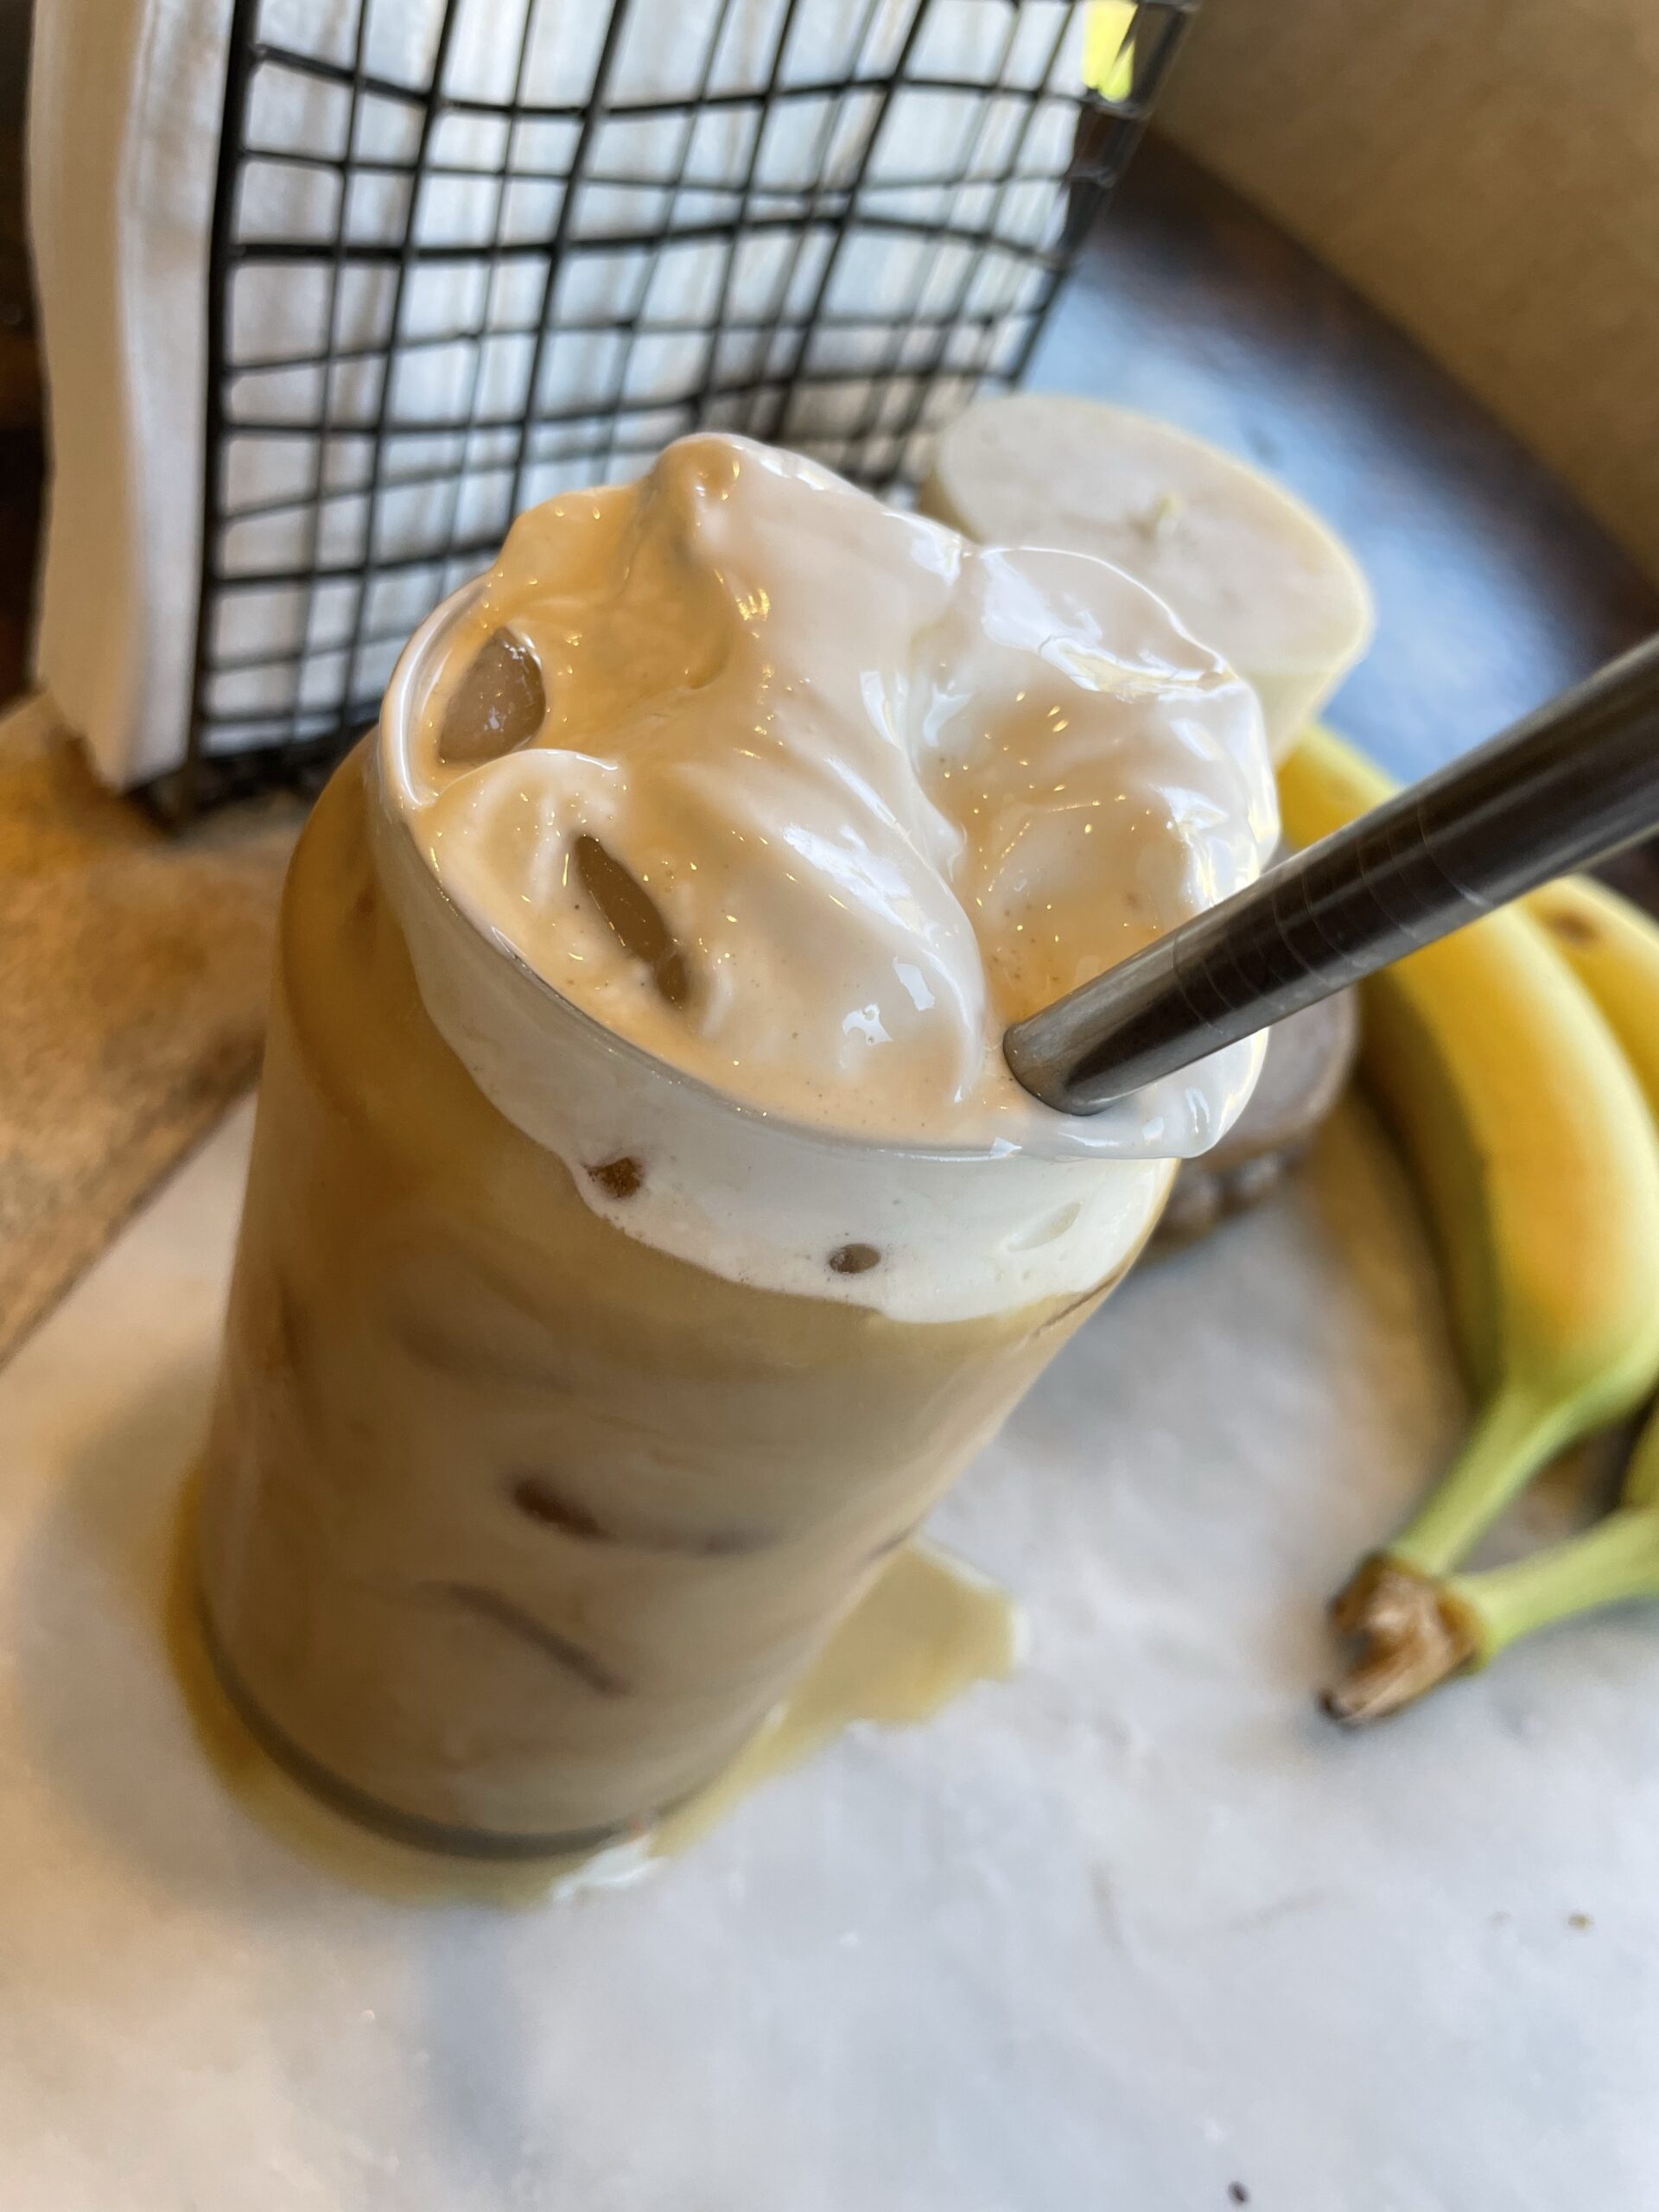
iced coffee with cold foam

Vegan DIY Starbucks Cold Cream

A dairy and animal free creamy topping for any hot or cold coffee beverage!
Prep Time 2 minutes
Cook Time 5 minutes
8 minutes
Total Time 15 minutes
Course Drinks
Servings 4
Calories 66 kcal

Equipment

  • 1 stand mixer

Ingredients
  

  • 1 can chickpeas about 1/2 cup liquid
  • 1/4 cup cornstarch
  • 3 tbsp powdered sugar
  • 1 tsp vanilla

Instructions
 

  • Drain a can of chickpeas and reserve liquid.
  • Reduce chickpea liquid by half. This should be about 1/4 cup.
  • Add liquid to stand mixer and blend with remaining ingredients for 8-10 minutes until stiff peaks form.

Notes

Store in an airtight container in the refrigerator for up to 5 days.  

Nutrition

Calories: 66kcal
Keyword easy, vegan
Tried this recipe?Let us know how it was!

References

Aquafaba Nutrition.(November 13, 2023) https://aquafaba.com/nutrition.html

Easy fried rice for one

Are you looking for an easy and tasty weeknight dinner that won’t take all night to make? Well, look no further than this super fast fried rice! You can may also like my egg roll in a bowl or easy ricotta pasta recipes – so check them out if you have time. But this delicious fried rice is my go to for busy weeknights since it has minimal ingredients and takes way less than 30 minutes from start to finish.

Plus, you can customize this basic recipe by using whatever vegetables or proteins you have in your fridge whether they are fresh or frozen. Keep reading to learn how my step-by-step guide will help you whip up a batch of irresistible fried rice in no time flat. It can also be made as a side dish for two or easily made to feed the entire family.

Jump to Recipe

Ingredients you need for this easy fried rice recipe

  • Toasted sesame oil – Other neutral oil such as vegetable oil, canola oil or olive oil will work well too here but sesame oil adds a lot of flavor.
  • Garlic – this is a classic flavor component, so don’t skimp. You can mince whole fresh garlic, use jarred minced garlic or frozen cubes are a great way to add flavor.
  • Fresh ginger – I like to use frozen cubes to keep this simple, but you can also grate fresh ginger.
  • Mixed vegetables – think fresh veggies like broccoli, bok choy, carrot, bell pepper, zucchini, green peas, green beans, onions, mini corn, bell peppers. A bag of frozen veggies will work here too.
  • Brown rice – I like to use brown rice, but it’s a matter of personal preference. Any rice will work. Leftover rice is a fabulous option if you have it. But white rice or cauliflower rice are also good substitutes. Just be sure any of the rice is pre-cooked and cooled. In fact, cold rice works best for fried rice recipes.
  • Gluten-free tamari – low sodium soy sauce, coconut aminos, even regular soy sauce will work but it does have gluten. These are all interchangeable so just use what you have.
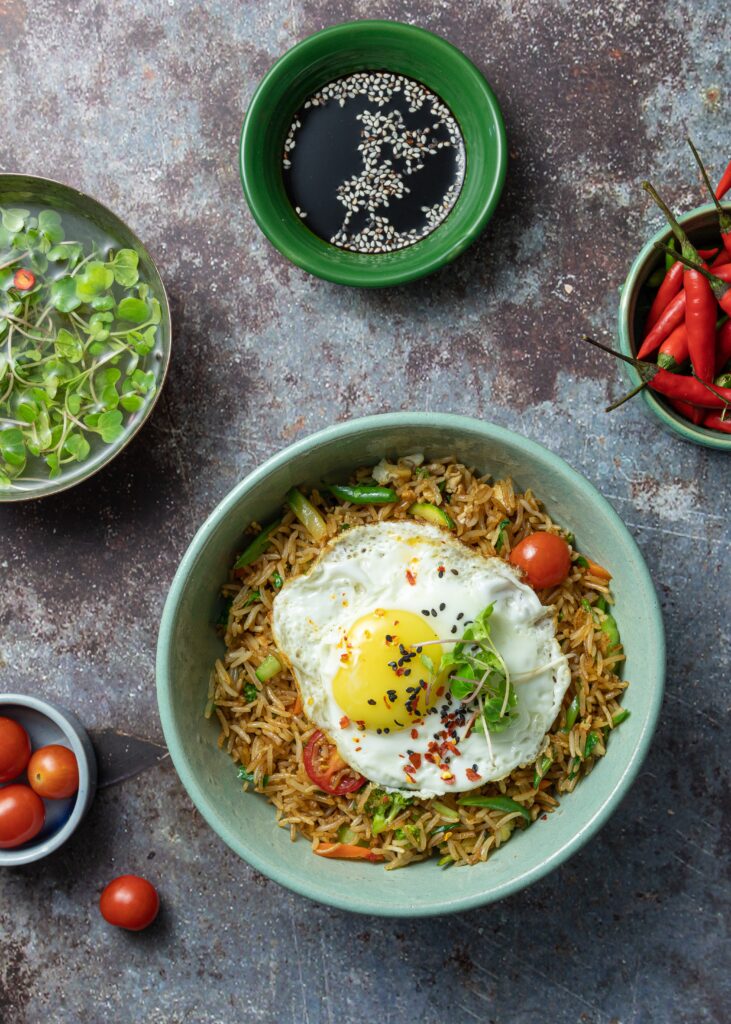
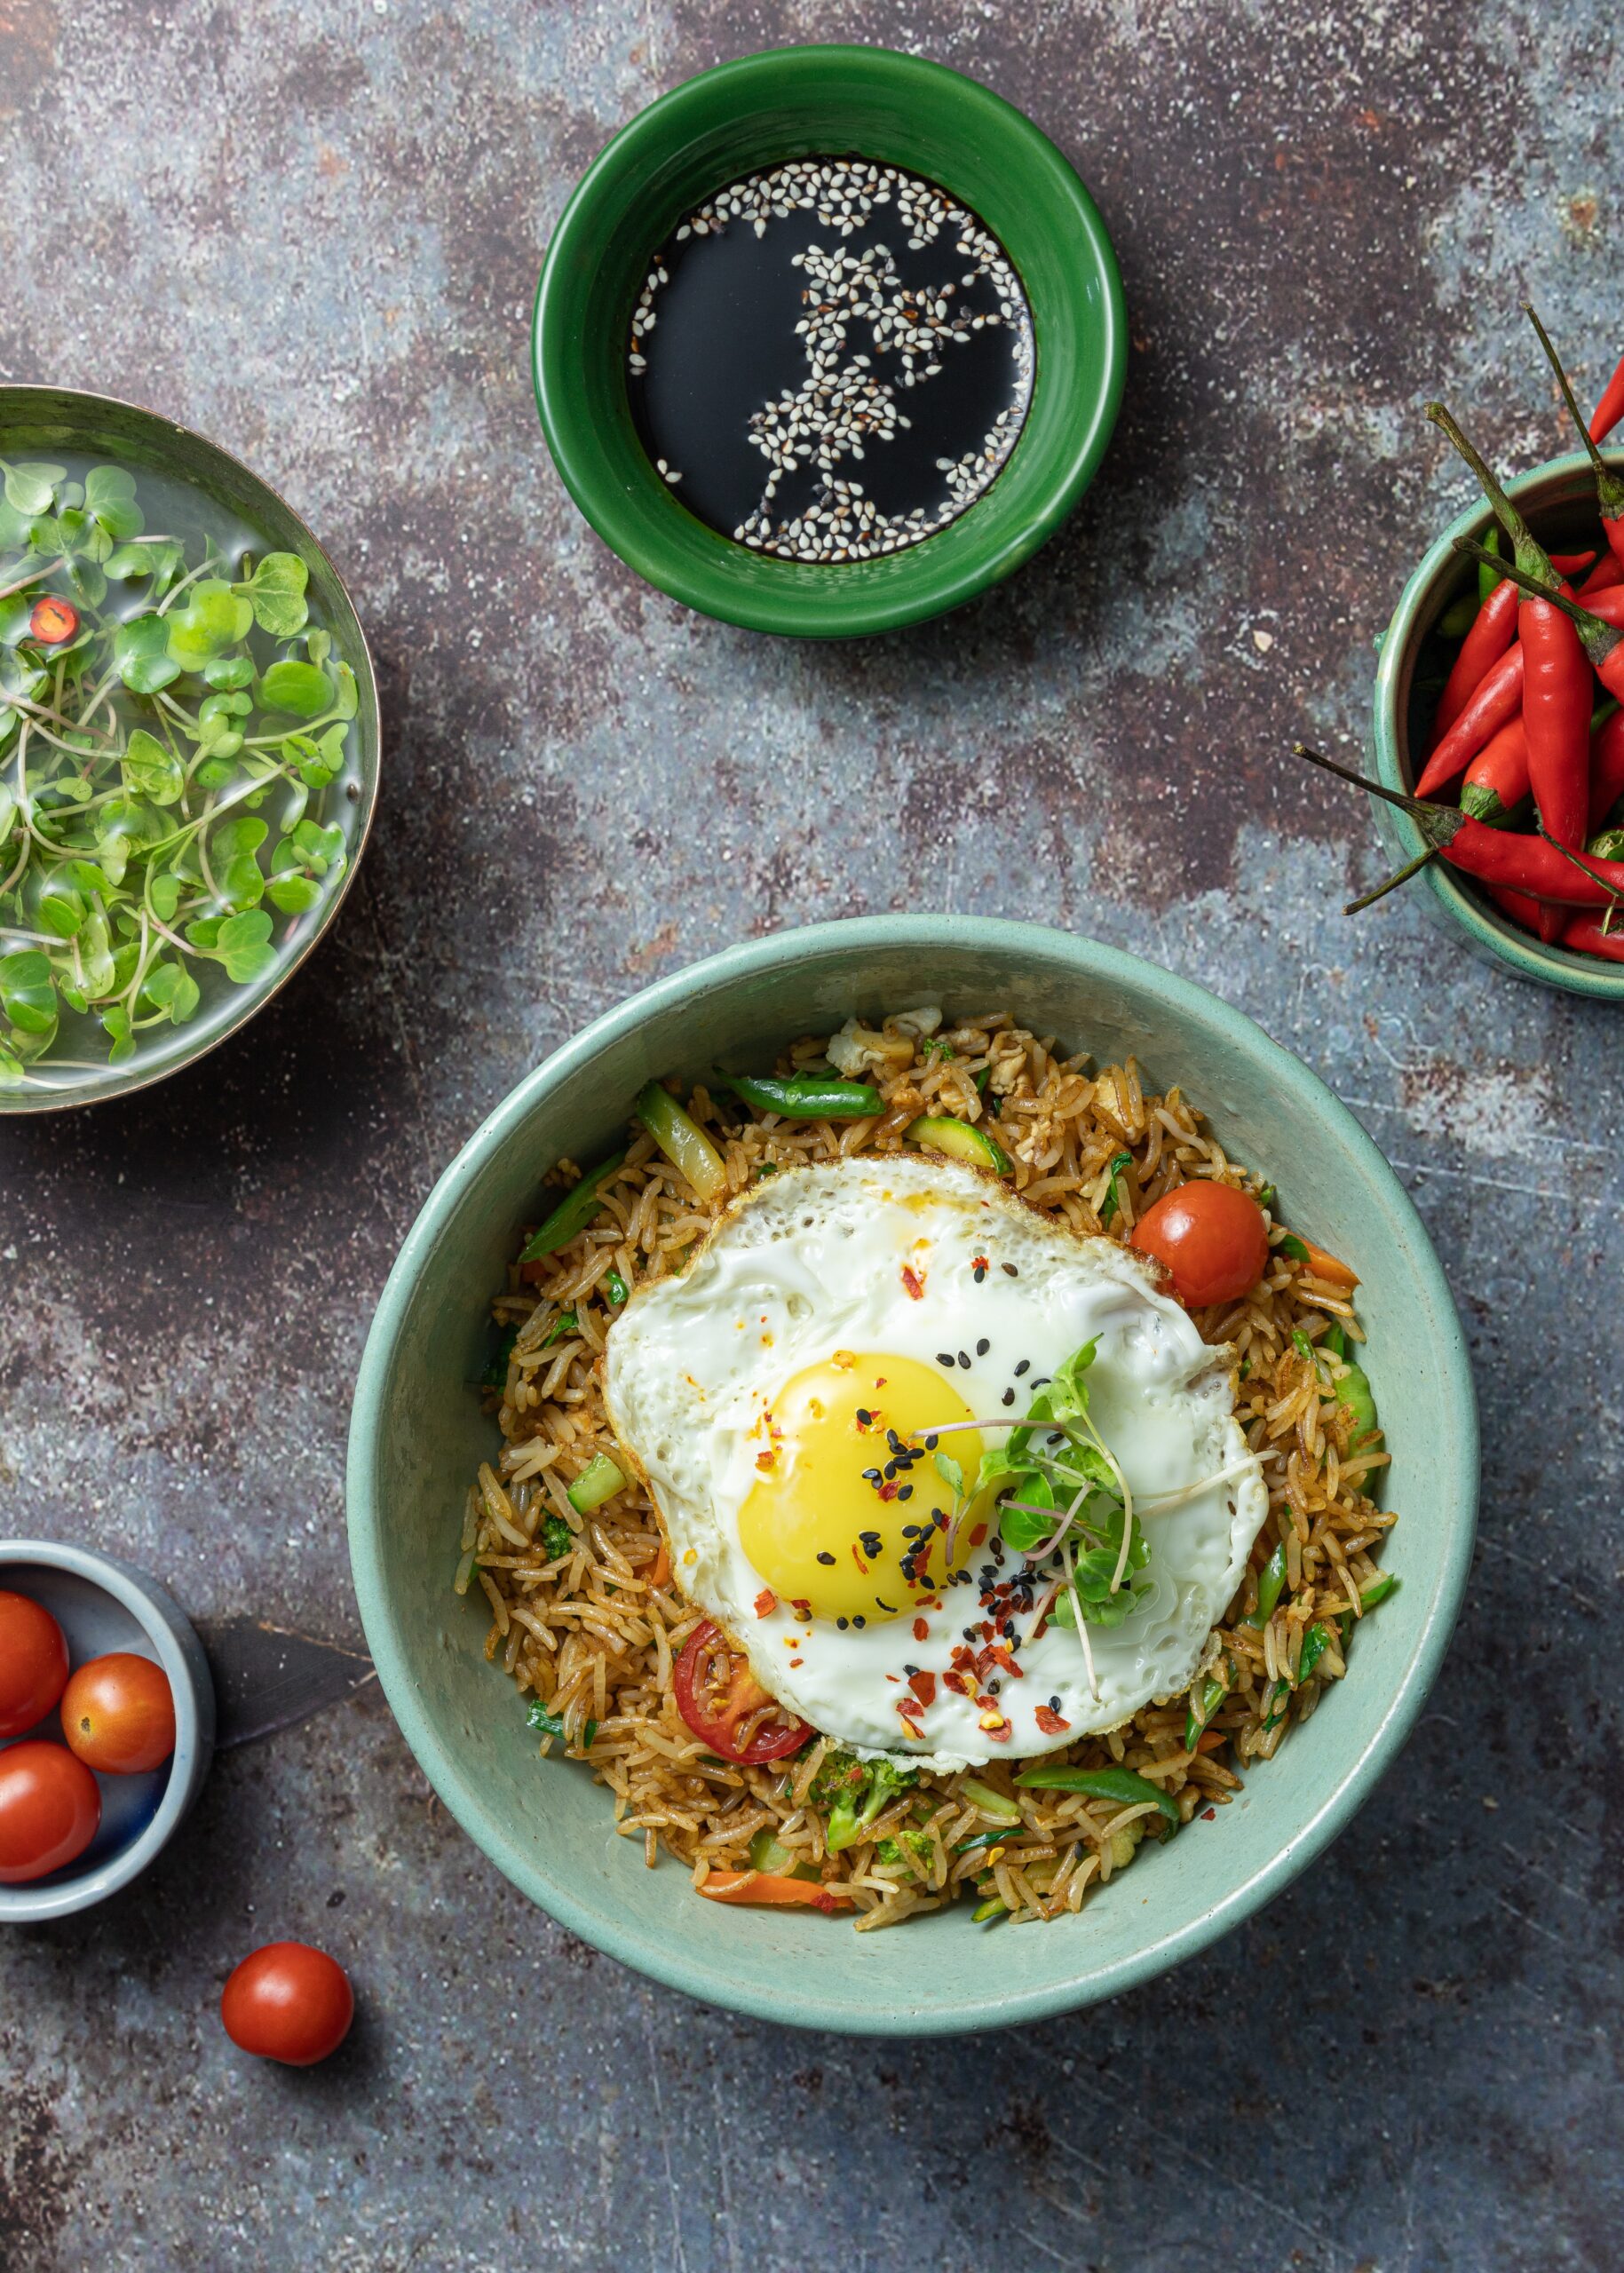
  • Whole egg – We fry them sunny side up, but I also like to scramble the egg into the rice the way my mom used to do it for us, so it’s just personal preference.
  • They key is to use a hot wok or well heated frying pan to make sure everything cooks evenly!
  • optional toppings: Sriracha, green onions, bean sprouts, cilantro, sesame seeds, cubed tofu, or protein of choice such as leftover chicken.
Jump to Recipe

Steps to make classic fried rice

  1. Heat the oil in a large skillet or large wok over high heat.
  2. When the oil is hot, add the garlic, ginger, and chopped vegetables and cook over medium-high heat .
  3. Stir-fry the vegetables for about 5 minutes, until lightly browned and softened. Keep the ingredients moving so they cook evenly.
  4. Add the rice and cook, for another 3 minutes, then add the soy sauce and cook for 1 minute more. 
  5. Let the rice cook, undisturbed for 1-2 minutes if you like crispy bits in your fried rice.  
  6. Remove rice from panServe with sriracha.

What kind of rice is best to use for fried rice?

Personally I love to use leftover cooked rice from takeout. Day-old rice works really well because the individual grains maintain their texture as opposed to getting mushy. While jasmine rice is popular because of its aroma and flavor, but it tends to naturally have wetter consistency that helps it clump together.

  • If you have a rice cooker – Make the most of it by making a larger batch of fresh rice, let it return to room temperature and then freeze on a sheet pan in a single layer to use for later weeknight meals.
  • Microwaveable packets of long-grain rice are great for this type of quick cooking. They are also the best way to keep on hand in your pantry to make a complete meal in under 2 minutes!
  • Frozen brown or white long grain rice are other good options. I recommend that you microwave just before you add to the cooked vegetables. Though I find that rice doesn’t get as crispy with this method.

As you can see there are several types of rice you can use.

Here’s a secret for good fried rice: Cook your rice until it’s al dente, which means it has a little bite left to it. This prevents your fried rice from becoming mushy as you add sauces to your stir fry.

Tips for adding more flavor

When making dishes that include soy sauce, you may think more soy sauce is better. While you don’t want to skimp, it could become very one note if you use too much. Here’s what I recommend instead.

Make your fried rice with quantities listed in the ingredient list. Then taste it. While it may need more soy sauce for your liking, it’s important to remember that 15 milliliters or 1 Tablespoon of soy sauce has 920 milligrams of sodium. That’s 38% of the daily recommended value, and just about half of what the American Heart Association recommends for a heart healthy diet.

Instead of adding more soy sauce, you may want to sprinkle with a small amount of kosher salt to help bring out some high notes.

Alternatively, use lemon or lime juice! Citrus helps bring balance to salty or fatty foods and helps your tongue and mind appreciate the flavors. Just give a squeeze over the top and taste the difference for yourself!

If you happen to have leftovers, store your homemade fried rice in the refrigerator in an airtight container.

Calorie information

This recipe is really macro friendly because it has a significant source of fiber, plus you can modify the fat, protein or carbohydrate to meet your needs easily!

Calories 456

Fat 12 grams

Saturated 2grams

Sodium 571 grams

Protein 16 grams

Fiber 7 grams

About Me

I’m Melanie.

I’m a chef, registered dietitian, foodie, wife and mom.
If you’re looking for quick and healthy meal inspiration that serves YOU and your family well, then you’ve come to the right place!

Melanie Marcus Selfie

Quick Fried Rice for One

Prep Time 2 minutes
Cook Time 11 minutes
Total Time 13 minutes
Course Main Course, Side Dish
Servings 0
Calories 456 kcal

Ingredients
  

  • 1 tsp toasted sesame oil
  • 1 clove garlic minced
  • 2 tsp fresh ginger minced
  • 2 cups vegetables chopped
  • 1 cup cooked brown rice cooled
  • 2 tsp low sodium soy sauce
  • 1 egg fried
  • edamame, shrimp, tofu, green onion, sesame seeds, sriracha

Instructions
 

  • Heat the oil in a large nonstick skillet over high heat.
  • When the oil is hot, add the garlic, ginger, and chopped vegetables.
  • Stir-fry the vegetables for about 5 minutes, until lightly browned and softened.  Keep the ingredients moving so they cook evenly.
    Add the rice and cook, for another 3 minutes, then add the soy sauce and cook for 1 minute more. 
  • Let the rice cook, undisturbed for 1-2 minutes if you like crispy bits in your fried rice.  
  • Transfer your rice to serving bowl and top with fried egg and additional toppings if desired.

Nutrition

Calories: 456kcal
Tried this recipe?Let us know how it was!

The secret to making viral Cottage Cheese “Protein” Ice Cream

Who doesn’t like ice cream? Traditional ice cream is my favorite dessert. Whether it’s a Carvel ice cream cake for birthdays, or soft serve ice cream on a summer day, I am here for it. Wouldn’t it be better if it helped you reach your health goals? As much as I love a traditional ice cream cone, if I’m honest, eating one daily is probably not going to get me to where I want to be. So when one of my girlfriends called me to ask my thoughts on TikTok’s viral cottage cheese “protein” ice cream, I had to try it! Watch here!

After making it a few times, I have one major takeaway. This recipe can go downhill fast with just one mistake – over freezing. It will make your ice cream so darn hard and icy, you’ll just want to toss it. But don’t worry, I have a few tips to avoid that frustration.

Jump to Recipe

What is cottage cheese ice cream?

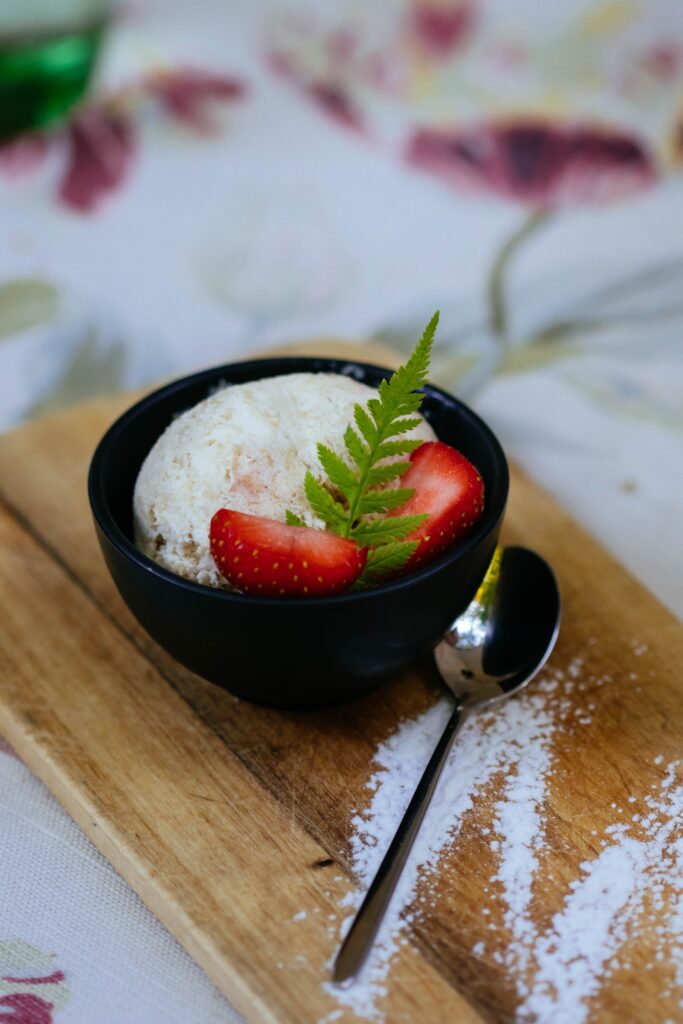
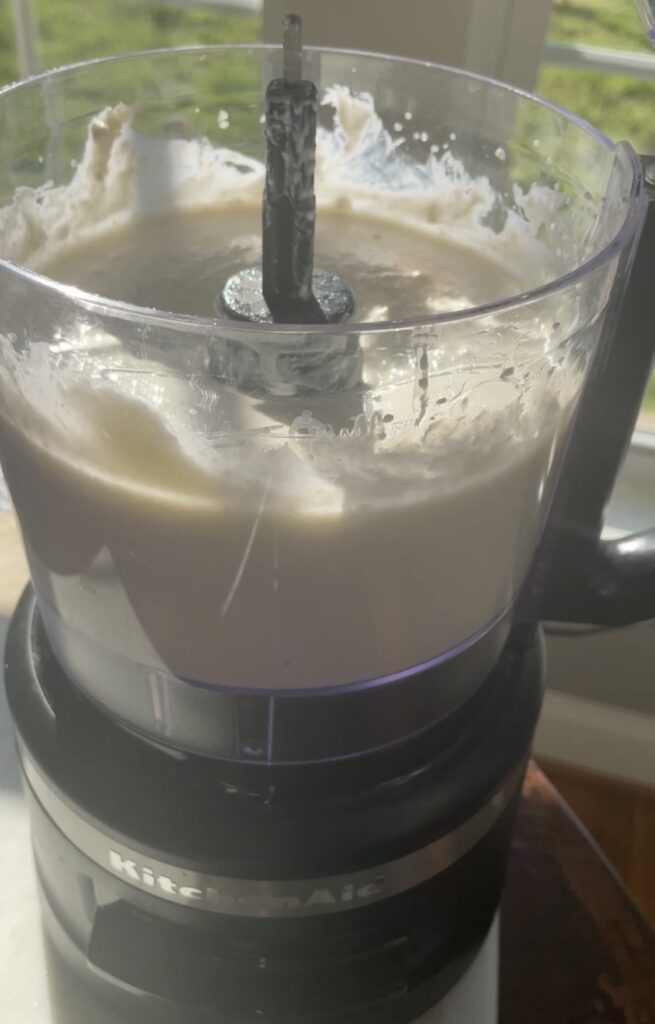
It is whipped cottage cheese that is combined with flavor pairings like vanilla and strawberry to make a creamy and delicious treat! The beauty is that you can make it with just about anything, as long as you have cottage cheese. When it is whipped, it takes on the consistency and flavor of softened cream cheese, which makes it a fantastic base for just about any flavor combination you like. It’s such a versatile ingredient and a very simple recipe!

Is cottage cheese ice cream a good source of protein?

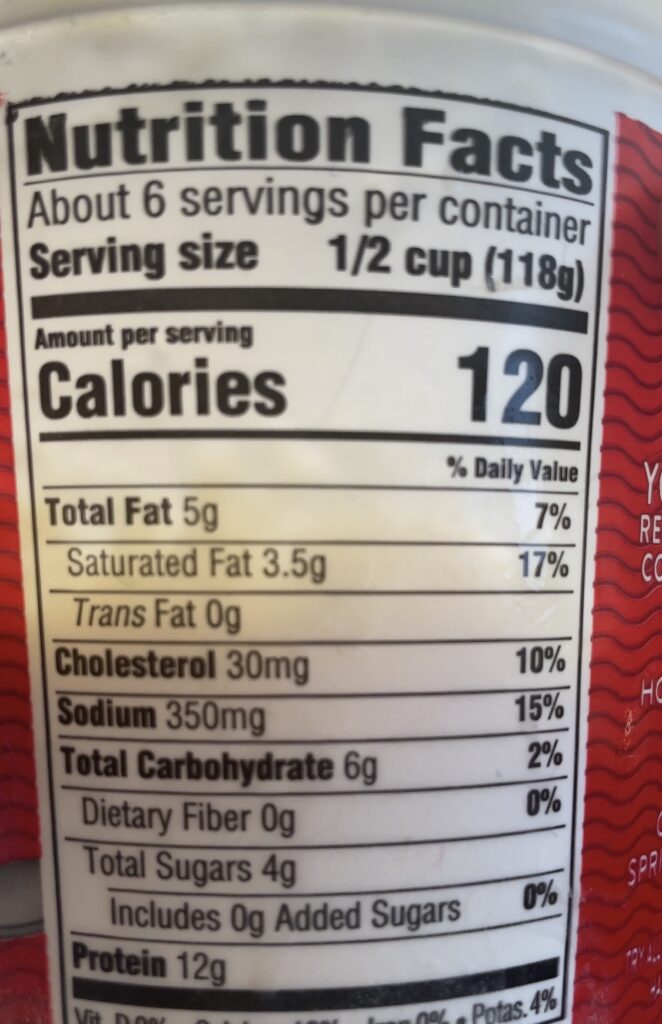
One serving of 2% fat cottage cheese is ½ cup or 4 ounces and contains 90 calories, 12 grams of protein, 3 grams of fat, and 350 milligrams of sodium. It’s an excellent source of protein providing the equivalent of three ounces of protein per cup.  

For reference, 1/2 cup of 4% milkfat cottage cheese has 120 calories, 12 grams protein, 5 grams fat, 3.5grams saturated fat and the same 350 milligrams of sodium.

One ounce of protein provides 7 grams of protein, which means a half cup of cottage cheese provides the equivalent of 2 ounces of high quality protein. And if we’re honest, you’ll probably eat about two servings of this dessert for a total of 24 grams of protein.

What type of cottage cheese is best to make ice cream?

You can use any type of cottage cheese, however when you go with a lower fat or fat free version, more ice crystals will form and you’ll have an icier dessert. I’m all about a creamier texture, so I recommend using a full fat cottage cheese to make it as close to the real thing as possible!

If you want to make this dessert with fat free or low fat cottage cheese, I recommend freezing it for less time. Freeze it for 60-90 minutes until its cold, but not frozen solid. It’ll still taste great.

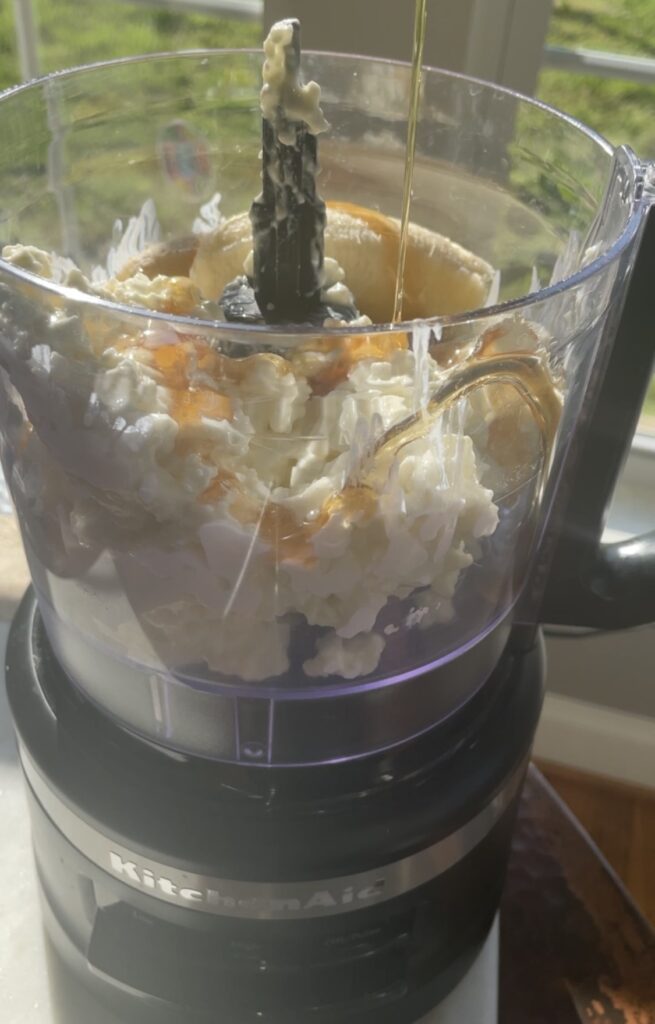
Ingredients to make cottage cheese ice cream.

  1. Creamy base – I recommend using a container of whole milk cottage cheese for the creamiest dessert.
  2. Sweetener – You can use anything from maple syrup and raw honey to protein powder or monk fruit. Use the sweetener of your choice. I’ve made it with vanilla stevia and it had great flavor.
  3. Flavoring and mix ins – The original version I saw on social media used fresh strawberries and graham crackers, but you can use anything you’d like! Experiment with other chopped fruit, powdered peanut butter, chocolate chips, or flavorings such as cake batter or coconut.

In the version below, I added banana because it freezes well, adds a slight sweetness and lightens up the texture.

Jump to Recipe

Flavor combinations to try

  • vanilla extract, maple syrup and crushed walnuts
  • rum extract, fresh diced pineapple and coconut flakes
  • cocoa powder, almonds and mini chocolate chips
  • peanut butter and sliced banana
  • mint extract and dark chocolate shavings
  • cake batter extract and sprinkles
  • crushed graham crackers with diced strawberries
  • blueberries and lemon zest
  • raspberries and white chocolate chips
  • banana and vanilla stevia

You an also use it as a base of a protein bowl, instead of your favorite smoothie, making this a great alternative for breakfast, or an afternoon snack.

If you’re thinking about adding collagen or protein powder for an added protein boost, save it for another time. Cottage cheese is already such a good source of protein, that unless you have very high protein needs, it’s unnecessary. Learn more about macros and importance of protein here.

Equipment needed for cottage cheese ice cream.

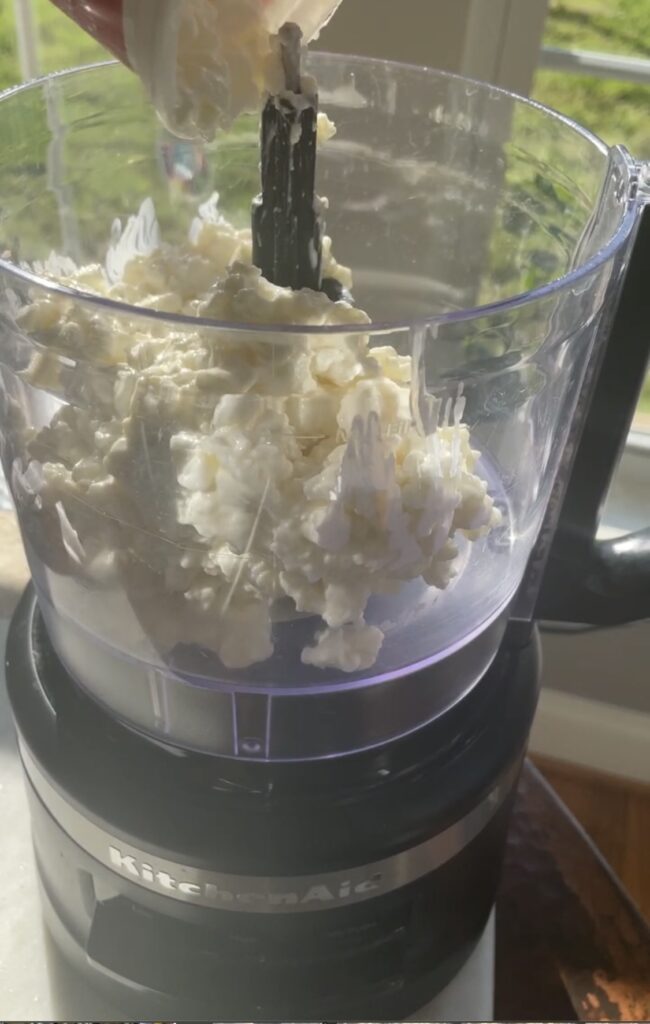
In order to make this dessert you need something to whip your cottage cheese. You can achieve a creamy texture with anything from a high-powered blender, a food processor, even a hand-held immersion blender.

After that you just need a few basics like a container mix everything together in, and another to freeze in!

Also, it’s worth mentioning that you don’t need an ice cream maker to try this recipe. If you have one, you could use it to churn your cottage cheese mixture, but it will come out just as well if you put it in the freezer for 60-90 minutes.

How long do you freeze cottage cheese ice cream?

After blending your cottage cheese in a food processor, blender or immersion blender, add your flavorings of choice. You can then freeze a few different ways.

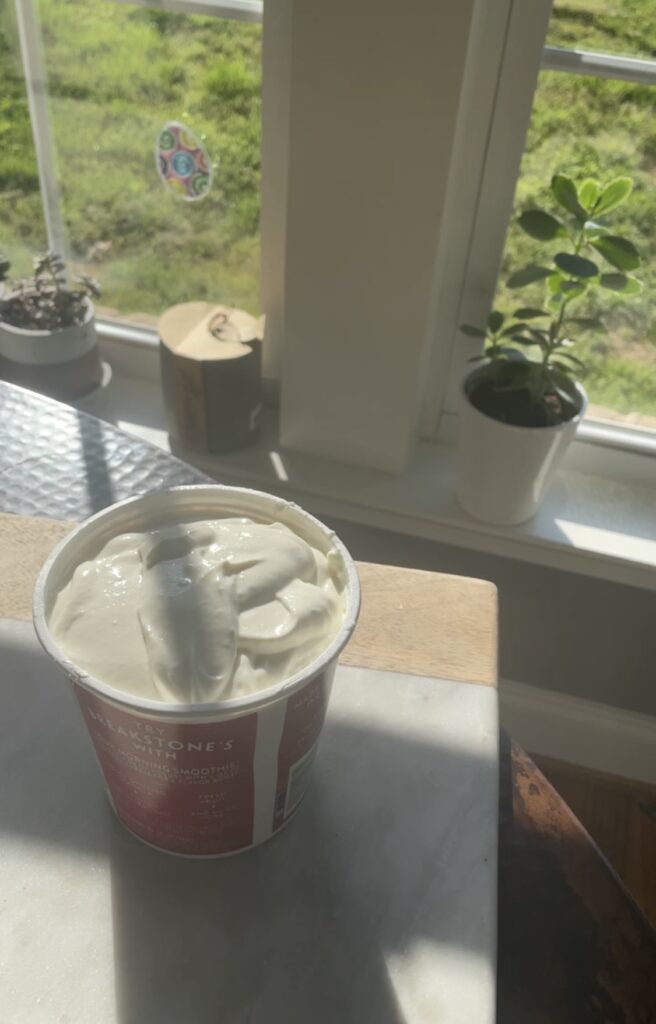
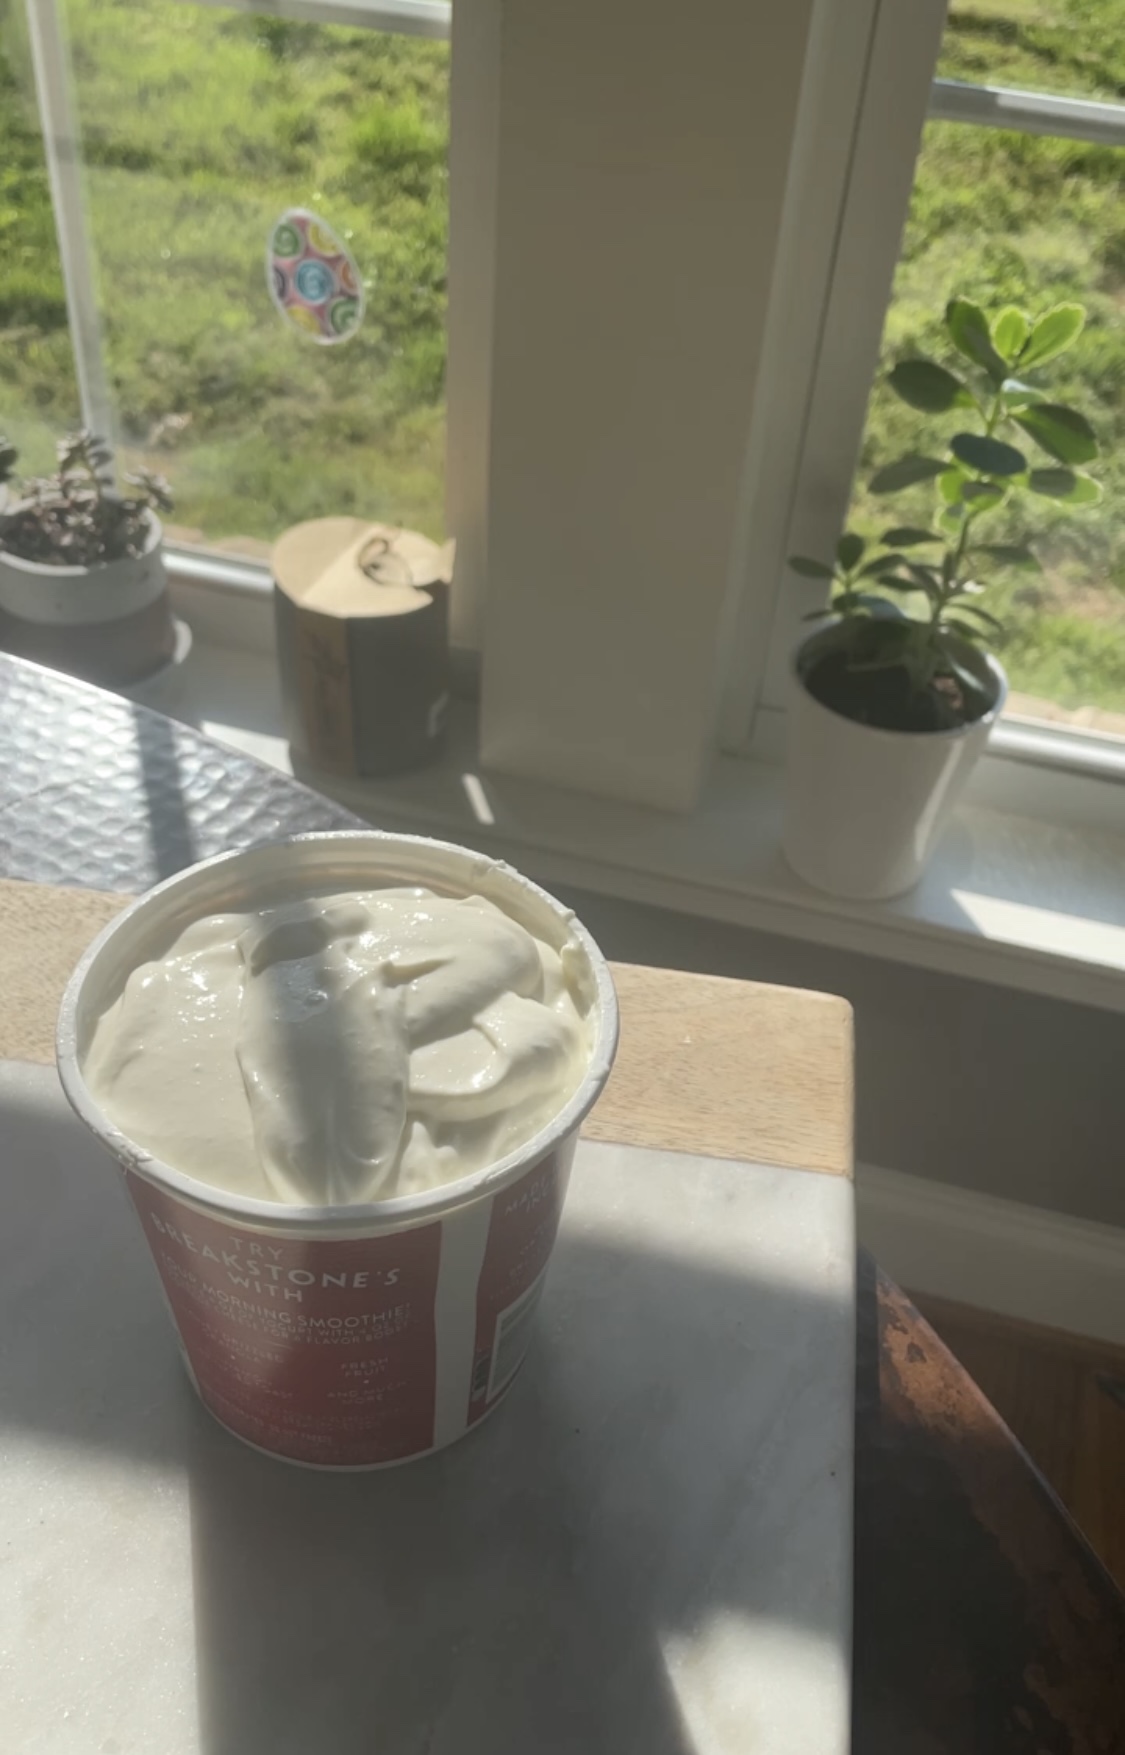
  • Place it back into the original cottage cheese container and freeze for 60-90 minutes until chilled all the way through. The center will likely be soft and creamy.
  • Put into a loaf pan for 60-90 minutes s it can freeze faster. Use an ice cream scoop to serve.
  • You can also spread onto a 1/4 sheet pan and cover with plastic wrap to give it even more surface area to freeze at a faster rate.

Whatever you do – do not let it freeze over night! It will form ice crystals and be very difficult to scoop. After testing several times, I noticed that the ice crystals formed regardless of the fat content. So, my best advice is to freeze for less time, or enjoy as a cold pudding.

Whatever you do – do not let it freeze over night! It will form ice crystals and be very difficult to scoop. After testing several times, I noticed the ice crystals form regardless of the fat content. So, my best advice is to freeze for less time, or enjoy as a cold pudding.

What is a serving of cottage cheese ice cream?

I saw a lot of people on social media making this dessert with 16 ounces (four servings), or two cups of cottage cheese – and it appeared that they were eating the entire batch in one sitting. I would recommend a 1/2 cup serving, just like regular ice cream to limit sodium and saturated fat.

As I mentioned earlier, one serving of 2% cottage cheese is ½ cup or 4 ounces and contains 90 calories, 12 grams of protein, 3 grams of fat, and 350 milligrams of sodium. If you ate the whole container, you’d have 360 calories, 48 grams of protein and 1400 mg of sodium. It’s recommended to keep sodium intake at or below 2000 mg daily to follow a heart healthy diet. So you can see how sodium added up quickly when the portion size increased.

Keep in mind that if you choose a higher fat content cottage cheese, you will have more total calories and fat.

Your toppings of choice will add to your calorie, fat and sodium intake too so stay mindful when making this healthy ice cream at home.

It’s all about what you’re in the mood for, what fits into your health goals and how you’re going to feel afterwards!

What if I eat too much protein?

When someone consumes more protein than their body needs, the excess is stored as fat. I recommend aiming for 20-30 grams or 3-4 ounces of protein per meal to stay satisfied and full. Which makes a 1/2 cup portion of cottage cheese ice cream a healthy alternative when toppings and add ons are kept in check!

Why should I try cottage cheese ice cream?

It’s an excellent food choice if you are trying to build muscle or maintain a healthy weight. In fact, a single serving of cottage cheese can provide nearly 2 ounces of protein, which is beneficial for promoting muscle growth and repair.

Now that cottage cheese has made it’s modern comeback, will you try it? Let me know!

If you are looking for other homemade ice cream recipes, you have to try nice cream. It’s another 2 ingredient wonder!

Nutrition Information
Calories: 164 per 1/2 cup serving

Fat: 5g

Saturated fat: 3g

Carbohydrates: 20g

Protein: 11g

Fiber: 1g

Cottage Cheese Ice Cream

Protein rich ice cream alternative
Prep Time 5 minutes
1 hour 30 minutes
Total Time 1 hour 35 minutes
Course Dessert
Servings 4
Calories 164 kcal

Equipment

  • 1 food processor immersion blender will work too

Ingredients
  

  • 16 oz full fat cottage cheese
  • 1 each banana
  • 2 tbsp maple syrup
  • 5 drops vanilla stevia

Instructions
 

  • Blend everything in a food processor until smooth.
  • Return to cottage cheese container and freeze for 60-90 minutes

Nutrition
Calories: 164kcal
Keyword protein
Tried this recipe?Let us know how it was!

Creamy Ricotta Pasta with Veggies and Pine nuts

Our family likes mac and cheese. But there’s a limit to how many nights in a row that I can make that blue box! I like this recipe because it requires minimal and simple ingredients, plus it changes up the usual tomato sauce that we have in regular rotation. You may only need to pick up 3 or 4 items – like lemon or ricotta, pasta or broccoli for a quick crowd pleasing creamy pasta. Also play around with the vegetables that you include to use up what you have on hand. It’s a great recipe to put in the rotation for meatless Mondays or any day of the week. It’s just one of those dishes that is good any time of year.

Let me know if you try it!

Ingredients and substitutions for this creamy ricotta sauce and pasta recipe

  • Broccoli florets – break down a whole head of broccoli into small florets or use pre cut and cleaned veggies.
  • Fresh lemon – we’re using both the zest and the juice in this recipe so go with fresh
  • Pasta – I like short pasta with a shape that will catch the sauce. We’ve had it with rotini and pasta shells and it was great! It will also work with whole grain, brown rice or quinoa pasta. Use whichever your family likes.
  • Ricotta cheese – I’m suggesting a part skim ricotta cheese to help limit saturated fat, which also helps reduce total calories. You could absolutely use a whole milk ricotta for a richer and creamer dish. I like ricotta cheese because it adds a bit of protein too.
  • Salt and pepper – use these to season your pasta and sauce as you cook. The final result will be bland if you don’t!
  • Handful of basil – I love using fresh if I have it, but you could also use frozen and mix it in with the ricotta for a herby version!
  • Optional – chili flakes, parmesan cheese and pine nuts. If you don’t have them, don’t worry. If you do have them, use these to top the finial dishes before serving. You could even used up crumbled bacon and frozen peas for a traditional combo.

How to make creamy ricotta pasta step by step

  1. Bring a large pot of salted water to a boil over high heat. Then zest and juice the lemon into a small bowl and set aside.
  2. Add the pasta to the boiling water and cook according to package directions for al dente. Two minutes before it’s al dente, add the broccoli and let cook for last two minutes.  
  3. Reserve 1 cup of the pasta water when you drain the pasta and broccoli.  
  4. Mix lemon zest, lemon juice, and 1 cup ricotta cheese. You can use a food processor or just mix really well with a wooden spoon. Season to taste with salt and pepper.  
  5. When the pasta reaches 2 minutes less than al dente, add the broccoli florets and cook for the remaining 2 minutes. 
  6. Return the hot pasta and broccoli to the pot. Add the ricotta mixture and 1/4 cup pasta water. Stir, adding more pasta water as needed, until the sauce coats and clings to the pasta. Taste and season with black pepper and Parmesan cheese, basil and red pepper flakes and pine nuts if desired.

The best part is you can also substitute any other vegetables you have on hand. Even leftover roasted cauliflower, and carrots could mix in well here.  

What to serve with creamy ricotta pasta

The nice thing is you really don’t need to serve anything else, but if you wanted to go the extra step here are a few ideas.

  • simple side salad
  • roasted chickpeas
  • roasted chicken or pork chops
  • sautéed greens
  • fresh diced tomatoes

How to store creamy ricotta pasta

If we have leftovers I like to store them in quart containers and then reheat in a pan with a little chicken broth or water to revive the sauce. Once the pasta comes down to room temperature, store it in an airtight container for up to three days.

Nutrition and macros
I make this recipe with brown rice pasta or traditional wheat pasta. But you could use the sauce over palm noodles or zucchini spirals if you needed to follow a low carb or lower calorie diet.

337calories

5g Fat 62g Carb 11g Pro 3g Fiber

creamy ricotta pasta

Creamy Ricotta Pasta

Super fast and nearly one pot meal for any day of the week
Prep Time 5 minutes
Cook Time 12 minutes
Total Time 17 minutes
Course Main Course
Cuisine American
Servings 6
Calories 337 kcal

Equipment

  • 1 large pot
  • 1 food processor or large bowl

Ingredients
  

  • 2 cups broccoli florets
  • 1 each lemon zest and juice
  • 1 pound pasta any kind you like
  • 1 handful fresh basil
  • red pepper flakes, parmesan and pine nuts optional

Instructions
 

  • Bring a large pot of water to a boil over high heat.  Then zest and juice the lemon into a small bowl and set aside.
  • Add the pasta to the boiling water.  Two minutes before it’s al dente, add the broccoli and let cook for last two minutes.  Reserve 1/2 cup pasta water when you drain the pasta and broccoli.  
  • Mix lemon zest, lemon juice, and 1 cup ricotta cheese.  You can use a food processor  or just mix really well with a wooden spoon.  Season to taste with salt and pepper.  
  • When the pasta reaches 2 minutes less than al dente, add the broccoli florets and cook for the remaining 2 minutes. 
  • Return the pasta and broccoli to the pot. Add the ricotta mixture and 1/4 cup pasta water. Stir, adding more pasta water as needed, until the sauce coats and clings to the pasta. Taste and season with black pepper and Parmesan cheese, basil and red pepper flakes and pine nuts if desired.

Nutrition
Calories: 337kcal
Tried this recipe?Let us know how it was!

About Me

I’m Melanie.

I’m a chef, registered dietitian, foodie, wife and mom.
If you’re looking for quick and healthy meal inspiration that serves YOU and your family well, then you’ve come to the right place!

Melanie Marcus Selfie

Fast and healthy fajita recipe

If you are looking for a quick meal that can be put together within about 25 minutes to feed the whole family on a busy night, KEEP READING!

Jump to Recipe

This recipe keeps things simple

  • One great thing about this recipe is that you make our own spice mix using chili powder, salt and pepper. This helps simplify cabinets from excessive pre-made spices like taco seasoning and fajita seasoning which can overdue sodium.
  • Easily double the recipe to meal prep for the week, or make dinner for a crowd.
  • Limit clean up by pulling this meal together with a simple sheet pan!
  • This base recipe can be served up in a variety of ways and is a healthy option no matter what your dietary restrictions are.
  • Store leftovers in an airtight container in the fridge.

What makes this a healthy recipe?

Jump to Recipe

First let’s talk about the cooking method. Roasting anything on a sheet pan means you’re using less oil and letting the oven do it’s job to impart texture and flavor by dehydrating foods on the pan making it a healthier option.

Next, it uses lean chicken breast which is an excellent source of protein.

Half of this recipe is made from vegetables. Onion strips and red peppers, basic ingredients that are a source of valuable nutrients for immunity and gut health including vitamin c and fiber.

This recipe can easily be modified to accommodate a gluten free diet and it’s a natural way to eat more plant. So if your’e trying to live a plant forward lifestyle, then be sure to bookmark this page for your weekly menu! It’s also a good recipe to have on rotation if you’re trying to achieve a healthy weight or maintain a healthy weight.

Ingredients you need to make sheet pan chicken fajitas

  • olive oil or any neutral oil such as avocado oil
  • chili powder – you could add garlic powder or use a fajita seasoning mix if you have it on hand
  • boneless skinless chicken breasts – you could use boneless skinless chicken thighs, shrimp, steak or tofu but cooking times will vary.
  • lime/ lime juice
  • green bell peppers & red bell peppers – you can use any kind of fresh vegetables you’d like yellow peppers work well here too!
  • yellow onion – you could use red onion but it will be sharper, green onions will add color and can be left whole.
  • corn tortillas or flour tortilla – corn tortillas are naturally gluten free.
  • kosher salt and pepper

Optional ingredients and fajita toppings

  • Monterey jack cheese
  • Guacamole
  • Sour cream
  • Hot sauce
  • Salsa
  • Pico de gallo
  • Avocado slices

Equipment you need to make healthy chicken fajitas

We’re keeping the equipment list simple by employing our trusty baking sheet. Other recipes may call for using a cast iron skillet, grill pan or instant pot, but I really think this is the simplest and cleanest way to make this great recipe.

Turn easy chicken fajitas into a complete meal

Chicken Fajitas on corn tortillas
  • Enjoy your chicken strips and fajita veggies in warm tortillas with your favorite toppings
  • If you’re trying to follow a low carb diet plan, try wrapping this chicken fajita recipe in lettuce wraps made from iceberg lettuce
  • Another low carb option is to enjoy this recipe as a fajita bowl. Forget the wraps and rice, substitute riced palm noodles or cauliflower rice instead.
  • To amp up nutrition and fiber try serving with whole wheat tortilla or brown rice instead of white rice.
  • Serve with warm black beans for added protein and fiber

What are the macros?

If you divide this recipe into 4 servings, it will provide you with:

Calories: 292

Protein: 39g

Carbohydrate: 12g

Fat:11g

Fiber:4g

Note: Optional ingredients and tortillas of choice are not included in macros. It’s easy enough to log them separately as you customize your toppings and wraps! Learn more about macros here!

Week-night Fajitas

Prep Time 10 minutes
Cook Time 15 minutes
Total Time 25 minutes
Course Main Course
Cuisine Mexican
Servings 0

Ingredients
  

  • 1 tbsp chili powder
  • 3 bell peppers sliced into strips
  • yellow onion sliced into strips
  • 2 tbsp olive oil
  • 1.5 pounds chicken breast 1/4 inch strips
  • 1 lime

optional

  • 8 corn tortillas
  • sour cream
  • cheese
  • salsa
  • avocado

Instructions
 

  • Combine chili with 2 teaspoons salt and pepper to taste.
  • Season peppers and onion with half of the seasoning mix and 1 tablespoon oil.
  • Spread veggies on sheet pan and broil for 5 minutes until brown.
  • Season chicken with remaining seasoning mix.
  • Then layer sliced chicken on top of cooked vegetables. Return to oven for 10-12 minutes under broiler until chicken reaches 165F internal temperature.
  • Eat with tortillas or over rice and toppings of choice.
Tried this recipe?Let us know how it was!