Hands off air fryer pork tenderloin recipe
Aren’t most recipes made in the air fryer hands off? That’s what I love so much about it. I was making this recipe last week when my husband walked in the house and commented how good it smelled. Trust me, it is super delicious and packs a lot of flavor and uses simple ingredients without requiring a lot of attention which means you can focus on what else needs to get on the dinner table.
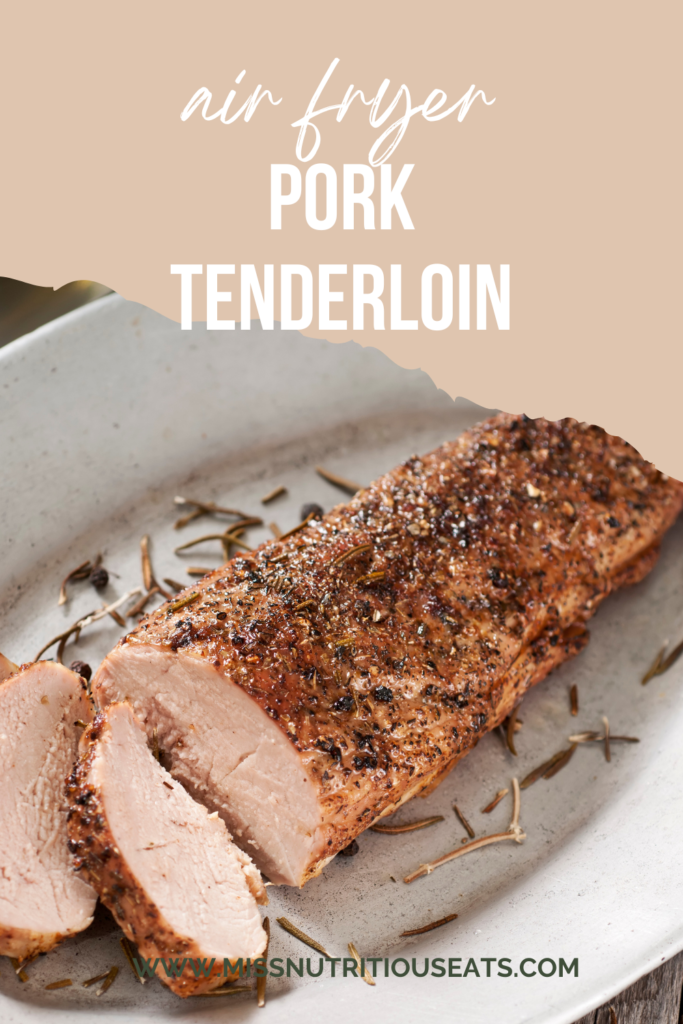
It may just be the best way to make pork tenderloin.
Jump to RecipeTable of contents

Ingredients You’ll Need
- Lean pork tenderloin – Trim the silver skin from the tenderloin if there is any. This marinade would work equally well with boneless pork chops or bone-in chops. Just note the nutrition will be slightly higher in fat.
- Apple cider vinegar – Adds a tangy flavor that helps tenderize the meat.
- Mustard – Ground mustard, (grainy mustard) works great here but you can use whatever you have on hand.
- Garlic – I prefer to use fresh or frozen but garlic powder or even jarred will work.
- Maple syrup – Balances the tanginess with a touch of sweetness. Brown sugar could be used in a pinch.
- Kosher salt – Tenderizes and brings out the flavor.
- Rosemary – Fresh or dried, it adds an aromatic touch.
Optional: If you love onion, feel free to slice some, or even add onion powder if you have it. If you love the bite of black pepper, you can season with that as you like as well. These ingredients, don’t add extra calories, so you can play around with the flavors that you like.
Olive oil really isn’t necessary for this because we’re air frying.
Step-by-Step Cooking Instructions
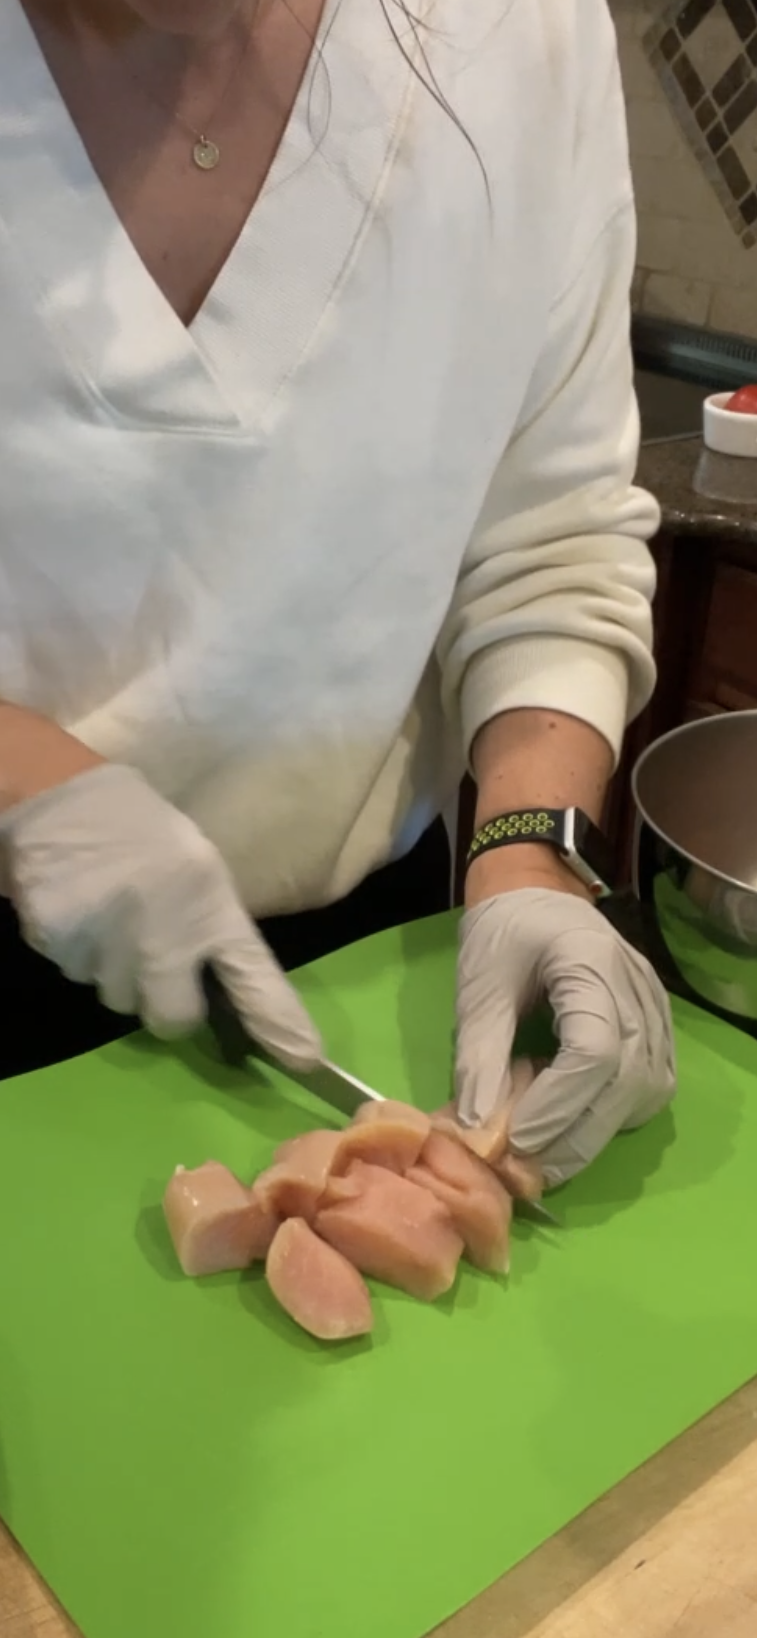
Step 1: Prepare the Pork
Start by trimming any excess fat or silver skin from your pork tenderloin. This ensures even cooking and prevents unwanted calories from fat.
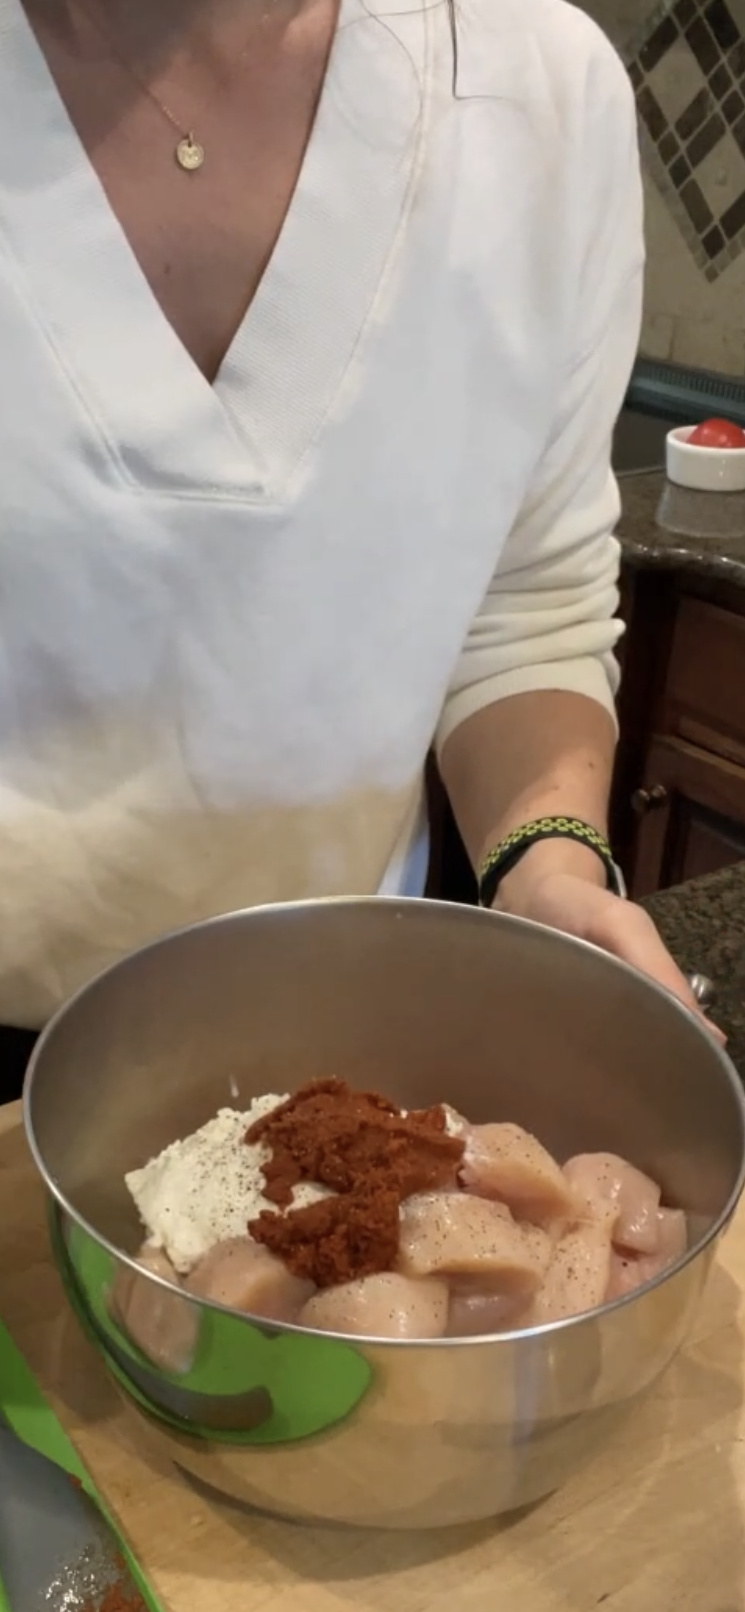
Step 2: Marinate the Pork
In a small bowl, mix together apple cider vinegar, mustard, garlic, maple syrup, kosher salt and rosemary. Place the pork in a resealable bag or container and pour the marinade over it. Seal and refrigerate for at least 20 minutes or overnight for best results.
Step 3: Preheat the Air Fryer
Preheat your air fryer to 400 degrees F. You really want to be sure it’s preheated to get a proper cook.
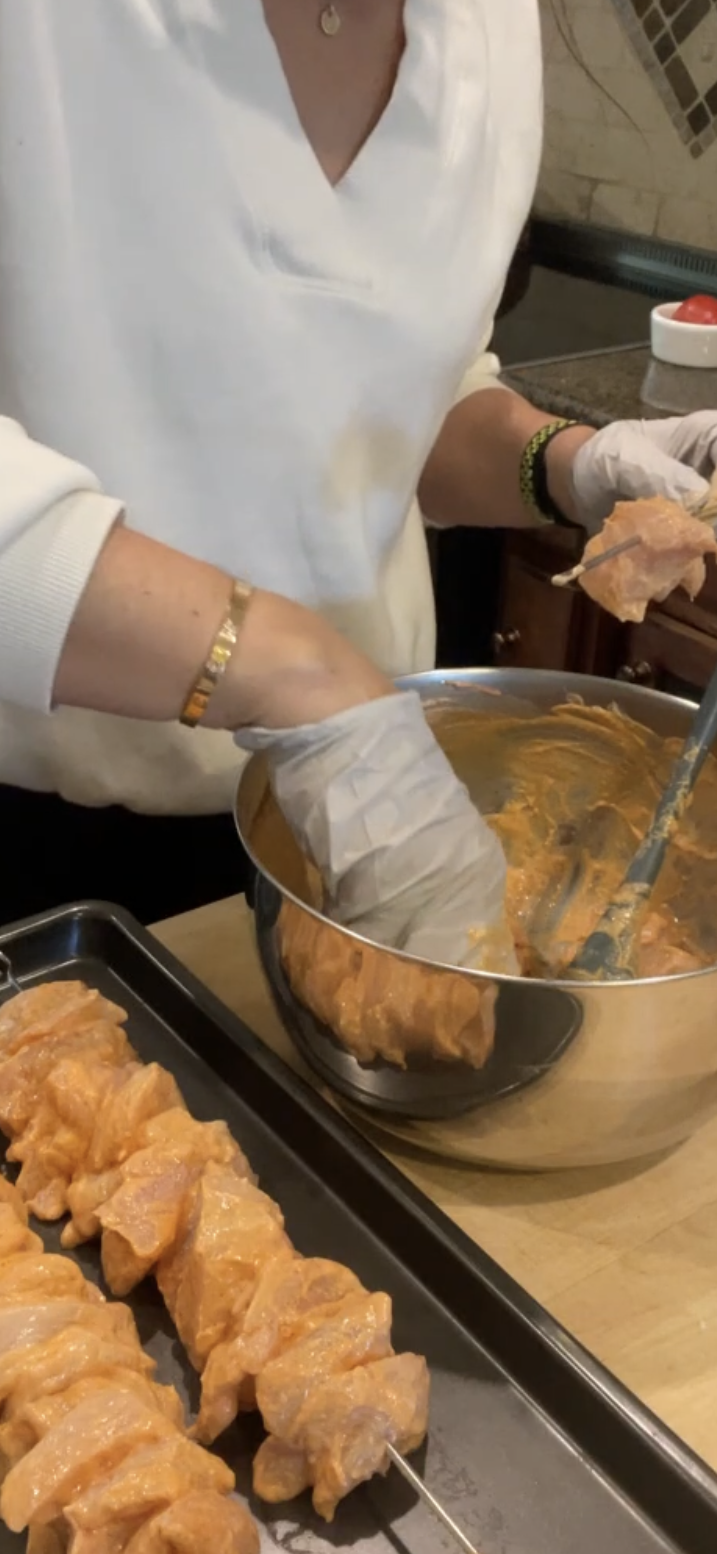
Step 4: Cook the Pork
Remove the pork from the marinade and pat it dry with a paper towel. Place it in the air fryer basket in a single layer. Air fry the pork at 400 degrees F for about 20 minutes, or until the internal temperature reaches 145 degrees F. Use an instant-read thermometer to check the center of the meat for accurate cooking.
Step 5: Rest the Meat
Once cooked, remove the pork tenderloin from the air fryer and let it rest for 5-10 minutes. This helps the juices redistribute, ensuring a juicy, delicious pork chop every single time.
Serving Suggestions
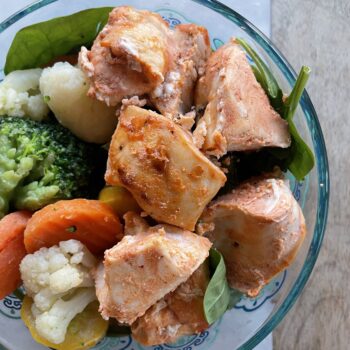
- Roasted or air-fried vegetables – Sweet potatoes, green beans, or cauliflower rice are great options.
- Fresh green salad – A light vinaigrette complements the flavors beautifully.
- Quinoa or wild rice pilaf – Compliment your protein with whole grain carbs to round out the meal.
- Savory apple chutney – Or even apple sauce complements the pork’s flavors with a touch of sweetness.
One of my favorite sides this summer has been this celery salad – the kids even love it. They also like to have pork with tater tots or sweet potato.
Tips for the Best Pork Tenderloin
- Use a meat thermometer – Ensuring the pork reaches the correct internal temperature is key to food safety. This may just be my most used piece of kitchen equipment!
- Don’t skip the marinade – It’s one of my favorite ways to infuse the pork with flavor. Just 15 minutes is all it takes!
- Preheat the air fryer – A preheated air fryer ensures even cooking.
- Rest the meat – This step guarantees a clean plate every time.
Join my next round of the FASTer Way
Tired of endless diets and no results? Join the FASTer Way to Fat Loss and see real, sustainable changes in just 6 weeks!

Nutrition and Macros
You may think pork is a no-no if you’re trying to keep calories low, but in reality, pork tenderloin is a lean cut of meat, meaning it has a low fat content and is lower in calories compared to other cuts of pork. This makes it an ideal choice for those who are trying to maintain a healthy diet. In fact, a 3-ounce serving of pork tenderloin contains only about 120 calories and 2.5 grams of fat.
It’s also high in protein, which can help keep you feeling fuller for longer periods of time and can aid in building and repairing muscle. And if you’re doing the FASTer Way with me, you know hitting your protein goals helps reduce cravings and prevent overeating.
It’s also a good source of essential vitamins and minerals such as iron, zinc, and B vitamins. These nutrients are important for maintaining overall health and can be lacking in certain restrictive diets.
This easy recipe is perfect for busy weeknights and will become one of your favorite air fryer recipes. If you try this recipe, and I hope you do, let me know!
For more delicious recipes like my quick air fried donut holes, make sure to join my mailing list.
Rosemary Garlic Pork Tenderloin
Ingredients
- 2 pounds lean pork tenderloin
- 1.5 tbsp apple cider vinegar
- 2 tbsp grainy mustard
- 4 cloves garlic
- 2.5 tsp maple syrup
- 2 tsp kosher salt
- 2 tsp dried rosemary
Instructions
- Mix together marinade ingredients and submerge pork for at least 15 minutes or overnight in fridge.
- Pull pork out about 30 min before cooking.
- Place in preheated air frier (400F) for about 20 minutes or until thermometer reads 145F.
Nutrition