Tag: Recipe

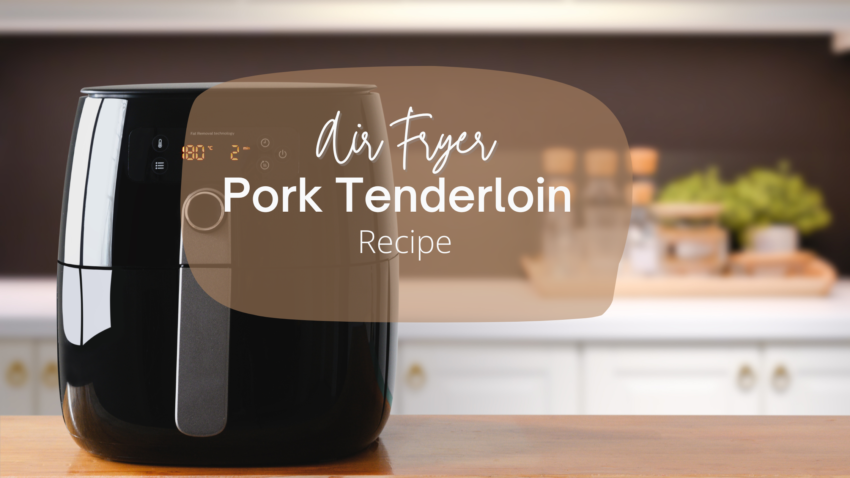
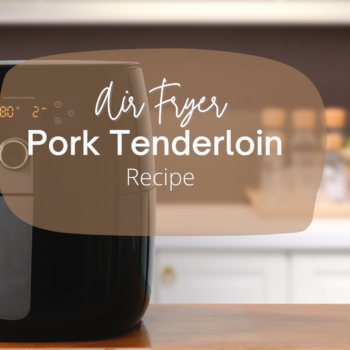
Hands off air fryer pork tenderloin recipe

Aren’t most recipes made in the air fryer hands off?  That’s what I love so much about it. I was making this recipe last week when my husband walked in the house and commented how good it smelled.  Trust me, it is super delicious and packs a lot of flavor and uses simple ingredients without requiring a lot of attention which means you can focus on what else needs to get on the dinner table.  

It may just be the best way to make pork tenderloin.  

Jump to Recipe

Ingredients You’ll Need

  • Lean pork tenderloin – Trim the silver skin from the tenderloin if there is any.  This marinade would work equally well with boneless pork chops or bone-in chops.  Just note the nutrition will be slightly higher in fat.  
  • Apple cider vinegar – Adds a tangy flavor that helps tenderize the meat.
  • Mustard – Ground mustard, (grainy mustard) works great here but you can use whatever you have on hand.
  • Garlic – I prefer to use fresh or frozen but garlic powder or even jarred will work.
  • Maple syrup – Balances the tanginess with a touch of sweetness. Brown sugar could be used in a pinch.  
  • Kosher salt – Tenderizes and brings out the flavor.
  • Rosemary – Fresh or dried, it adds an aromatic touch.

​Optional:  If you love onion, feel free to slice some, or even add onion powder if you have it. If you love the bite of black pepper, you can season with that as you like as well.  These ingredients, don’t add extra calories, so you can play around with the flavors that you like.  

Olive oil really isn’t necessary for this because we’re air frying.  

Step-by-Step Cooking Instructions

Step 1: Prepare the Pork

Start by trimming any excess fat or silver skin from your pork tenderloin. This ensures even cooking and prevents unwanted calories from fat.

Step 2: Marinate the Pork

In a small bowl, mix together apple cider vinegar, mustard, garlic, maple syrup, kosher salt and rosemary. Place the pork in a resealable bag or container and pour the marinade over it. Seal and refrigerate for at least 20 minutes or overnight for best results.

Step 3: Preheat the Air Fryer

Preheat your air fryer to 400 degrees F. You really want to be sure it’s preheated to get a proper cook.

Step 4: Cook the Pork

Remove the pork from the marinade and pat it dry with a paper towel. Place it in the air fryer basket in a single layer. Air fry the pork at 400 degrees F for about 20 minutes, or until the internal temperature reaches 145 degrees F. Use an instant-read thermometer to check the center of the meat for accurate cooking.

Step 5: Rest the Meat

Once cooked, remove the pork tenderloin from the air fryer and let it rest for 5-10 minutes. This helps the juices redistribute, ensuring a juicy, delicious pork chop every single time.

Serving Suggestions

  • Roasted or air-fried vegetables – Sweet potatoes, green beans, or cauliflower rice are great options.
  • Fresh green salad – A light vinaigrette complements the flavors beautifully.
  • Quinoa or wild rice pilaf – Compliment your protein with whole grain carbs to round out the meal.
  • Savory apple chutney – Or even apple sauce complements the pork’s flavors with a touch of sweetness.

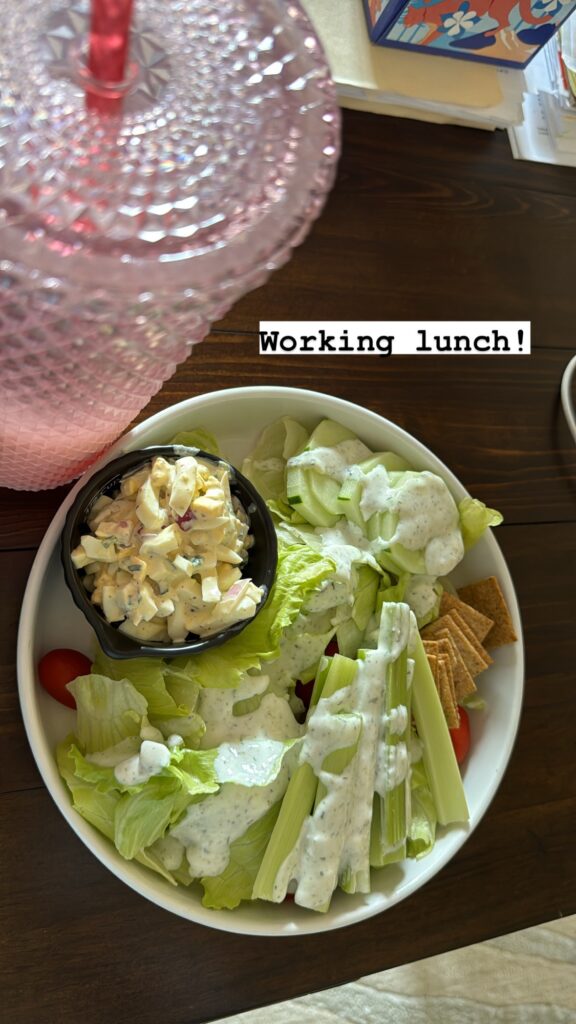
One of my favorite sides this summer has been this celery salad – the kids even love it.  They also like to have pork with tater tots or sweet potato.  

Tips for the Best Pork Tenderloin

  • Use a meat thermometer – Ensuring the pork reaches the correct internal temperature is key to food safety. This may just be my most used piece of kitchen equipment!
  • Don’t skip the marinade – It’s one of my favorite ways to infuse the pork with flavor. Just 15 minutes is all it takes!
  • Preheat the air fryer – A preheated air fryer ensures even cooking.
  • Rest the meat – This step guarantees a clean plate every time.

Join my next round of the FASTer Way

Tired of endless diets and no results? Join the FASTer Way to Fat Loss and see real, sustainable changes in just 6 weeks!

Melanie Marcus FASTer Way to Fat Loss Coach

Nutrition and Macros

You may think pork is a no-no if you’re trying to keep calories low, but in reality, pork tenderloin is a lean cut of meat, meaning it has a low fat content and is lower in calories compared to other cuts of pork. This makes it an ideal choice for those who are trying to maintain a healthy diet. In fact, a 3-ounce serving of pork tenderloin contains only about 120 calories and 2.5 grams of fat.

It’s also high in protein, which can help keep you feeling fuller for longer periods of time and can aid in building and repairing muscle. And if you’re doing the FASTer Way with me, you know hitting your protein goals helps reduce cravings and prevent overeating.

It’s also a good source of essential vitamins and minerals such as iron, zinc, and B vitamins. These nutrients are important for maintaining overall health and can be lacking in certain restrictive diets.

This easy recipe is perfect for busy weeknights and will become one of your favorite air fryer recipes. If you try this recipe, and I hope you do, let me know!  

For more delicious recipes like my quick air fried donut holes, make sure to join my mailing list.  

Rosemary Garlic Pork Tenderloin

Course Main Course
Cuisine American
Servings 6
Calories 180 kcal

Ingredients
  

  • 2 pounds lean pork tenderloin
  • 1.5 tbsp apple cider vinegar
  • 2 tbsp grainy mustard
  • 4 cloves garlic
  • 2.5 tsp maple syrup
  • 2 tsp kosher salt
  • 2 tsp dried rosemary

Instructions
 

  • Mix together marinade ingredients and submerge pork for at least 15 minutes or overnight in fridge.
  • Pull pork out about 30 min before cooking.
  • Place in preheated air frier (400F) for about 20 minutes or until thermometer reads 145F.

Nutrition
Serving: 5ozCalories: 180kcalCarbohydrates: 3gProtein: 32gFat: 3gSaturated Fat: 1gPolyunsaturated Fat: 1gMonounsaturated Fat: 1gTrans Fat: 0.03gCholesterol: 98mgSodium: 911mgPotassium: 629mgFiber: 0.3gSugar: 2gVitamin A: 5IUVitamin C: 1mgCalcium: 19mgIron: 2mg
Tried this recipe?Let us know how it was!

About Me

I’m Melanie.

I’m a chef, registered dietitian, foodie, wife and mom.
If you’re looking for quick and healthy meal inspiration that serves YOU and your family well, then you’ve come to the right place!

Melanie Marcus Selfie

DIY pineapple foot scrub that really works

I go through a lot of whole, fresh, pineapple. More than most.  So I got to thinking, besides throwing them in a composter, what else can be done?  So today, we’re talking recipes, but not the kind you eat! This recipe is for your feet, and you really only need 3 ingredients.

Are you tired of dealing with rough skin on the soles of your feet? Say goodbye to dry, achy feet with this refreshing and effective DIY pineapple foot scrub. This deep exfoliating foot scrub uses the natural enzymes found in fresh pineapple, combined with the gentle exfoliating power of sugar and the moisturizing benefits of coconut oil. Follow my step-by-step guide to create your own luxurious foot scrub at home.

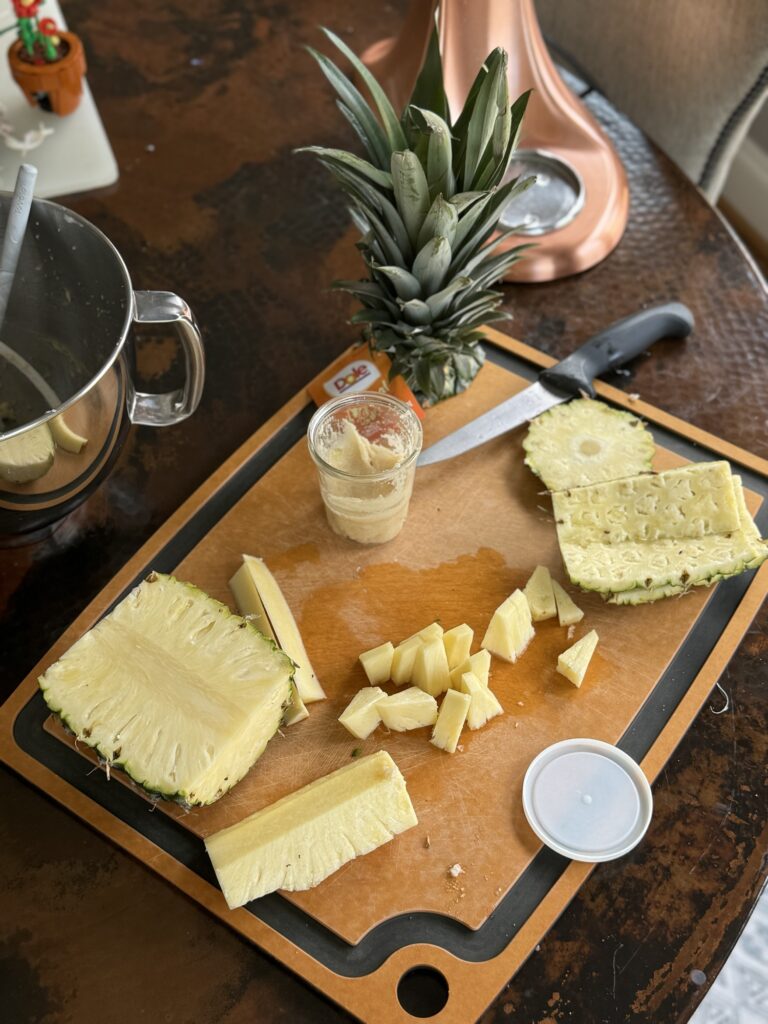
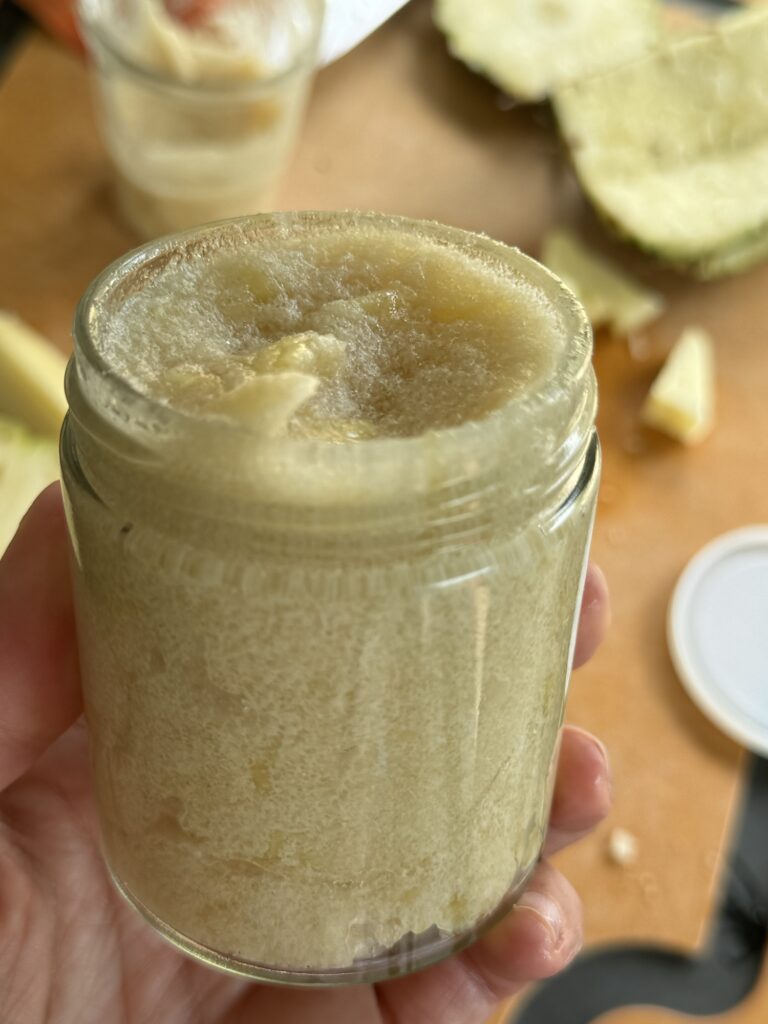
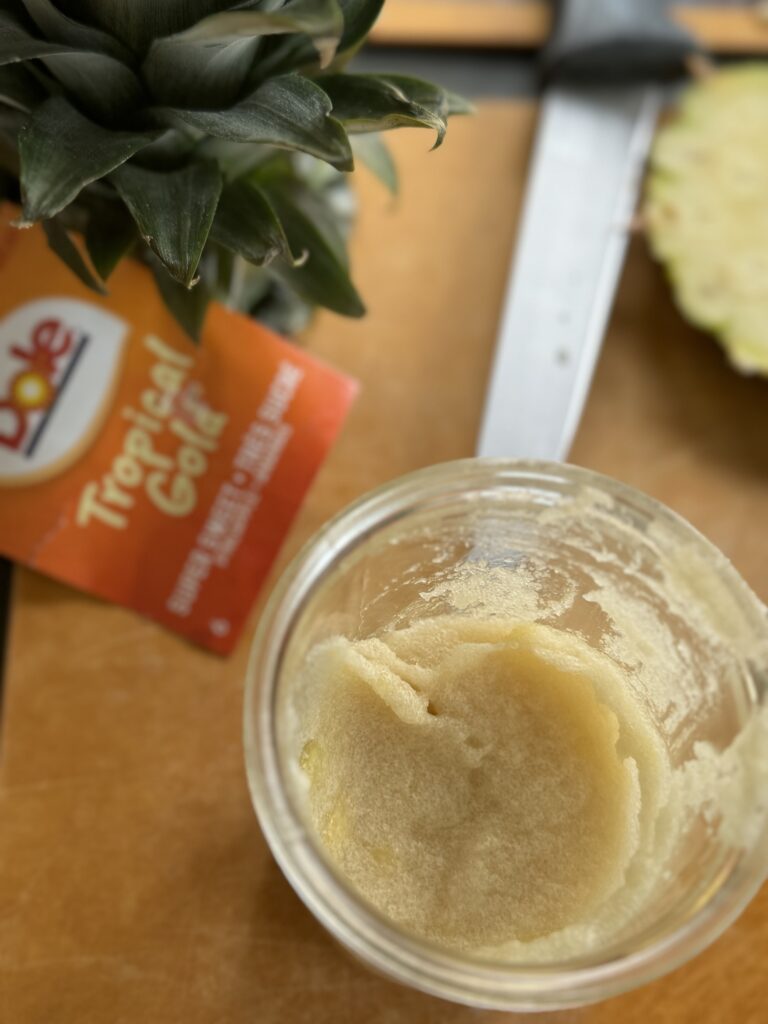
Cut pineapple on board with body scrub in jar

Ingredients You’ll Need

  • Fresh Pineapple (1/2 cup, finely chopped)
  • Granulated Sugar (1 cup)
  • Coconut Oil (1/4 cup)

Optional:

  • A few drops of peppermint essential oil
  • A few drops of vitamin E oil

Why These Ingredients Work

Pineapple (Ananas Sativus)

Pineapple contains bromelain, an enzyme that helps break down dead skin cells, making it an excellent natural exfoliant. It also has citric acid and vitamin C, which are great for brightening and refreshing your skin.

Sugar

The sugar acts as a physical exfoliant, gently removing rough and dry skin from your feet. It’s a simple yet effective way to achieve smoothness – and a much healthier way to include sugar into your daily routine!

Coconut Oil (Cocos Nucifera)

Coconut oil is rich in fatty acids and vitamin E, which moisturize and soften the skin. It forms a protective barrier, keeping your feet hydrated for longer.

Peppermint Essential Oil

A few drops of peppermint oil can add a refreshing scent and a cooling sensation that helps soothe achy feet.

Vitamin E Oil

Vitamin E is known for its skin-nourishing and antioxidant properties, making it a perfect addition to your foot scrub.

Step-by-Step Instructions

Step 1

Start by cutting a few slices of fresh pineapple and finely chopping them. You’ll need about 1/2 cup in total. If you don’t know how to cut a pineapple – check out this guide.

Step 2

In a mixing bowl, combine the chopped pineapple with 1 cup of granulated sugar.

Step 3

Slowly add 1/4 cup of coconut oil to the mixture, stirring until well combined.

Step 4

Adjust the consistency by adding more sugar for a thicker scrub or more oil for a smoother texture.

Step 5

Once the scrub reaches your desired consistency, transfer it to an airtight container for storage.

Step 6

To use, apply a generous amount of foot scrub to your wet feet, massaging in circular motions for a few minutes. Focus on the rough skin areas like the soles of your feet.  

Step 7

Rinse with warm water and pat your feet dry. For best results, follow up with a moisturizer.

Benefits of Using Pineapple Foot Scrub

  • Exfoliation: The fruit enzymes in pineapple help break down dead skin cells, while the sugar provides a physical exfoliation.
  • Moisturization: The combination of coconut oil and pineapple helps to moisturize and soften the skin, leaving it feeling smooth and hydrated.
  • Improved Texture: Regular use can improve the overall appearance and texture of your feet.
  • Refreshing: The addition of peppermint essential oil gives a refreshing cooling sensation for achy feet.

    Tips for Best Results

    • Use the scrub 2-3 times a week for optimal results.
    • For a more intense exfoliation, use a pumice stone after applying the scrub.
    • Store the scrub in the fridge to keep it fresh.

    Pineapple Recipes

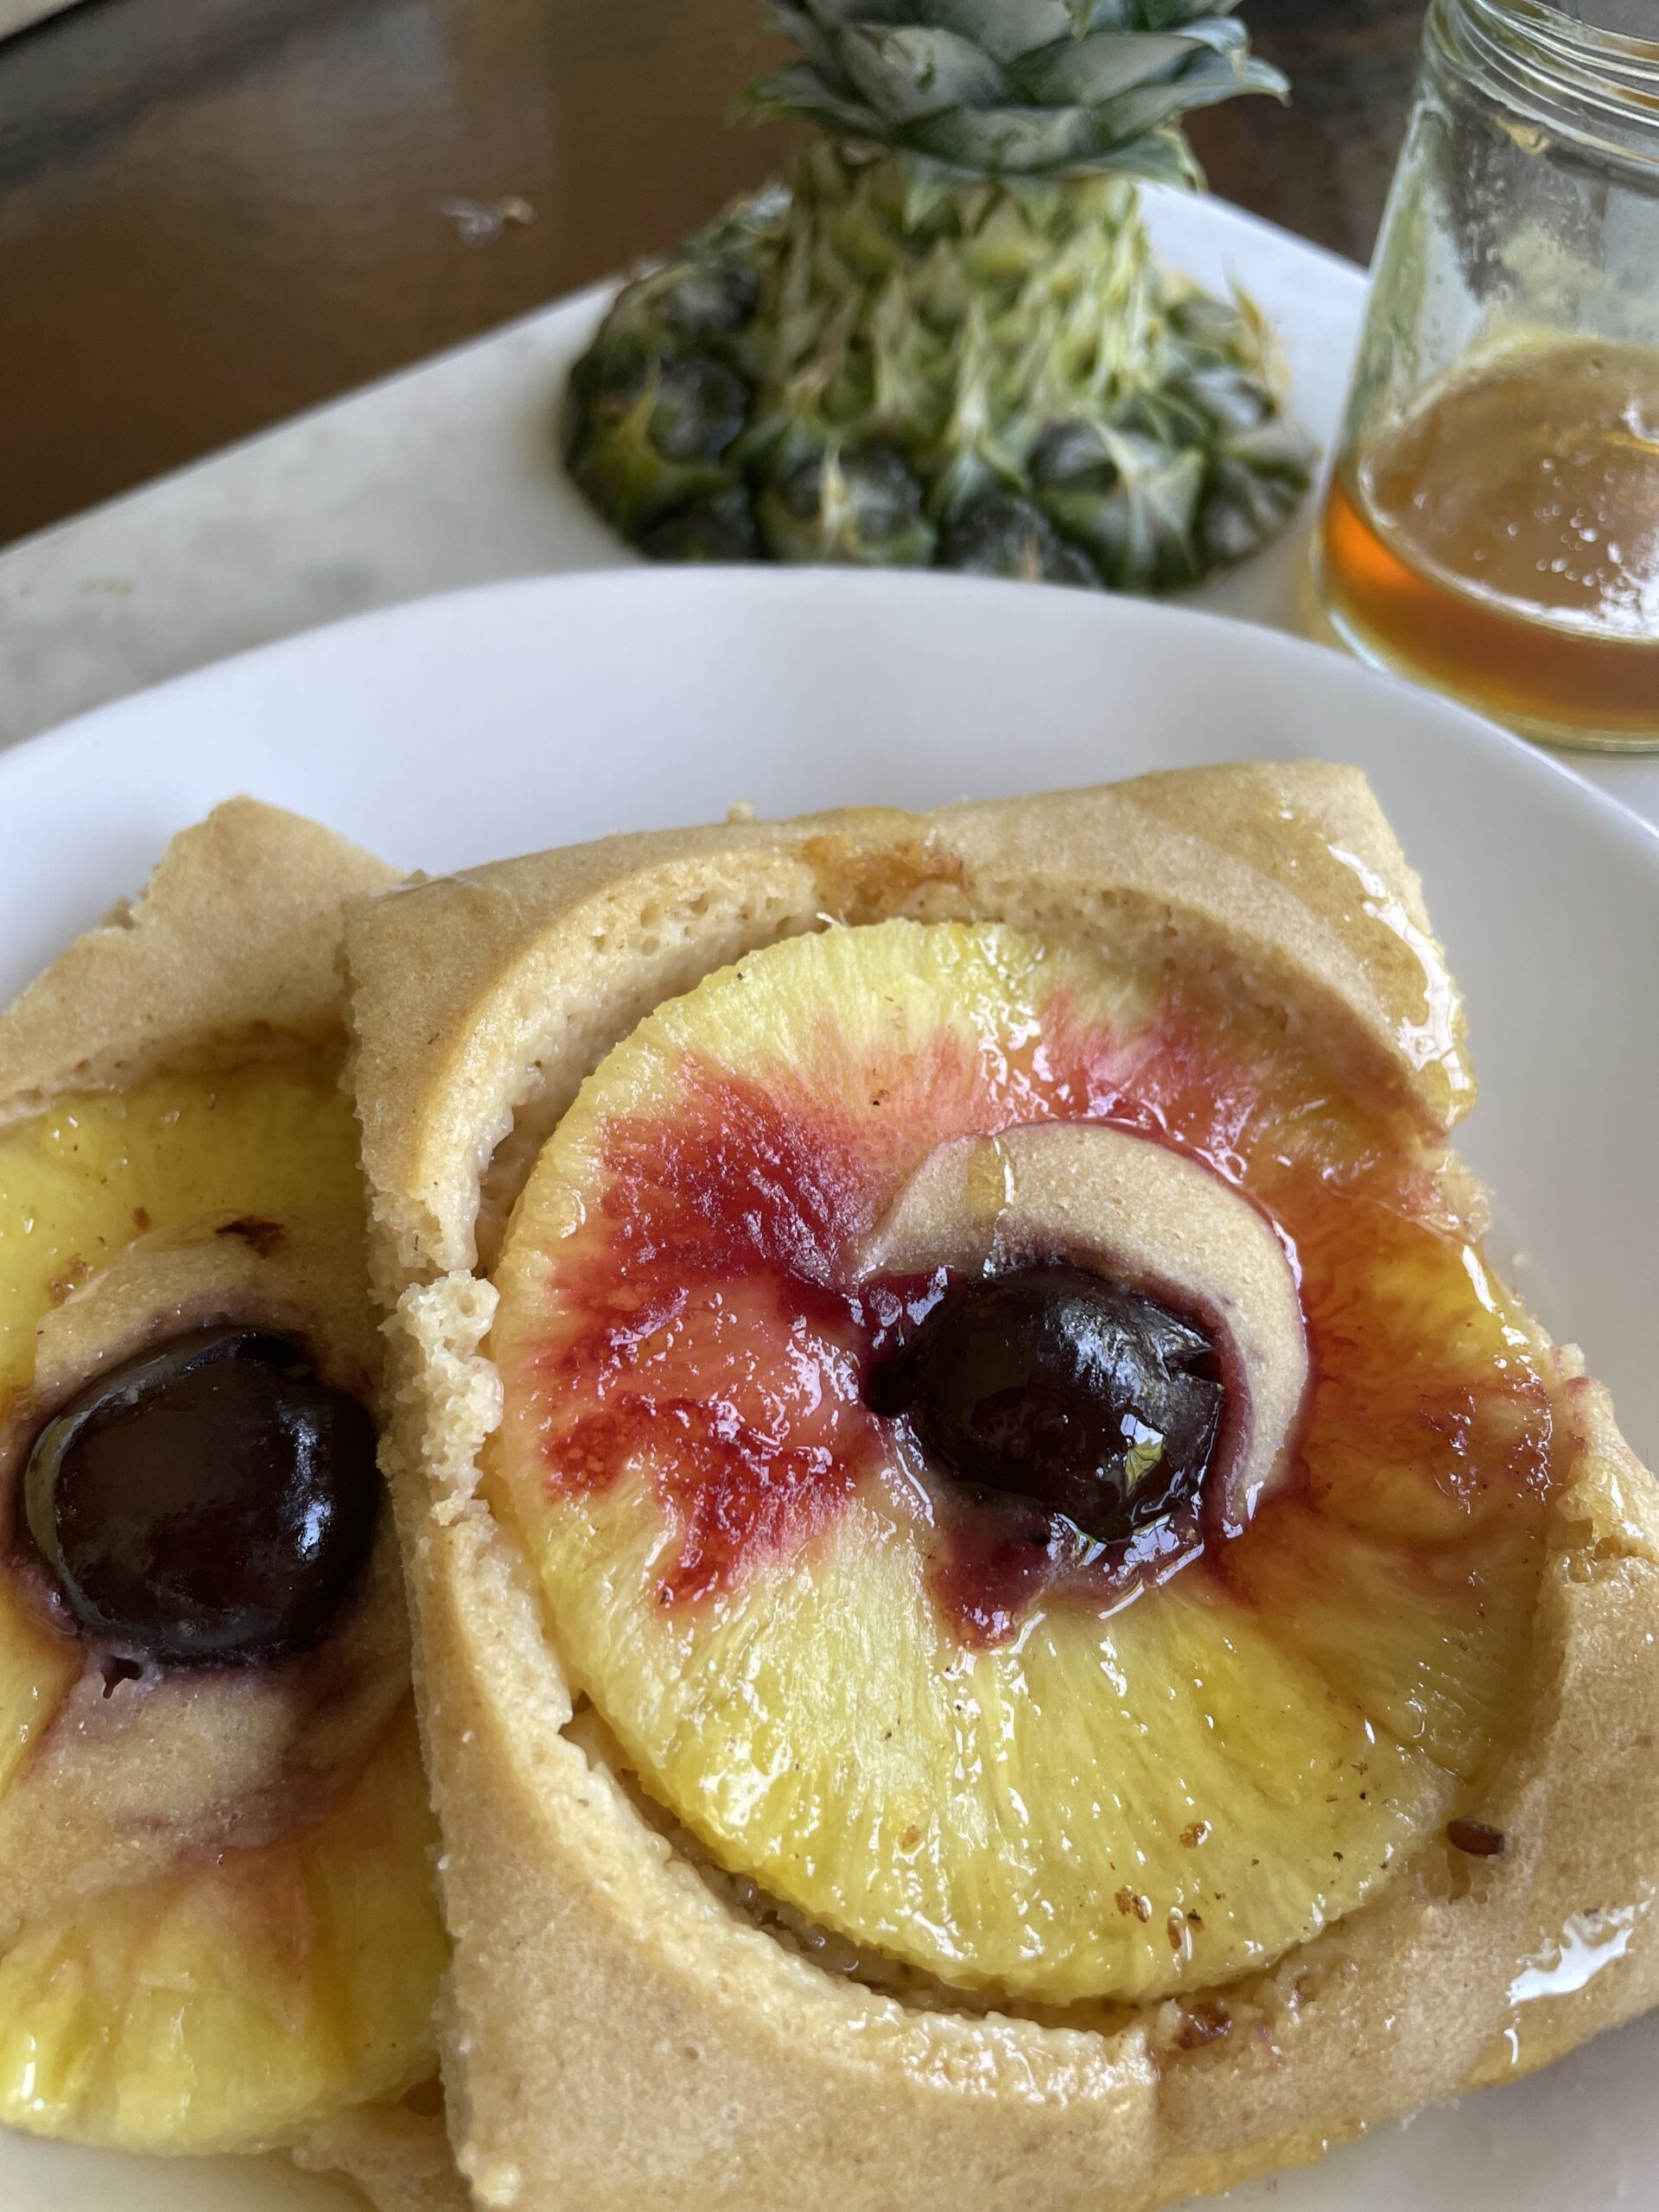
    For some other really cool ways to use pineapple in recipes you can eat check out:

    1
    pineapple pancakes
    Pineapple Pancakes
    Check out this recipe
    2
    Alcohol Free Winter Sangria
    Tangy wine-like sangria
    Check out this recipe

    About Me

    I’m Melanie.

    I’m a chef, registered dietitian, foodie, wife and mom.
    If you’re looking for quick and healthy meal inspiration that serves YOU and your family well, then you’ve come to the right place!

    Melanie Marcus Selfie

    Step-By-Step Guide to make 3-ingredient banana ice cream

    If you’re craving a creamy, guilt-free dessert that satisfies your sweet tooth, I have the recipe for you! This 3-ingredient banana ice cream comes together quickly and the best part is – you don’t need an ice cream maker!  With simple ingredients such as frozen bananas, a little milk, and your favorite flavorings, you’ll be serving this banana ice cream in minutes. 

    Jump to Recipe

    I’ve even made this with just bananas as a first food for my kids during the summer.  

    Possible bonus, you’re kids will love it.  Shhhh, don’t tell them that it’s a healthier dessert.  

    banana on white knit bag

    Ingredients and substitutions

    Frozen Bananas

    Large whole bananas.  Overripe bananas work best.  Do not use room temperature bananas, the consistency will not have the texture of ice cream.  

    Dairy of Choice

    Options include cream, regular milk, coconut milk, coconut cream or almond milk. If you’re on the cottage cheese train, you can use that here too!   Or check out this recipe for cottage cheese ice cream. Greek yogurt can also be substituted if necessary.

    Flavoring Agent

    1-2 teaspoons; choose from cocoa powder, vanilla extract, or peanut butter

    Equipment needed

    All you need for this is a high speed blender or food processor to get that creamy soft serve consistency.  Vitamix blenders are a perfect tool to use if you have one.  A regular blender can work as well, you just may need to scrape side the sides a few times as you blend.  

    Preparation Steps

    Jump to Recipe

    Step 1: Slice and Freeze the Bananas

    1. Slice the Bananas:  Start by peeling the bananas and slicing them into coins. Place the banana slices in a single layer on a baking sheet lined with parchment paper or a silicone mat.
    2. Freeze Until Firm:  Freeze the banana slices until they are firm, which usually takes about 1-3 hours. If you find that you’ll be making this one on the fly, keep a stash of ripe large bananas in the freezer.  Just peel them first and freeze them at least overnight, or until you’re ready to use them.  

    Step 2: Blend the Ingredients

    1. Add to Blender:  Once the banana slices are frozen, add them to a food processor or a high-powered blender. 
    2. Add Dairy and Flavoring Agent:  Pour in your chosen dairy (such as coconut milk) and add your preferred flavoring agent (like a teaspoon of vanilla extract or a dollop of peanut butter).
    3. Blend Until Smooth:  Pulse the mixture until the ingredients are combined. Then blend continuously until you achieve a smooth, creamy texture. You may need to scrape down the sides of the blender a few times to ensure everything is evenly mixed. This should only take a few minutes.  

    Step 3: Enjoy or Store

    1. Serve Immediately: For a soft-serve consistency, enjoy your banana ice cream right away.
    2. Store for Later:  If you prefer a harder ice cream, transfer the mixture to a freezer-safe container and freeze for an additional 1-2 hours until it reaches your desired consistency.
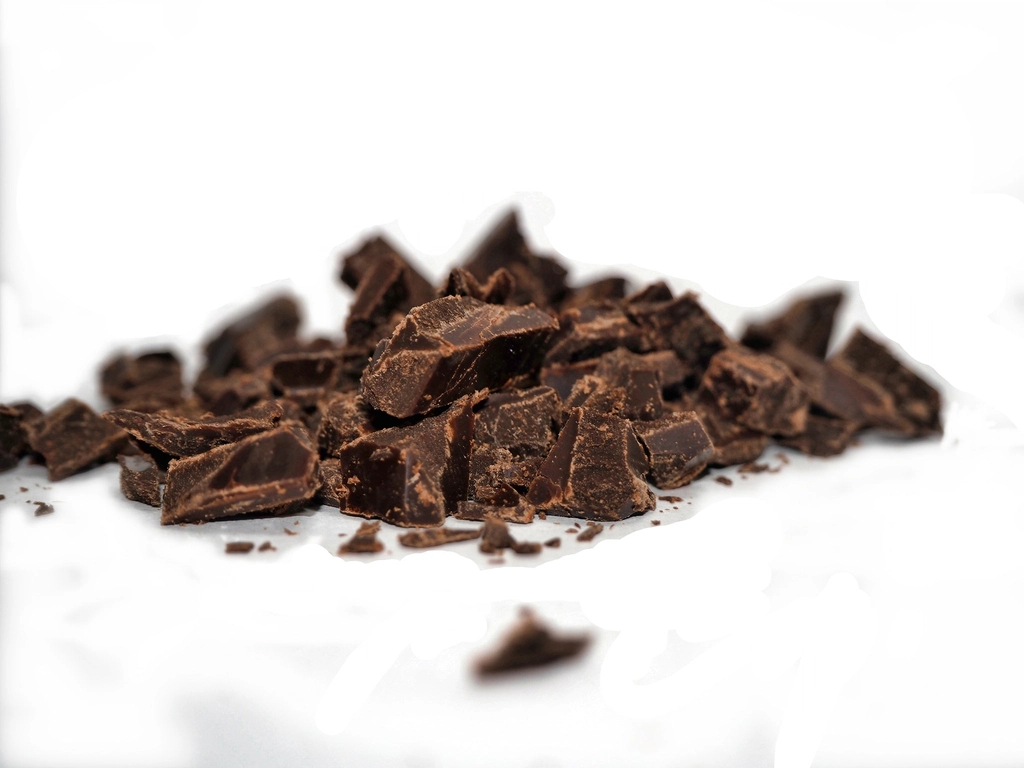
    Chocolate. Original public domain image

    Flavor options for homemade banana ice cream:

    • Chocolate ice cream:  Add 2T cacao powder
    • Almond chocolate chip ice cream:  Make the basic recipe and then swirl in 2T almond butter and chocolate chips.  
    • Mint chocolate chip ice cream:  Add 1/4 cup fresh mint leaves to the banana mixture before blending.  Fold in chocolate chips before serving.  
    • Peanut butter swirl ice cream: Swirl in unsweetened creamy peanut butter before serving.
    • Vanilla ice cream:  Add a teaspoon of vanilla extract

    Enhance any flavor by topping with a pinch of salt.  Flakey sea salt works best to give you a pop of flavor with each bite.  Let me know if you try these.  I’m excited to know which flavor combinations are your favorite.  

    Serving Suggestions

    Elevate your banana ice cream with these tasty additions:

    • Sprinkle chopped nuts or dark chocolate chips for extra crunch.
    • Drizzle honey or maple syrup for added sweetness.
    • Add fresh banana slices and a sprinkle of coconut flakes for a summery treat.

    FAQ

    How does it compare to real ice cream?   

    While banana ice cream may not have the exact same texture and taste as traditional ice cream, it is a healthier alternative.  That said, if you use a few tablespoons of heavy cream or half and half, you will get a more traditional ice cream consistency and mouthfeel. 

    Caloric Content

    A typical serving of traditional ice cream can range from 200 to 300 calories or more, depending on the flavor and brand. In comparison, a serving of frozen blended banana usually contains around 100 calories, making it a lighter option.

    Fat and Sugar Content

    Traditional ice cream is rich in saturated fats and added sugars, contributing to higher cholesterol levels and increased risk of heart disease. On the other hand, frozen blended banana is fat-free and contains natural sugars, which offer a healthy energy boost without the crash.

    Nutritional Benefits

    Bananas are packed with beneficial nutrients such as potassium, vitamin C, and dietary fiber. These nutrients support heart health, boost the immune system, and aid in digestion. Traditional ice cream lacks these natural vitamins and minerals, instead often containing artificial additives and less nutritional value.

    One serving of this dessert is just 125 calories, 2g protein, 1g fat, 31g carbs. Totally doable. Especially if you’re being mindful of macros, as we are in the FASTer Way.

    Dietary Restrictions

    For those with dietary restrictions, frozen blended banana is a versatile choice. It’s naturally vegan, gluten-free, and suitable for individuals with lactose intolerance, whereas traditional ice cream usually contains dairy and gluten, limiting its accessibility.

    By choosing frozen blended banana over traditional ice cream, you can enjoy a delightful dessert that’s not only delicious but also aligns with a healthier lifestyle.

    How do I know if my bananas are ripe?  

    Bananas have several stages of ripeness.  For this recipe I recommend using yellow bananas that have some brown spots, or bananas that are entirely brown will offer the most sweetness.  Do not use green bananas for this homemade ice cream.  

    Tips

    Store for another day by pouring into an airtight container.  Smooth out into one layer and top with plastic wrap.  Push wrap down to the top layer of the ice cream so ice crystals don’t form.  Pop on the lid and store in the freezer.  

    Creating this 3-ingredient banana ice cream is as easy as it is delicious. Whether you’re indulging in a soft-serve treat or enjoying a scoop of firmer ice cream, you’ll find this dessert to be a healthier alternative to traditional ice cream.

    Banana Ice Cream

    Save this healthy dessert for literally anytime you're in the mood for a sweet treat!
    8 minutes
    Total Time 8 minutes
    Course Dessert
    Cuisine American
    Servings 2
    Calories 125 kcal

    Equipment

    • 1 high power blender food processor

    Ingredients
      

    • 2 large bananas frozen
    • 1/4 cup almond milk or milk of choice
    • Vanilla or cocoa powder

    Instructions
     

    • Freeze bananas, if not already frozen.
    • Add bananas and milk to the base of your Vitamix or food processor and blend on high until creamy and smooth. Add milk 1T at a time if more is needed to get the blender going.
    • Add flavoring agent of choice!

    Nutrition

    Serving: 2gCalories: 125kcalCarbohydrates: 31gProtein: 2gFat: 1gSaturated Fat: 0.1gPolyunsaturated Fat: 0.3gMonounsaturated Fat: 0.2gSodium: 42mgPotassium: 487mgFiber: 4gSugar: 17gVitamin A: 87IUVitamin C: 12mgCalcium: 44mgIron: 0.4mg
    Keyword dairy free, gluten free, healthy
    Tried this recipe?Let us know how it was!

    About Me

    I’m Melanie.

    I’m a chef, registered dietitian, foodie, wife and mom.
    If you’re looking for quick and healthy meal inspiration that serves YOU and your family well, then you’ve come to the right place!

    Melanie Marcus Selfie

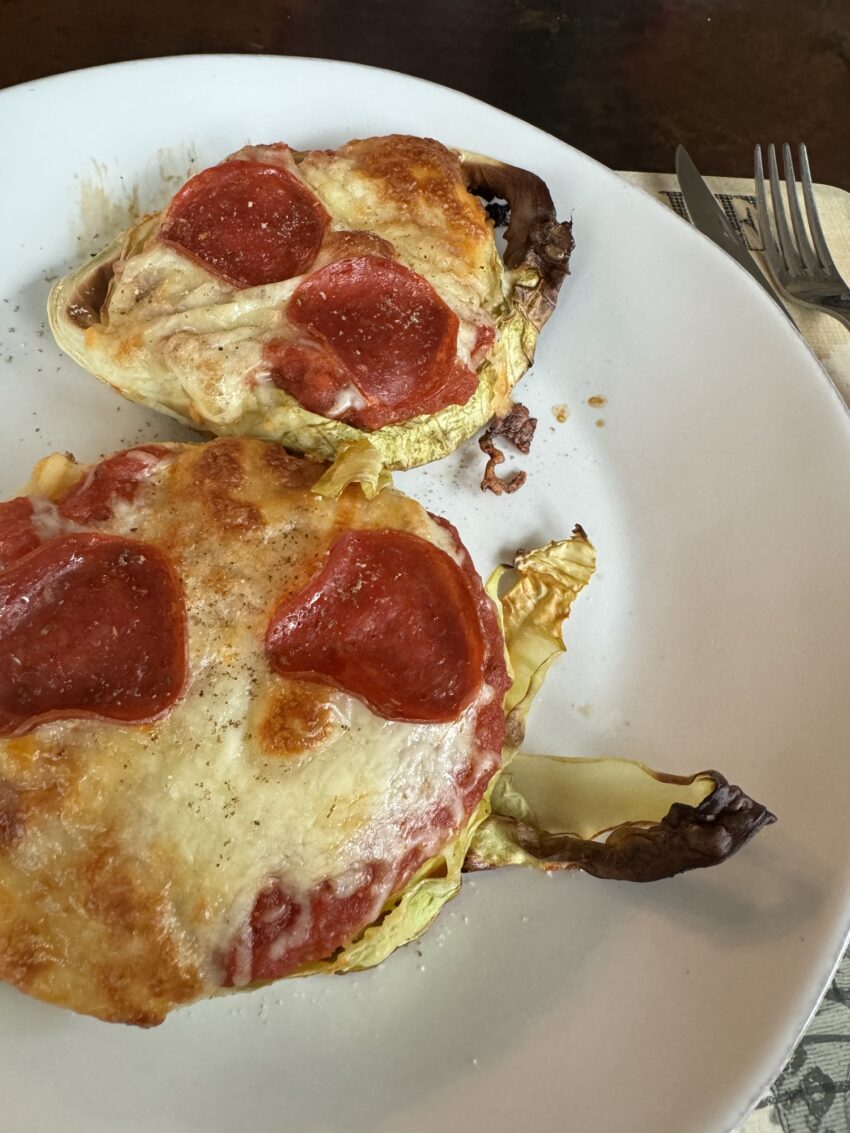
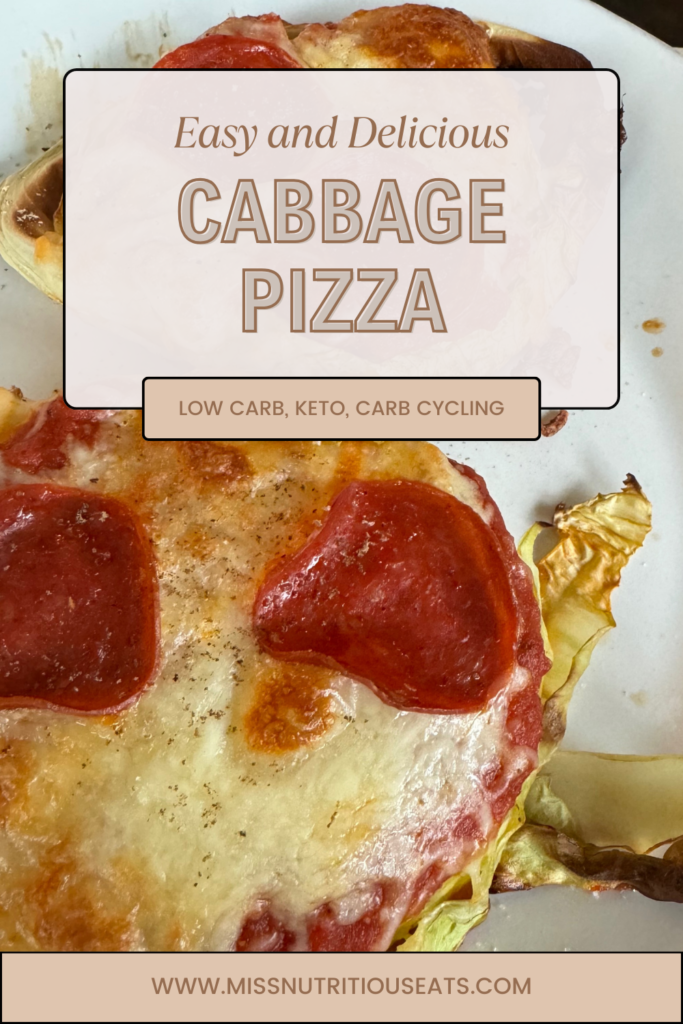
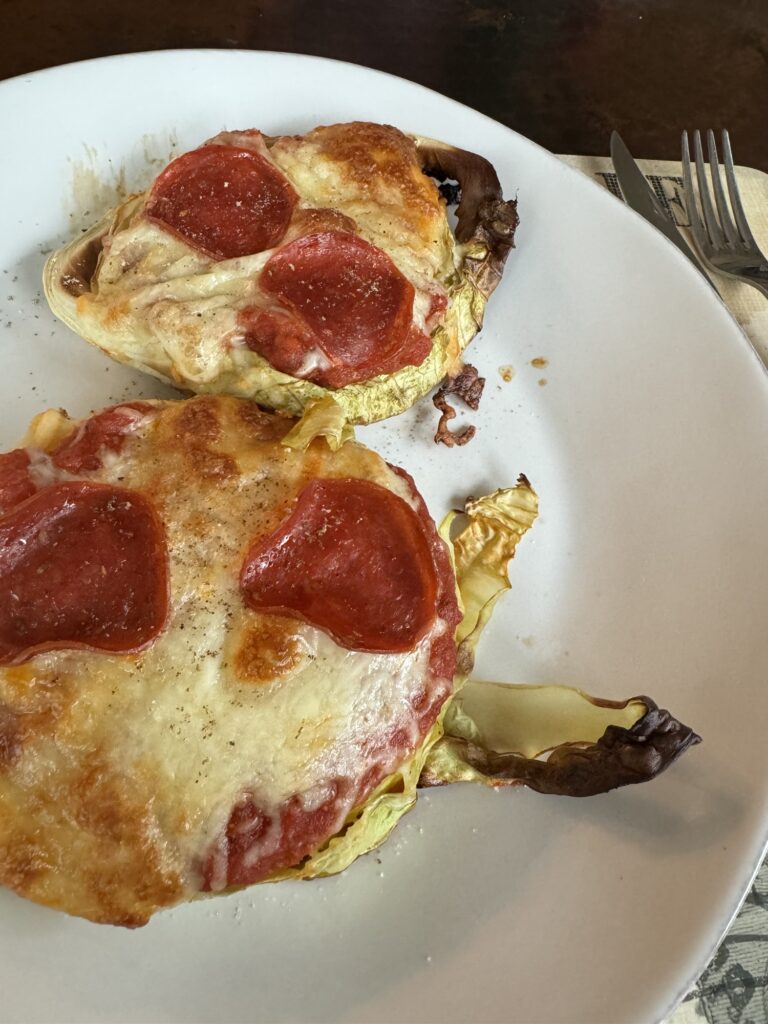
    Low-carb & delicious Cheesy Cabbage Pizza recipe

    Who says pizza can’t be both delicious and healthy? Last night, I decided to put a creative spin on pizza by using cabbage as the crust.  

    Cabbage as a pizza base may sound unusual, but these thick slices of low-carb deliciousness are not only satisfying but also packed with vitamin C, aiding weight loss (because they’re low calorie) and supporting immune systems thanks to their prebiotic fiber. Plus, it aligns perfectly with a whole foods approach to nutrition that I teach in my weight loss program – The FASTer Way to Fat Loss. The fact is, this unique take on pizza is perfect for your next week’s menu rotation—especially if you’re looking to keep things tasty and nutrient-rich.  Did I mention cabbage is likely the most affordable vegetable at the market?  

    Jump to Recipe

    Join my next round of the FASTer Way

    Tired of endless diets and no results? Join the FASTer Way to Fat Loss and see real, sustainable changes in just 6 weeks!

    Melanie Marcus FASTer Way to Fat Loss Coach

    Ingredients:

    • Thick slices of green cabbage or red cabbage (I’ve tried both and they’re great)
    • 1/4 cup marinara sauce or tomato sauce per slice(Recommended brand: Rao’s)
    • 1/2 oz shredded mozzarella cheese per slice
    • Toppings of choice (we like turkey pepperoni)
    • Olive oil spray
    • Salt and pepper, to taste
    • Optional toppings: green onions, cherry tomatoes, garlic powder, fresh basil, mushrooms, pineapple and left over ham.  Sky’s the limit!  
    Jump to Recipe
    image of cabbage pizzas on sheet pan

    Step-By-Step Guide:

    Preparing Your Cabbage Base:

    1. Preheat your oven to 400 degrees Fahrenheit and prepare your baking tray.
    2. Cut your red cabbage into 3/4 inch slice rounds that will form the bases of your pizza.
    3. Lay them on a baking sheet and spray each slice with olive oil.
    4. Season with salt and pepper to infuse the slices with flavor.
    5. Roast in the oven until they reach a delectable golden brown, about 20 minutes.

    Adding the Toppings:

    1. Once the first roast is done, carefully flip over each cabbage steaks.
    2. Spoon 1/4 cup of the marinara sauce over each round, creating a tomato mixture that mirrors traditional pizza.
    3. Sprinkle each with 1/2 oz of finely shredded mozzarella cheese.
    4. Add the turkey pepperoni or any other bite-sized pieces of your preferred toppings.
    5. Optional: For a burst of fresh taste, add green onions, cherry tomatoes, and a sprinkle of garlic powder or oregano.
    6. Return to the oven and bake at medium heat for another 10-15 minutes or until the cheese bubbles into melted perfection.

    Serving:

    1. Garnish with fresh basil leaves.
    2. Serve hot.
    Pizzas portioned out on plate

    Why Cabbage Pizza?

    The beauty of this cabbage pizza lies in its simplicity. With only three core ingredients, it takes the hassle out of dinner prep. Cabbage is a powerhouse vegetable, making these pizzas ideal for those on a keto diet, low carb or even carb-cycling, providing essential nutrients with minimal g fat.  

    Because we’re baking the cabbage rather than frying, it retains much of its nutritional value. And thanks to cabbage’s flexibility, it pairs beautifully with nearly any topping. 

    If you’re in meal prep mode, these pizzas are convenient to reheat and can make great quick lunches throughout the week. Plus, for anyone interested in weight management without compromising on taste, swapping your traditional pizza base with cabbage might just be the tip you’ve been looking for.

    Social media platforms like TikTok have sparked a trend for innovative, health-focused recipes, and this cabbage pizza is sure to join the ranks as a great recipe for low carb meals.

    Remember, when it comes to cooking, the joy is in the experiment. Swap ingredients, try new toppings, and find what works best for you and your dietary needs.

    How they fit into macros

    One 3/4 inch pizza with 1/4 cup marinara and 1/2 oz mozzarella cheese provides:

    107 Calories

    8g Carbohydrate

    3g Fiber

    6g Fat

    6g Protein

    Log your toppings individually to customize for your macros!

    Pizzas portioned out on plate

    Cabbage Pizza

    3 ingredients and simple. Need I say more?
    Cook Time 4 minutes
    Course Main Course
    Servings 4
    Calories 107 kcal

    Equipment

    • 1 Sheetpan lined

    Ingredients
      

    • 1 head cabbage sliced into 3/4 inch pieces
    • 1 cup marinara sauce
    • 2 oz mozzarella cheese shredded

    Instructions
     

    • Lay cabbage slices onto sheet pan. Spray both sides with olive oil spray. Season with salt and pepper to taste.
    • Bake at 400F for 20 minutes.
    • Flip cabbage and layer with sauce, cheese and toppings.
    • Cook for another 10-15 minutes until cheese is bubbly and melted.

    Nutrition
    Calories: 107kcalCarbohydrates: 8gProtein: 6gFat: 4gSaturated Fat: 2gPolyunsaturated Fat: 0.2gMonounsaturated Fat: 1gCholesterol: 11mgSodium: 420mgPotassium: 579mgFiber: 3gSugar: 10gVitamin A: 583IUVitamin C: 87mgCalcium: 171mgIron: 2mg
    Tried this recipe?Let us know how it was!

    About Me

    I’m Melanie.

    I’m a chef, registered dietitian, foodie, wife and mom.
    If you’re looking for quick and healthy meal inspiration that serves YOU and your family well, then you’ve come to the right place!

    Melanie Marcus Selfie

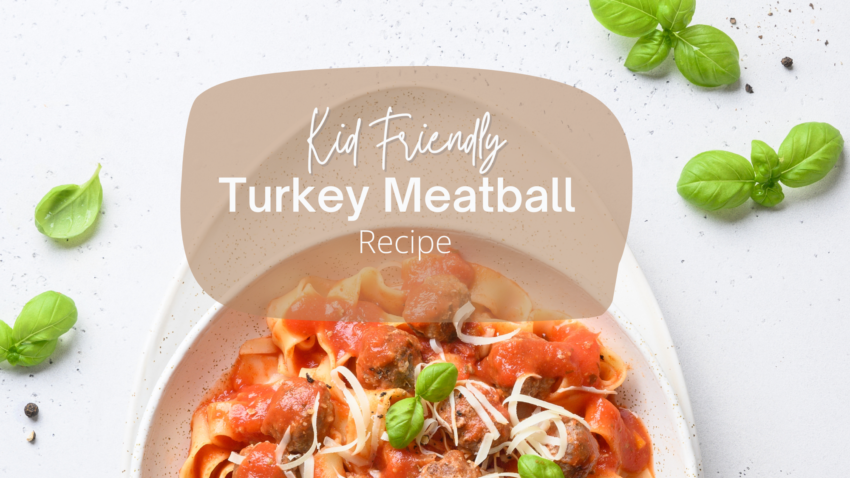
    Kid-friendly + Easy baked Turkey Meatball recipe

    If you know me, you know I love my mom’s turkey meatballs.  They’re actually called kotlety, which is Polish for “meatball”.  They’re just downright comforting and very simple to make.  I love them with sauce, sliced cold onto a sandwich or just straight out of the fridge for a quick snack.  IYKYK.  So, honestly, I’m sharing this recipe more for myself, my brother and my sister so all of my nieces and nephew can enjoy and remember these as fondly as I do.  Thanks Mom!

    Jump to Recipe

    Kid appeal

    The best part? This turkey meatball recipe is baked and can be a delicious dinner staple for every age—from younger children with little fingers to picky eaters who only eat one food – this is a strong contender. The flavorful meatballs are a mixture of ground turkey, breadcrumbs, and the secret ingredient, Locatelli Romano, making them perfect for a childhood food and well into adulthood. 

    Ingredients You’ll Need:

    • 3 pounds lean ground turkey
    • 1/3 cup breadcrumbs
    • 1/4 cup grated Locatelli Romano cheese
    • 3/4 cup finely chopped parsley
    • 1/4 cup milk
    • 1 clove garlic
    • 1 large egg
    • Salt and pepper to taste

    About the turkey

    I’ve tried this recipe with 85%, 92% and 99% lean ground turkey.  I am always happier with the texture and flavor when I use 85 or 92% lean ground turkey.  Not to mention when I use 99% only, they need much less bake time, and could be done in about 30 minutes.  So while I love a good lean protein option, this one should be saved for low carb day.  I recommend going with 85% lean ground turkey.  

    The secret ingredient – Locatelli Romano

    We’ve tried making this dish with parmesan cheese in a pinch, and it is simply not the same.  Locatelli Romano cheese has a deep, sharp and salty flavor that literally makes this recipe.  Don’t try to substitute it!  Buy a large chunk and grate with a box grater or microplane when you need it for this recipe.  

    https://www.instagram.com/reel/C43EsJsOkX1/?utm_source=ig_web_copy_link&igsh=MzRlODBiNWFlZA==

    ​Don’t skimp on the parsley

    Let me tell you why.  This recipe has a lot of umami rich ingredients.  With turkey and egg and cheese, it needs the brightness from the parsley and while 3/4 cup chopped seems like a lot (I sometimes add more) and it’s really what makes it such a great recipe.  

    A Few ‘Great Ways’ To Serve These Meatballs:

    • Over your favorite pasta with marinara sauce for a quick meal.
    • Paired with sweet potato fries or brown rice and broccoli for a well-balanced plate.
    • Smothered in Rao’s marinara or any tomato sauce you love served on a whole grain roll.
    • Stored in an airtight container, they make for fantastic meal prep options for a quick meal the next day.

    Instructions for Making Mom’s Turkey Meatballs:

    Jump to Recipe
    1. Preheat your oven to 375 degrees F and line a baking sheet with non-stick parchment sheets or parchment paper for fast cleanup.
    2. In a large mixing bowl, combine all ingredients.  Integrating a food processor might seem like an easy way, but some things are best done the traditional way, ensuring the turkey mixture retains its texture.
    3. Into the turkey mixture go the grated Locatelli Romano, breadcrumbs, fresh parsley, and milk. Using a wooden spoon, mix until you’ve got a consistent meatball mixture.
    4. Crack in the egg, and crushed garlic followed by a sprinkle of salt and pepper. Mix until combined.
    5. Time to shape these simple turkey meatballs! With clean hands or a set of scoopers, form the turkey mixture into perfect balls. For consistent sizes, use a small cookie scoop—it also makes the prep time fly by while keeping my hands clean!
    6. Place the meatballs on the prepared baking sheet ensuring they’re spread out evenly. 
    7. Bake the meatballs in the preheated oven until golden and cooked through, with an internal temperature of 165 degrees F—this usually takes 50 minutes.

    Protein Options

    For those who like to tinker in the kitchen, here are different ways to modify this new recipe:

    • Swap ground turkey for ground chicken or lean ground beef.
    • Turn them into paleo turkey meatballs by using almond flour instead of breadcrumbs.
    • Hide additional nutrients like finely diced red onion or grated sweet potatoes into the mix for hidden vegetables.
    • Make a double batch of these baked meatballs and store extras in the freezer for an even quicker family meal next time. For other batch cooking ideas, check out this article.

    Macros and Nutrition

    I broke out the serving for these to one meatball so you can create a serving of 2, 3, 4 or more meatballs to meet your individual macro needs.

    When made with 85% lean turkey, one meatball has:

    Carb: 1g

    Protein: 14g

    Fat: 2g

    Other Family Favorite recipes to try

    3
    Three Cheese Baked Ziti with Meat and Hidden Mushrooms
    Check out this recipe
    4
    close up photo of farfalle
    Creamy Ricotta Pasta with Veggies and Pine nuts
    Check out this recipe
    5
    salmon on top on lemon slices.
    Why I eat leftover salmon straight from the fridge
    Check out this recipe

    Follow me on IG for more daily inspo in my stories: @miss_nutritious_eats

    Mom’s Turkey Meatballs

    Prep Time 5 minutes
    Cook Time 50 minutes
    Course Main Course
    Servings 24
    Calories 78 kcal

    Equipment

    • 1 Sheetpan
    • 1 baking dish 9×13

    Ingredients
      

    • 3 pounds ground turkey 85% lean
    • 1/3 cup bread crumbs
    • 1/4 cup Locatelli Romano cheese grated
    • 3/4 cup parsley chopped
    • 1/4 cup milk
    • 1 clove garlic I use Dorot
    • 1 egg
    • salt and pepper to taste

    Instructions
     

    • Gently combine all ingredient in a large bowl.
    • Use a small ice cream scoop to form into even balls. (about 24)
    • Bake at 375 F for 1 hour.

    Nutrition
    Calories: 78kcalCarbohydrates: 1gProtein: 14gFat: 2gSaturated Fat: 1gPolyunsaturated Fat: 0.4gMonounsaturated Fat: 0.5gTrans Fat: 0.01gCholesterol: 39mgSodium: 57mgPotassium: 188mgFiber: 0.1gSugar: 0.2gVitamin A: 190IUVitamin C: 3mgCalcium: 22mgIron: 1mg
    Tried this recipe?Let us know how it was!

    About Me

    I’m Melanie.

    I’m a chef, registered dietitian, foodie, wife and mom.
    If you’re looking for quick and healthy meal inspiration that serves YOU and your family well, then you’ve come to the right place!

    Melanie Marcus Selfie

    The Best Super Yummy Chicken Dinner Recipe ideas

    What is better than a go-to chicken recipe that’s a crowd pleaser and macro friendly? I went ahead and pulled together an array of super yummy recipes catered to women looking to feed their families healthy, macro-friendly chicken dinners. These are recipes that I make on re-peat at home. Whether you’re a busy bee seeking quick meals or a picky eater aiming to indulge without the guilt, these chicken breast-centered dishes are delicious and nourishing.

    Why Choose Chicken Breasts?

    Chicken breasts are a wonderful source of lean protein and are incredibly versatile. If you’re tracking macros, you know lean chicken breast is a great way to hit your protein macro goals without added fat. They can be baked, grilled, pan-seared, or slow-cooked into a variety of dishes that won’t derail your health goals. Plus, using simple ingredients, you can transform this humble poultry cut into a culinary delight that everyone at the table will love.

    If you want to know more about how tracking macros can help you reach your health goal, check out this article.

    The Only Thing Better Than Quick Chicken Recipes? Healthy Ones!

    ​Here’s a roundup of a few of my go-to’s

    6
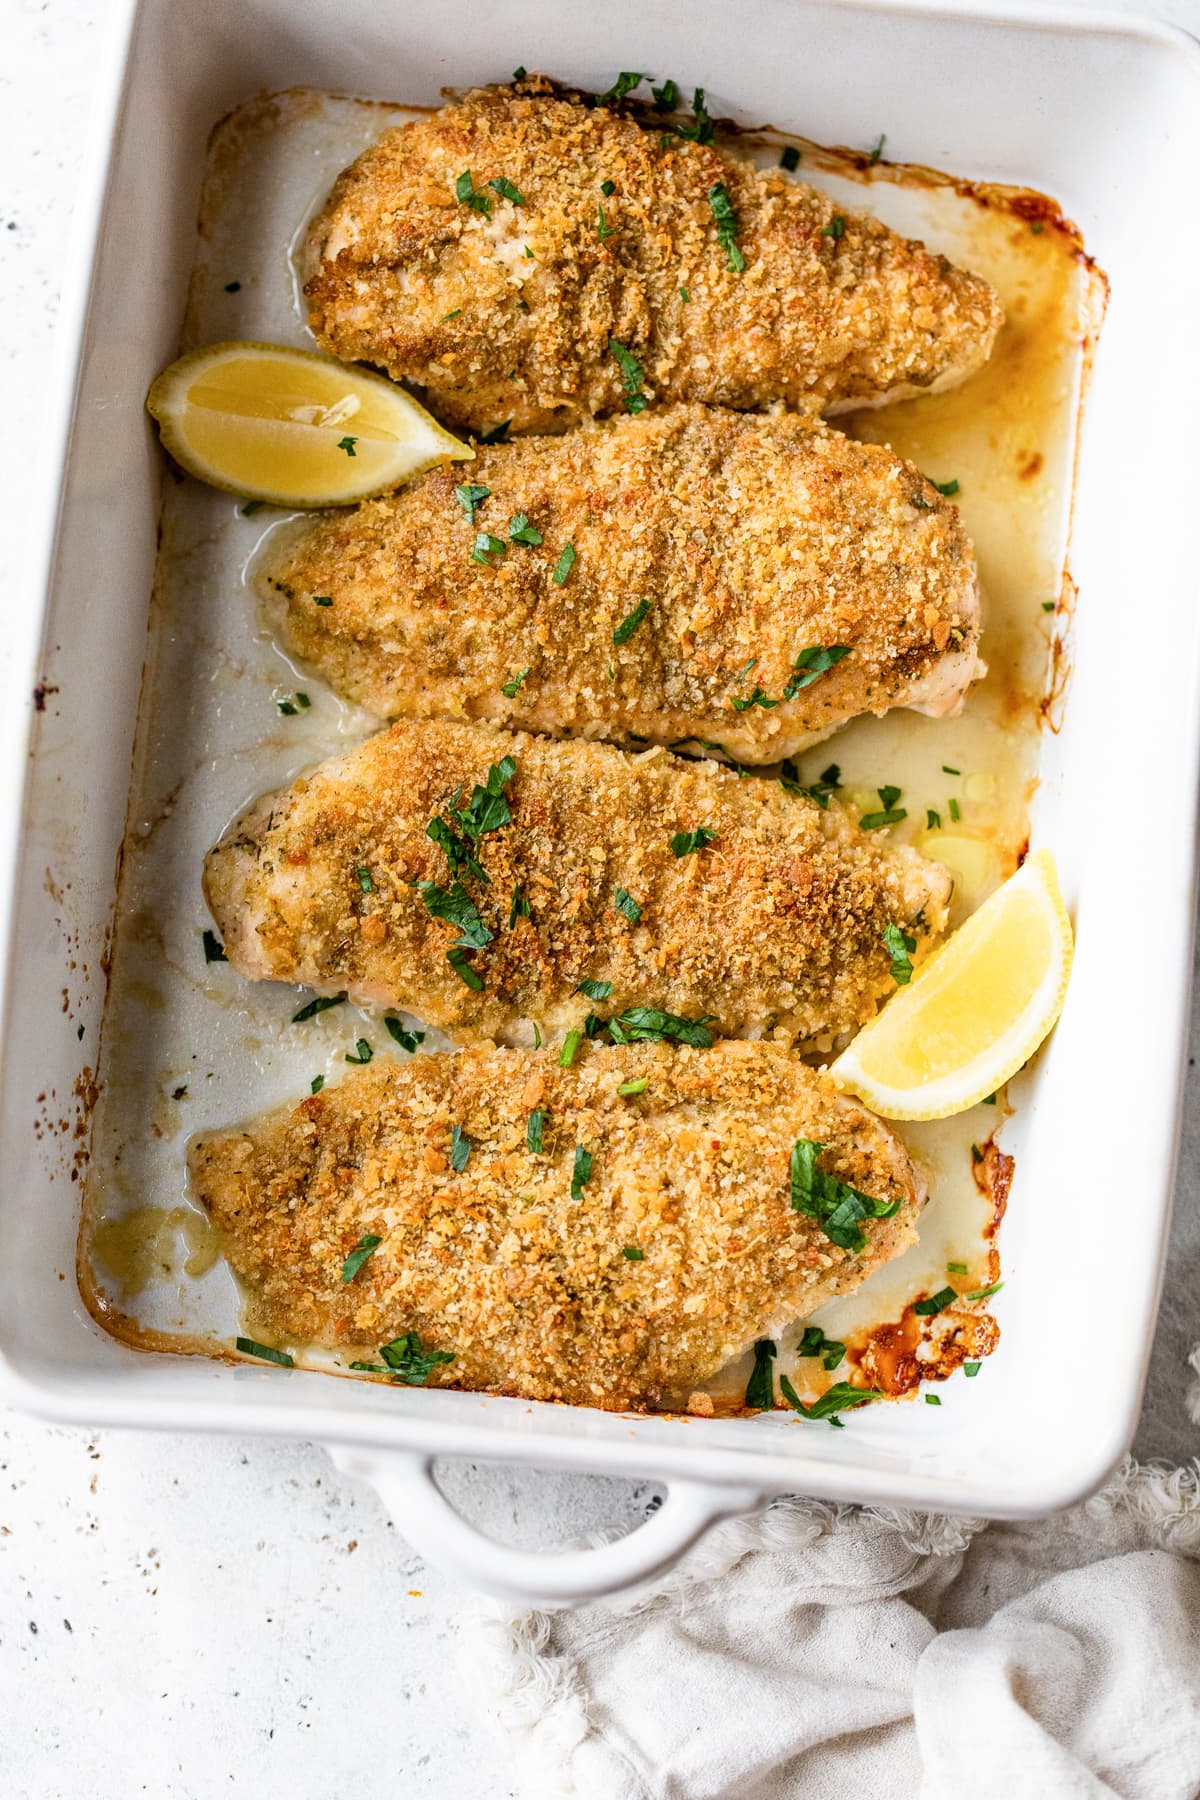
    Baked Chicken Breasts
    skinnytaste.com
    Baked Chicken Breasts
    Perfect, juicy Baked Chicken Breasts topped with crispy panko-parmesan crumbs are flavorful and delicious!
    Check out this recipe
    7
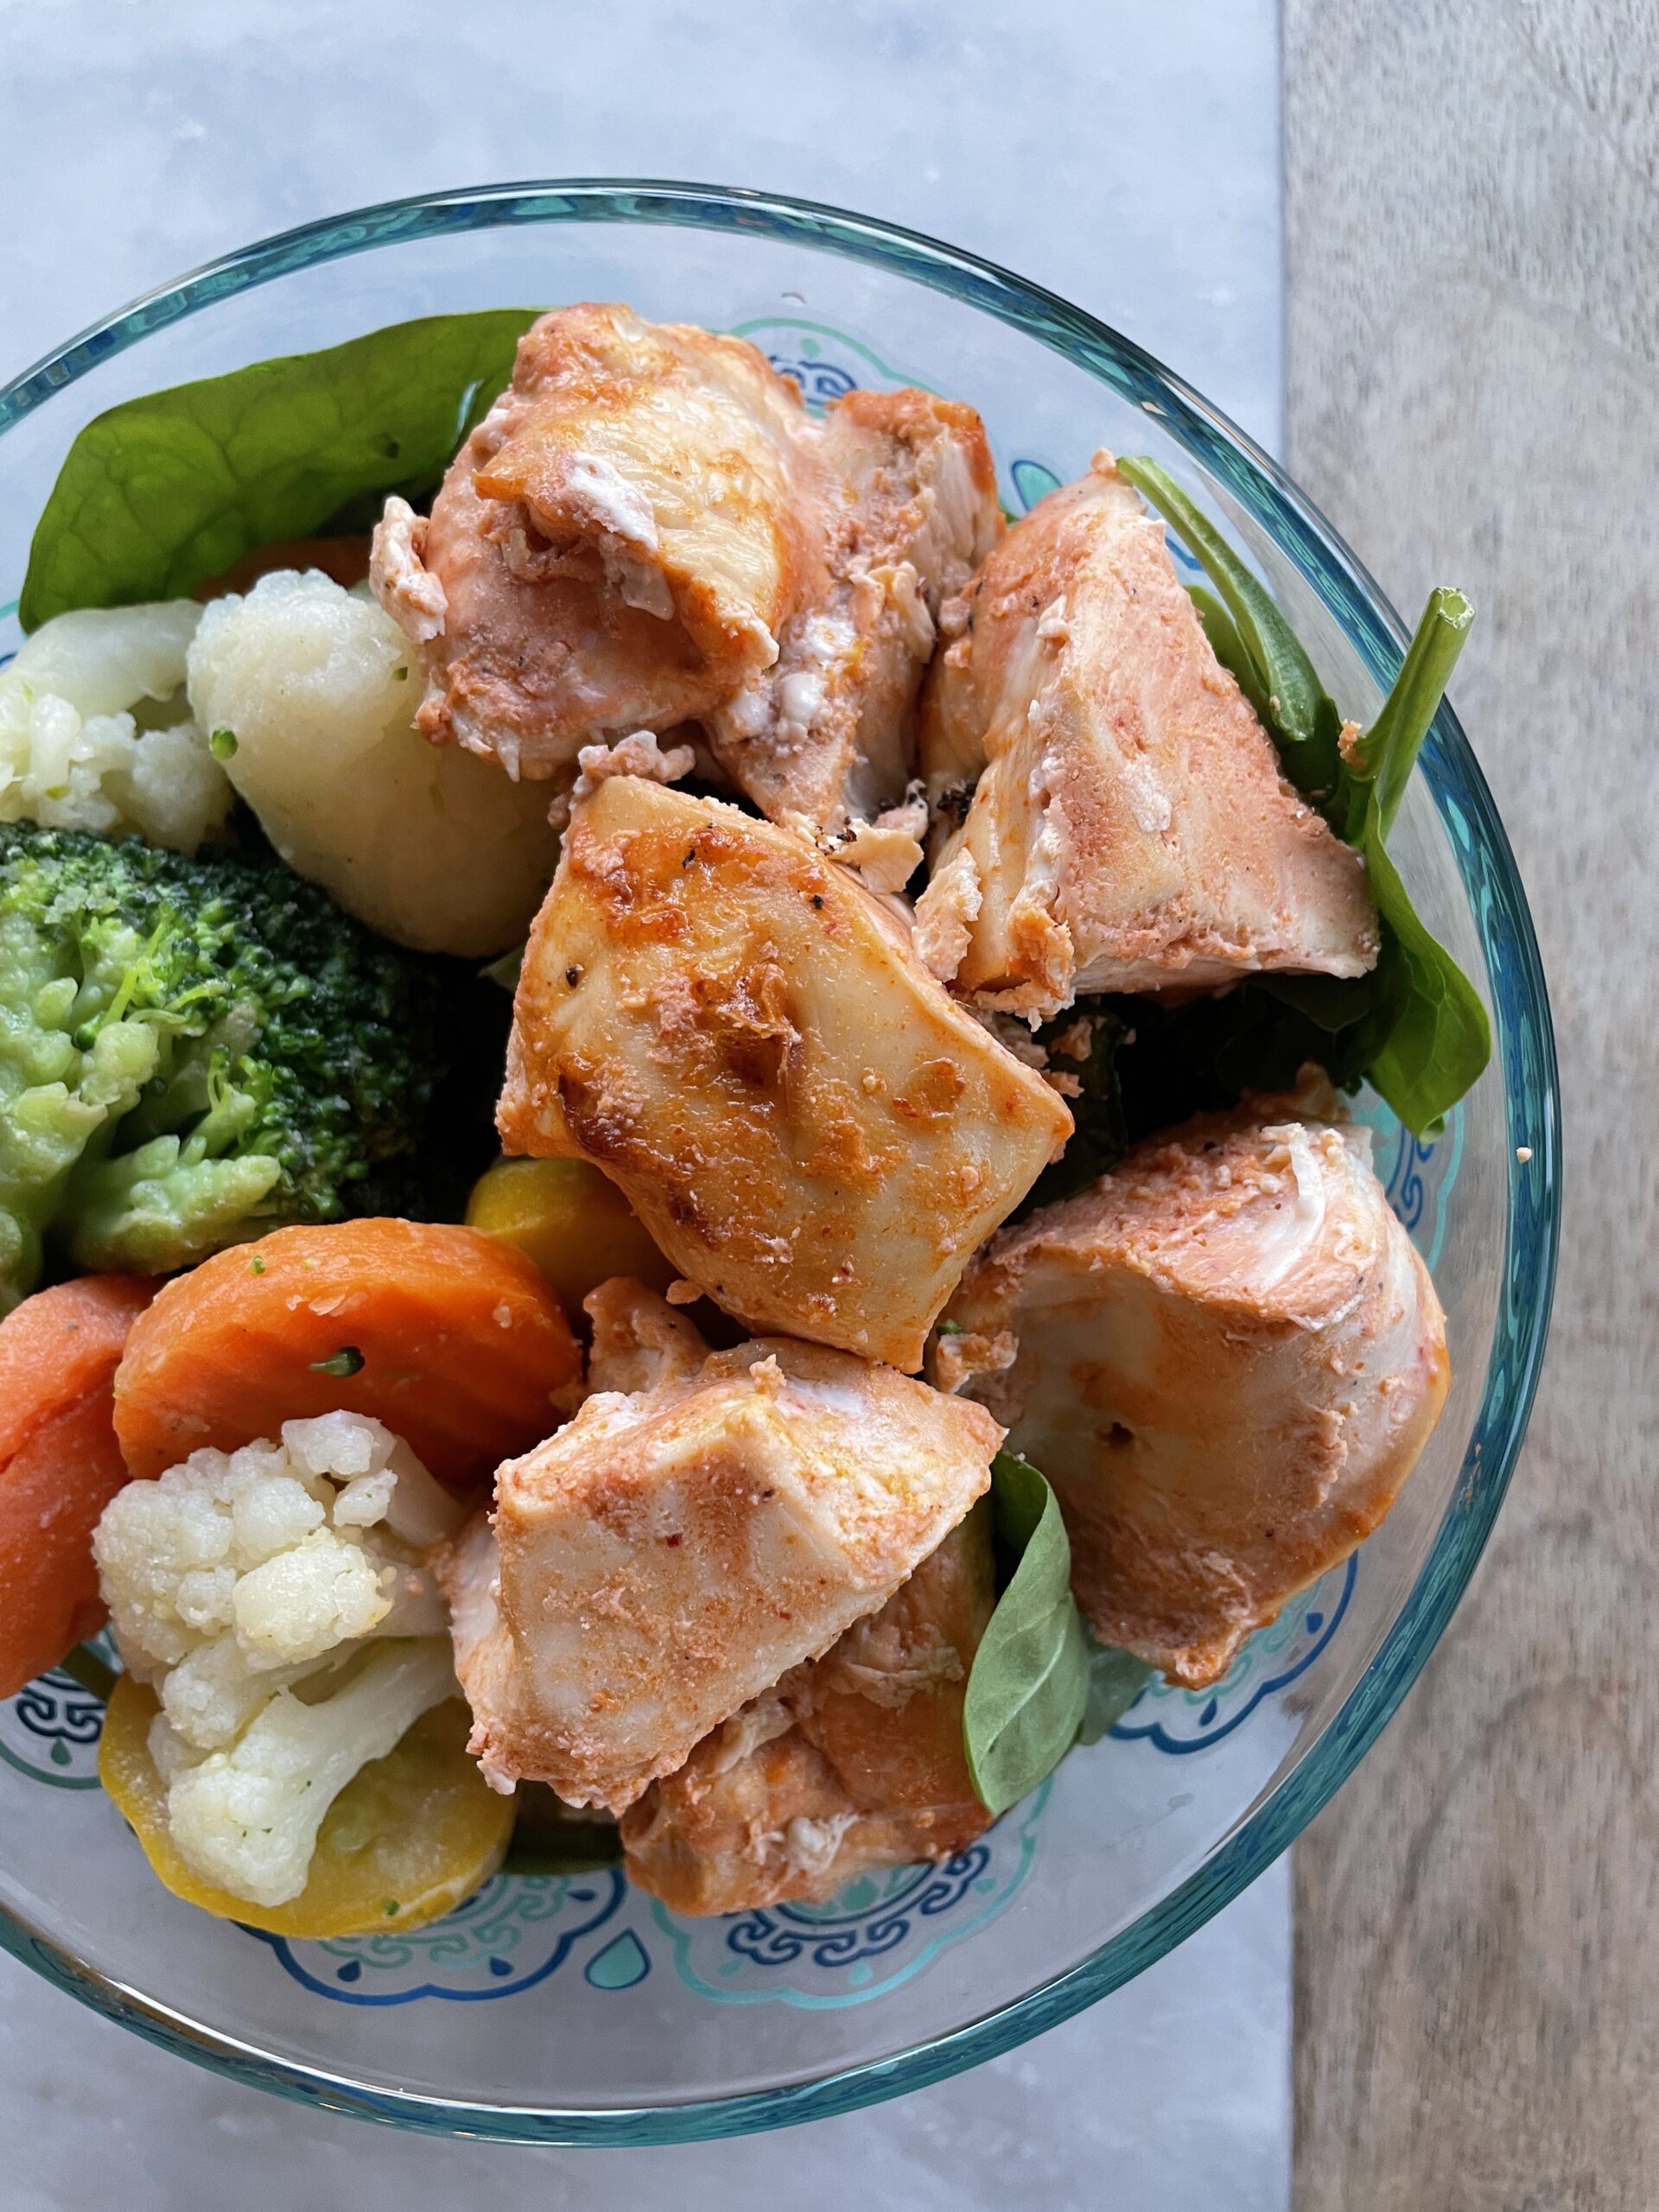
    Yogurt Curry Chicken Skewers
    This recipes reminds me of the chicken, salad and rice plates that I would get in New York. Even easier to make!
    Check out this recipe
    8
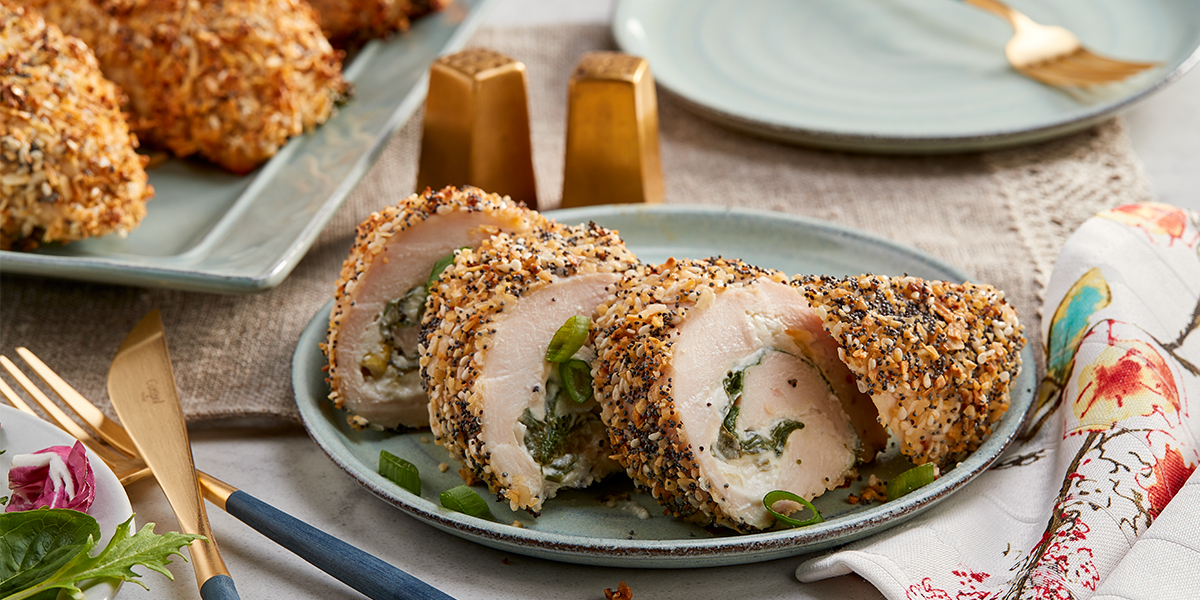
    Everything Bagel Chicken Roll-Ups
    dole.com
    Everything Bagel Chicken Roll-Ups
    4 Servings per container
    Check out this recipe
    9
    Chicken Fried Rice
    ohsnapmacros.com
    Chicken Fried Rice
    This Chicken fried rice Recipe is packed with chicken, veggies and basmati rice. This Macro Friendly dish is full of flavors and great for meal prep.
    Check out this recipe
    10
    easy pulled chicken
    BBQ Pulled Chicken
    This one couldn't be easier. Set it and forget it.
    Check out this recipe
    11
    Macro Friendly Caprese Chicken
    julieledbetter.com
    Macro Friendly Caprese Chicken
    Cook this delicious and macro-friendly caprese chicken! Believe it or not, with just four main ingredients and 30 minutes, you can make this super delicious, and incredibly healthy caprese chicken. With mozzarella, tomato, and fresh basil, it tastes just like an authentic, Italian pizza but you won’
    Check out this recipe
    12
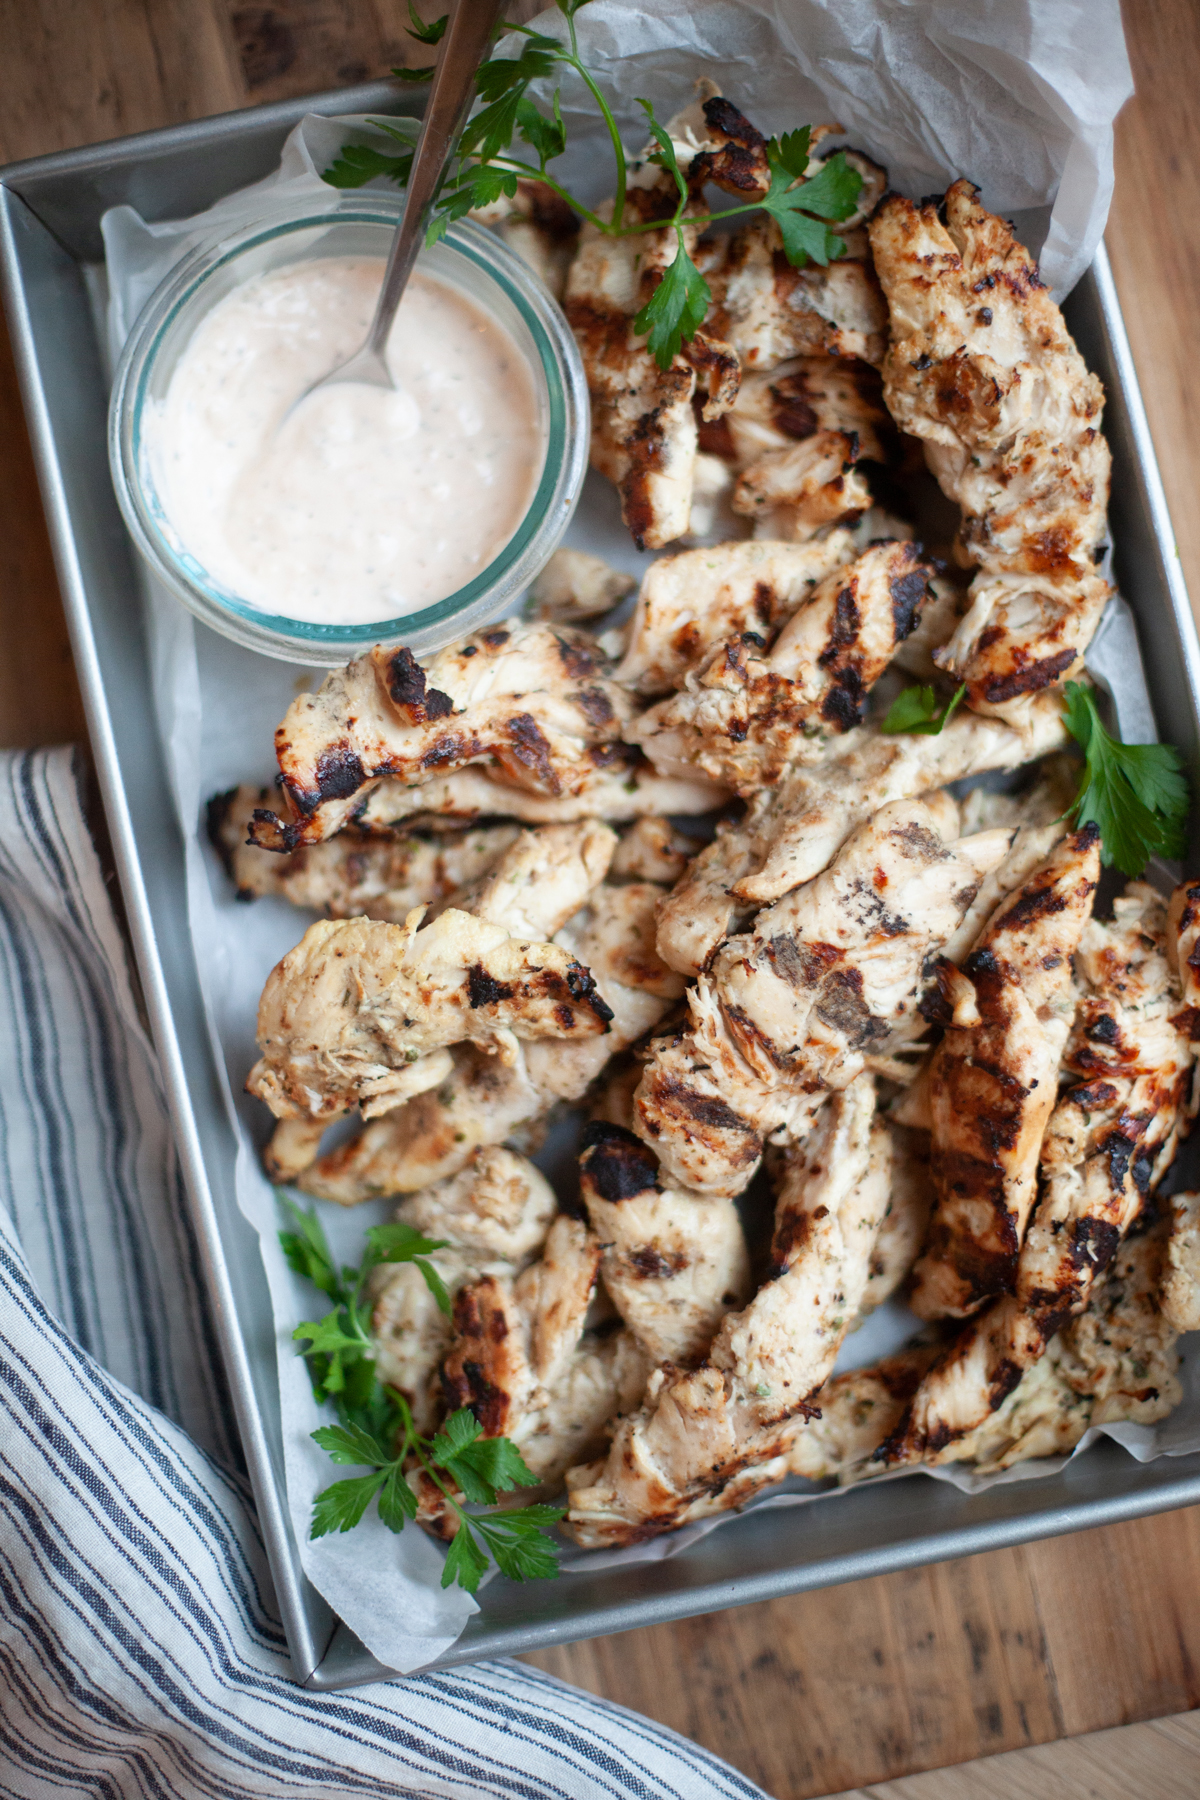
    Herby Mediterranean Grilled Chicken Tenderloins
    lillieeatsandtells.com
    Herby Mediterranean Grilled Chicken Tenderloins
    This Herby Mediterranean Grilled Chicken Tenderloin recipe is a great go-to for your favorite recipes that call for grilled chicken!
    Check out this recipe
    13
    Sweet Potato Chipotle Rotisserie Chicken Skillet
    lillieeatsandtells.com
    Sweet Potato Chipotle Rotisserie Chicken Skillet
    With this sweet potato chipotle rotisserie chicken skillet recipe, your macros will be covered and you’ll still get all the comfort you need.
    Check out this recipe
    14
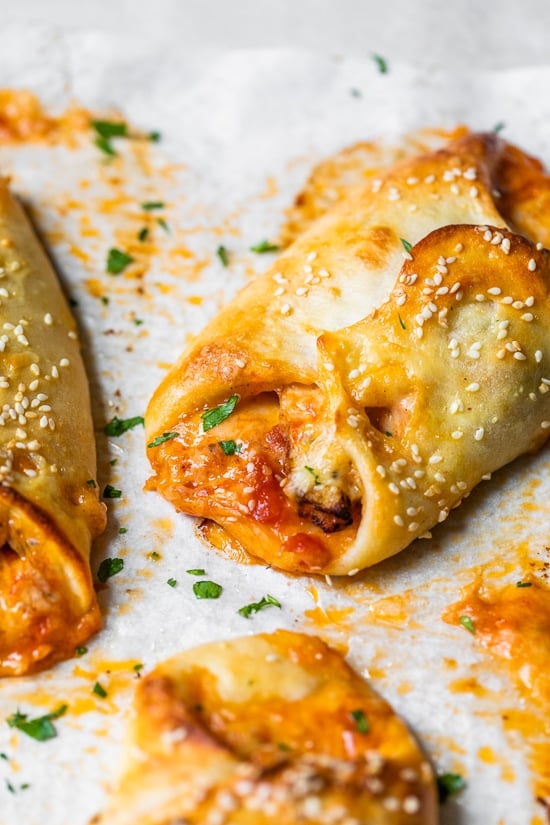
    Chicken Parmesan Rolls (Pizzeria Style Chicken Rolls)
    skinnytaste.com
    Chicken Parmesan Rolls (Pizzeria Style Chicken Rolls)
    These protein packed Chicken Parmesan Rolls (also know as chicken rolls) are wrapped in my homemade pizza dough with marinara and mozzarella.
    Check out this recipe
    15
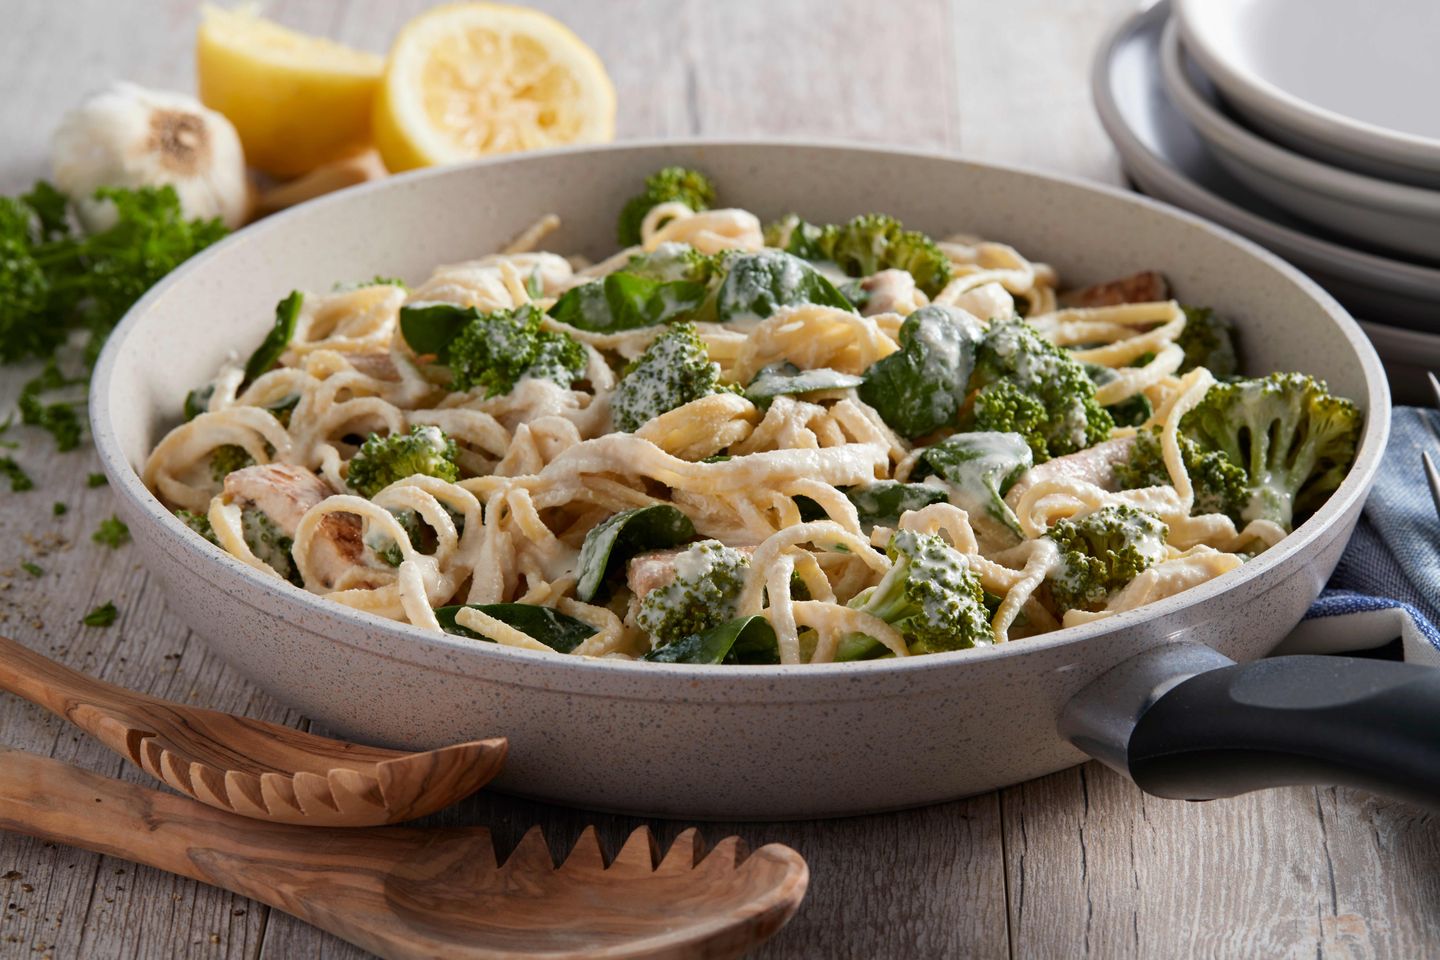
    No-Dairy Chicken Alfredo
    dole.com
    No-Dairy Chicken Alfredo
    6 Servings per container
    Check out this recipe

    Which will you choose?

    Healthy dinners don’t have to be synonymous with bland or boring. With these super yummy recipes featuring chicken breasts, you can satisfy every member of the family, including the picky eater at your table. They offer a quick recipe solution when you’re short on time but still want to ensure a nutritious meal.

    And remember, while chicken dinners are fabulous, the only thing that might top off your meal perfectly is a scoop of ice cream for dessert (we all need a little treat now and then, after all)!

    About Me

    I’m Melanie.

    I’m a chef, registered dietitian, foodie, wife and mom.
    If you’re looking for quick and healthy meal inspiration that serves YOU and your family well, then you’ve come to the right place!

    Melanie Marcus Selfie

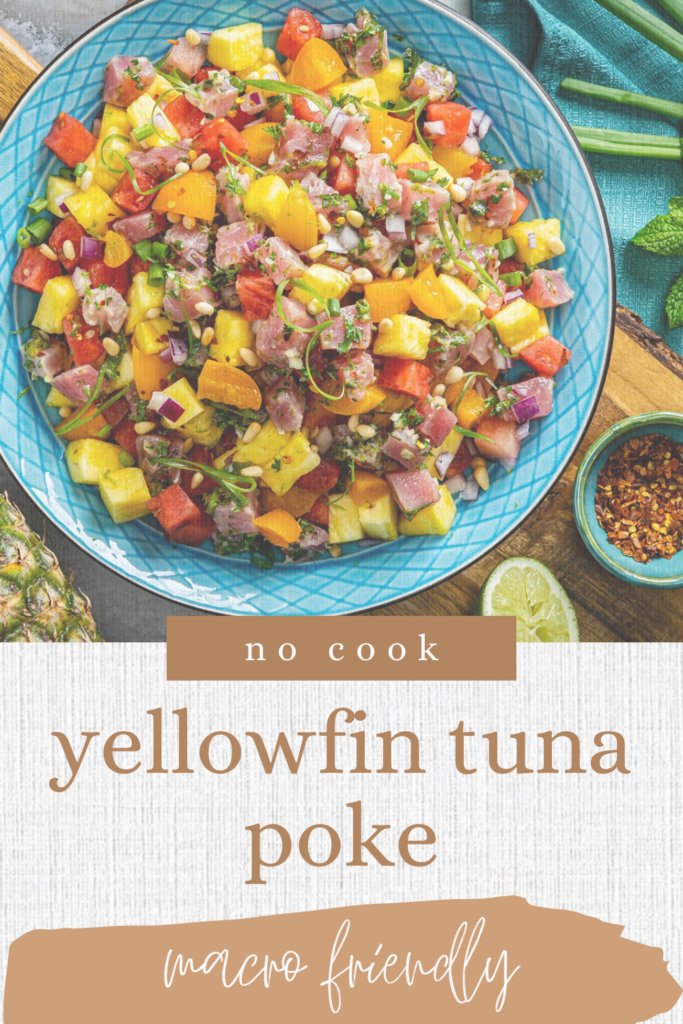
    The Ultimate Yellowfin Tuna Poke Salad Recipe

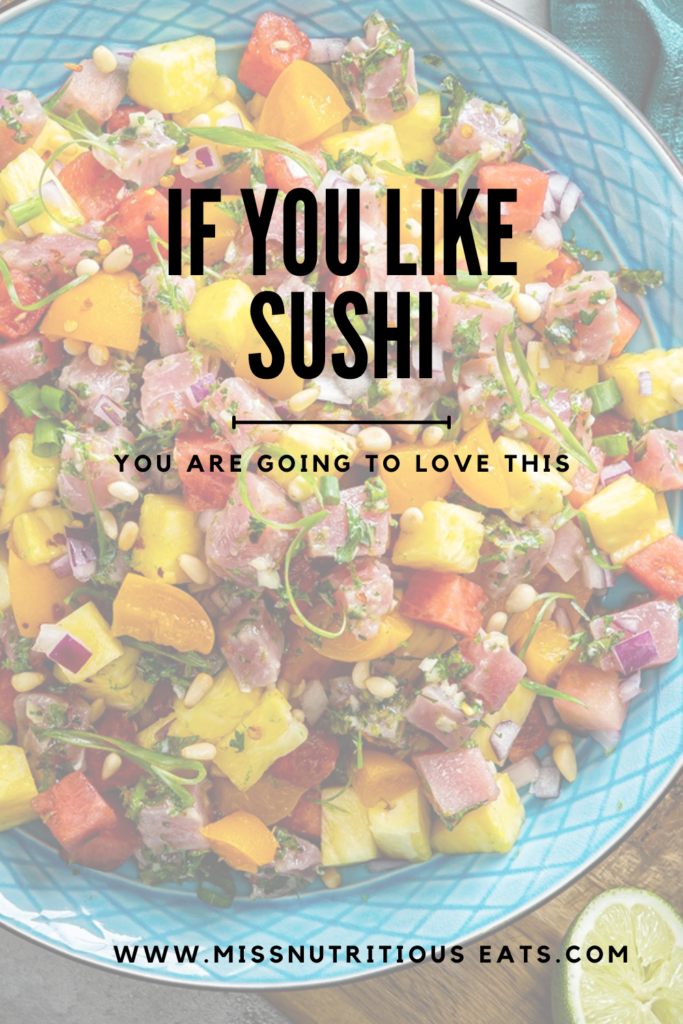
    If you like sushi – then this recipe is for you. I recently tested this recipe originally from dole.com and made a few tweaks and it is my new obsession.

    Poke (pronounced “POH-kay”) has surged in popularity, becoming a staple of healthful eating for many. A traditional Hawaiian dish that has leaped from the islands to the mainland, poke bowls are known for their fresh fish, vibrant sauces, and the sheer satisfaction of customizable, bowl-based feasting. Today, I’m sharing a Yellowfin Tuna Poke recipe. 

    Jump to Recipe

    Once you make you’re own fresh poke, I think it’s safe to say – you’ll be hooked!

    Ingredients & Substitutions for yellowfin tuna poke

    • Red wine vinegar: substitute with a splash of another acidic component like apple cider vinegar for a similar tangy kick.
    • Honey: for a different type of sweetness or if honey is not on hand, try using agave syrup or a dash of sugar.
    • Lime juice and zest: lemon in combination with orange juice would be nice.
    • Garlic: I would consider using frozen pureed garlic for this if fresh wasn’t available.
    • Fresh parsley and mint: cilantro would offer a similar freshess.
    • Crushed red pepper : optional
    • Sushi-grade Yellowfin tuna:consider using other types of sushi-grade fish such as Ahi tuna, salmon or cooked shrimp
    • Pineapple and watermelon 
    • Red Onion: sweet yellow onion 
    • Green Onions
    • Pine nuts: macadamia nuts would be a great alternative.
    tropical poke in blue bowl pin

    How to make yellowfin tuna poke

    • Combine vinegar, honey, lime zest and juice, garlic, parsley, mint and red pepper in medium bowl. Add tuna and toss to evenly coat. Set aside.
    • Stir together pineapple, watermelon and red onion, in large bowl. Spoon over tuna. Sprinkle with green onion and nuts.

    Serving Suggestions

    Serve your tantalizing Yellow Fin Tuna Poke with:  

    unrecognizable cook putting onigiri into container
    • white rice
    • cauliflower rice
    • brown rice 
    • avocado slices
    • sriracha mayo
    • black sesame seeds 
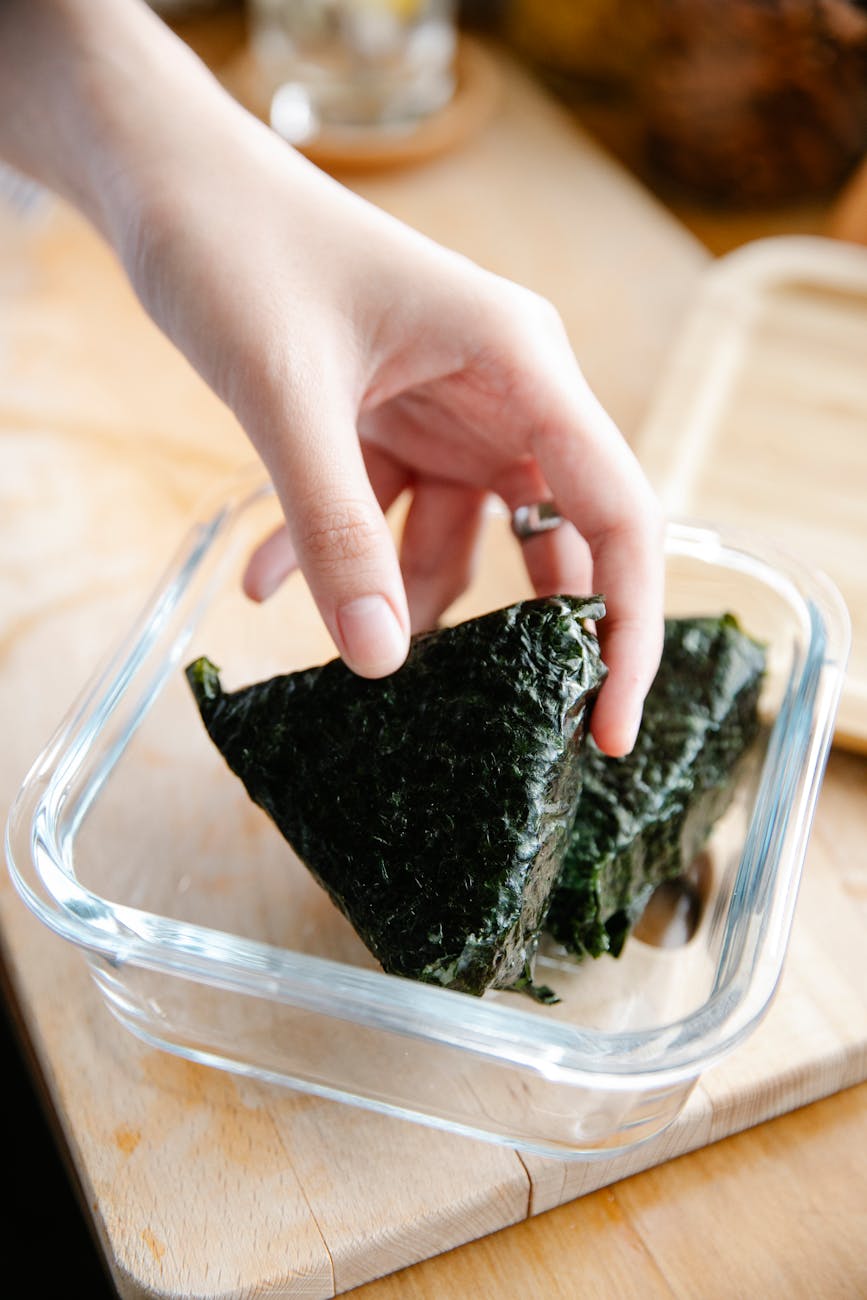
    • nori sheets

    Crafting the Perfect Bowl of Yellowfin Tuna Poke

    Now comes the fun part. Poke bowls are a great way to use up a variety of items from the fridge or freezer.  

    Step 1: Sushi-Quality Yellowfin

    A sushi-grade quality is non-negotiable as we will be enjoying this dish on the raw side. sushi-grade tuna can usually be found in specialty or high-end grocery stores, I found mine at Whole Foods in the freezer section – it was even on sale! You can also purchase sushi grade fish from many grocery store sushi counters.  

    Step 2: Cube with Care

    Handling tuna, especially when it’s to be enjoyed raw, deserves attention. Think precision and uniform cubes of about 1/4-inch in size. This not only aids in even marination but ensures a pleasant mouthfeel.  I recommend cutting the fish when it is still frozen to prevent tearing.  

    Step 3: The Marinade Matters

    When crafting a Yellowfin Tuna Poke, the marinade is the soul of the dish. This recipe combines honey, red wine vinegar and lots of lime juice and zest and red onion.  

    Step 4: Add More Produce

    Every great dish has a produce sidekick, and the Yellowfin Tuna Poke is no exception. Sky is the limit.  Add daikon radish, cabbage slaw or crunchy carrots for color.  

    Step 5: The Bowl Build

    Take a large bowl and layer the base with a sticky grain, whether that’s traditional white sushi rice, or a health-conscious substitution like cauliflower rice or brown rice. Place the marinated poke salad on top, then artfully arrange your toppings.  Think – avocado, seaweed salad, or edamame.  

    Step 6: The Final Splash

    Some extra drizzles of the marinating sauce, a dollop of spicy mayo, a couple of dashes of sesame seeds, and perhaps a wedge of lime to brighten the flavors, and your ultimate Yellowfin Tuna Poke bowl is ready to be relished in all its healthful glory.

    Tips and Tricks for the Freshest Poke Bowl Experience

    Tip 1: Keep It Cool

    Yellowfin Tuna Poke is at its prime when its components are cool and freshly assembled. Keep it chilled until the moment of serving.

    Tip 2: Spice Sensibly

    Use spice to enhance, not to dominate. The same goes for the spicy mayo—less can certainly be more in this case.

    Tip 4: Serve with the Right Sides

    Traditional sides include edamame, pickled ginger, or even kale for those seeking a heartier accompaniment. Choose your sides wisely to complement the dish and your preferred taste.

    Tip 5: The Deconstructed Roll

    Transform the poke experience into a deconstructed sushi roll by serving the ingredients alongside a bed of leafy greens or even in a nori wrap for a handheld taste adventure.

    Is Raw Tuna Safe to Eat?

    Addressing the question that often stops poke enthusiasts in their tracks—Is raw tuna safe? Here’s the raw truth. When sourced from trusted vendors, and prepared and stored properly, the risks are minimal. Always look for the word ‘sushi-grade’ to ensure a certain level of safety in handling and quality.

    Cooling in Confidence

    Rapid and sustained cooling prevents bacteria growth. If the fish is not to be consumed immediately, keeping it in an airtight container, placed on top of ice, ensures it stays out of the temperature danger zone.

    pinterest pin for poke

    The Health Check

    For those with medically restrictive diets or concerns, it’s best to consult a professional before including raw fish. But for average, health-conscious consumers, the occasional inclusion of Yellowfin Tuna Poke can be a fantastic addition to a well-rounded diet.

    ​Nutrition Benefits
    Lower in sodium

    This recipe relies on the natural salinity from the yellowfin tuna and does not used added soy sauce or coconut aminos for flavor.  This makes this recipe a great fit for anyone who is concerned with sodium, blood pressure or overall heart health.  

    Heart-healthy fat

    Tuna is a natural source of healthy fats such as omega-3 fatty acids. These fats have been shown to improve heart health, reduce inflammation in the body, and may even help with cognitive function.

    Lean protein

    Yellowfin tuna is a great source of lean protein, making it an ideal choice for those looking to build muscle or maintain a healthy weight. It also contains essential amino acids that our bodies need for various functions, including tissue repair and hormone production.

    Macro Friendly

    This recipe delivers protein and carb macros with little fat. It’s made with whole foods and is perfect on it’s own for a low macro day, or it can be combined with more macro dense foods for regular macro or feast day. Check out this post to learn more about macros and the FASTer Way to Fat Loss.

    Tuna poke in a blue bowl

    Yellowfin Tuna Poke

    Prep Time 10 minutes
    Total Time 10 minutes
    Course Appetizer
    Servings 8
    Calories 118 kcal

    Ingredients
      

    • 1 tablespoon red wine vinegar
    • 2 tablespoons honey optional
    • Grated peel 1 lime
    • 2 tablespoons fresh lime juice
    • 1 garlic clove finely chopped
    • 2 tablespoons finely chopped fresh parsley
    • 2 tablespoons finely chopped fresh mint
    • 1/8 tsp crushed red pepper
    • 3/4 pound sushi-grade Yellowfin tuna cubed
    • 3 cups fresh DOLE® Tropical Gold® Pineapple cut into chunks
    • 2 cups watermelon cut into chunks
    • 1/4 cup finely chopped DOLE Red Onion
    • 1 tablespoon DOLE Green Onion chopped
    • 1 tablespoon pine nuts

    Instructions
     

    • Combine vinegar, honey, lime peel, lime juice, garlic, parsley, mint and red pepper in medium bowl.
    • Add tuna and toss to evenly coat. Set aside.Stir together pineapple, watermelon and red onion, in large bowl. Spoon over tuna. Sprinkle with green onion and nuts.

    Nutrition
    Calories: 118kcalCarbohydrates: 17gProtein: 11gFat: 1gSaturated Fat: 0.2gPolyunsaturated Fat: 1gMonounsaturated Fat: 0.3gTrans Fat: 0.01gCholesterol: 17mgSodium: 22mgPotassium: 336mgFiber: 1gSugar: 13gVitamin A: 425IUVitamin C: 36mgCalcium: 20mgIron: 1mg
    Keyword low macro, poke, protein
    Tried this recipe?Let us know how it was!

    About Me

    I’m Melanie.

    I’m a chef, registered dietitian, foodie, wife and mom.
    If you’re looking for quick and healthy meal inspiration that serves YOU and your family well, then you’ve come to the right place!
    Melanie Marcus Selfie

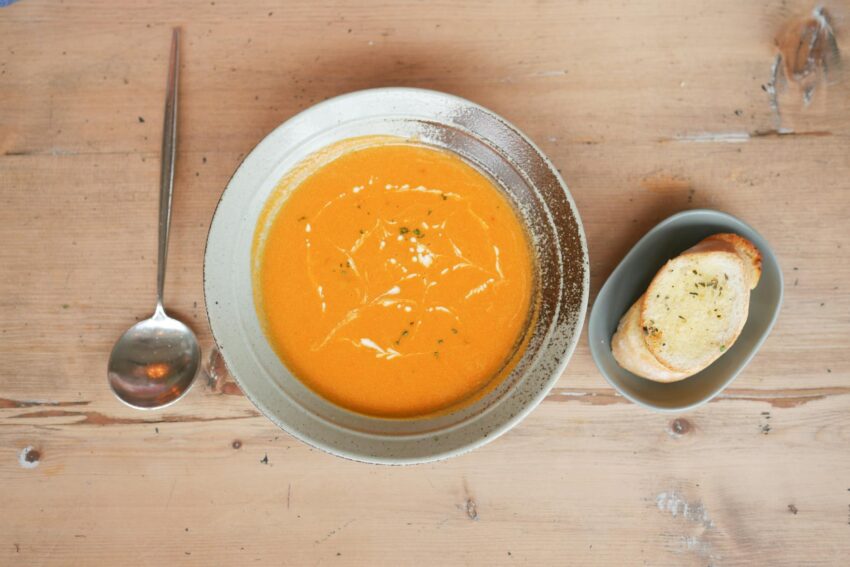
    Two ingredient soup hack (creamy + nourishing)

    As a mom and dietitian, I’m always on the hunt to make something wholesome and easy to feed myself and my kids – and this one hits the mark for both. You can warm up your soul with this quick and easy two-ingredient soup hack that is perfect for those busy weekdays or whenever you need a quick dinner fix. It also happens to be an excellent way to get your kids to eat vegetables! Plus you can add to it to create a macro balanced meal or snack.  It is literally the easiest soup recipes I have ever tested.

    This recipe is built on the convenience of frozen mirepoix and chicken broth from the grocery store, making it a great go-to meal when you’re short on time.

    Jump to Recipe

    Ingredients and Alternatives:

    For this basic recipe, you will only need two main ingredients, frozen mirepoix and broth, but you can add additional ingredients to customize the soup to your own preference. 

    Frozen mirepoix

    • This is a combination of pre-diced celery, onion and carrot.  I usually have a bag in the freezer.  
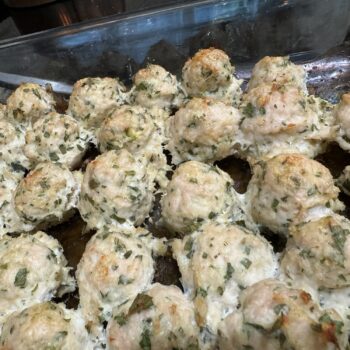
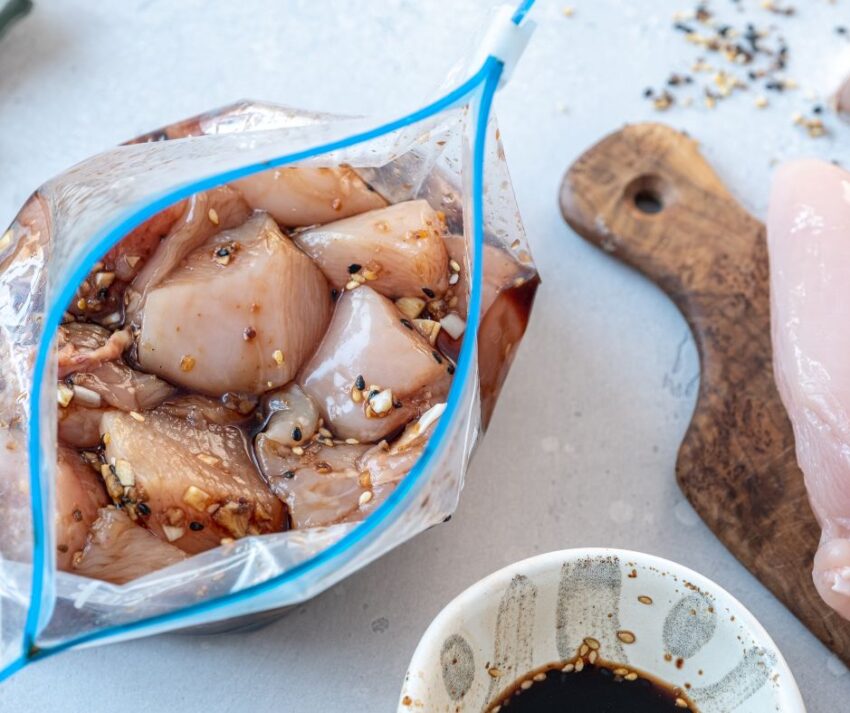
    • This soup is equally as good with fresh mirepoix, my local Trader Joe’s and Harris Teeter always have it available in the produce aisle.  When I buy fresh, I generally try to cook it the same day.  
    • You could always use 3/4 cup each of diced carrots and celery with 1 cup of diced onion.  
    Chopped onions, carrots, leeks and turnips for soup.

    Chicken stock

    Bowl of broth herbs and spices to make chicken soup
    • Vegetable stock is a perfect alternative if you’re vegan, vegetarian or trying to follow a more plant based lifestyle.
    • Beef stock will add a deeper umami flavor to this soup.
    • Turkey stock is a great alternative to chicken stock.
    • Bone broth may also be used.  This option will offer a more protein rich soup.  

    ​Make it your own

    • Feel free to add fresh herbs, such as thyme or rosemary, to elevate the soup’s flavor, or hot sauce to add an extra kick.
    • Try adding a can of tomatoes to make a tomato-based soup.
    • Grate or add a cube of fresh ginger to the mirepoix for a nutrient and flavor boost.
    • Serve with poached shrimp for an elegant starter or light lunch.
    Jump to Recipe

    Steps to Make It:

    1. Start by heating up a large pot on medium heat and adding a tablespoon of olive oil.
    2. Add the frozen mirepoix mixture and cook for 5-7 minutes until it’s soft and fragrant.
    3. Pour in the chicken or vegetable broth, enough to cover the mirepoix, and let it come to a boil.
    4. Turn down the heat and let the soup simmer for at least 15 minutes.
    5. Use an immersion blender to puree the soup until you reach the desired consistency.
    6. If you want a thinner soup, add more warm chicken or veggie stock and blend.  
    7. Serve hot with toppings of your choice.
    Home blender

    The beauty of this recipe is that it is perfect for anyone looking for a warm and hearty soup without having to spend hours in the kitchen. This is perfect for those who are seeking a healthy option but don’t want to sacrifice flavor.

    Interesting Ways to Serve It:

    Bowl of creamy soup decoreated with crema and herbs

    If you’re looking to mix things up, try serving this soup as a base for a poached egg. 

    You can also roast sweet potato cubes and add them to the soup for a seasonal twist. 

    For extra creaminess, add a dollop of Greek yogurt, (heavy cream or sour cream work too!) 

     Serve with crusty bread, green onions, and black pepper.

    Top with croutons or toasted pumpkin seeds for an extra crunch.

    This two-ingredient soup is an easy favorite during any time of year and is perfect for children and adults alike.

    How to store It:

    You can pop any leftover soup in the freezer in an airtight container for a quick and easy lunch. I recommend pouring into pint containers for easy meal prepping and portioning.

    Nutrition & Macros:

    This soup is packed with nutrients from the vegetables and broth. Mirepoix, made from a mix of carrots, celery, and onions, is an excellent source of vitamins and fiber. It is also great for hydration.

    It has about 100 calories per serving and is made with real whole food ingredients.

    • Carbohydrates 5g
    • Protein 6g
    • Fat 3g

    These values may change if you use a different broth such as bone broth or vegetable broth.

    If you’re following the FASTer Way, save this recipe for low macro day. It’s will definitely help you feel full and hit your macro targets.

    If you’re in a soup mood, you should try this split lentil soup recipe. It’s high protein and fiber gets better with time.

    Don’t hesitate to make it your own by adding your own twist to the recipe. Happy cooking!

    delicious pumpkin soup in ceramic bowl

    2 Ingredient Soup

    This recipes is so easy and comes together quickly for a cozy soup.
    Cook Time 45 minutes
    Total Time 45 minutes
    Course Soup
    Cuisine American
    Servings 4
    Calories 109 kcal

    Equipment

    • 1 blender

    Ingredients
      

    • Frozen Mirepoix
    • 32 ounces chicken stock

    Instructions
     

    • Heat 1 tbsp olive oil in stock pot.
    • Add frozen bag of mirepoix and cook over medium heat until translucent and soft. About 10 minutes.
    • Add broth or stock to vegetables and let simmer for 20 minutes.
    • Transfer hot soup to blender and blend until smooth.
    • Serve and enjoy

    Nutrition

    Serving: 4gCalories: 109kcalCarbohydrates: 15gProtein: 6gFat: 3gSaturated Fat: 1gPolyunsaturated Fat: 0.5gMonounsaturated Fat: 1gCholesterol: 7mgSodium: 374mgPotassium: 238mgFiber: 2gSugar: 7gVitamin A: 35IUVitamin C: 4mgCalcium: 9mgIron: 0.5mg
    Keyword easy, kid friendly
    Tried this recipe?Let us know how it was!

    About Me

    I’m Melanie.

    I’m a chef, registered dietitian, foodie, wife and mom.
    If you’re looking for quick and healthy meal inspiration that serves YOU and your family well, then you’ve come to the right place!

    Melanie Marcus Selfie

    Mom’s Best Ever Whole-Wheat zucchini bread recipe

    I enjoyed this delicious zucchini bread recipe frequently during my childhood. It was a go-to option for quick breakfast, an after-school snack, and as an adult, a sweet(ish) after dinner treat. One of our family favorites was the blueberry zucchini bread, baked to perfection in a bundt pan. During prime zucchini season, the irresistible aroma of freshly baked loaves would fill the air, waiting to be packaged and frozen for later indulgence.  What a great memory – and now I share it with my children.

    Jump to Recipe

    Now that I have my own garden, growing zucchini plants successfully has been quite the challenge.  I’ve learned first hand that squash bugs can take out your crop within a week if you’re not prepared – and to grow them in North Carolina is a labor of love.  After three years of watching my plants die, this year I was ready and have been able to grow amazing zucchini through August! If you are a successful gardener, bookmark this page so you can make this wholesome zucchini bread recipe anytime.  You won’t regret it!

    Ingredients and Substitutions for Walnut Zucchini Bread

    • Walnuts – preferably toasted!  Always store walnuts in the fridge to maintain freshness.  
    • Eggs – It’s best to use room temperature eggs.  Also, you can use up to two flax eggs in this recipe if you want.  
    • Sugar – the original recipe called for 2 cups of sugar. If you want to limit sugar, you can go down to 3/4 cup instead – which is what I do! Coconut sugar can be used instead of white sugar if you like.  I don’t recommend using honey or maple syrup because they’ll add extra moisture.  
    • Vegetable Oil – any oil will work.  I’ve used canola oil, olive oil, coconut oil and rapeseed oil and they all turned out well.  Keep in mind that certain oils will impart flavor and potentially more saturated fat than others.  
    • Apple Sauce – I use unsweetened apple sauce to help keep the bread moist.  You can also use plain greek yogurt or mashed banana. 
    • Unsifted White Whole Wheat Flour – You can use half whole wheat (whole grain flour) and half white flour to  bump up nutrients from whole grains.  All purpose flour or AP flour will also work well.
    • Baking Soda
    • Salt
    • Cinnamon
    • Baking Powder 
    • Zucchini shred using food processor or box grater.  This recipe calls for two cups of grated zucchini, I tend to use about 2 1/2 cups or one large zucchini. But remember to remove the seeds!!  Smaller zucchini are more desirable for their smaller, more digestable seeds.  If your zucchini is large, you will need to scoop them out.  
    • Vanilla extract
    • Optional mix ins :  blueberries, raisins, chocolate chips, lemon zest
    Jump to Recipe

    It’s so good that I’ll even make it in winter!

    About white whole-wheat flour

    White whole wheat flour is a healthier alternative to traditional all-purpose flour because it is made from whole grains rather than refined grains. Unlike other types of whole wheat flour, white whole wheat flour is made from a variety of wheat that has a lighter color and milder flavor, making it more appealing to those who are used to the taste of white flour. White whole wheat flour retains the bran and germ of the wheat, which are packed with fiber, vitamins, and minerals that are beneficial for our health. 

    How to make the best zucchini bread

    I love a short and simple quick bread recipes, and this one is my favorite.  

    • First things first, preheat oven to 350F and line two bread pans (aka loaf pan) with parchment paper and spray with nonstick spray.  You can also use one bunt pan.
    • In a large bowl, beat eggs (plus flax eggs) if you’re using, sugar, applesauce and oil. I like to do this by hand, but you can use your stand mixer with paddle attachment.  
    • Next, in a medium bowl combine all of the dry ingredients.  Whisk flour mixture well before gradually adding to wet ingredients.  
    • Now mix in zucchini.  
    • Last stir in walnuts and vanilla.
    • Pour batter into prepared pan or divide batter into two loaf pans and bake at 350F for about 1 hour or until toothpick comes out clean.  Cooking time may vary slightly depending on the moisture content of the zucchini.    
    • When it comes out of the oven, set the pans on a cooling rack and cover with a clean kitchen towel.

    How to freeze this classic zucchini bread

    • For best results, let your breads rest on a wire rack until cool to touch. This helps ensure that excess moisture has evaporated and doesn’t get trapped inside.  
    • Wrap tightly with aluminum foil.
    • Then label freezer-safe bag with date they were made.  
    • One loaf will fit into one gallon size plastic bag.  
    • Freeze completely in the coldest part of the freezer.  
    • When you’re ready to enjoy your zucchini walnut bread simply take out of the freezer the night before so you can have it the next day.

    When to eat zucchini bread

    1.  Serve for breakfast instead of store bought muffins.  

    2.  Bring a loaf of zucchini bread to the office to share with co-workers

    3.  Enjoy a warm slice with a little butter. There’s nothing like it.  

    4.  Cut into individual slices and wrap with plastic wrap.  Store in a freezer safe bag in the freezer for a healthy snack anytime.  

    The best part about this whole wheat zucchini bread recipe is that it makes two loaves!  It’s a quick bread batter that is sure to rival your favorite banana bread or pumpkin bread. For me, there is just something incredibly satisfying about this homemade treat – perhaps it was the inclusion of toasted walnuts, adding a perfect crunch to every bite.

    Let me know if you try it for yourself!!  

    Mom’s Walnut Zucchini Bread

    Prep Time 15 minutes
    Cook Time 50 minutes
    Total Time 1 hour 5 minutes
    Course Breakfast
    Cuisine American
    Servings 16
    Calories 288 kcal

    Ingredients
      

    • 4 each eggs
    • 1 cup sugar
    • 1 cup vegetable oil
    • 1 tsp vanilla
    • 2/3 cup unsweetened applesauce
    • 3.5 cups white whole wheat flour unsifted
    • 1.5 tsp baking soda
    • 1.5 tsp salt
    • 1 tsp cinnamon
    • 3/4 tsp baking powder
    • 2 cups shredded zucchini
    • 1/2 cup walnuts toasted and chopped

    Instructions
     

    • Mix eggs, sugar, oil, applesauce and vanilla in a large bowl.
    • In another bowl, combine all dry ingredients.
    • Gradually add dry ingredients to wet ingredients.
    • Fold in zucchini and walnuts
    • Pour into 2 prepared loaf pans, or 1 bundt pan.

    Nutrition

    Serving: 16gCalories: 288kcalCarbohydrates: 33gProtein: 4gFat: 17gSaturated Fat: 2gPolyunsaturated Fat: 10gMonounsaturated Fat: 3gTrans Fat: 0.1gCholesterol: 1mgSodium: 343mgPotassium: 95mgFiber: 3gSugar: 14gVitamin A: 36IUVitamin C: 3mgCalcium: 37mgIron: 1mg
    Tried this recipe?Let us know how it was!

    About Me

    I’m Melanie.

    I’m a chef, registered dietitian, foodie, wife and mom.
    If you’re looking for quick and healthy meal inspiration that serves YOU and your family well, then you’ve come to the right place!

    Melanie Marcus Selfie

    Quick and Easy Canned Salmon Recipe for fast lunches

    If canned salmon isn’t currently in your pantry – it should be. I love this canned salmon recipe because it’s got a ton of flavor and it can be eaten in a bunch of ways. It’s a tasty recipe that makes a great meal from lettuce wraps to on top of toast, however you eat it, you’ll be getting a good dose of healthy fats that will support heart health and your mood. It’s also a great source of protein. If you like egg salad, chicken salad or classic tuna salad, you should definitely give this healthy salad recipe a try.

    Plus… did I mention it’s easy to put together? I’ve tried salmon salads that use fresh salmon fillets, and it was just too much work. Canned salmon, has all of the same nutritional properties as fresh – at a fraction of the price.

    This salad recipe packs a punch of healthy omega-3 fatty acids, vitamin D, and calcium (if you go for bone-in salmon) while clocking in as a protein powerhouse!

    Ingredients and substitutions

    • Canned salmon – I prefer to choose salmon with the bones because it’s a great source of calcium especially if you’re avoiding dairy. The bones just kind of disintegrate into the salad, you can’t even tell that they’re there! You can use red salmon, canned wild salmon, pink salmon or just a can of tuna if that’s what you have!
    • Capers – a little goes a long way with these guys. They add a saltiness that goes well with the crunch of all the veggies. If you don’t like capers you can chop up kalamata olives to get a similar effect.
    • English cucumber – you can substitute whatever kind of cucumber you have, I would just remove any seeds and most of the skin if it’s thick.
    • Celery – don’t skip the celery in this recipe, it adds such a great crunch!
    • Feta – I prefer sheeps milk feta to add a creamy tang. It also makes for a pretty presentation because the white contrasts well on the salmon.
    • Red wine vinegar – substitute with champagne vinegar, or apple cider vinegar. Fresh lemon juice works too!
    • Olive oil – other neutral oil such as avocado oil will work, but olive oil has such great flavor.
    • Dijon mustard – use a high quality dijon mustard for the best flavor.
    • Optional – you can add in red onion, bell peppers if you like. A dollop of greek yogurt will make it creamier if you prefer. If you have fresh herbs like basil, fresh dill or parsley, add a few tablespoons for freshness.

    How to make salmon salad

    I like to start by making the vinaigrette in a large bowl. Combine your vinegar and olive oil with mustard. Mix it with a small whisk or fork. Add in your salt and black pepper to taste. I like to use truffle salt or Seasonello. If you are a sea salt fan, use that!

    Next, chop your vegetables. I find that a veggie chopper makes this salad very easy and fast to make. Start with chopping the cucumber into a larger dice, followed by celery. Then, add them to the bowl with the dressing.

    Once your veggies are in the dressing, open and drain your can of salmon and add that to the veggies. Mix everything well and then add your feta and herbs if using!

    I immediately portion out into 4 small meal prep containers so they’re ready for anytime during the week. Any airtight container will work. And aim to eat it within 4 days.

    How to eat canned salmon salad

    • Pair with all of your favorite fresh veggies – think baby carrots, red peppers, cherry tomatoes, sliced fennel or endive
    • Romaine lettuce cups
    • Stuff into an avocado half
    • Over a bed of lettuce or baby spinach
    • Eat as a salmon salad sandwich on a slice of toasted whole grain bread topped with a tomato and fresh basil
    • Pair with whole grain or seed crackers and more cucumber slices.
    • Turn into a wrap stuffed with lettuce and tomato

    Nutrition

    When buying canned salmon, it’s crucial to check the ingredients list. You should aim for one that has minimal ingredients, most often salmon, water, and salt. Once you have selected a few good options, it’s time to compare the sodium level. Choose the brand with the lowest amount of sodium per serving. Simple as that!

    If you’re following the FASTer Way to Fat Loss with me, this is a very easy salmon salad recipe that works well for low carb days, and you can also turn it into a complete meal for regular macro days too. It’s full of whole food nutrition, real food, and it’s a great way to meet your macro goals.

    This salad recipe packs a punch of healthy omega-3 fatty acids, vitamin D, and calcium (if you go for bone-in salmon) while clocking in as a protein powerhouse!

    Macros look like this:

    Makes 4 servings

    Calories: 176

    Fat: 8g

    Carbohydrate: 3g

    Protein: 21g

    Fiber: 1g

    More about salmon here…

    roasted salmon pin

    Read more about why I love leftover salmon straight from the fridge. AND how to cook it from frozen in just 14 minutes!

    Salmon Salad

    Using canned salmon for a quick protein rich meal
    Prep Time 10 minutes
    Total Time 10 minutes
    Course Main Course
    Servings 4 servings
    Calories 204 kcal

    Ingredients
      

    • 1 tsp capers drained
    • 1 whole English cucumber diced
    • 3 stalks celery diced
    • 1 ounce feta cheese crumbled
    • 2 tbsp red wine vinegar
    • 1 tbsp olive oil
    • 15 ounces canned salmon
    • 1 tbsp dijon mustard

    Instructions
     

    • Combine capers, cucumber, celery , salmon in a large bowl.
    • Combine oil, vinegar and dijon mustard together with salt and pepper.
    • Drizzle the dressing over the salmon.
    • Top with feta.
    • Mix in chopped fresh herbs if desired.

    Nutrition

    Calories: 204kcalCarbohydrates: 1gProtein: 26gFat: 11gSaturated Fat: 2gPolyunsaturated Fat: 2gMonounsaturated Fat: 4gTrans Fat: 0.03gCholesterol: 95mgSodium: 566mgPotassium: 446mgFiber: 1gSugar: 0.5gVitamin A: 237IUVitamin C: 1mgCalcium: 351mgIron: 1mg
    Keyword easy, low carb, protein
    Tried this recipe?Let us know how it was!

    About Me

    I’m Melanie.

    I’m a chef, registered dietitian, foodie, wife and mom.
    If you’re looking for quick and healthy meal inspiration that serves YOU and your family well, then you’ve come to the right place!

    Melanie Marcus Selfie