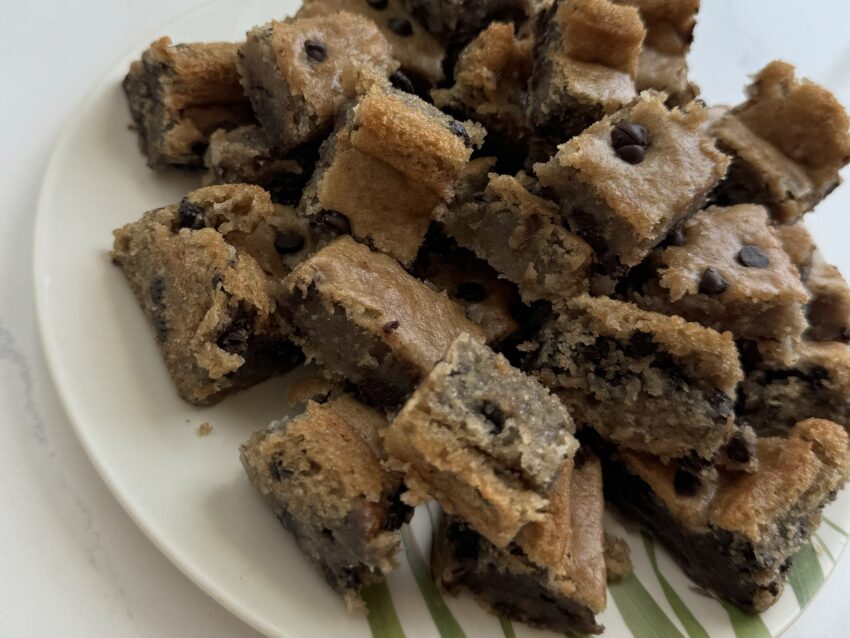
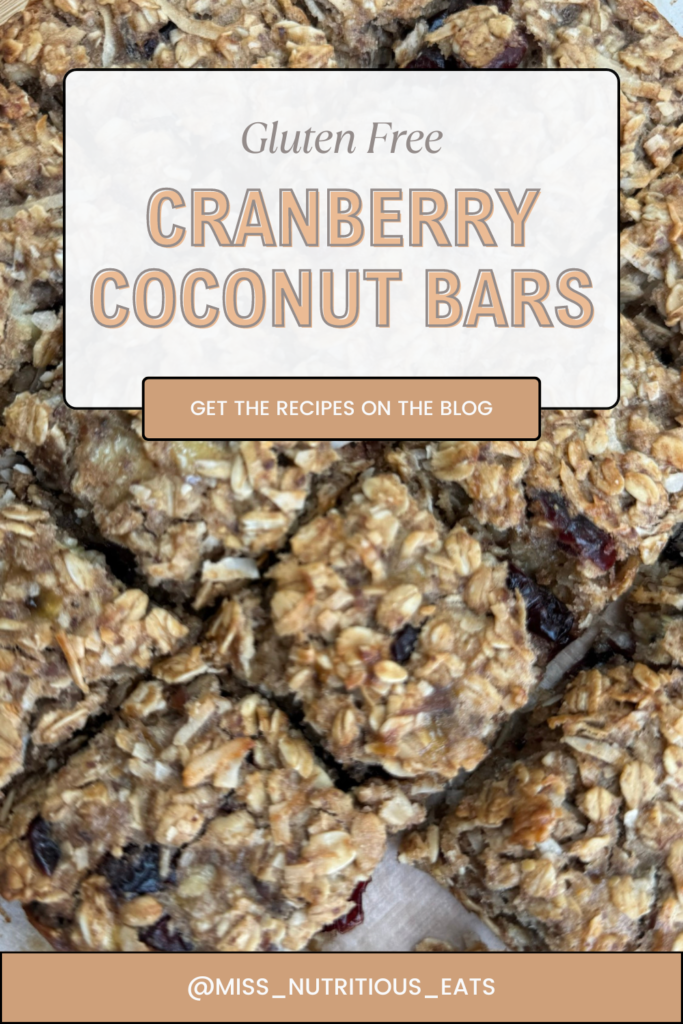
Gluten & Dairy Free Cranberry Coconut Bars Recipe

Autumn is nearly upon us, and what better way to celebrate than with a treat that can double as an afternoon snack or just something to enjoy with a cup of tea? These would also be cute to serve at holiday parties wrapped in parchment paper. They’re just the thing you need when you’re craving something sweet but still want to stick to your gluten free diet. The first time I made these I was plesantly surprised with the flavor and texture. They’re a softer version of a granola bar and remind me of my moms famous chocolate almond oaties. (THE BEST cookie ever!) Also good are these 3 ingredient banana cookies that can double as breakfast. You’re welcome!
These are the perfect treat to add to your cookie platter to accomodate your GF guests this holiday season. They can also be made in one bowl with a spatula. No need to pull out your mixer and paddle attachment. Careful… these may easily become your favorite dessert for this time of year.
Table of contents
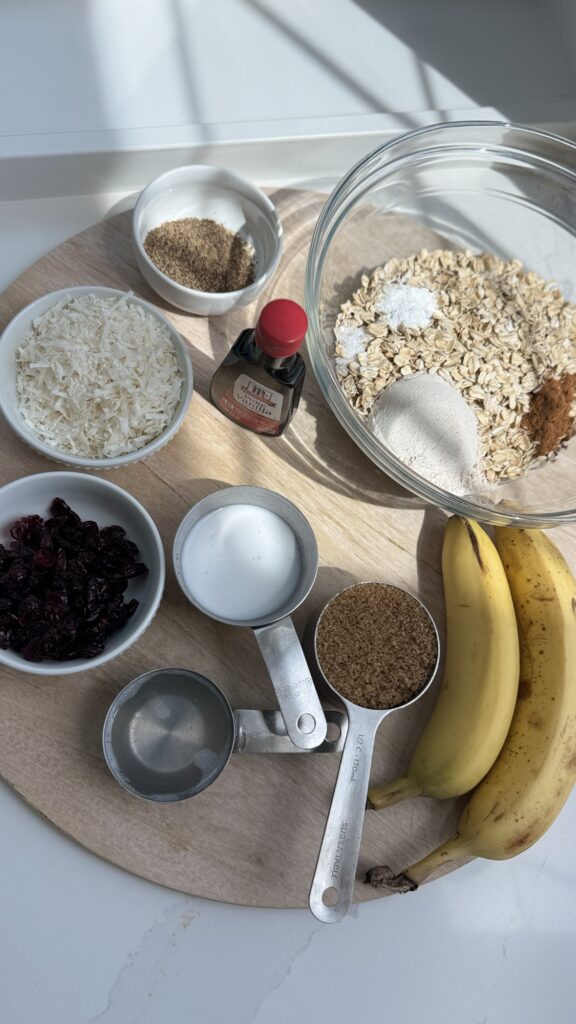
Ingredients and substitutions:
- almond milk or milk of choice. Coconut milk would be a great option.
- brown sugar – You could use coconut sugar or any other dry sugar like white sugar. If you use maple syrup, agave or honey the mixture may become too wet.
- ground flax seed – chia seeds work well here too. The flax helps to bind the recipe, similar to eggs. Check out this flax egg recipe for heart healthy or vegan cooking.
- coconut oil – any neutral oil will work for this. Avocado oil, safflower oil or vegetable oil all work well.
- vanilla extract
- very ripe bananas – pumpkin puree would be good here, but make sure you like pumpkin flavor!
- dried cranberries – cranberries without added sugar are TART, so be ware of what you buy and what you have on hand. In this case, I like that they balance the sweetness from the coconut.
- rolled oats – you can use instant oats instead. I do not recommend using steel cut oats, they will be too firm.
- unsweetened coconut flakes
- cinnamon
- gluten-free flour blend – I like the King Arthur gf flour blend. It can be used as a 1:1 substitute for your AP flour. If you don’t have an intolerance, you can use regular flour.
- kosher salt or sea salt
Optional mix ins: walnuts, orange zest, white chocolate chips, dark chocolate chips, mini marshmallows or raisins.
Why You’ll Love These Cranberry Bars
These bars are the perfect balance of sweet and tart, thanks to the dried cranberries and the subtle sweetness of coconut. I like to cut them into 16 squares so I can have two (which is a full serving) or just one as a quick snack to limit macros.
Jump to Recipe
Step-by-Step Instructions
Step 1: Prep Your Baking Pan and Oven
Preheat your oven to 350°F (175°C). Line an 8×8 inch baking pan with parchment paper, leaving an overhang for easy removal later.
Step 2: Prepare Flax Seed Mixture
In a small bowl, mix 2 tablespoons of ground flax seed with 6 tablespoons of water. Set aside for 5 minutes to thicken.
Step 3: Combine Wet Ingredients
In a large bowl, mash the very ripe bananas with a fork. Add the melted coconut oil, almond milk, brown sugar, and vanilla extract. Mix well until all the ingredients are combined.
Step 4: Mix Dry Ingredients
In a separate bowl, combine the gluten-free flour blend, baking powder, cinnamon, and kosher salt.
Step 5: Combine Wet and Dry Ingredients
Gradually add the dry ingredients to the wet ingredients, mixing until just combined.
Step 6: Fold in Oats, Coconut, and Cranberries
Fold in the unsweetened coconut, dried cranberries, and rolled oats. The batter should be thick and well mixed.
Step 7: Bake
Spread the batter evenly into the prepared baking pan. Bake for 30-40 minutes, or until the top is golden brown and a toothpick inserted into the center comes out clean.
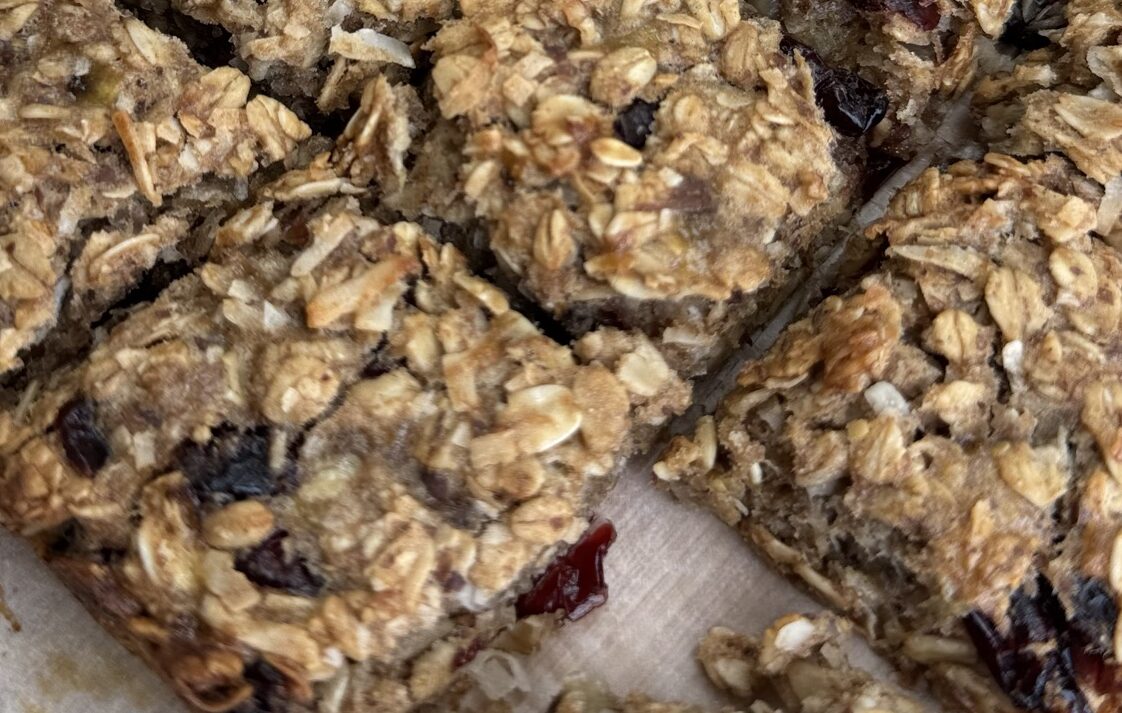
Step 8: Cool and Slice
Allow the bars to cool in the pan for 10 minutes, then transfer them to a wire rack to cool completely. Once cooled, slice into bars and enjoy!
Optional:
For an extra touch, drizzle with melted white chocolate and then wrap in parchment with bakers twine.
Tips for the Perfect Cranberry Coconut Bars
Use High-Quality Ingredients
For the best results, use high-quality, certified gluten-free ingredients, especially if you have gluten intolerances! King Arthur and Bob’s Red Mill both have a variety of options.
Customize Your Bars
Feel free to add in some orange zest or fresh cranberries for extra flavor.
Storage
Store your gluten-free cranberry coconut bars in an airtight container at room temperature for up to a week. Once cooled, I place them in a gallon zip lock bag and then freeze for up to 3 months for quick lunch additions or snacks.
Tips for Macros
This recipe makes 8 servings. I prefer to cut them into 16 squares, so I can enjoy half quickly.
With 29g carb, 13g fat and 3g each protein and fiber these are satisfying, nutrient dense and made of whole foods to fuel your activity!
Join my next 6 week challenge!
Tired of endless diets and no results? Join the FASTer Way to Fat Loss and see real, sustainable changes in just 6 weeks!

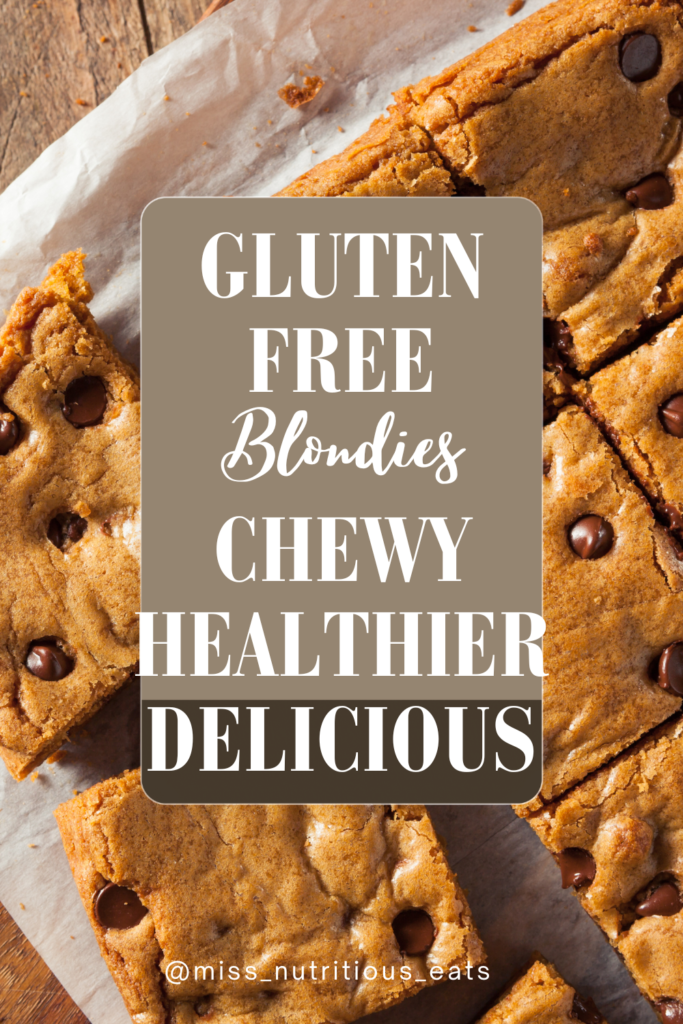
If you loved this recipe, be sure to check out my other gluten-free baking recipes (like my gluten free blondies) and sign up for our newsletter to get new recipes delivered straight to your inbox.
Happy baking!
Ingredients
Method
- Preheat oven to 350F. Line 8 inch square pan with parchment and set aside.
- Peel and mash bananas in large bowl. Add sugar, flax, milk, oil and vanilla. Whisk together.
- In another bowl, mix your dry ingredients. Add the wet mixture to the dry mixture and stir well. Pour batter into pan and smooth out with a spoon or hands and press it down firmly.
- Bake at 350°F for 40 minutes until the edges begin to golden and it is slightly firm to touch. Allow to cool in pan for 10 minutes before transferring to a wire rack and cooling completely. Slice into 8-16 bars.
Nutrition