Alcohol Free Kombucha Sangria
I don’t know about you, but more I’m noticing that more and more people are going alcohol free. Just over Thanksgiving, I loaded up on Corona and my MIL’s favorite red wine to find out they were going without this year. That’s where this non-alcoholic sangria recipe comes in. It’s a sangria mocktail that has the tang of wine and sweetness from fruit. It’s elevated enough to serve in a fancy glass and will rival other traditional sangrias made with wine.
My secret is a fermented tea called kombucha.
What is kombucha?
Kombucha is a fermented tea (often made from green tea or black tea) that has gained popularity in recent years due to its potential health benefits. It is made by combining tea, sugar, and a symbiotic culture of bacteria and yeast (SCOBY) and allowing the mixture to ferment for several days to several weeks. During the fermentation process, the bacteria and yeast consume the sugar, resulting in a slightly sour and effervescent beverage.
Kombucha has been praised for its potential health benefits, which include improving digestion, boosting the immune system, and reducing inflammation. It also contains antioxidants and may have antimicrobial properties.
However, it is important to note that the scientific evidence supporting these claims is limited and more research is needed to fully understand the potential health benefits of kombucha. Additionally, the fermentation process may lead to the production of alcohol and may be unsafe for certain individuals, such as pregnant women and people with compromised immune systems.
Does kombucha have alcohol?
Some people may not want to consume alcohol, especially if they are pregnant, have a history of alcohol abuse, or are underage. Fortunately, there are many alcohol-free kombuchas available in the market that can provide the same probiotic and digestive benefits without the buzz.
For instance, GT’s Living Foods offers a variety of alcohol-free kombuchas such as their Classic, Hibiscus Ginger Lime, and Watermelon Wonder flavors. Kevita, another well-known brand, also has a range of organic kombuchas, including their Blueberry Basil and Lemon Cayenne flavors, that contain trace amounts of alcohol (0.5% or less alcohol by volume). Additionally, some companies like Health-Ade and Humm Kombucha have completely alcohol-free options like Health-Ade’s Cayenne Cleanse and Humm’s Raspberry Hops flavor.
It’s important to note that not all kombucha brands are alcohol-free, and some may contain up to 2-3% alcohol by volume. So it’s essential to read the label carefully and choose the right product according to personal preferences and health needs. With the rise of alcohol-free kombuchas, both kombucha lovers and non-drinkers can enjoy this gut-friendly beverage without any concerns.
Where can you buy kombucha?
I used to be able to find bottles of kombucha – only- at the local health food stores, but now they can be found in nearly every grocery store and gas station!
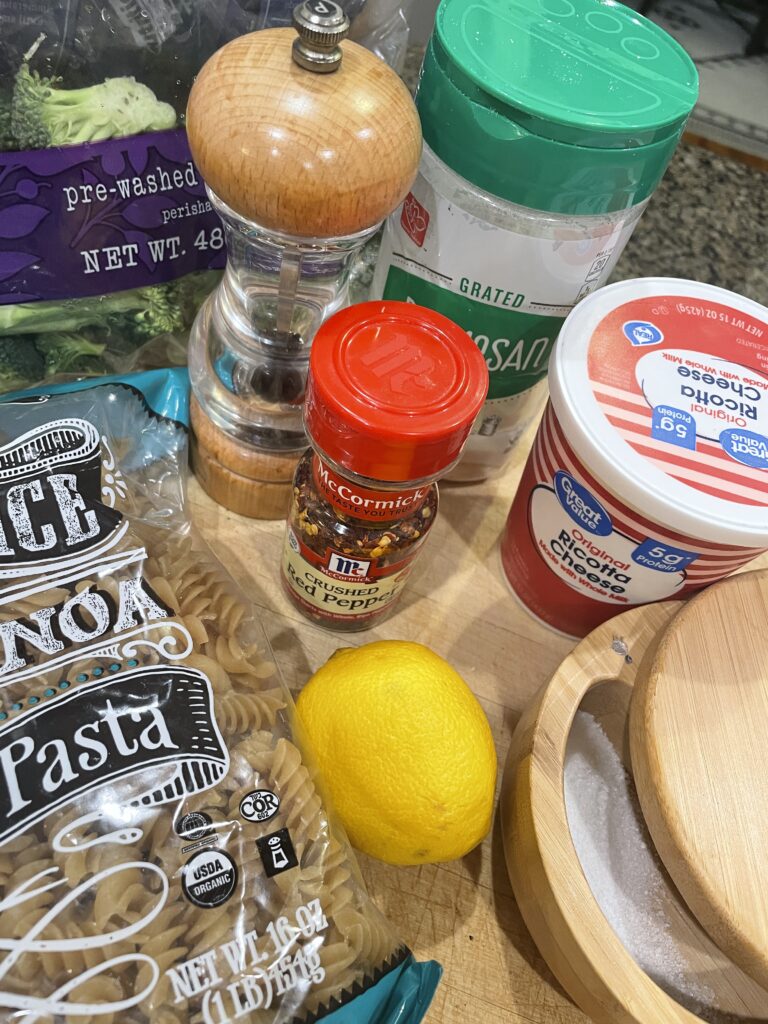
Ingredients for this kombucha mocktail recipe
- alcohol free kombucha – a plain kombucha or a flavored one would work well. Be sure to choose one with as little added sugar as possible.
- sparkling apple juice – this takes the place of white wine while adding sweetness. Fruit juice such as apple, pear or white grape juice, cut with seltzer water are good alternatives too. Cranberry juice could be used, but I chose to go with a clear option to play up with winter/white theme. As a last resort you can use ginger ale for that bubbly sweet combo.
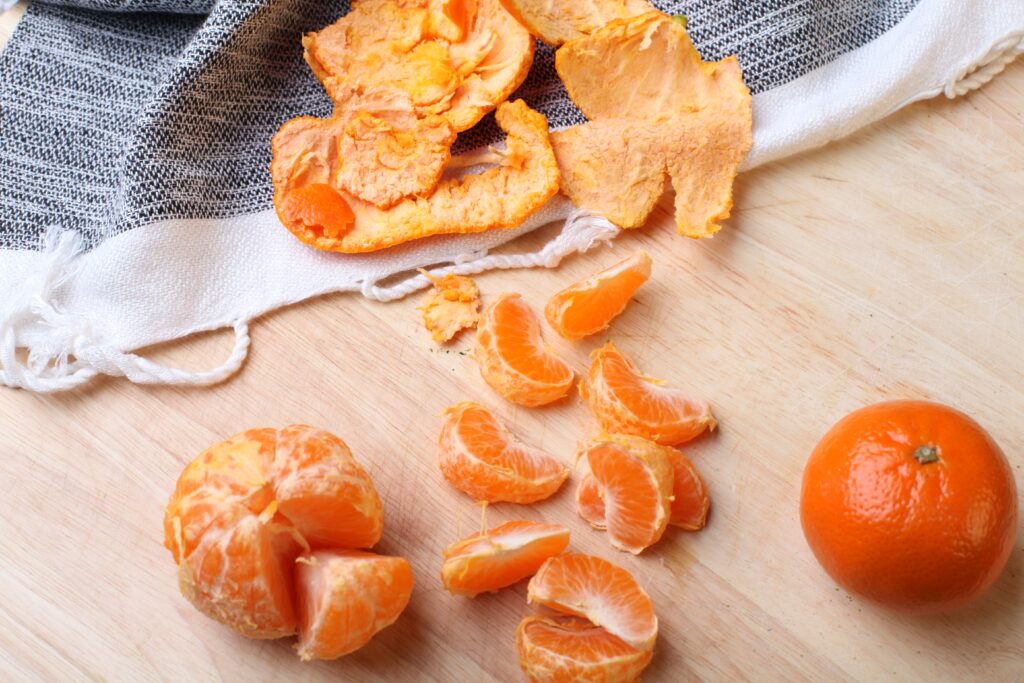
- citrus fruits – use a combination of oranges, grapefruit and limes for color. Blood oranges would be super cool.
- other fruit – pineapple, pear and pomegranate seeds are a great option for a festive healthy cocktail.
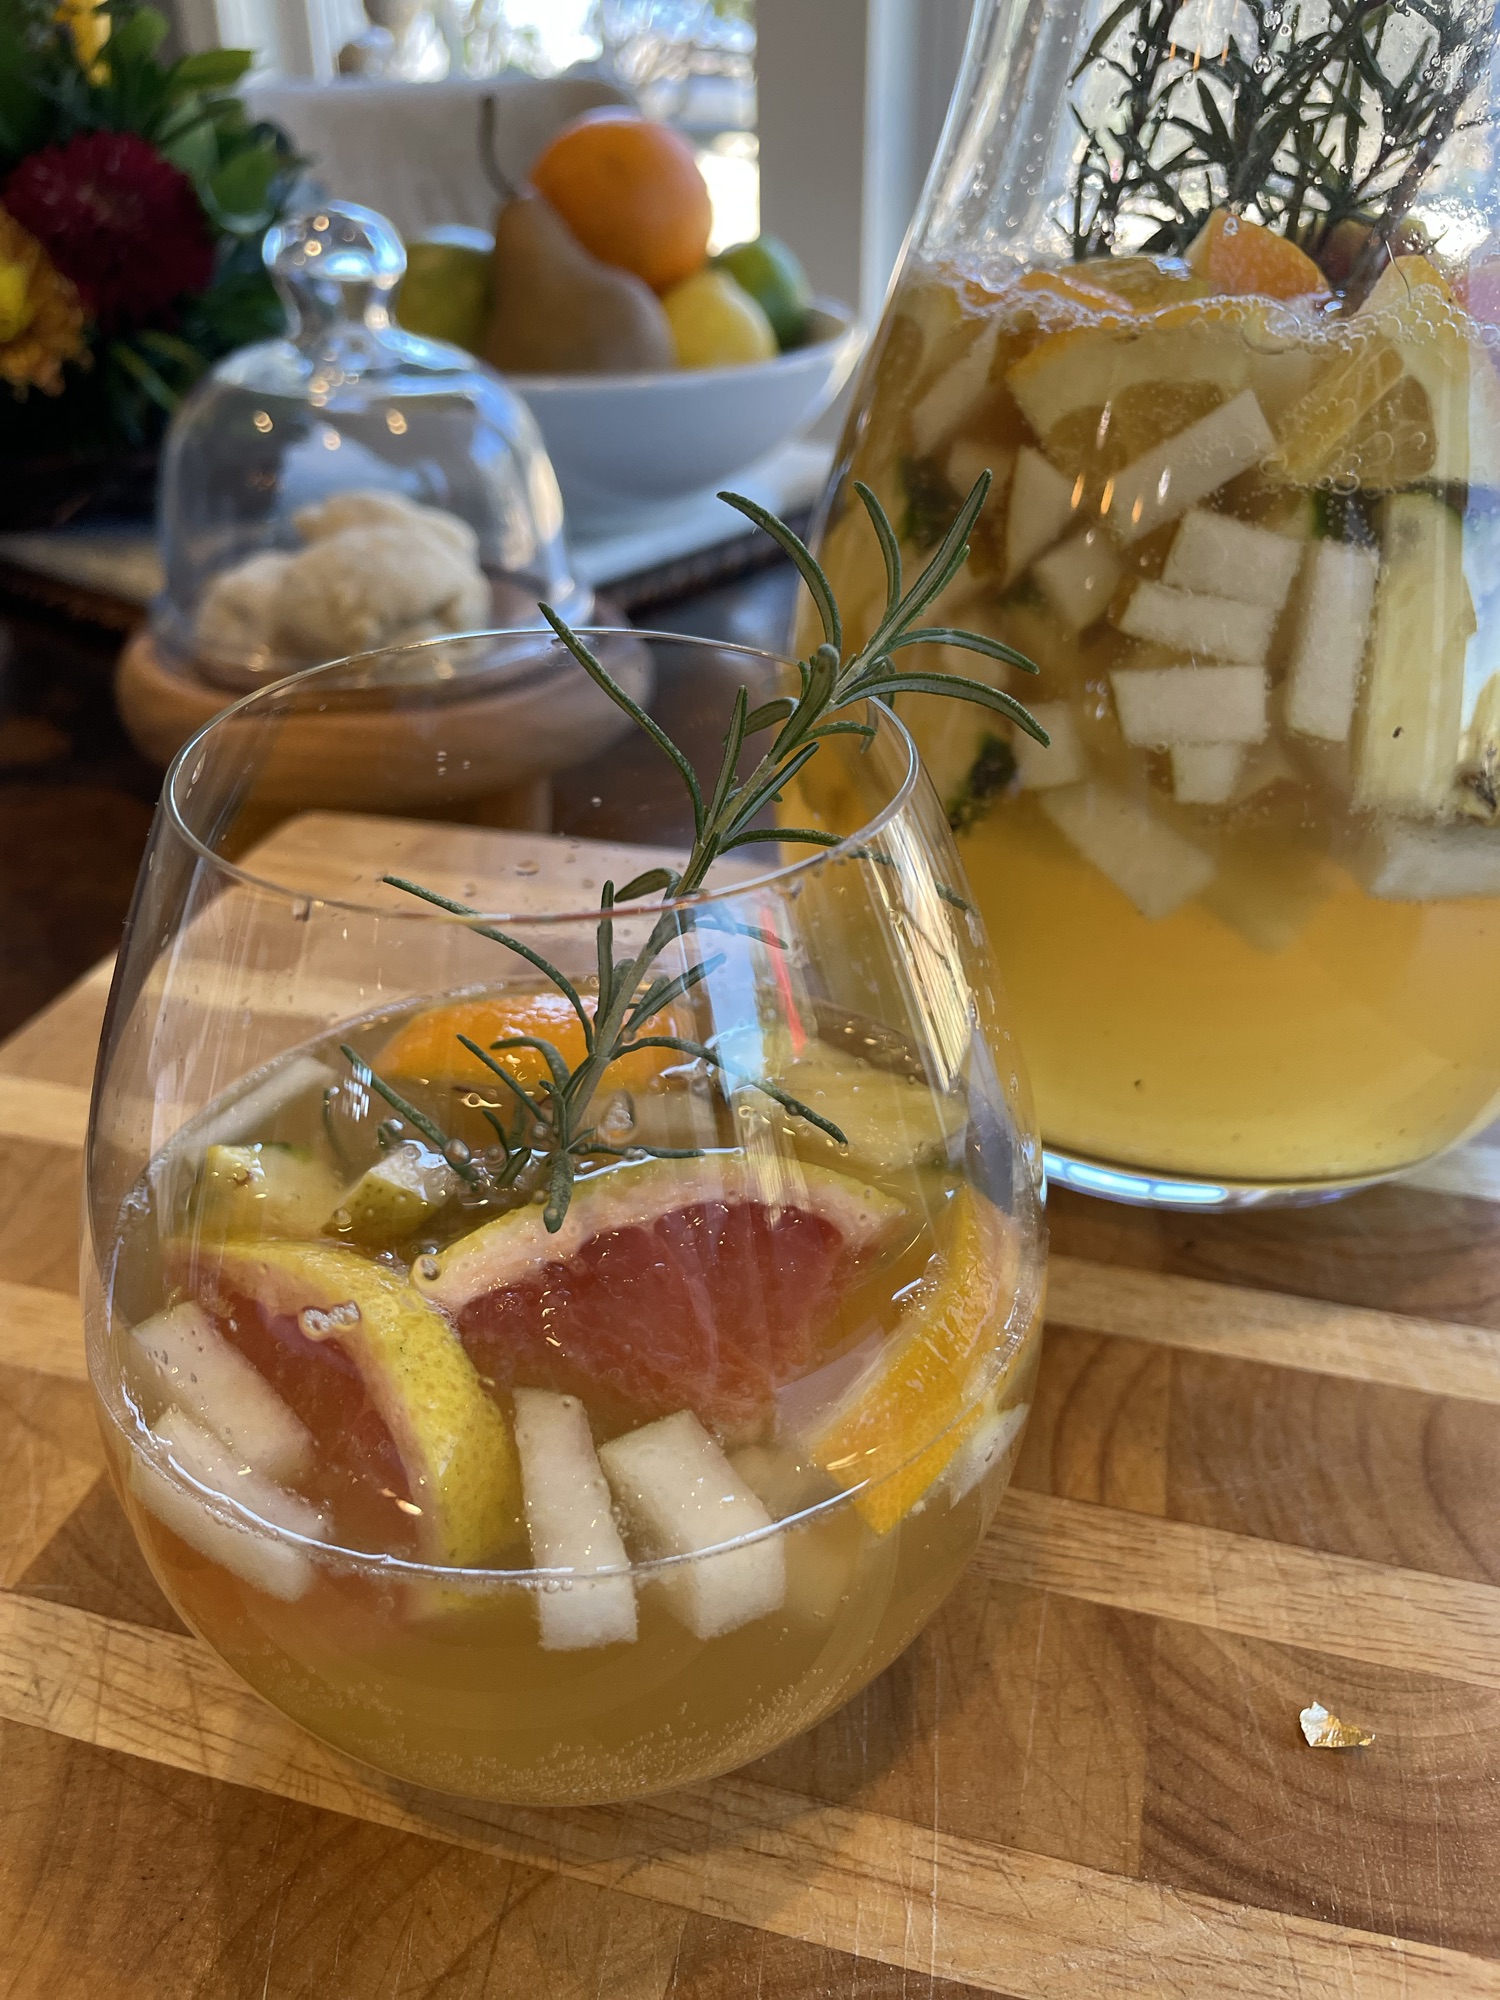
- garnish with a rosemary sprig and extra cranberries if you have them!
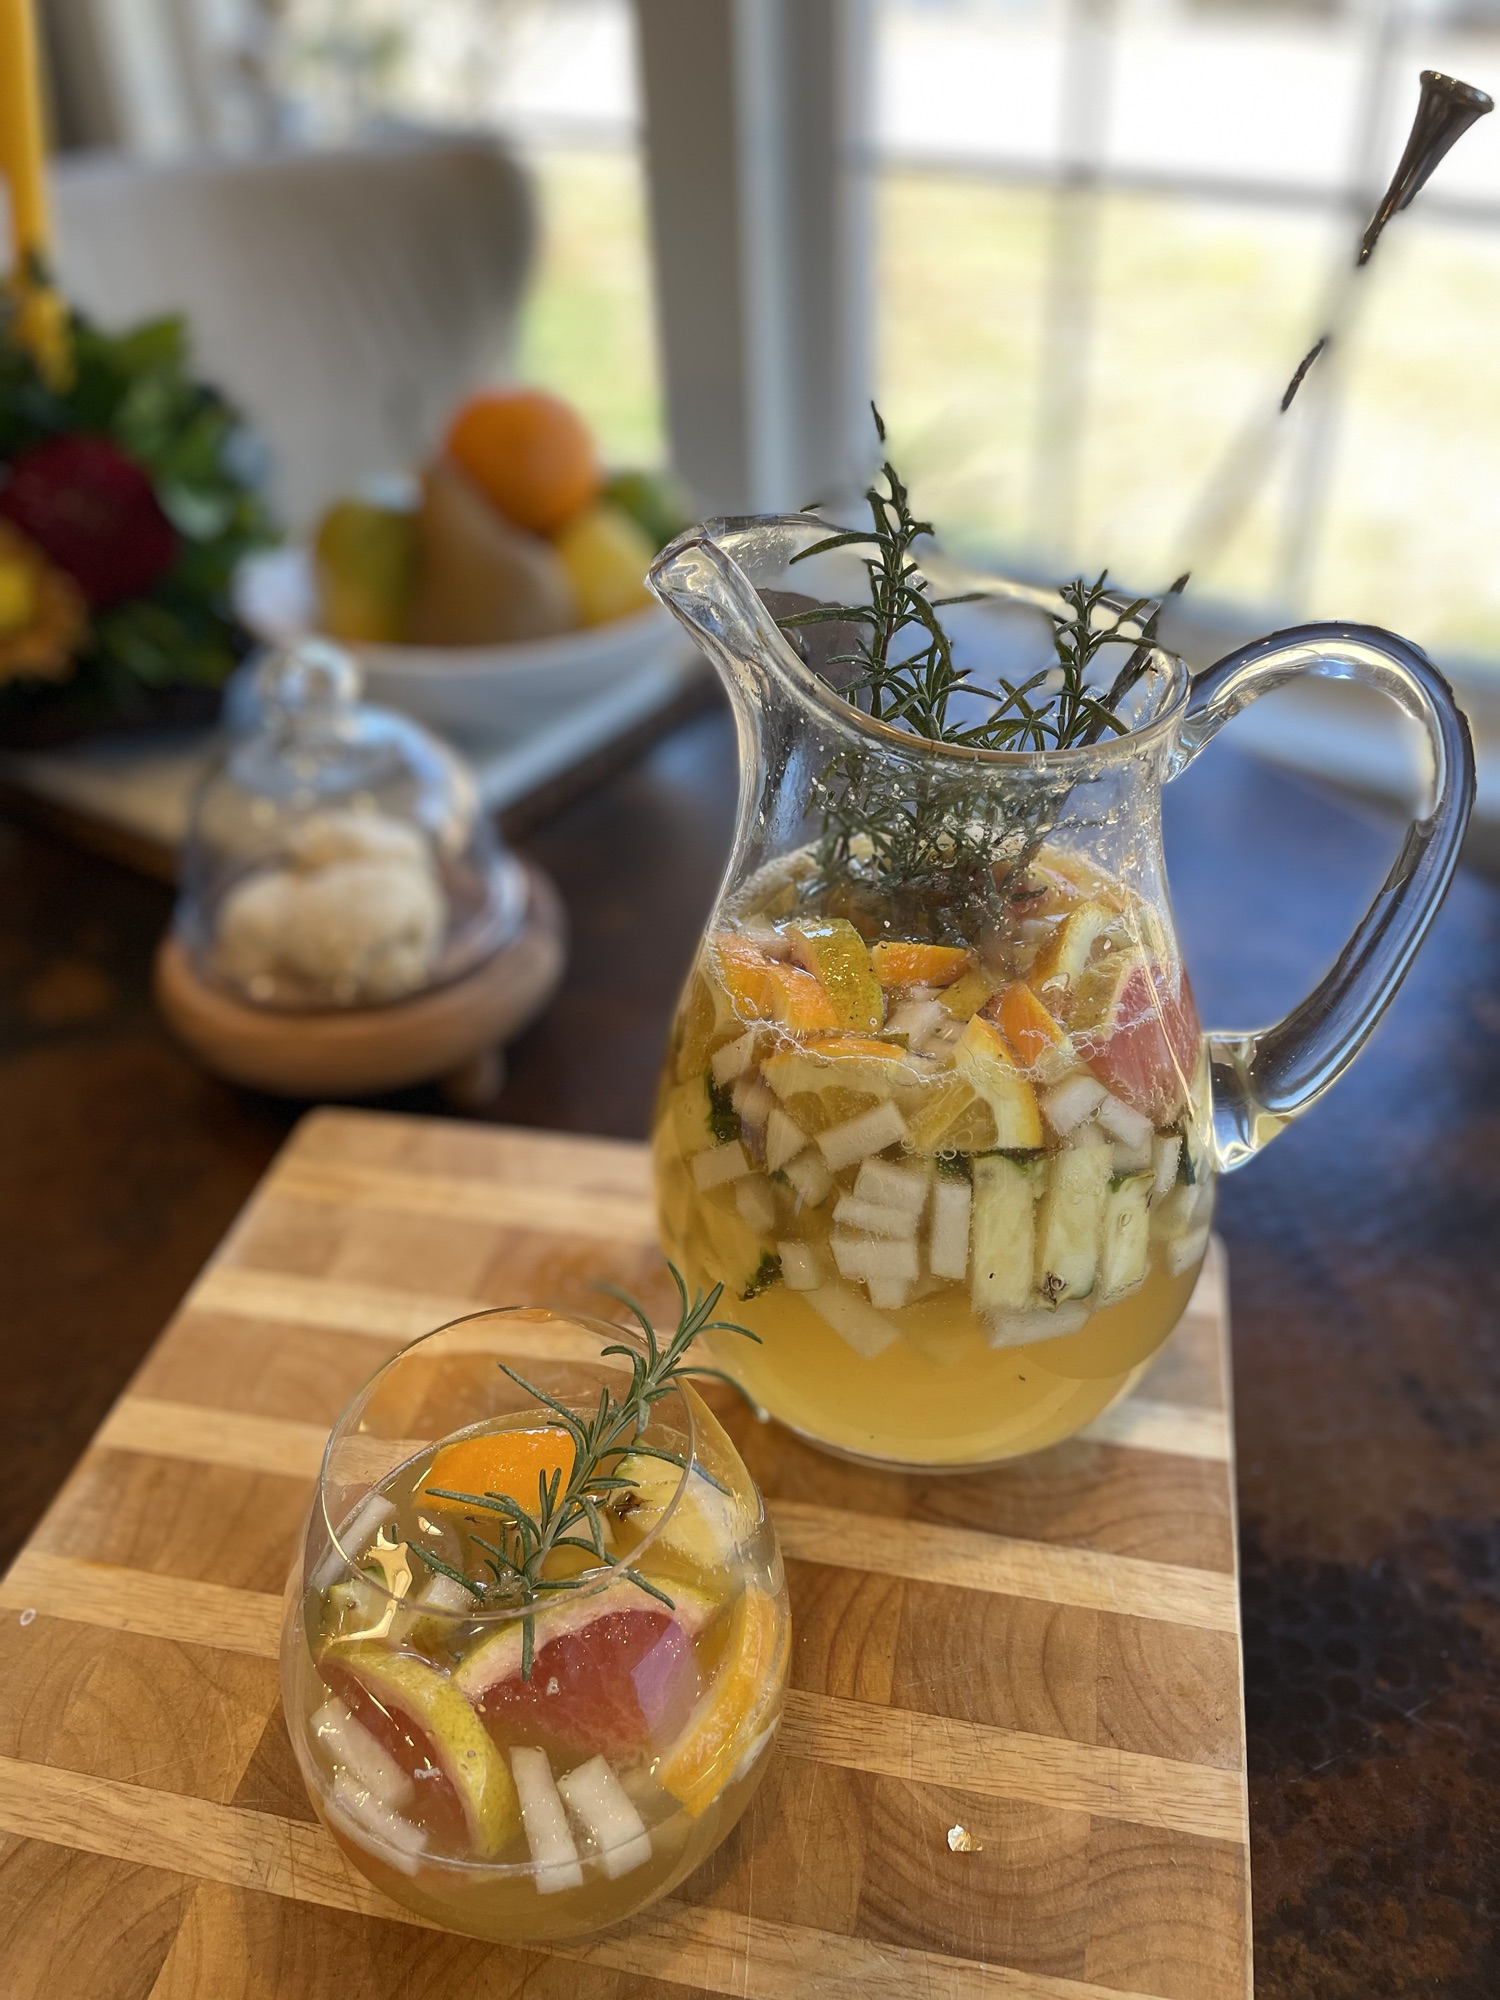
How to make this winter kombucha sangria recipe

I love that this recipe is bubbly, not too sweet and has a colorful bit of fruit with every sip. Basically add equal parts of your favorite kombucha and sparkling apple cider to a large pitcher. Add in 2 cups of small diced fruit. The key is to ensure that none of the fruit is too big to overwhelm the glass or make a splash when pouring. Alternatively you can ladle sangria into wine glasses and garnish the top of each glass with rosemary sprigs. I particularly love rosemary because it’s festive for the winter season, and pairs beautifully with citrus. It also contrasts the sweeter flavor from the fruit. I love this healthy and alcohol free take on the traditional Spanish drink.
How alcohol effects weight loss efforts
Alcohol is frequently enjoyed all over the world to both celebrate and relax after a long day. However, it has a significant negative impact on weight loss. Alcohol contains a high amount of calories, and it inhibits the body from carrying out its fat-burning functions efficiently.
It is broken down in the liver, where it is converted into acetate, which provides energy to the body. However, the liver gives priority to processing alcohol over burning fat. As a result, when alcohol is consumed, the body’s ability to burn fat decreases by 73%.
And if we’re being honest with ourselves, alcohol consumption has a psychological impact that makes it hard to stick to a healthy diet and lifestyle routine. Alcoholic drinks are often consumed with high-calorie foods, leading to overeating and impeding progress towards weight loss goals.
Alcohol is also known to disrupt sleep patterns, which can result in hormonal imbalances that affect metabolism and digestive processes. Poor sleep quality leads to decreased levels of leptin and increased levels of ghrelin, disrupting the body’s natural hunger response, leading to overeating, and in turn, weight gain. So while it could be enjoyed daily, it’s a significant roadblock for those who are trying to lose weight. It not only adds hundreds of extra calories to their diet but also inhibits their body’s ability to burn fat, increases hunger, and decreases the quality of sleep.
If you are aiming to lose weight but still want to include alcohol in your routine, I recommend reducing your alcohol consumption. For instance, if you typically have a glass or two of wine every night, consider limiting it to just one or two glass one night per week instead. This mindful adjustment can help you reach your weight loss goals while still allowing you to enjoy occasional indulgences.
Ingredients
Method
- Add cut fruit to pitcher
- Top with sparkling cider and kombucha
- Garnish with rosemary springs and enjoy!