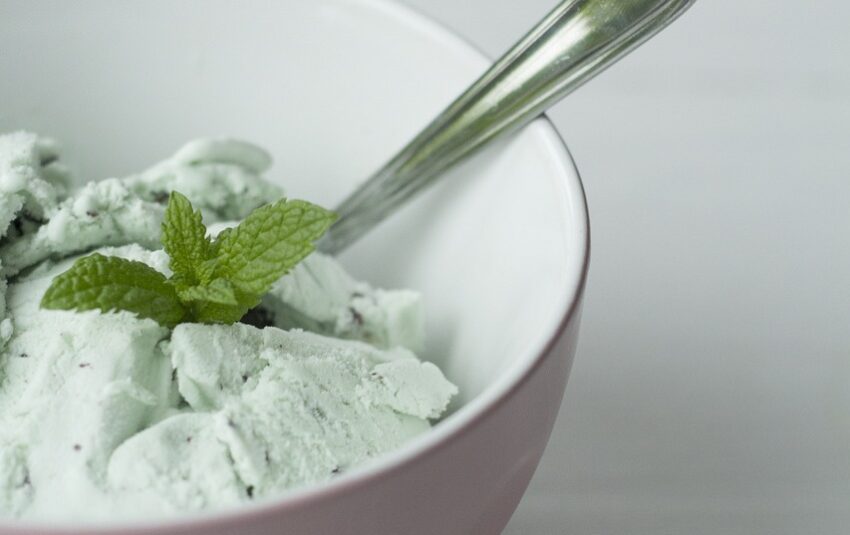
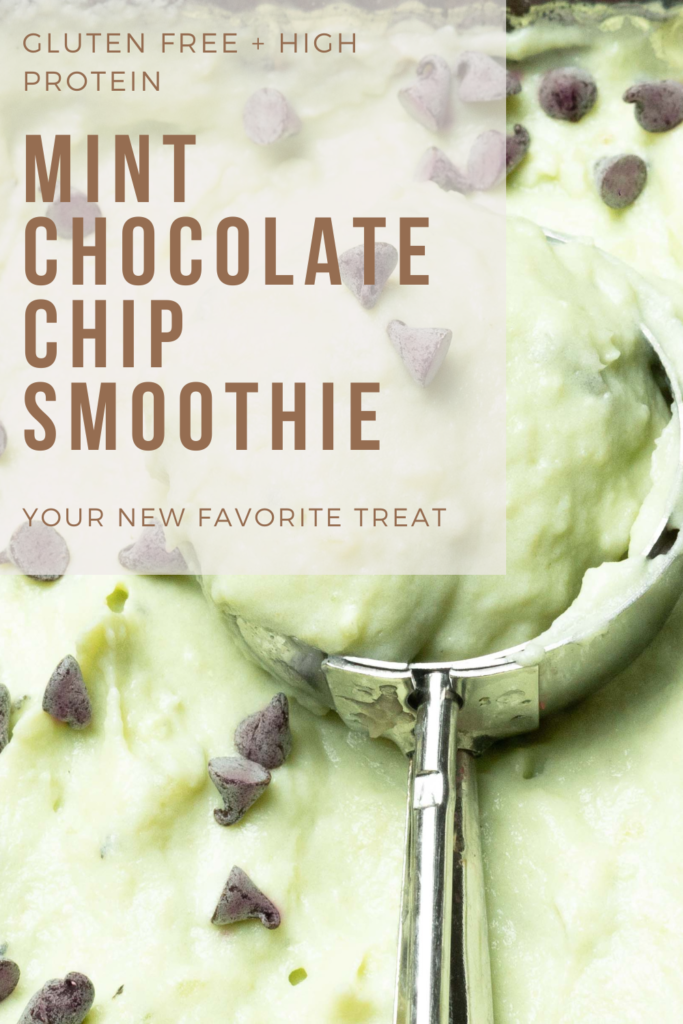
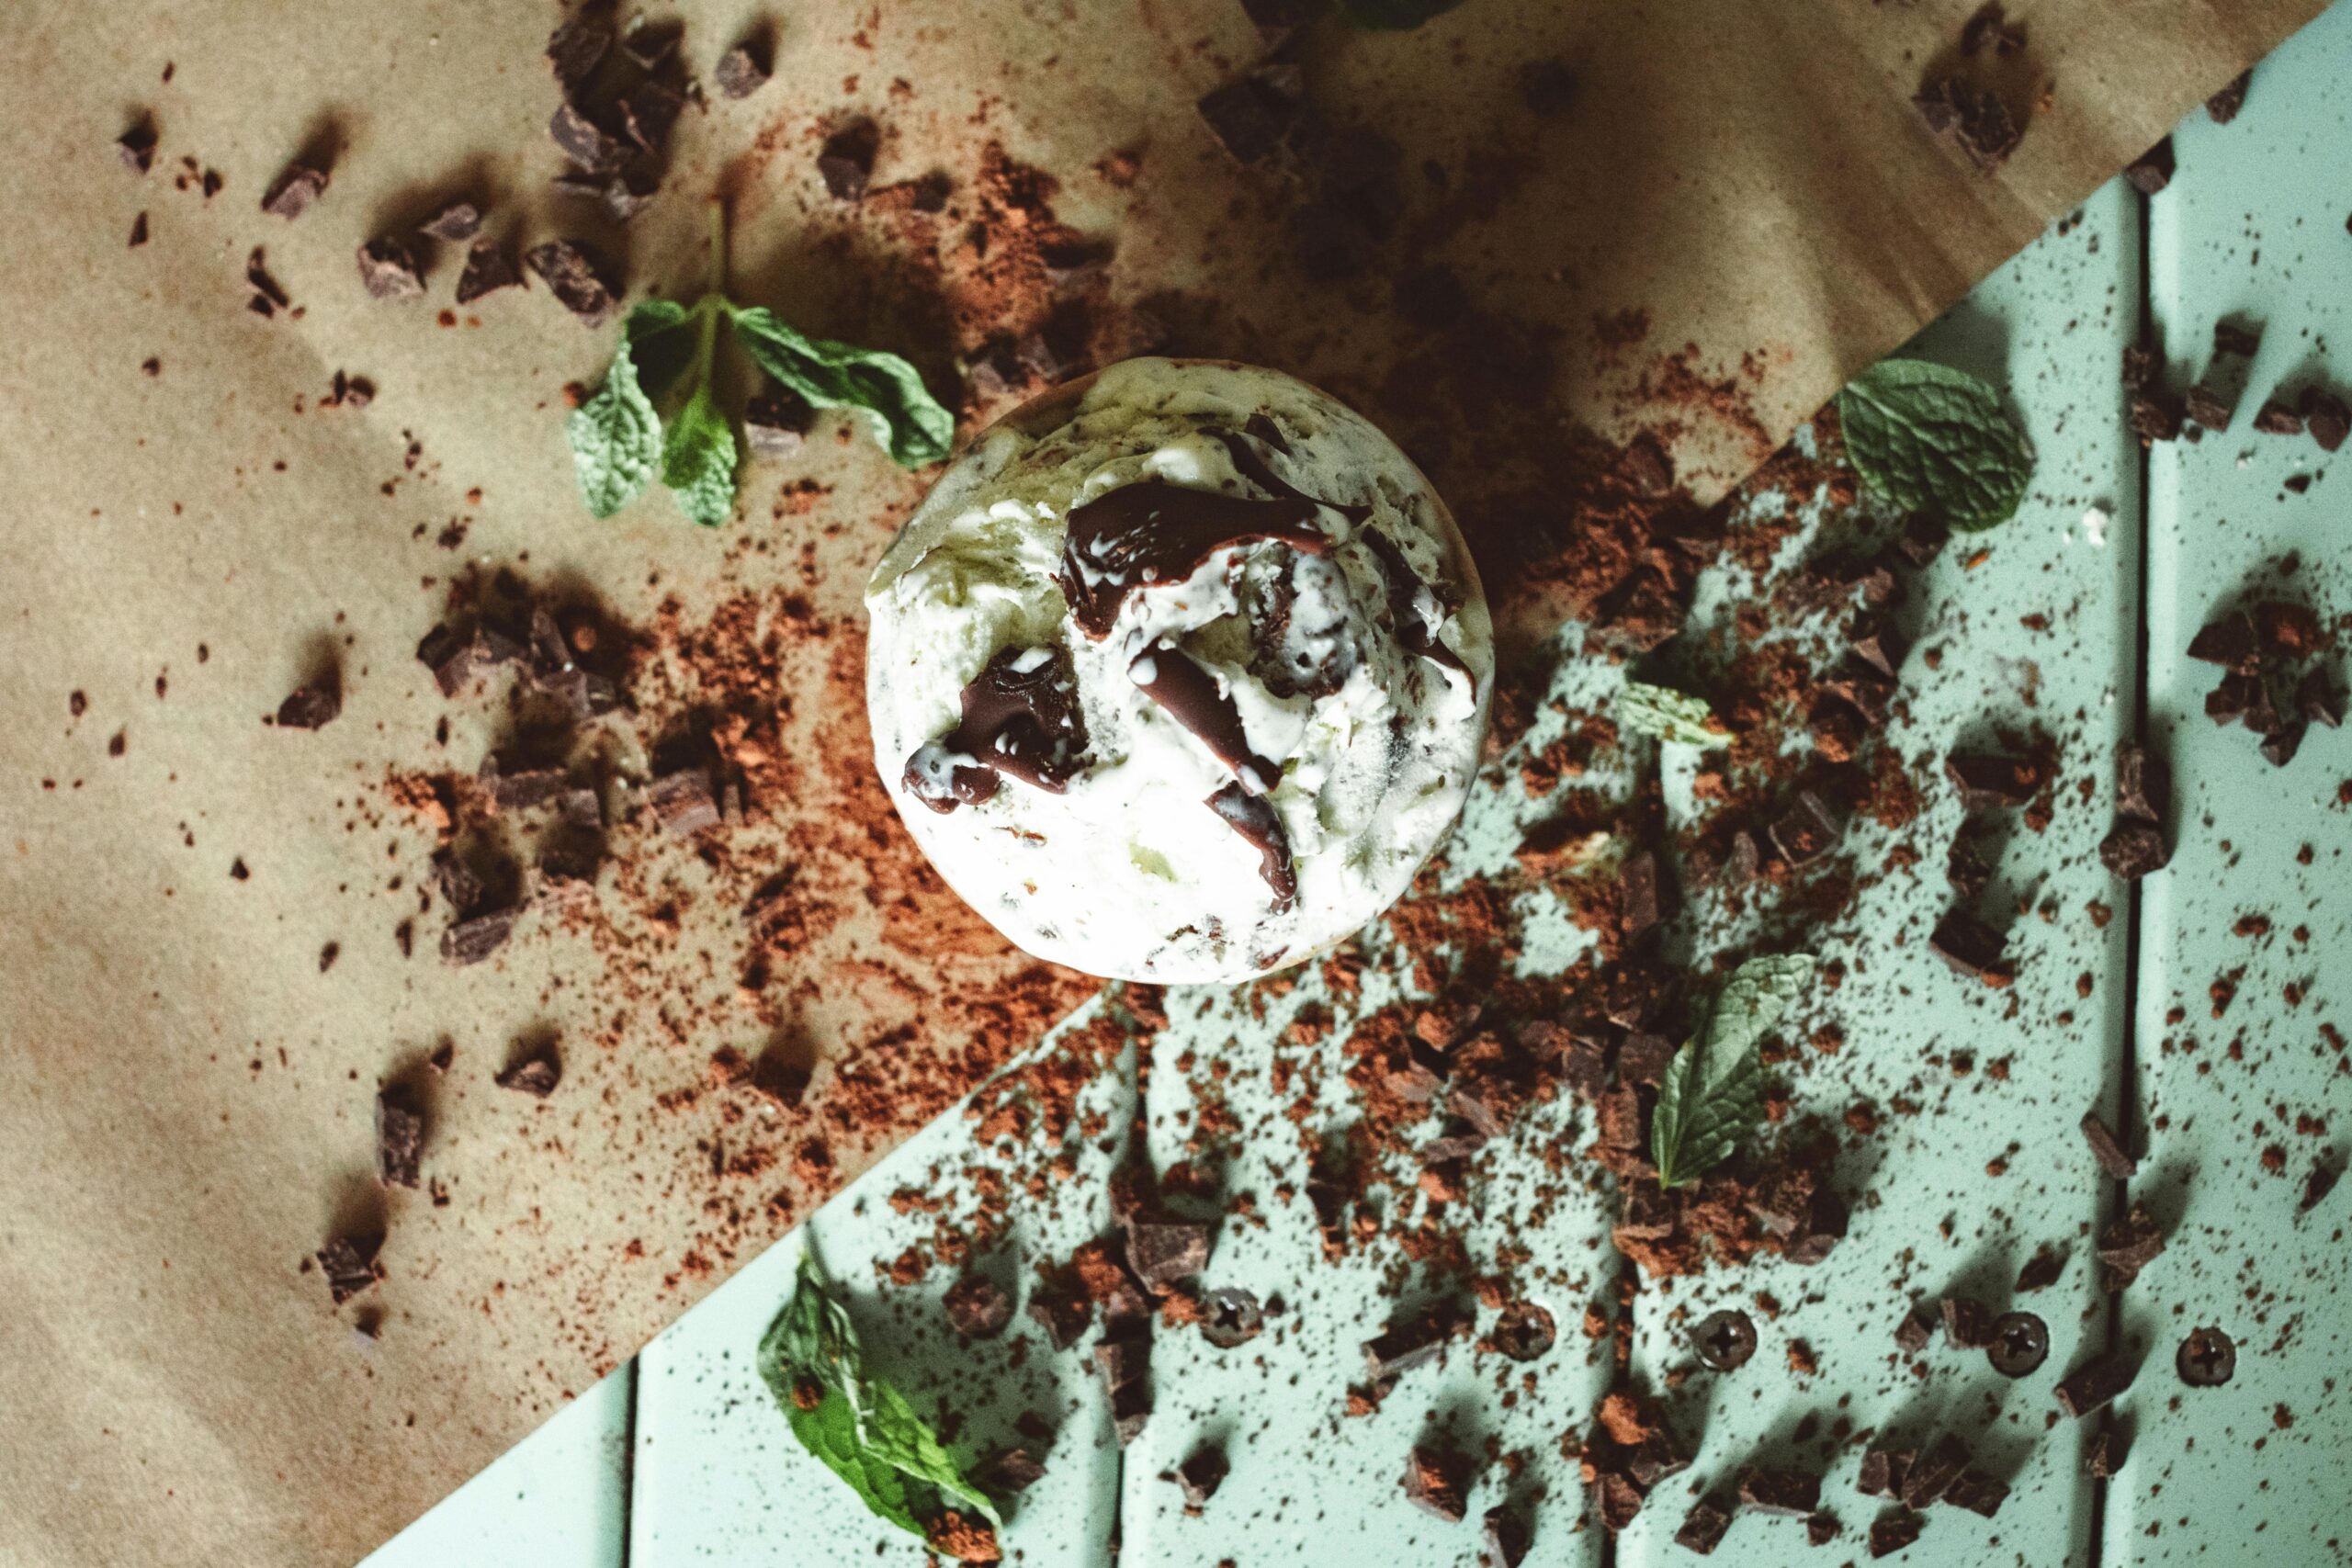
Mint chocolate chip is my favorite ice cream flavor – but it has to be the green kind 😉. I will however, make an exception for this smoothie. I found a sugar free version of Torani Mint Chocolate Chip syrup while walking through Home Goods and decided to take a chance. I usually have a protein shake (in ice cream form with extra ice and a frozen banana), so I thought I could experiment with this syrup. And let me tell you – it hits the spot. The mint isn’t too overpowering and it 1000% tastes like green mint chocolate chip ice cream. Plus my husband refused to share it with me after assuming it wasn’t healthy. So you’re welcome. This is your new guilt-free way to satisfy your sweet tooth —the Mint Chocolate Chip Smoothie! Packed with 20g of protein, this indulgent yet healthy smoothie feels like dessert in a glass PLUS it will support your health goals, especially weight loss. Whether you crave a post-workout recovery snack or a night time TV treat, this recipe checks all the boxes.
As I write this, we could totally make it a green smoothie by adding a handful of baby spinach. …for the green mint chocolate chip sticklers out there.
Here’s everything you need to whip up your Mint Chocolate Chip Smoothie. Substitute freely depending on dietary needs or preferences!
FASTer Way Vanilla Protein Powder 🌟 (Swap for chocolate protein powder or vegan protein powder as needed.)
Unsweetened Almond Milk (Or use coconut milk for a richer taste, just note calories will need to be adjusted).
Sugar-Free Mint Chocolate Chip Syrup (I use Torani) (Peppermint extract will work, but adjust for sweetness.).
Xanthan Gum (For a thicker, ice-cream-like consistency.).
Vanilla Extract (Adds incredible flavor, but optional.).
Sea Salt (A pinch enhances those chocolatey notes!).
Ice (Essential for that frosty, creamy texture.).
Mini Chocolate Chips or Cacao Nibs (Go for dark chocolate chips for extra nutrition.).
💡 Gluten-Free? Read This!
Great news for gluten-free folks—this recipe is naturally gluten-free, provided all your ingredients (like the protein powder or artificial flavors) are certified gluten-free. Always check labels when you’re at the grocery store!
👩🍳 How to Make My Mint Chocolate Chip Smoothie
1️⃣ Add all ingredients (except the chocolate chips) into a blender. Pro tip? Toss in a frozen banana to create an even creamier texture if it fits your daily diet.
2️⃣ Blend on high until smooth. Adjust the mix with more ice or almond milk depending on how thick you like your shake.
3️⃣ Sprinkle in your mini chocolate chips or cacao nibs, and blend lightly for a chocolate chip protein smoothie effect.
4️⃣ Pour into your favorite glass, garnish with fresh mint leaves, and enjoy!
📓 Best Served With
Turn this smoothie into a meal or a snack by pairing it with a slice of whole-grain toast, and nut butter for added healthy fats or sprinkle in chia seeds or flax seeds for additional omega-3s.
👝 How to Store Leftovers
If you can’t finish it all, pour any leftovers into an airtight container and store in the fridge for up to one day. Alternatively, pour it into popsicle molds and freeze for a fun, healthy snack!
🧠 Common Questions
Can I make this vegan?
Absolutely! Substitute the whey protein with a vegan protein powder and swap coconut milk or almond milk for any plant-based option you love.
Is this better than a mint chocolate chip milkshake?
Yes! You get the same indulgent, delicious flavor as a classic milkshake but with extra protein, fewer calories, and better nutrition facts to fit into your daily macros.
Can I drink this every day?
Totally! Incorporate it into your daily diet for an amazing post-workout snack or an easy way to curb your sweet tooth.
Join my next 6 week challenge!
Tired of endless diets and no results? Join the FASTer Way to Fat Loss and see real, sustainable changes in just 6 weeks!
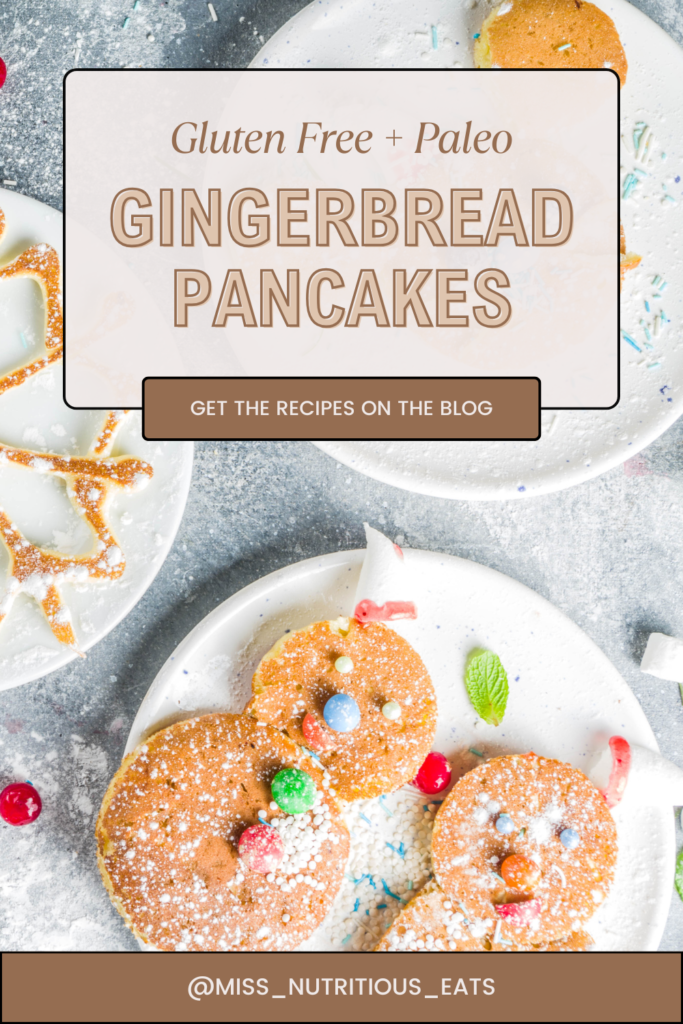
I’m officially moving on from pumpkin spice to gingerbread 😆. There’s just something about December that calls for warm, comforting breakfasts to start the day right. And guess what? These pancakes are perfect for your low carb days because they will help you reach your higher than usual fat goal. This recipe combines classic gingerbread spices with the rich, fluffy texture of pancakes in a gluten-free version, making it the ultimate Christmas slash anytime breakfast.
Simple Ingredients with Big Results – Forget the boxed mix, you don’t need anything fancy for these.
Big nutrition in a small package – if you (or kids or loved ones) need more calories to keep weight on or gain muscle, these need to be on your list!
Nutritious and Delicious – Made with almond flour and ground flaxseeds, this is one of those healthy pancakes that tastes just as indulgent as regular pancakes.
Versatility – Go with what you have – almond milk, coconut milk, or soy milk, this recipe allows substitutions to meet dietary needs.
Easy to Make – With one large mixing bowl, you’ll have fluffy gingerbread pancakes in no time.
The Perfect Holiday Breakfast – These pancakes are big on flavor and a festive aroma, perfect for cozy mornings.
Baking powder in a pinch you could use baking soda, but reduce the amount to 1/3 of what’s called for in the recipe, and add an acid like vinegar or lemon juice
Cinnamon, ground ginger & nutmeg If you’re not a fan of any of these you can use more cinnamon or sub in pumpkin pie spice or a combination of ground cloves and allspice
Ground flaxseeds If you don’t have flax seed try chia seeds instead
Wet Ingredients:
Large eggs If you want to go vegan use a flax egg – 1 tablespoon ground flaxseed + 3 tablespoons water, mixed and allowed to sit for 5 minutes
Unsweetened almond milk any milk you have on hand will work including coconut milk, oat milk, or any other plant-based milk
Vanilla extract try a small amount of almond extract or maple extract
Pure maple syrup other sweeteners will work like honey, agave syrup, or coconut nectar, or omit entirely for a sugar-free version
Optional Add-ons:
A drizzle of blackstrap molasses for deeper gingerbread flavor
A pinch of coconut sugar or brown sugar for a touch of sweetness
💡 Gluten-Free? Read This!
In this recipe we skipped the all purpose flour – instead, this recipe uses almond flour, which not only makes it gluten-free but also adds a slightly nutty flavor and fluffy texture.
👩🍳 How to Make My Gluten-Free Gingerbread Pancakes
Step-by-Step Instructions
1. Prepare the pancake batter:
Grab a large mixing bowl and combine the dry ingredients (almond flour, baking powder, cinnamon, ground ginger, nutmeg, and ground flaxseeds).
In a separate small bowl, whisk the wet ingredients (eggs, almond milk, vanilla extract, and pure maple syrup).
2. Mix it up:
Slowly combine the wet ingredients into the dry ingredients to create your pancake batter. Pro Tip! Add a dash of blackstrap molasses for deeper ginger flavors.
3. Heat the griddle:
Preheat an electric griddle or non-stick skillet over medium heat (reduce to medium-low heat if it gets too hot). Lightly grease with cooking spray or coconut oil.
4. Cook the pancakes:
Pour about 1/4 cup of batter for each pancake. Cook the first side for 2 minutes until bubbles form on top, then gently flip and cook for another 1-2 minutes until golden brown.
5. Keep warm:
Place cooked pancakes on an oven-safe plate or a wire rack set over a baking sheet to keep them warm until serving.
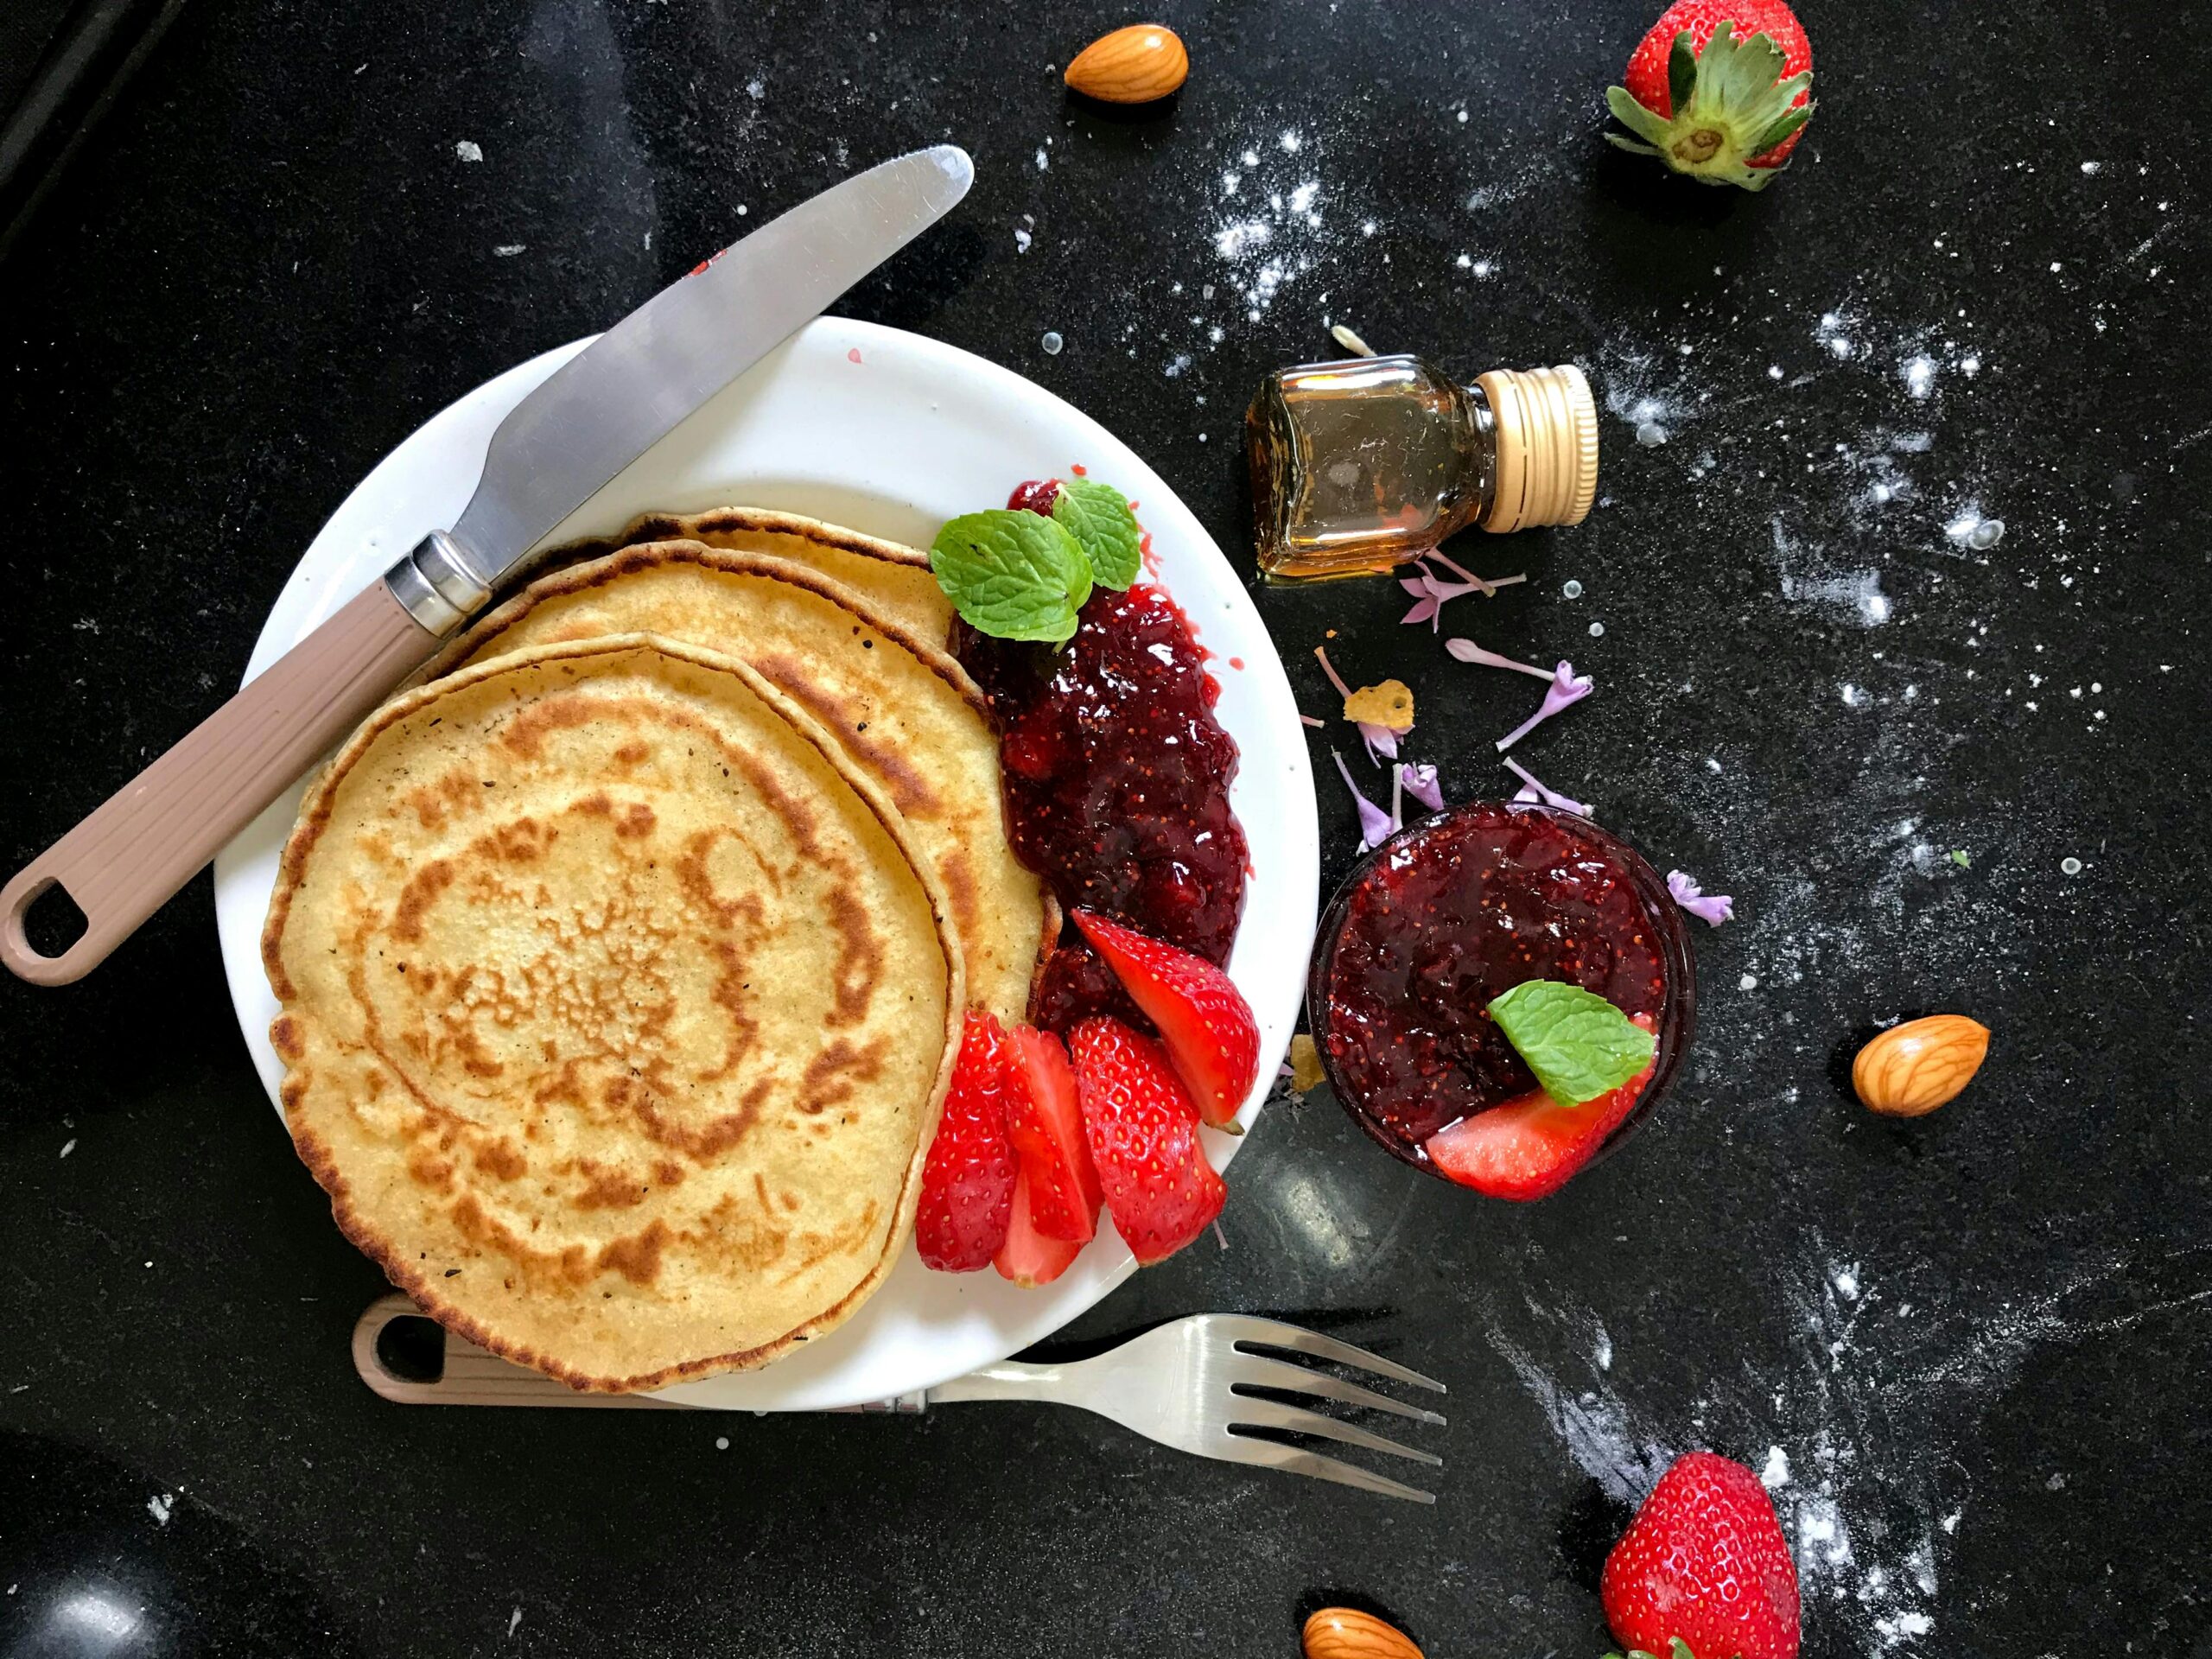
📓 Best Served With
These pancakes aren’t just festive—they’re versatile! Here are some ideas for serving your fluffy gingerbread pancakes:
A generous drizzle of maple syrup
Fresh berries or sliced bananas
A dollop of whipped cream or Greek yogurt
A serving of peanut or cashew butter
A sprinkle of powdered sugar for that snowy holiday vibe
👝 How to Store Leftovers
Got extra pancakes? Here’s how to save them for later!
Refrigerate: Store leftover pancakes in an airtight container for up to 3 days. Reheat in the toaster oven.
Freeze: Place cooled pancakes in a freezer bag with parchment paper between each pancake. They’ll stay good for up to 2 months.
Next time, just reheat them in a toaster or oven for a quick free breakfast on busy mornings.
🧠 Common Questions
Can I make these vegan?
Yes! Swap the eggs for flax eggs and use vegan buttermilk (soy milk + lemon juice or apple cider vinegar).
What if I don’t have almond flour?
No problem! You can try oat flour pancakes or replace almond flour with a gluten-free flour mix that includes potato starch for a similarly fluffy texture.
Can I make these ahead of time?
Absolutely! These pancakes hold up well as leftovers. Use an airtight container or freezer bag to store them and pull for a quick meal on the go.
How do I ensure a fluffy texture?
Make sure not to over-mix the pancake batter. Mixing too much can make the batter dense. Also, cooking at medium-low heat ensures an even cook with no burnt sides.
The Perfect Christmas Morning Breakfast
When it comes to holiday season breakfasts, these easy gingerbread pancakes are a must-try especially if you’re following a gluten free diet. With their gingerbread flavor, fluffy texture, and simple ingredients, they’re the perfect balance of healthy and indulgent. Personally, I love their nutty, wholesome texture and the fact that they are very filling.
Check out the full recipe in the recipe card below. If you make this, and I hope you do, don’t forget to share photos of your creations with me! Tag @miss_nutritious_eats. For more easy recipes subscribe to my newsletter—Happy Holidays and Happy Cooking! 🎄
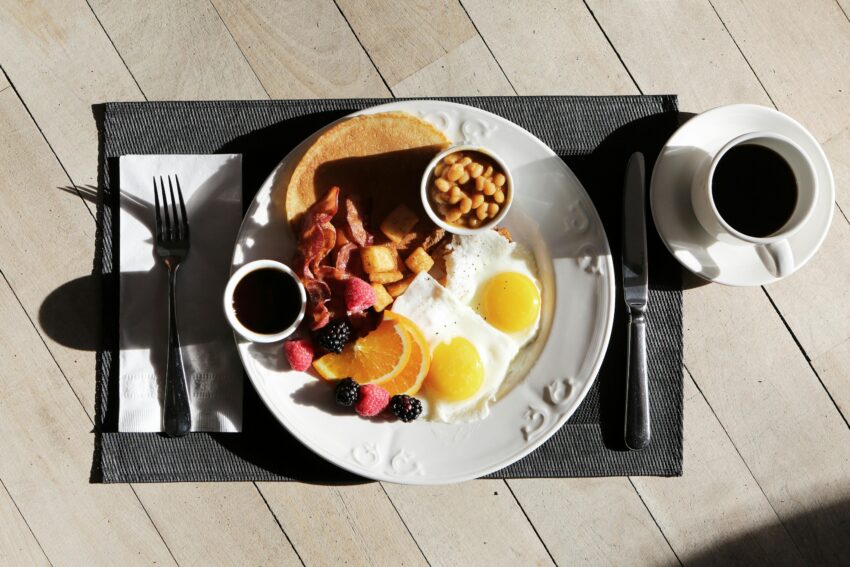
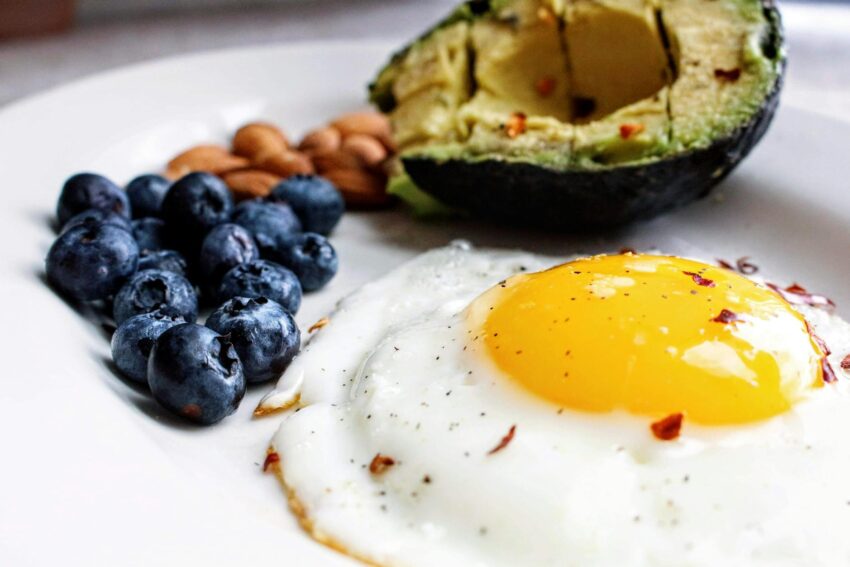
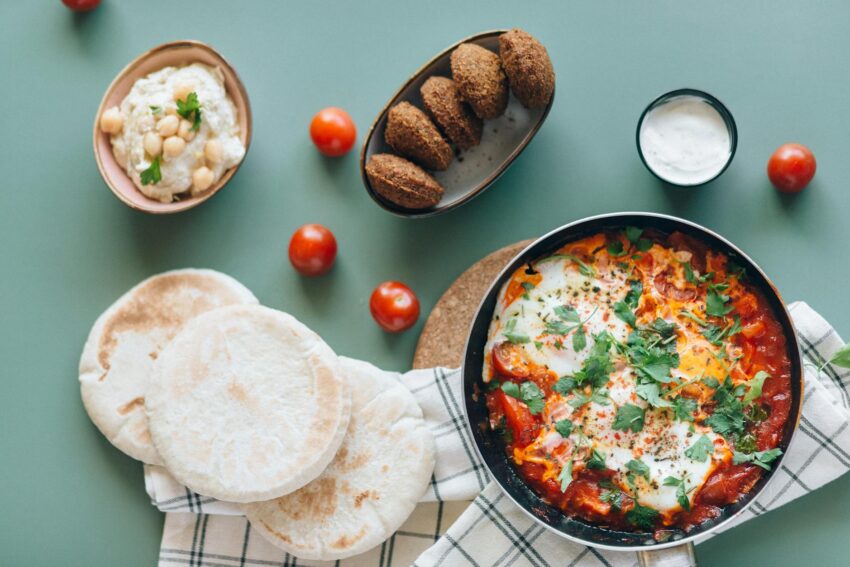
We’ve all heard it. Your morning meal AKA Breakfast is the most important meal of the day – especially when it comes to reaching our weight loss goals. A balanced breakfast can help set the tone for the rest of the day, helping to regulate blood sugar levels, boost energy levels, and keep you feeling full longer. Whenever you have it. Whether it’s at 7am or 12 noon.
If you want to slim down and shed some body fat, my recommendation as a registered dietitian is a high-protein breakfast which includes 30-40g lean protein with healthy fats, whole grains, and essential nutrients.
I know that can sound like a lot to check off. So keep scrolling for a bunch of health breakfast ideas to keep you on track.
Protein and weight loss go hand in hand because it helps maintain lean muscle mass while promoting feelings of fullness. Including 30-40g of protein in your breakfast can stabilize your blood sugar levels, helping to prevent energy crashes and cravings later in the day. Plus, protein has a higher thermic effect than carbs or fats, meaning your body burns more calories to digest it. Studies of weight loss interventions, suggest that increasing protein intake may lead to better weight management, improved body mass index (BMI), and a healthier body composition.
High-Protein Breakfast Options for Weight Loss
Greek Yogurt with Fresh Fruit and Chia Seeds
A cup of Greek yogurt provides around 20g of protein. Top it with fresh fruit like frozen berries, a sprinkle of chia seeds for added fiber and healthy fats, and a drizzle of honey for a sweet touch.
1 cup Greek yogurt + ½ cup fruit + 1 tbsp chia seeds + 1 tsp honey
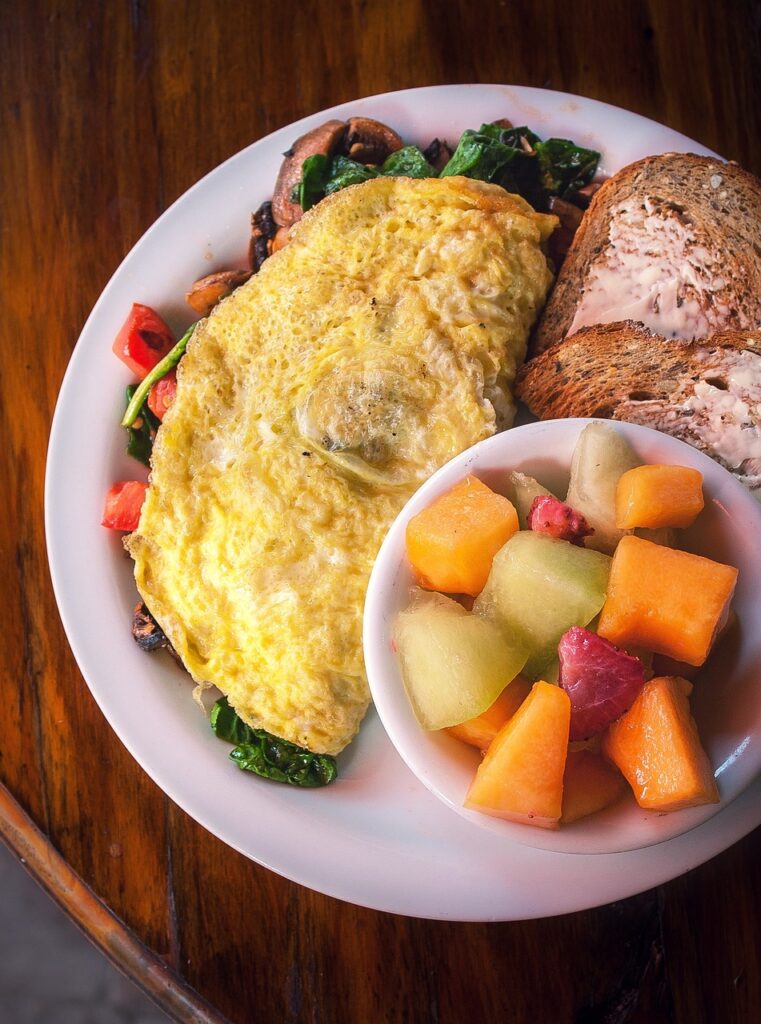
Scrambled Eggs with Spinach and Whole-Grain Toast
Whole eggs and egg whites provide protein and healthy fats. Pair with sautéed spinach and a slice of whole-grain toast for fiber to balance it out. You’ll need at least 2 whole eggs plus 1/4 cup egg white to get enough protein. Dave’s Killer Bread has 5g protein and 5g fiber per slice!
2 whole eggs + ¼ cup egg whites + 1 cup sautéed spinach + 1 slice whole-grain toast
Top whole-grain toast with cottage cheese (about 12g of protein per half-cup) and mashed avocado. Avocado adds healthy fats, while cottage cheese delivers the protein needed for a nutritious start to your day.
1 slice whole-grain toast, 1 cup cottage cheese, ½ medium avocado
Blend a scoop of protein powder (20g protein) with peanut butter, a banana, and soy or cow’s milk. This breakfast smoothie combines protein, healthy fats, and carbs for a balanced meal that promotes energy and helps with fat loss. If you substitute almond milk you’ll lose about 8g protein.
1 scoop protein powder, 1 tbsp peanut butter, 1 medium banana, 1 cup soy or cow’s milk.
Scramble egg whites with black beans, sautéed onions, and leafy greens. Wrap it all up in a whole-wheat tortilla for a high-protein, high-fiber breakfast. A 1/2 cup of black beans has 8g protein.
1 cup egg whites, ½ cup black beans, ½ cup sautéed onions, 1 cup leafy greens, 1 medium whole-wheat tortilla
Combine chia seeds with almond milk, a bit of vanilla extract, and a spoonful of almond butter. Let it set overnight and enjoy it the next morning with sliced fruit for a protein-packed and nutritious breakfast.
3 tablespoons chia seeds, 1 cup almond milk, vanilla extract, 2 tablespoons almond butter, ½ cup Greek yogurt, ½ cup fresh fruit
Benefits of a High-Protein Breakfast for Weight Loss
Including a high-protein breakfast can offer benefits for healthy adults looking to maintain or lose weight. Some include:
Increased satiety: Protein helps you feel full longer, reducing the likelihood of mid-morning snacking and helping to maintain a caloric deficit.
Enhanced muscle maintenance: Maintaining muscle mass is crucial during weight loss to ensure that you’re losing body fat rather than muscle.
Improved metabolism: A higher protein intake can increase energy expenditure due to the thermic effect of food, helping you burn more calories throughout the day.
High Protein Ingredients
Animal proteins are an obvious choice for a high amount of protein. Here are a few pantry items with significant grams of protein.
Hard-boiled eggs: Large eggs have 6 g protein each
Canned Tuna (in water or olive oil) 22g protein per 3 oz can
Canned Chickpeas: 15g protein per cooked cup
Canned Black Beans: 15g protein per cooked cup
Lentils (dried or canned): 18g protein per cooked cup
Edamame (frozen or dried): 17g protein per cup (shelled, cooked)
Quinoa (dried): 8g protein per cooked cup
Chia Seeds: 4g protein per 2 tablespoons
Built Bars: 17g protein per bar
Quality Protein Powder: 20g protein per scoop
Incorporating 30-40g of protein into your morning meal can set the foundation for successful weight loss and help you maintain a healthy weight. Focus on high-protein foods, healthy fats, whole grains, and high-fiber foods to create a nutritious breakfast that fuels your body and keeps you feeling energized. Whether you prefer savory options like eggs and avocado toast or sweet options like a breakfast smoothie or protein pancakes, there’s no shortage of healthy breakfast ideas to support your weight loss journey. One thing I really like about the FASTer Way is that the weekly meals keep protein top of mind, and they always different.
What kind of protein-rich breakfasts sound good to you? Leave a comment below!
As always, for personalized advice and meal plans, consider consulting a registered dietitian who can help tailor your nutrition to your specific needs and weight loss goals.
Join my next 6 week challenge!
Tired of endless diets and no results? Join the FASTer Way to Fat Loss and see real, sustainable changes in just 6 weeks!
Meeting your macro goals can feel like walking a tightrope, especially when it comes to fat intake. While fats are often misunderstood, even wrongly villainized, they play an important role in a healthy diet. But not all fats are created equal. To truly benefit from dietary fat, you need to differentiate between healthy fats and those with negative impacts on overall health.
Why Are Healthy Fats An Essential Part of the Diet?
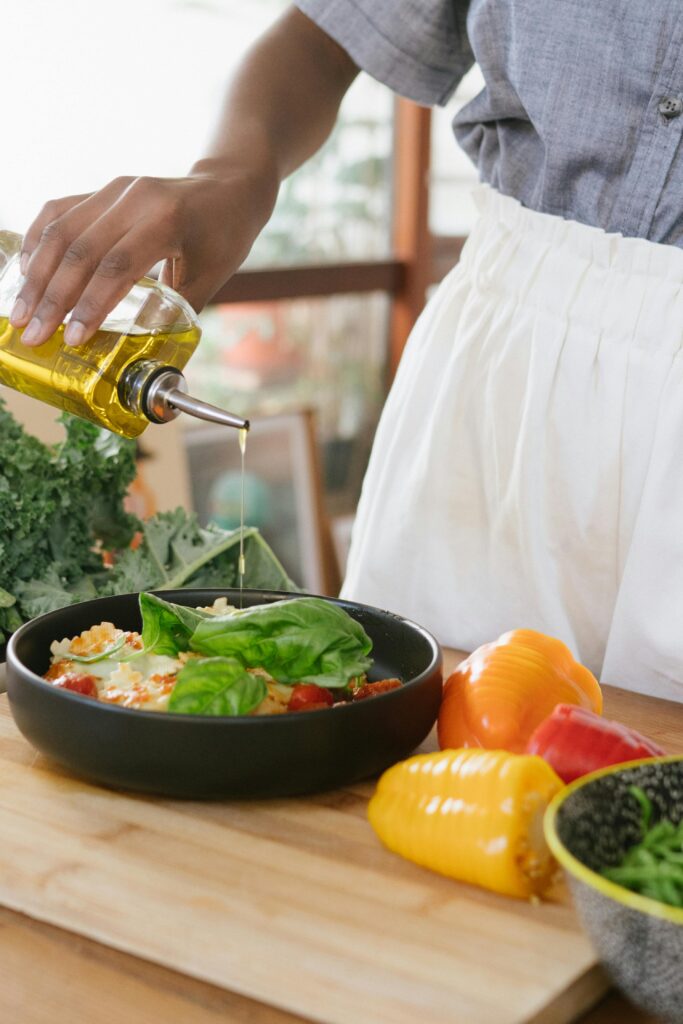
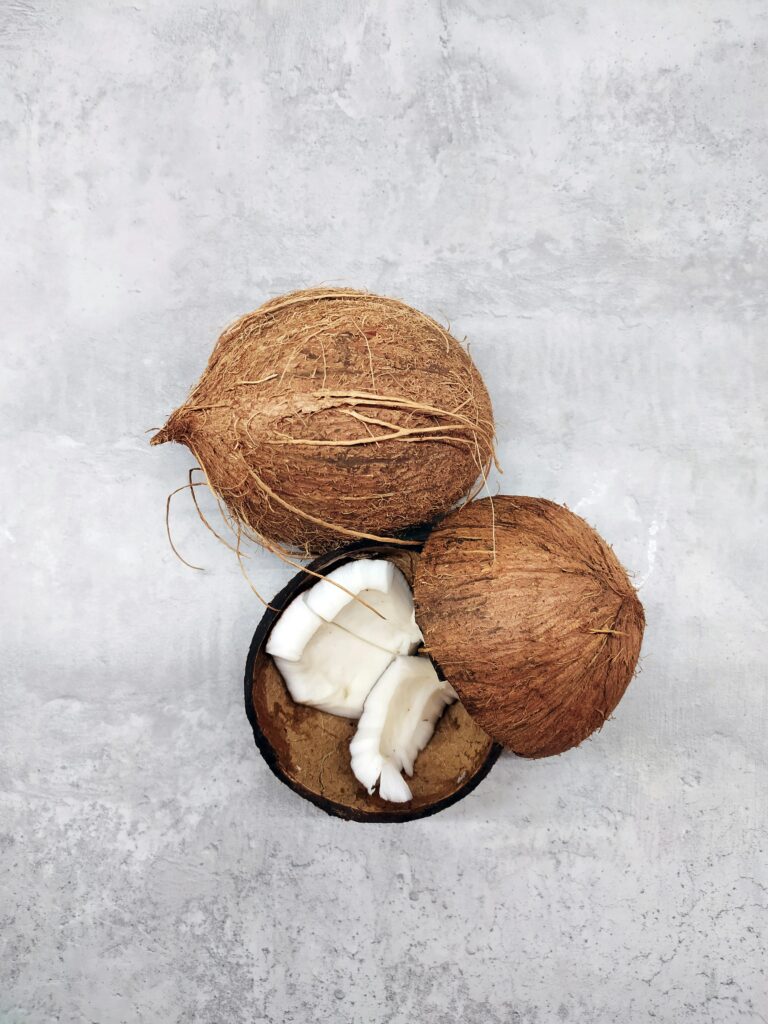
Healthy fats are found in foods like olive oil, fatty fish, and nuts, and they offer countless health benefits when consumed in moderation. Unlike trans fats or heavily processed hydrogenated oils, healthy fats support heart health, enhance cognitive function, and aid in the absorption of fat-soluble vitamins like A, D, E, and K.
Some benefits of dietary fat include:
Energy Source: One gram of fat offers 9 calories, making it a concentrated energy source to fuel your daily activities.
Satisfaction & Flavor: Every Chef knows, fat is flavor, and consuming it with each meal helps slow down digestion while providing satisfaction.
Brain Health: Fats like omega-3s support your brain, boosting cognitive function and memory.
Nutrient Absorption: Fat is necessary for nutrient absorption, particularly essential nutrients obtained from a balanced diet.
Hormonal Support: Healthy fats keep your hormones in check, including those essential for metabolism and stress regulation.
Heart Health: Healthy fats like monounsaturated fat and polyunsaturated fatty acids reduce bad cholesterol and support reduced risk of cardiovascular disease.
Studies, including those popularized by the Mediterranean diet, show that eating the healthiest fats, when included as part of your macro ratio, can aid in weight loss, muscle gain, and help maintain blood sugar levels. The key is balance and quality over quantity.
The Different Types of Fat
1. Monounsaturated Fats (The Best of the Best)
Monounsaturated fats are considered one of the healthiest fats and are a key pillar of a healthy diet. They’re heart-healthy, help regulate cholesterol levels, and may reduce the risk of heart disease.
Sources:
Olive oil (rich in oleic acid)
Avocados
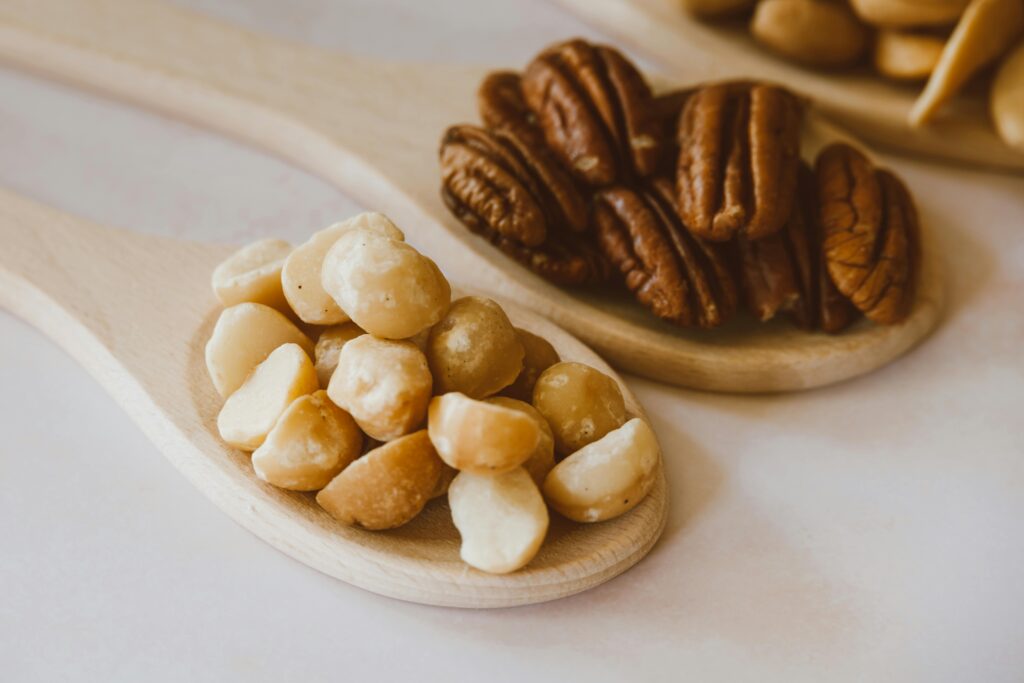
Nuts like almonds and cashews
2. Polyunsaturated Fats (Including Omega-3s and Omega-6s)
These are also in the “great fats” category. Omega-3s, in particular, are associated with improved heart health, reduced inflammation, and better brain health.
Sources:
Fatty fish (e.g., salmon, mackerel)
Chia seeds and flax seeds
Certain vegetable oils, like sunflower and safflower oil
3. Saturated Fats (Moderation is Key)
Saturated fats get a bad rep because they’re often associated with red meat and processed animal products, but not all saturated fats are harmful. When from whole, minimally processed sources, they support hormone production and muscle mass. These fats are solid at room temperature.
Sources:
Coconut oil
Full-fat dairy (think yogurt, cheese)
4. Unhealthy Fats to Avoid (or Eat Sparingly)
Not all fats are your friend. Trans fats and processed saturated fats found in hydrogenated oil, fried foods, and commercial snacks can raise bad cholesterol, increase the risk of heart disease, and disrupt your overall health.
Avoid or Limit:
White bread fried in unhealthy oils
Packaged foods laden with hydrogenated oil
Foods high in simple carbohydrates paired with high-fat ingredients
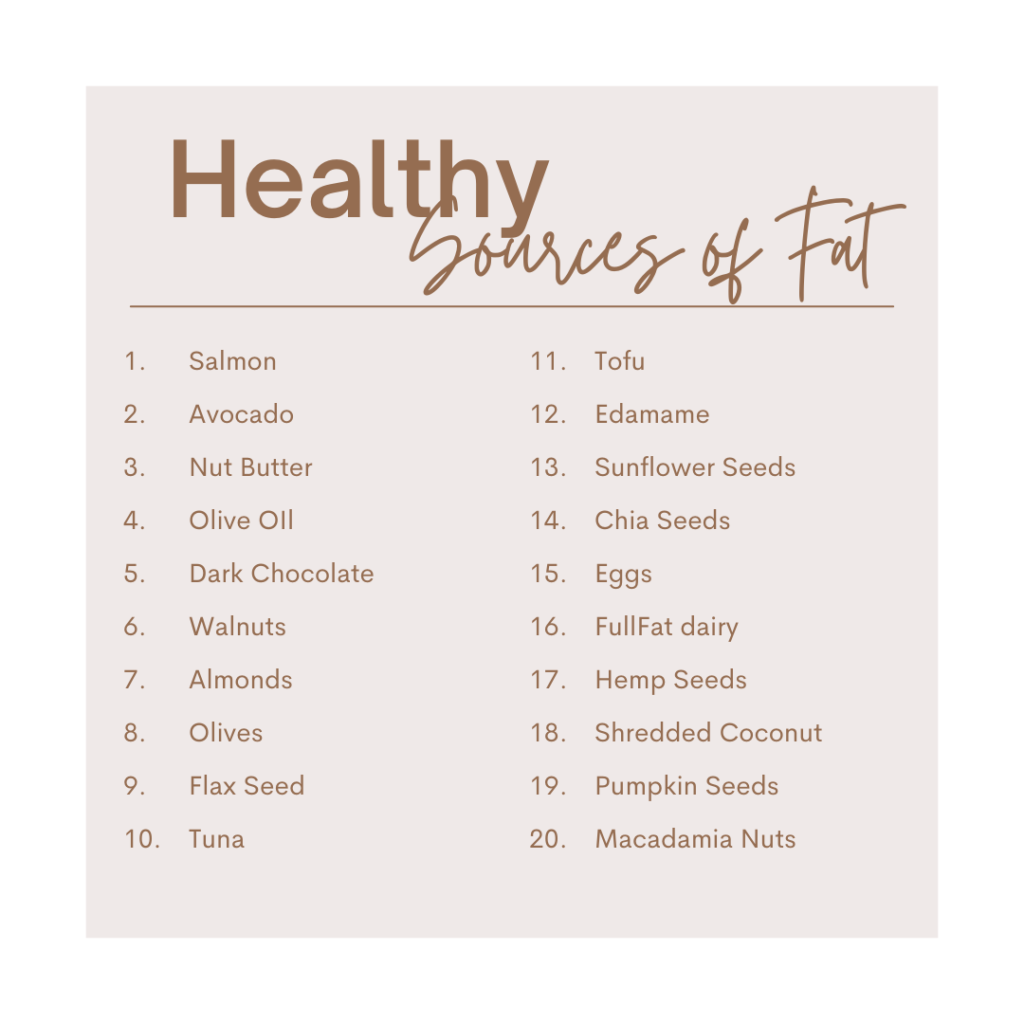
Fat Sources to include in your diet
No Caption
No Caption
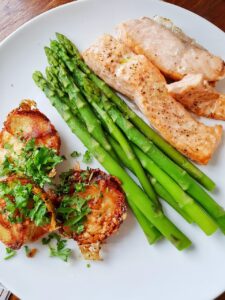
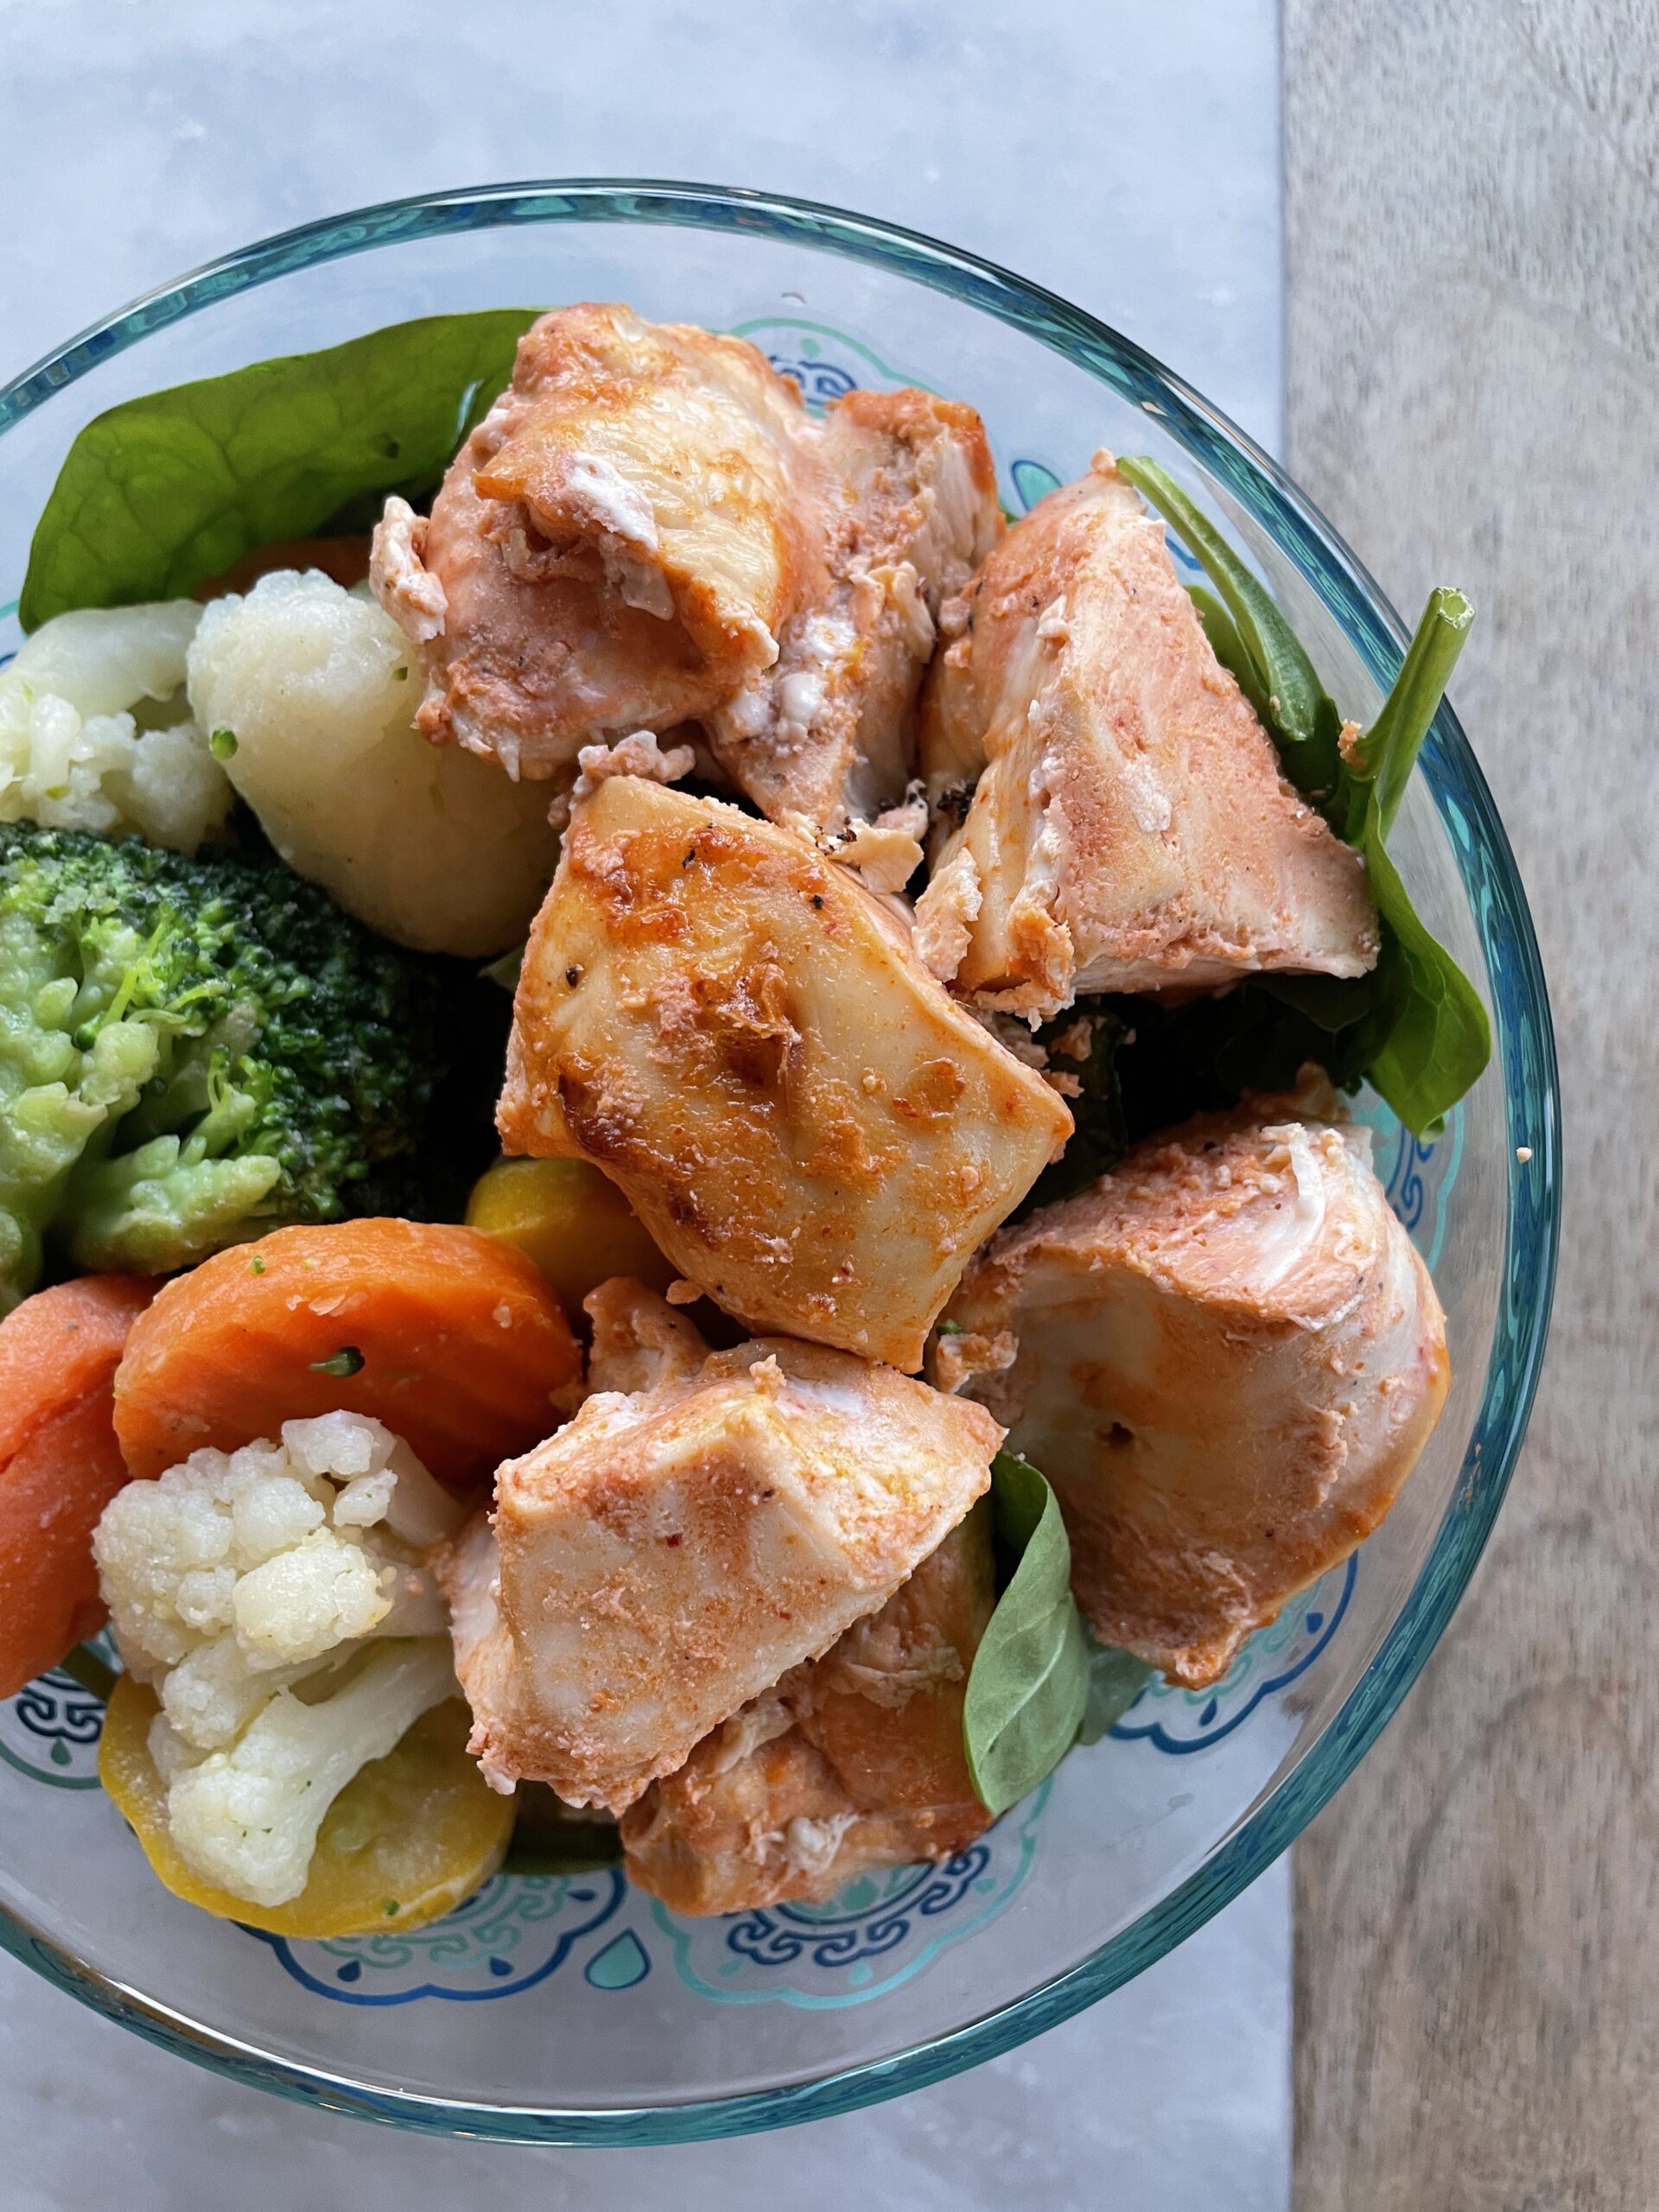
1. Salmon
Benefits: Packed with omega-3 fatty acids, fatty fish like salmon and sardines improve heart health and reduce the risk of cardiovascular disease.
100g: 13g fat, ~20-25g protein
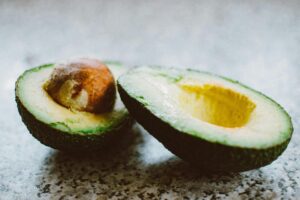
2. Avocados
Benefits: Avocados are a rich source of monounsaturated fat, which benefits your cholesterol levels and keeps you fuller for longer—aiding in both weight loss and maintenance of a healthy weight.
100g: 15g fat, 2g protein
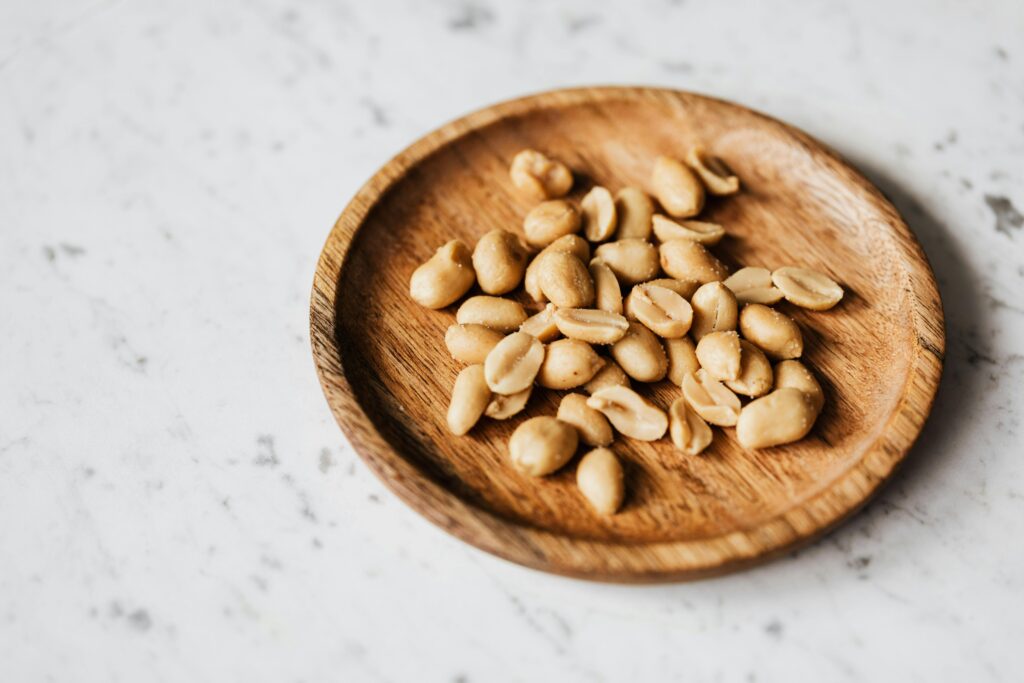
3. Nut Butter
Benefits: Nut butters, like almond or peanut butter, are a good place to include satiating, delicious fats. They’re high in calories, so be mindful of your portion sizes!
2 tbsp: 16-18g fat, 6-8g protein
4. Olive Oil
Benefits: A staple in the Mediterranean diet, olive oil is packed with oleic acid and antioxidants that improve heart health and reduce inflammation.
1 tbsp: 14g fat
No Caption
No Caption
No Caption
5. Dark Chocolate (80% or Higher)
Benefits: Ah, the treat that’s also healthy! Dark chocolate contains antioxidants and a moderate dose of monounsaturated fats, making it a delight for your overall health.
30g: ~9-12g fat
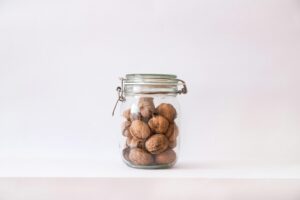
6. Walnuts
Walnuts are an awesome source of omega-3 and omega-6 fatty acids. Plus, they’re packed with the minerals manganese and copper. The average serving is about 14 halves.
1 oz: 19g fat, 4g protein
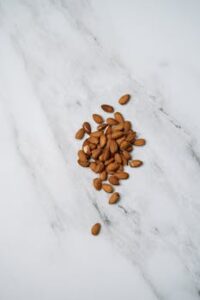
7. Almonds
Nuts are generally full of healthy fat, and you really can’t go wrong with any type. But I’m a big fan of almonds—they pack in 14 grams of fat per 1-oz. serving (around 23 nuts) and are loaded with vitamin E!
1 oz: 14g fat, 6g protein
No Caption
No Caption
No Caption
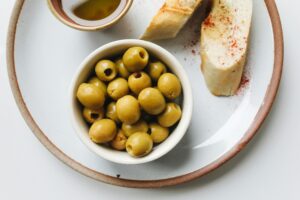
8. Olives
Rich in fat and big on briney flavor, olives are all fat.
1oz: 4g fat
9. Flax Seed
Flaxseed is awesome for getting those omega-3 fatty acids, with about 8 grams of fat per ounce. Plus, it’s got both insoluble and soluble fiber, which help you feel full, keep your digestion on track, stabilize blood sugar, and even keep your poops regular!
2 tbsp: 5g fat, 3g protein
10. Tuna
Another fish that’s loaded with healthy fats and omega-3s. Whether it’s the budget-friendly canned version (around 5 grams per can) or the sushi-grade kind from your favorite Japanese place (about 5 grams in 3 ounces, cooked), tuna’s got you covered.
3 oz Bluefin Tuna: 4g fat, 20g protein
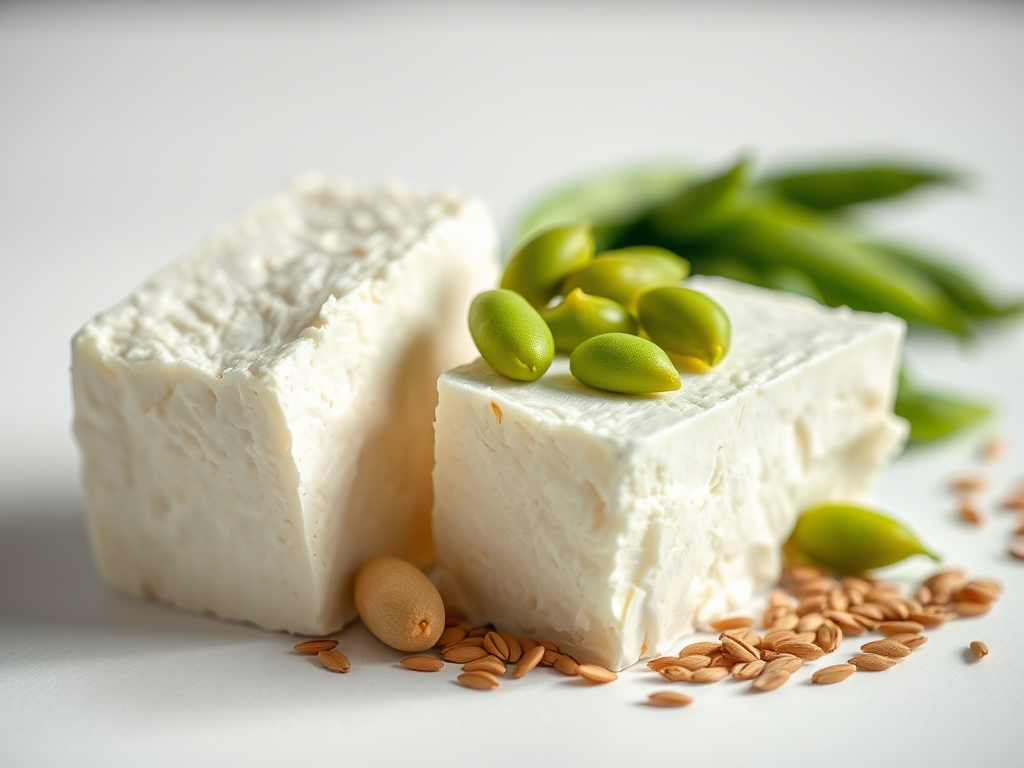
11. Tofu
Tofu is a favorite for vegetarians and vegans because it’s a great source of healthy fats and plant-based protein. While tofu may not have as much fat as some other foods on this list, you still get around 4 grams of fat from a 3-oz. serving of super-firm tofu.
3 oz: 4g fat, 9g protein
12. Edamame
Tofu is made from edamame, so I definitely can’t forget the plant it’s made from! Shelled edamame is not only a young soybean but also a fantastic source of fiber at 4 grams per serving.
1/2 cup: 4g fat, 9g protein
No Caption
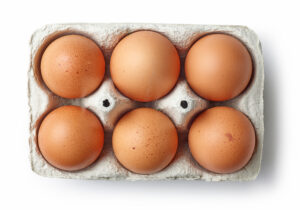
brown chicken eggs in egg box isolated on white background, top view
No Caption
13. Sunflower seeds
Flavorful, crunchy and easy to add to nearly any meal or snack.
2T: 14g fat, 6g protein
14. Chia Seeds
These tiny seeds have a ton of fiber, protein, nutrients and fat!
2T: 6g fat
15. Eggs
Eggs are my go to protein source. Breakfast for dinner anyone? They’re still affordable and if you keep the yolk, they’re also a great source of fat. An extra-large egg packs 6 grams of fat, but don’t skip the yolk! It adds delicious flavor and essential nutrients like selenium and choline. Plus, recent research reveals that egg yolks can fit into a healthy diet without significantly impacting cholesterol levels.
1 x-large egg: 7g protein, 5g fat
16.Full Fat Dairy
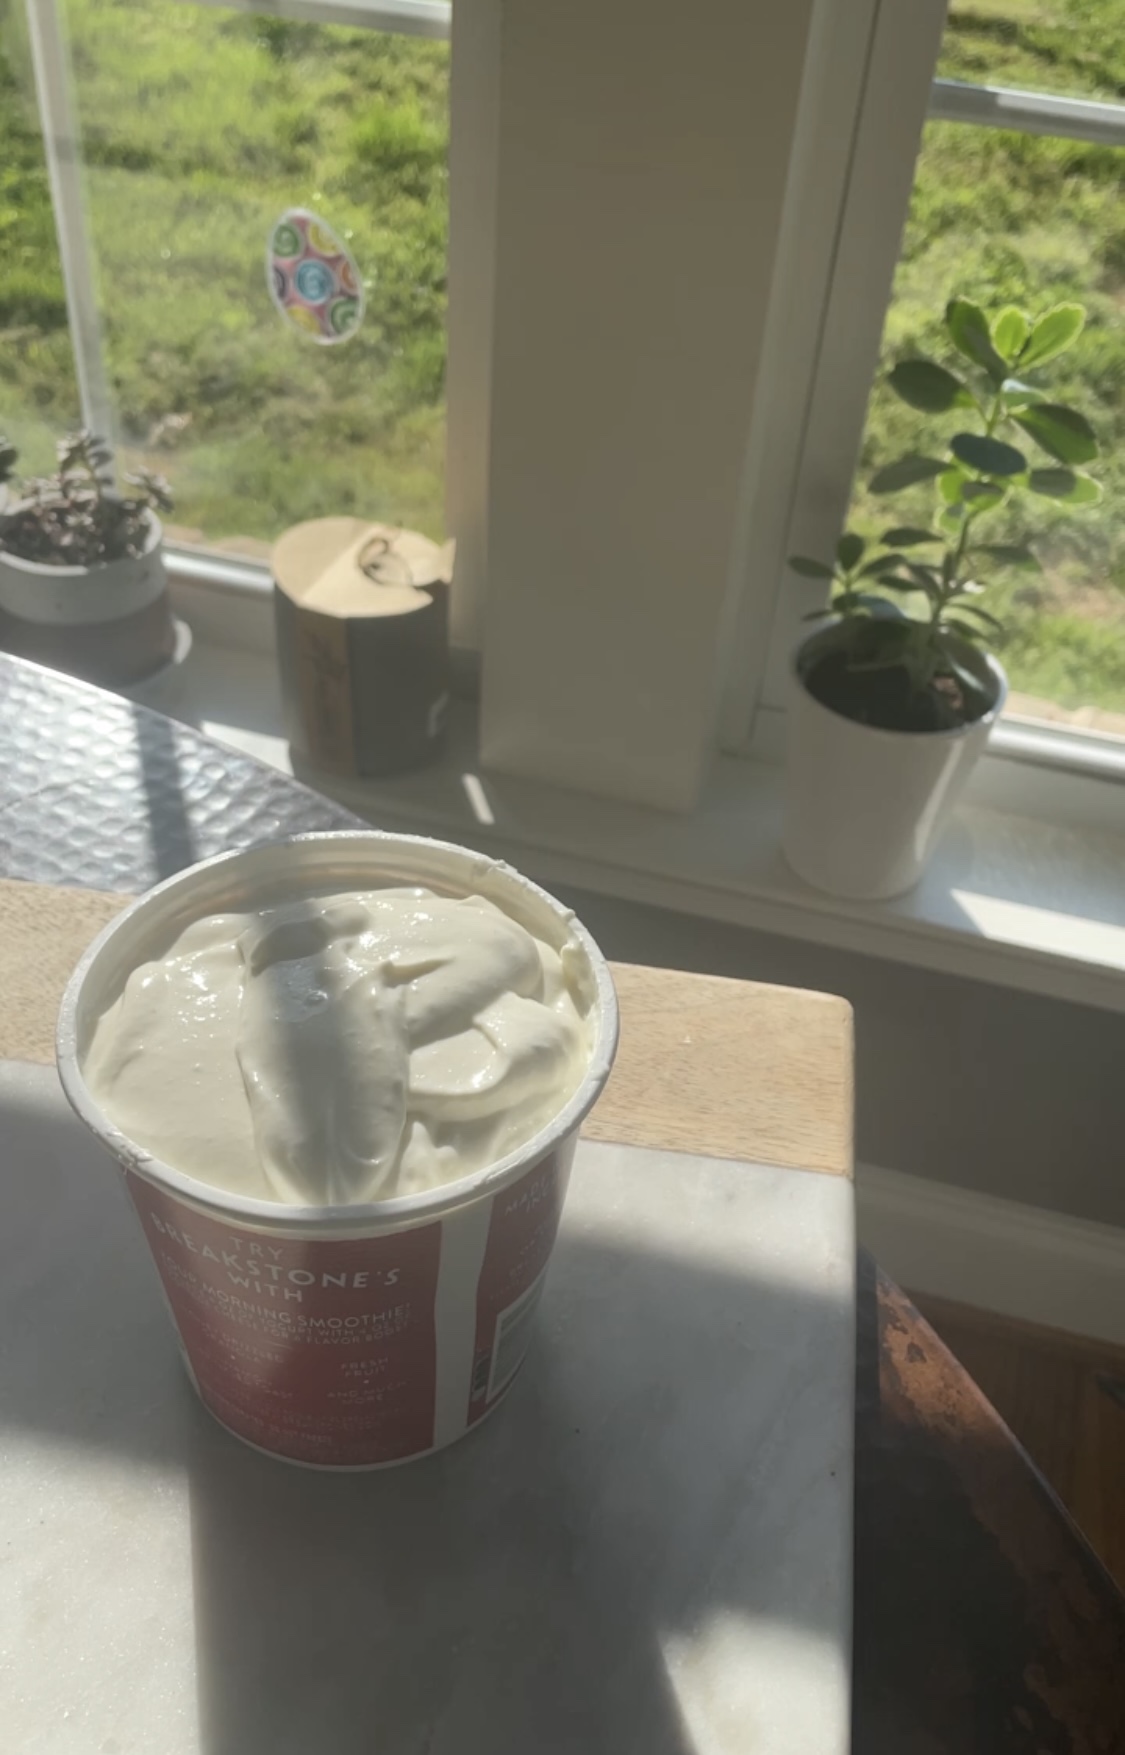
Not everyone can tolerate dairy, which is why we eliminate it during the first six weeks of the FASTer Way. However, dairy provides satisfaction, flavor, and creaminess. In small amounts, it can be a powerful way to add flavor.
1 cup full-fat yogurt: 8g fat, 20g of protein
17. Hemp Seeds
Hemp seeds are nutty in flavor and smooth in texture, packed with healthy fats perfect for any diet.
3T: 9g protein, 15g fat
18. Shredded coconut
You’ll find coconut in nearly every form—milk, cream, water, oil, fresh meat, and dried flakes. Sweetened or unsweetened shredded coconut flakes have about 8 grams of fat per ounce, and a lot of tropical flavor. Just caution that coconut is a plant source of saturated fat which is generally avoided on a heart healthy diet.
1oz: 8g fat
19. Pumpkin Seeds
Pumpkin seeds, or pepitas, are tiny powerhouses! They’re not just tasty but also packed with essential minerals like iron, magnesium, phosphorus, copper, and manganese.
1oz: 13g fat, 7g protein
20. Macadamia Nuts
Prior to starting the FASTer Way, I mentally reserved macadamia nuts for an actual trip to Hawaii because of their high fat content. I placed them on that “indulgence” shelf and never considered them a real option. But now I enjoy them because I’m eating to fuel my workouts during low carb days.
1oz: 22g fat, 7g protein
Remember, your fat macro target depends on your total daily calories and activity level, so adjust according. If you’re not sure, work with your doctor or a registered dietitian to set up your target.
How Much Fat Should You Eat?
You might wonder, “How much fat is the right amount?” Most dietary guidelines recommend fat should make up 20-35% of your total calories—or roughly 0.5-1g per kilogram of body weight, depending on your goals and activity level. Strike the right balance of grams of fat, carbohydrate intake, and protein intake to ensure you’re working toward a balanced diet.
Join my next 6 week challenge!
Tired of endless diets and no results? Join the FASTer Way to Fat Loss and see real, sustainable changes in just 6 weeks!
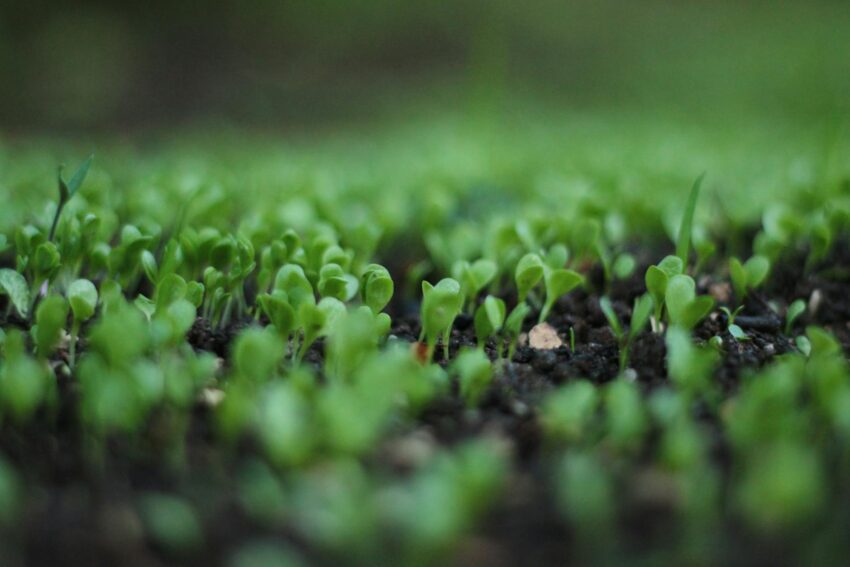
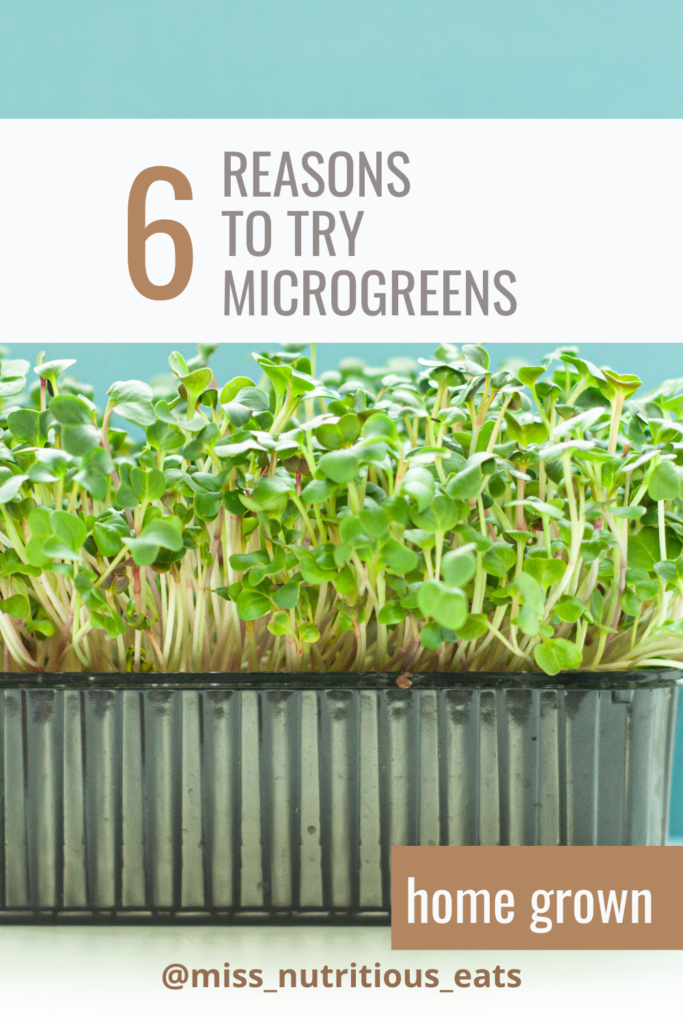
If you’re into health, you’ve probably noticed micro greens popping up on local menus. These tiny greens pack a big nutritional punch in preventing chronic disease and they have even bigger flavor. They’re loaded with nutrients, making them a perfect superfood to toss into salads, blend in smoothies, or add to just about anything. If you’re curious about why you should add micro greens to your diet or growing them at home, I’ve got you covered with their health benefits, nutritional content, and some easy tips for cultivating these nutrient-packed greens yourself.
This blog contains affiliate links from which I may receive commission.
Micro greens are basically baby veggies or herbs, picked right after their first true leaves pop up. They’re often called “vegetable confetti” because of their bright colors and bold flavors. You can find all sorts of micro greens, from cruciferous ones like kale and broccoli to leafy greens and herbs like cilantro and basil. They’re tiny but mighty, often boasting more nutrients than their fully-grown versions!
Nutrition and Health Benefits
Micro greens are packed with antioxidants and can have 4 to 40 times more nutrients than mature plants. They’re a powerhouse of essential nutrients and vitamins, like vitamins C, E, and K.
Calories: 10-25 calories
Protein: 1-3 grams
Fiber: 1-2 grams
Vitamin C: 20-40% of the daily value
Vitamin A: 10-30% of the daily value
Iron: 4-10% of the daily value
Top 6 Health Reasons to choose micro greens:
1. Rich in Nutrients
Micro greens deliver a burst of flavor compared to their mature counterparts. They also deliver essential vitamins and minerals, including vitamin K for blood clotting and bone health, vitamin C to support the immune system, and vitamin E for its antioxidant properties that combat free radicals and oxidative stress.
2. Combat Chronic Diseases
Being an antioxidant-rich food, microgreens play a crucial role in minimizing the risk of chronic diseases. Their bioactive compounds and dietary fiber help reduce oxidative stress, improve cardiovascular health, and prevent conditions stemmed from inflammation.
3. Support Metabolic Health
Micro greens, like broccoli micro greens and red cabbage micro greens, have been shown to help manage Type 2 diabetes by improving insulin sensitivity. Animal studies have demonstrated that these tiny greens can aid in maintaining lower levels of glucose in the blood.
Join my next 6 week challenge!
Tired of endless diets and no results? Join the FASTer Way to Fat Loss and see real, sustainable changes in just 6 weeks!
With polyphenols playing a significant role, micro greens offer benefits toward brain health. These nutrients may potentially aid in improving cognition and delaying Alzheimer’s disease and other neurodegenerative conditions.
5. Eye Health
Lutein, found in micro greens like spinach and broccoli sprouts, is known to aid in the prevention of age-related macular disease, contributing to overall eye health.
6. Boost Iron Levels
For those with iron deficiency, fenugreek micro greens offer high levels of this essential mineral, thus reducing the risk of anemia.
Growing Tips for Home Gardeners
Growing your own micro greens can be a cost-effective and rewarding way to incorporate these baby greens into your diet.
Here’s how to get started:
Step-by-Step Guide
Choose a Growing Medium
Begin with a shallow container with drainage holes, a warm, sunny windowsill (preferably south-facing), and some potting mix or a growing medium.
Scatter and Sow Seeds
Evenly scatter your chosen seeds—whether lettuce micro greens, swiss chard, or radish micro greens—across the soil’s surface, pressing gently.
Watering and Maintenance
Lightly cover seeds with soil and use a mister to dampen the surface. Ensure to water daily with a mister to keep the soil moist but not wet. Once sprouted (usually within 3-7 days), continue to provide about four hours of direct sunlight daily or use a grow light if needed.
Harvest and Enjoy
Once the greens have reached one to three inches in height, they’re ready to harvest. Snip them off just above the soil level, rinse thoroughly, and enjoy!
One of the main reasons that I started growing microgreens is for their intense flavor. Plus they tend to elevate anything you add them too. While, you can grow them at home with traditional trays and a watering schedule, I really love how easy it is to grow them in my Aquatree Hydroponic Garden. I will share more on this in another post, but basically it’s a tabletop garden that allows me to grow different types of microgreens in a foolproof and “set it and forget it” kind of way. No dirt, no puddles, and all the leafy vegetables you could want 😉
Key Considerations
Always ensure clean containers and fresh seeds to minimize the risk of contamination with factors such as E. coli.
Experiment with different flavors by trying a wide variety of microgreens to find the combination that best suits your palate.
Always balance micro greens with a diet rich in other foods like mature vegetables, whole grains, and lean proteins to ensure you meet the recommended daily intake of all essential nutrients and vitamins.
Wish you could have someone just tell you what to reach your health goals?
I’m a chef, registered dietitian, foodie, wife and mom. If you’re looking for quick and healthy meal inspiration that serves YOU and your family well, then you’ve come to the right place!
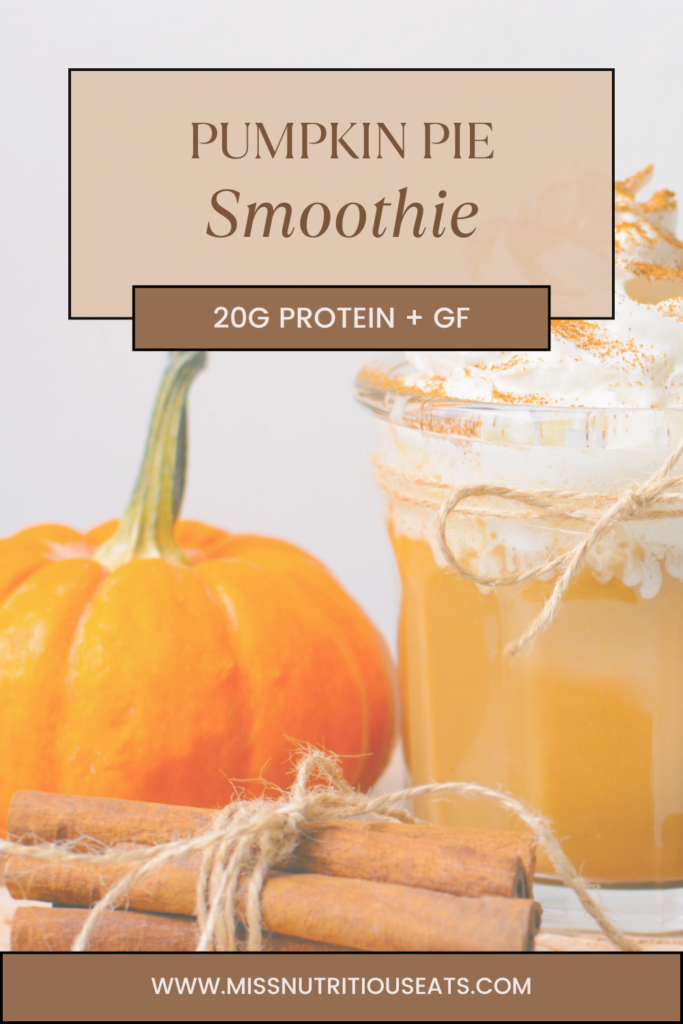
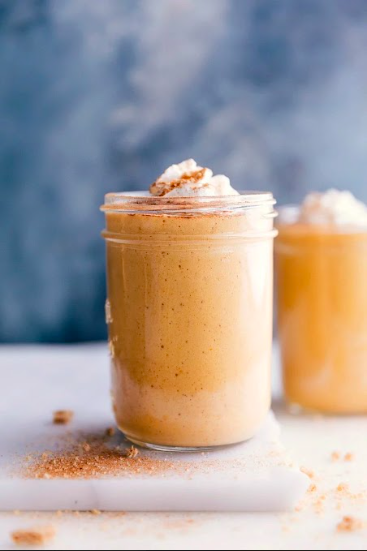
Is your pumpkin spice latte messing with your diet? If you’ve got this Starbucks seasonal favorite on repeat, it may be! Instead, try this tasty, high-protein pumpkin treat. I promise, you’ll get your fix! It’s just as indulgent as a slice of pumpkin pie but loaded with health perks. This Pumpkin Pie Protein Smoothie is the perfect way to satisfy those fall cravings while keeping up with your macros and protein needs.
It’s got it all—a creamy texture, cozy spices, and simple ingredients your taste buds will adore. Plus, it’s gluten-free and packed with vitamins and minerals like vitamin A, vitamin C, and some healthy fats.
😍 Why You’ll Love the Pumpkin Pie Protein Smoothie
High in Protein: With a scoop of your favorite vanilla protein powder (plant-based or whey), this smoothie is a fantastic way to meet your daily protein goals.
Immune-Boosting Ingredients: Pumpkin and warm spices like cinnamon and nutmeg are packed with antioxidants to support your immune system during cold-weather months.
Simple and Flexible Ingredients: Perfect for using pantry staples like canned pumpkin (or leftover pumpkin purée) and unsweetened almond milk or oat milk.
Fall in a Glass: The pumpkin spice flavor combined with natural sweetness from pumpkin and spices will give you all the cozy, fall vibes without artificial flavors or gellan gum.
Fast and Easy: You’ll need just five minutes, a high-speed blender, and eight simple ingredients!
Here’s what you’ll need to create this pumpkin pie protein smoothie masterpiece:
1 scoop vanilla protein powder—Plant-based protein powder or whey works great! I use the FW Vanilla Grass Fed protein for this. It’s got 20g protein per scoop.
1/2 cup canned pumpkin (not pumpkin pie filling)—Ensure it’s pure pumpkin purée for that natural sweetness and health benefits. I feel like Libby’s has the best flavor. I’ve tried others that seem too bitter, or watery.
1/2 cup unsweetened almond milk (or any non-dairy milk like oat milk, coconut milk, or cashew milk—your choice!) I use Kirkland brand with just 30 calories per cup.
1/4 tsp ground cinnamon
1/4 tsp ground nutmeg
1/4 tsp ground ginger
1 tsp vanilla extract—To amplify that pumpkin spice flavor.
Ice cubes (optional)—For a thicker, frostier smoothie.
Optional Add-ins
Dash of pumpkin pie spice for extra pumpkin shake flavor.
Frozen banana for creaminess and natural sweetness.
Chia seeds or flax seed meal for healthy fats and fiber.
Greek yogurt for even more protein and a tangy twist.
Peanut butter or almond butter to add richness and essential amino acids.
Granola for that pumpkin pie crust texture!
💡 Gluten-Free? Read This!
This recipe is completely gluten-free if you ensure your protein powder is certified gluten-free and you skip add-ins like granola that may have gluten. Always check the packaging for cross-contamination warnings when purchasing your ingredients.
👩🍳 How to Make My Pumpkin Pie Protein Smoothie
Making this healthy, pumpkin-packed smoothie is super simple. Here’s the step-by-step guide to get it just right every time:
Gather Your Ingredients: Start by gathering everything listed above (including optional add-ins if you’d like).
Blend: Add the vanilla protein powder, canned pumpkin, almond milk (or milk of choice), cinnamon, nutmeg, ginger, and vanilla extract into a high-powered blender. Blend on high until smooth and creamy.
Adjust Thickness: For a thicker consistency, toss in a few ice cubes and blend again. If it’s too thick, add a splash of almond milk.
Serve: Pour into your favorite glass or serving container (bonus points if it’s autumn-themed!) and sprinkle with a dash of pumpkin pie spice for garnish.
Enjoy: Sip, savor, and fall in love with your new favorite fall drink!
📓 Best Served With
Pair your pumpkin pie protein smoothie with these great options for an extra-special treat:
A slice of warm whole grain toast topped with almond butter and chia seeds.
Pumpkin spice energy bites or cranberry bars for a double hit of fall flavors.
A tall glass of water for post-workout hydration.
👝 How to Store Leftovers
Though this pumpkin shake is best enjoyed fresh, you can store leftovers in an airtight container in the fridge for up to 24 hours. If you prefer, freeze the smoothie in silicone ice cube trays. When you’re ready to enjoy, just re-blend the frozen cubes with a splash of almond milk for the same creamy texture.
Join my next 6 week challenge!
Tired of endless diets and no results? Join the FASTer Way to Fat Loss and see real, sustainable changes in just 6 weeks!
Absolutely! Use non-dairy milk like almond milk, cashew milk, oat milk, or coconut milk, and opt for a plant-based protein powder to keep it dairy-free and vegan.
What’s the nutritional value?
This pumpkin protein smoothie is packed with grams of protein, healthy fats, and essential vitamins like vitamin A, vitamin C, and vitamin D. It’s a perfect breakfast or meal replacement option for anyone looking to up their general nutrition advice game.
Is canned pumpkin the same as pumpkin pie filling?
No! Pumpkin pie filling is sweetened and pre-spiced, while canned pumpkin (or pumpkin purée) has no added sugar or artificial flavors. Opt for pure pumpkin for this recipe.
Can I use leftover pumpkin purée?
Definitely! This recipe is a great way to use up leftover pumpkin puree. I’m usually making my kids pumpkin parfaits, with vanilla yogurt, so I usually have a can in the fridge.
🍂 Fall in Love with This Pumpkin Pie Protein Smoothie
If you’re a fan of smoothies, pumpkin spice lattes, or all things pumpkin, this is the perfect breakfast or pre-workout boost for you. Packed with protein, healthy ingredients, and warm spice blend vibes, this pumpkin protein shake is sure to become a fall staple in your daily diet.
If you try this smoothie – and I hope you do – leave a rating and let me know what you think!
I always loved tracking macros. I think of them as a personal magic formula that helps me zero in on my body composition goals. They are basically a roadmap to get me where I want to be. Tracking them is a very effective way to achieve fat loss, muscle gain, or just maintain a healthy weight. That said, there is a learning curve.
Reigning in the fat macros is one challenge that clients and I often work through together. It’s super common to go over because fat is sneaky! My personal downfall is crafting the perfect Greek salad with all the toppings to keep my numbers in check. So if this sounds familiar – you’re not alone. Many people struggle with managing their fat intake while ensuring they hit their protein and carbohydrate goals – myself included.
So let’s get into it. Why you might you be going over your fat numbers, how it does it affect your calorie goal, and most importantly, how can you tweak your food choices to meet your macro targets.
First off, if you’re tracking macros, you’re probably already aware that macronutrients—protein, fat, and carbohydrates—make up your total calorie intake. Each macronutrient has a specific role in your health (and fitness) journey, and hitting the right balance of each is key to achieving those body changes that you may be after. Think leaner legs, flatter tummy or more defined arms.
If you’re aiming for fat loss, you’ll need to maintain a slight calorie deficit, which means consuming fewer calories than your body burns. Fat intake can be one area where people accidentally overshoot, especially since fats are calorie-dense: there are 9 calories per gram of fat compared to 4 calories per gram of protein or carbs.
Too much dietary fat can throw off your macro ratios and prevent you from hitting your protein targets or staying within your calorie goal for the day. Let’s say you’re eating a large amount of healthy fats like olive oil, peanut butter or avocados—great choices for overall health—but if you’re not careful, you may find yourself overshooting your fat macros and ending up with more total calories than you intended.
So, how do you keep your fat macros in check?
1. Track Your Food
Use a Food Diary or App: One of the best ways to monitor your fat intake is by logging everything you eat. Apps like MyFitnessPal or the FASTer Way can help you track the exact amounts of fat in your meals, making it easier to stay on target.
Before you download that app, be sure you’re working with the right macronutrient split that aligns with your individual needs and health goals. Most macro calculators can help determine your macro ratios based on your activity level, body weight, and fitness goals. That said, I strongly recommend working with a registered dietitian to determine your specific needs. It’s important to consider past medical history and any conditions such as chronic disease or pregnancy to name a few. When clients work with me during my 6 week program, I provide custom macros and we adjust as needed. For example, if your goal is fat loss, your macro ratios might look something like this:
2. Choose Leaner Sources of Protein
Another potential reason for going over your fat targets could be from protein sources that also contain higher amounts of fat. For example, cuts of meat like ribeye steak, ground beef, ground turkey or certain fattier fish can be higher in fat. Some lunch meats like bologna, roast beef (and cheeses too) If you’re eating these regularly, they could be contributing more fat than you realize. Switching to lean proteins like chicken breast, lean beef, turkey, or egg whites can help you hit your protein targets (including getting enough protein for muscle maintenance and fat loss) without exceeding your fat macros. For vegetarian or vegan options, tofu, tempeh, and legumes can also provide high-quality protein with lower fat content.
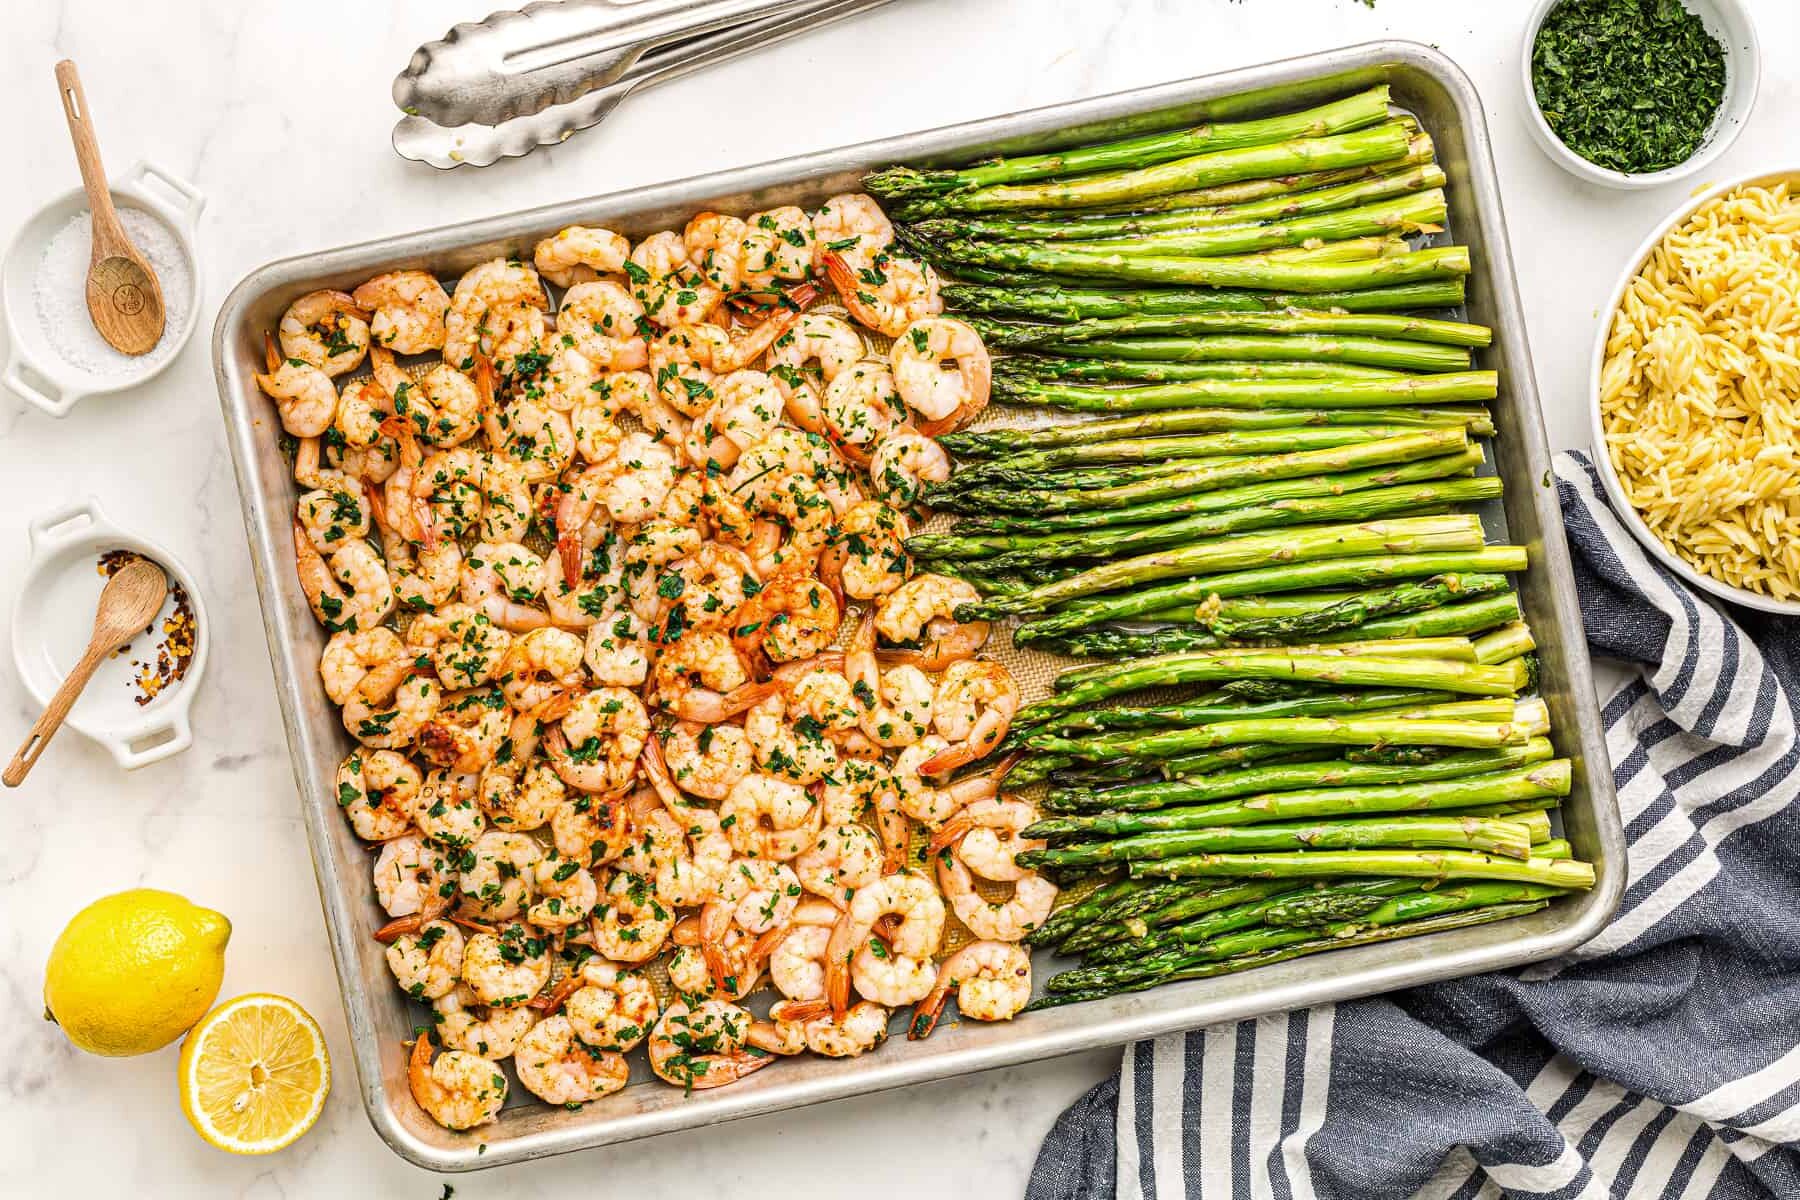
Opt for Lean Meats: Chicken breast, turkey, and lean cuts of beef or pork are lower in fat. Fish like cod or tilapia are also excellent low-fat options, whereas fattier fish (salmon, mackerel) are higher in fat but still very healthy.
Trim Visible Fat: When preparing meat, remove any visible fat from cuts like steak or pork chops to reduce fat intake.
Protein shake or protein bars can be a great way to meet your gram of protein goal without adding extra fat. Many of these products are designed to be lower in fat but still high in amino acids that help with muscle recovery and growth.
Certain foods, even though they’re healthy, can easily contribute to fat gain if consumed in large amounts. Sources of fat in particular have 2.5 x’s the calories of protein and carbohydrate. So you can imagine those calories rack up quickly. It’s important to be mindful of how much fat you’re eating if you want to hit your fat targets without going over.
Here are some fat-heavy foods to be cautious with:
Measure Oils: If you’re cooking with oil, measure it out rather than pouring freely. Even healthy oils like olive oil can quickly add up in fat if used in excess. A tablespoon of olive oil has about 14 grams of fat and 120 calories. If you’re not careful, that can add up quickly!
Use Non-stick Cookware: Non-stick pans can help reduce the amount of oil or butter needed for cooking.
Alternative Cooking Methods: Try grilling, steaming, baking, or air frying instead of frying, as these methods typically require less fat.
My top tip for clients who love peanut butter is to trade in your regular jar for a jar of powdered peanut butter on days you need to limit fat. It has all the flavor without the calories. GAME CHANGER!
4. Mindful Use of Nuts, Seeds, and Nut Butters
Watch Portion Sizes: Nuts, seeds, and nut butters are excellent sources of healthy fats, but they’re also quite calorie-dense, so it’s easy to go overboard. A small handful of almonds (about 23 almonds) can contain around 14 grams of fat. If you’re eating several servings in a day, it could easily push your fat numbers higher than you’d like. Stick to recommended serving sizes (e.g., about 1 ounce of nuts or 1 tablespoon of peanut butter) to keep your fat intake in check.
Use Them Sparingly: Instead of using nuts or seeds as a snack in large quantities, try sprinkling them over a salad or adding them to smoothies for a more controlled portion.
Try using a food scale or measuring spoons to control your portions especially for nut butters. Measuring out a single serving (usually around 2 tablespoons) can help keep you within your macro targets.
5. Choose Low-Fat Dairy or Alternatives
Switch to Low-Fat Dairy: If you can tolerate dairy, consider switching to low-fat or fat-free versions of milk, yogurt, and cheese.
Plant-Based Alternatives: If you’re dairy-free, options like almond milk, soy milk, or low-fat coconut yogurt can be lower in fat than their full-fat counterparts.
Check for Hidden Fats: Many packaged foods (like salad dressings, sauces, or processed snacks) can contain hidden fats, often in the form of vegetable oils or butter. Pay attention to the nutrition label and choose lower-fat alternatives when possible.
Look for “Healthy Fats”: If you’re eating higher-fat foods, aim to choose those with healthier fat profiles, such as avocado, olive oil, or fatty fish (salmon, sardines), which provide heart-healthy unsaturated fats.
7. Limit Processed Foods
While it might be tempting to reach for processed foods that are high in fat and low in other nutrients, choosing whole foods can help you control your fat intake and optimize your total calorie intake. This is a core pillar of the my fat loss program. Whole grains like brown rice, quinoa, and oats are excellent sources of complex carbohydrates, which are more filling and nutrient-dense than refined carbs.
Eating a balanced diet with plenty of leafy greens and complex carbohydrates helps provide important nutrients like fiber, vitamins, and minerals. These foods contribute to better energy levels and improved mental health, which supports your fitness goals—whether that’s muscle gain, fat loss, or maintaining a healthy body fat percentage.
Processed Foods Can Be High in Unhealthy Fats: Many processed foods contain trans fats or saturated fats, which can quickly push your fat intake too high. Try to limit your intake of packaged snacks, baked goods, and fast food, all of which can have hidden unhealthy fats.
Join my next 6 week challenge!
Tired of endless diets and no results? Join the FASTer Way to Fat Loss and see real, sustainable changes in just 6 weeks!
Aim for Healthy Fats: Not all fats are created equal. Focus on including more unsaturated fats (like those found in olive oil, avocado, nuts, and seeds) and less saturated and trans fats (found in processed foods, fatty cuts of meat, and certain dairy products).
Mind Omega-3s: Omega-3 fatty acids, found in fatty fish, flax seeds, and walnuts, are especially beneficial for heart health. Aim to get a good balance of these fats in your diet.
7
Easy Flax Egg
This is your gluten-free, diary-free, egg-free egg substitute. Perfect for baking, pancakes, muffins, and more!
Batch Cooking: If you prepare meals in bulk, you can control how much fat goes into each meal. For example, you can roast vegetables with a minimal amount of oil or prepare lean proteins in advance.
Meal Prepping: Pre-portion your meals ahead of time so that you avoid overusing high-fat ingredients in the heat of the moment.
10. Stay Hydrated
Drink Water: Sometimes thirst can be mistaken for hunger. Drinking plenty of water can help you feel full and make it easier to resist fatty snacks when you’re not actually hungry.
Most importantly, if you do go over your fat target for a single day, don’t stress. Including this flexibility in your plan allows room for occasional deviations from your macro goals, especially if you’re still within your total daily calorie intake. The most important thing is consistency over time. A single day of eating more fat than planned isn’t a huge mistake, but frequent overconsumption of fat can lead to fat gain if you’re not paying attention to your overall calorie goal.
Remember that fat loss isn’t about perfection; it’s about finding a sustainable lifestyle that include nutrition and exercise AND that works for you in the long run.
Join my next 6 week challenge!
Tired of endless diets and no results? Join the FASTer Way to Fat Loss and see real, sustainable changes in just 6 weeks!
If you’re on the lookout for a dessert that hits all the right notes—delicious, comforting, and kind to your macros—then you’re going to love this recipe. It’s a cozy, pumpkin-spiced treat that satisfies your cravings without derailing your nutrition goals. Whether you’re following a low-carb or keto, this dessert has you covered. With creamy cream cheese, rich pumpkin puree, and a touch of warm spices, you get all the seasonal flavor without the excess sugar or carbs. Top it off with some fluffy whipped cream, and you’ve got yourself a treat that’s both satisfying and macro-friendly. Perfect for fall, or any time you want a sweet fix that won’t throw you off track!
😍 Why You’ll Love Adorable Mini Pumpkin Cheesecakes
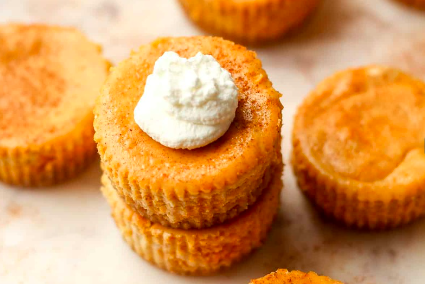
These adorable mini pumpkin cheesecakes are the perfect size for a guilt-free indulgence and they’re under 100 calories! They’re made with pure pumpkin puree and warm spices, they have a creamy pumpkin filling that everyone expects from cheesecake. Plus, they require less time to bake than a whole cheesecake, making them a quick and easy treat.
🗒️ Ingredients & substitutions
Full-fat Cream Cheese: Greek Yogurt (full-fat) will give you a tangier flavor and slightly different texture. Ricotta Cheese is a great alternative. A bit less creamy but still works well in baking. Blended Cottage Cheese will mimic the texture of cream cheese. And of course, if you want to keep this dairy free, us a vegan cream cheese alternative!
Canned Pumpkin Puree: Butternut Squash Puree has a similar texture and flavor profile. Sweet Potato Puree will add a slightly sweeter, richer flavor.
Almond Flour: Keep it gluten free by using Coconut Flour. You’ll use less, about 2 tablespoons, as it’s much more absorbent. If you are not worried about keeping it gluten free you can use crumbled graham crackers or ginger cookies.
Erythritol (or Sweetener of Choice): Monk Fruit Sweetener is a great low-calorie, low-carb alternative. Real sugar is also fine here, but it will significantly change macros!
Vanilla Extract: Try Almond Extract: A little goes a long way, but it pairs nicely with pumpkin.
Cinnamon, nutmeg, ginger and cloves create your own pumpkin pie spice. But you can 100% just substitute an equal amount of pumpkin pie spice if you have it on hand to keep things easy!
Whipped Cream (for topping): Coco whip is a nice dairy free alternative.
Low in carbs: The combination of almond flour, erythritol, and pumpkin keeps this recipe low in carbs, making it suitable for low-carb, keto, diabetic-friendly diets or those that may be carb cycling.
High in healthy fats: The use of full-fat cream cheese, whipped cream, and almond flour adds mostly health fats, which are essential for sustained energy, especially in low-carb or high-fat diets like keto.
Moderate protein: While not a high-protein recipe, it still includes ingredients like cream cheese and almond flour that provide a bit of protein to help with satiety.
Low sugar: Erythritol and other spices take the place of traditional sugar, significantly lowering the glycemic index and preventing blood sugar spikes.
👩🍳 How to Make My Adorable Mini Pumpkin Cheesecakes
Prep & Blend: Preheat your oven to 350°F. Then, in a medium mixing bowl, combine the softened cream cheese, pumpkin puree, almond flour, sweetener, vanilla extract, and spices using an electric mixer or hand mixer until smooth. This step could also be done in a food processor or high powered blender.
Fill & Bake: Line a 12-cup muffin pan with paper liners or use a mini cheesecake pan. Scoop the cream cheese mixture into each muffin liner, pressing it down firmly with a spoon or rolling pin.
Bake & Chill: Bake cheesecakes for 10-12 minutes, or until the edges are golden, and the center is set. Allow them to cool on a wire rack before transferring to the fridge for 1-2 hours to firm up.
Serve: Top each mini cheesecake with a dollop of homemade whipped cream and a sprinkle of cinnamon for the best results.
📓 Best Served With
Pair these mini pumpkin cheesecakes with a drizzle of caramel sauce or a scoop pumpkin puree. They’re also delicious alongside pumpkin pie spice lattes for the perfect fall dessert experience.
👝 How to Store Leftovers
Store any leftover mini pumpkin cheesecake bites in an airtight container or wrap them individually with plastic wrap. Keep them in the refrigerator for up to 5 days for maximum freshness. If storing long-term, freeze them in a freezer-safe plastic bag and thaw before serving.
🧠 Common Questions
Can I use homemade pumpkin puree?
Absolutely! Homemade pumpkin puree can add a fresh pumpkin flavor to your cheesecakes.
Why use room temperature ingredients?
Using room temperature ingredients ensures a smooth, simple mixture of cream cheese and pumpkin, preventing much air from incorporating and giving a creamy texture.
How do I make an easy graham cracker crust?
For an easy graham cracker crust, combine graham cracker crumbs with melted butter and press into the bottom of each muffin cup.
What’s the best way to avoid cracks in my cheesecakes?
Using a water bath or baking time adjustments can help prevent cracks, but these mini desserts are usually forgiving in that aspect.
Preheat the oven to 350°F (175°C). In a medium mixing bowl, combine the softened cream cheese, pumpkin puree, almond flour, erythritol, vanilla extract, and spices, mixing until smooth.
Scoop the mixture into silicone muffin cups or a mini muffin tin, pressing it down firmly.
Bake for 10-12 minutes, or until the edges are golden and the center is set.
Allow the bites to cool in the fridge for 1-2 hours before serving.
Top each bite with a dollop of whipped cream just before serving.
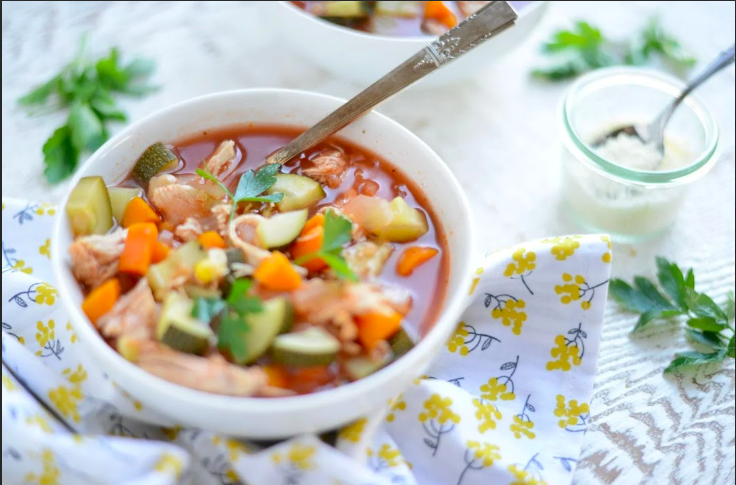
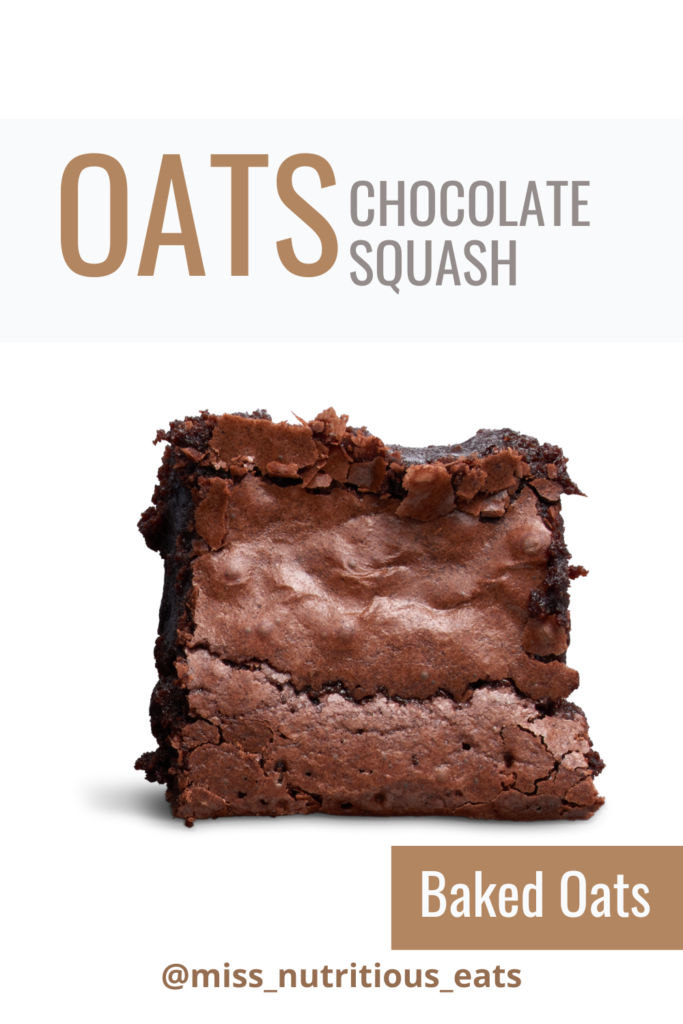
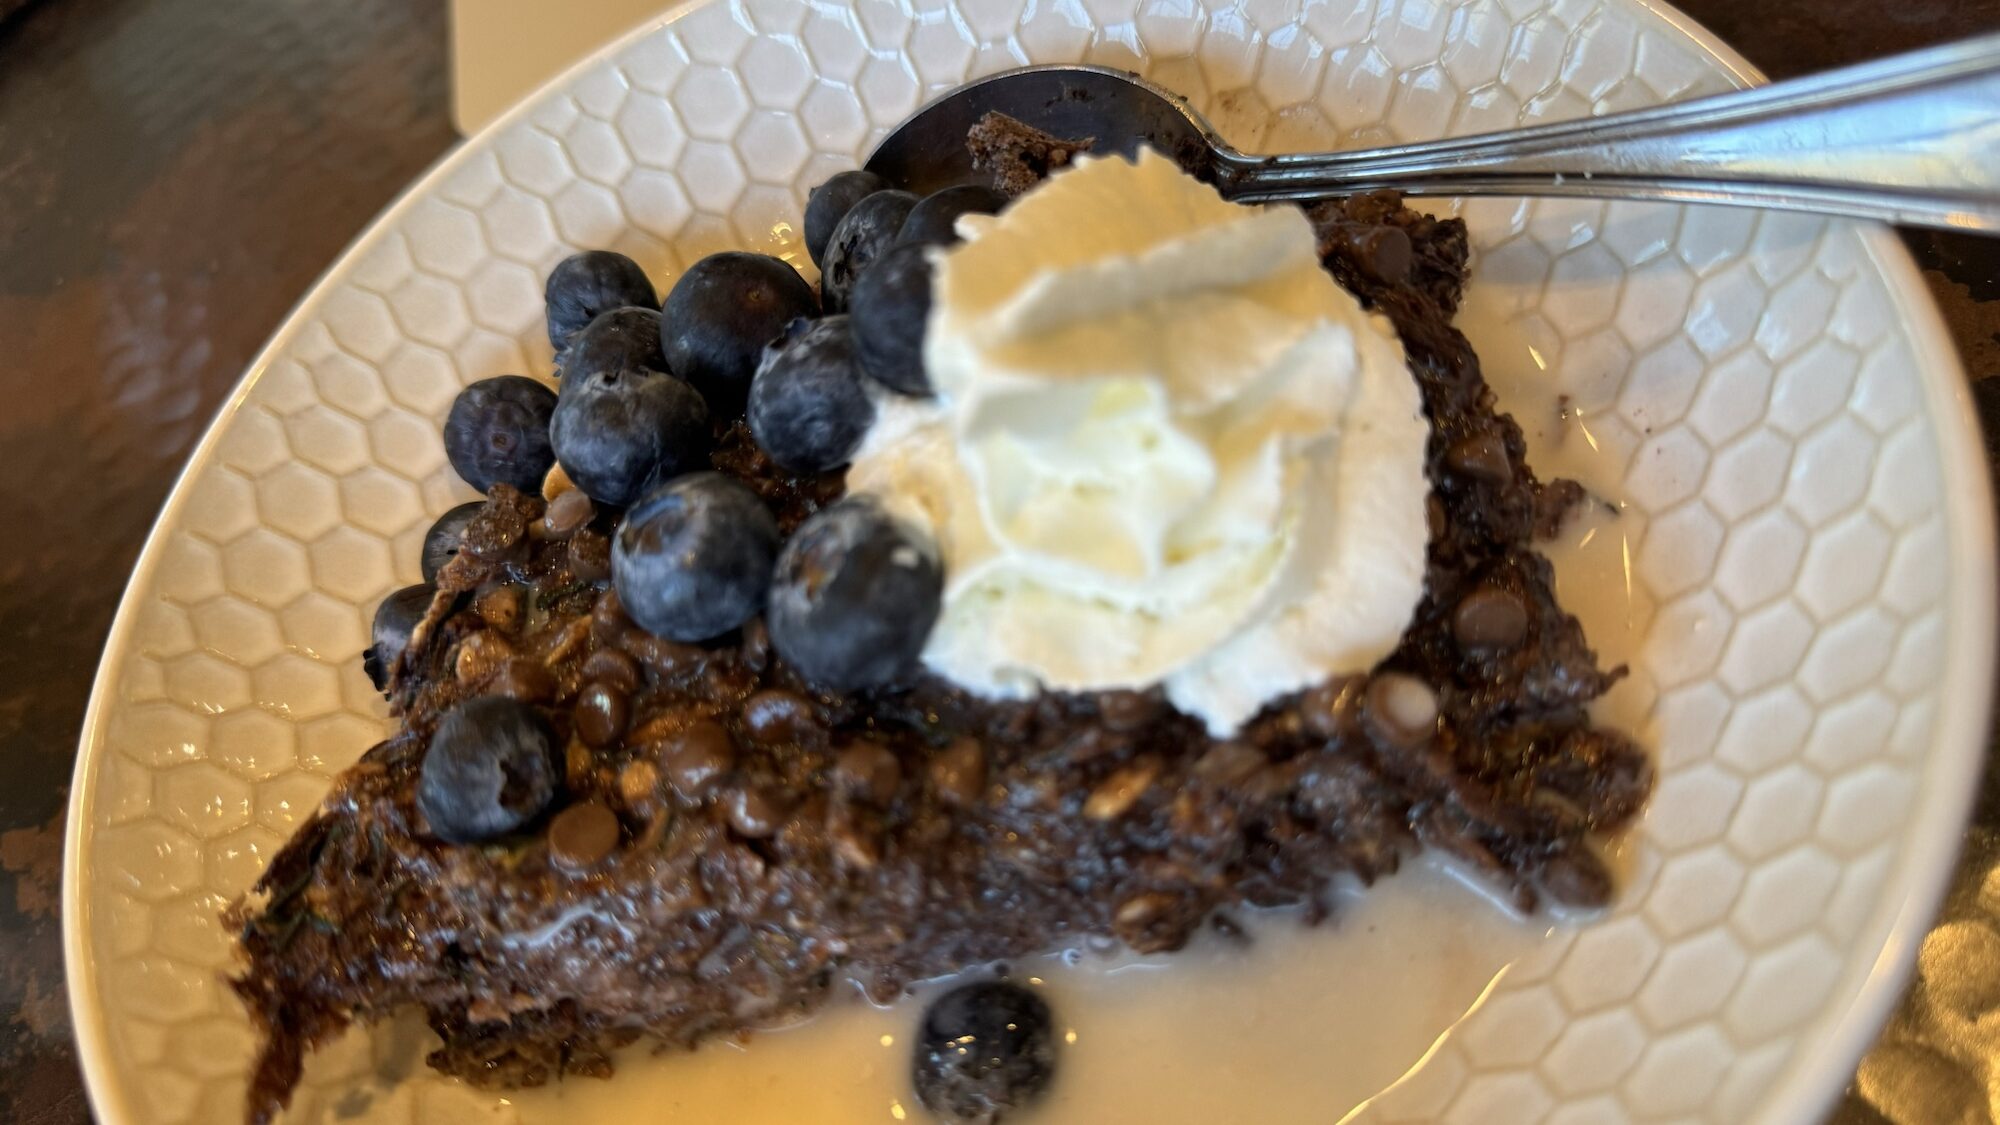
If you’re anything like me, planning meals in advance can save you so much stress during the week. That’s why I love making this chocolate baked oats recipe (originally from Lillie Eats and Tells) at the beginning of the week. It’s the perfect blend of taste and nutrition thanks to zucchini and mini chocolate chips and other healthy ingredients like gluten-free oats and chocolate protein powder. And for the record, I know this will sound crazy, but I don’t even heat it up when I eat it! I actually prefer it cold, straight out of the fridge with a splash of almond milk. 🤷🏻♀️
This post may include affiliate links for which I receive a small commission.
High Protein Content: Thanks to the chocolate protein powder and egg whites, these baked oats offer a protein boost to keep you full and satisfied.
Gluten-Free: Made with gluten-free oats, these baked oats are perfect for those with gluten sensitivities.
Satisfaction: You may think I drank the kool-aide with this one, but I really get satisfaction with these. Similar to that of chocolate, undercooked brownies. I know!
Simple Ingredients: This recipe uses ingredients easily found at your local grocery store.
Great for Meal Prep: Prepare this dish at the beginning of the week and enjoy individual portions throughout, stored in an airtight container.
🗒️ Ingredients
yellow summer squash or zucchini – this is where the bulk of the recipe comes from. Don’t worry, it won’t affect the flavor of the chocolate oats. That’s what makes zucchini and squash such a home run for macro friendly baking!
liquid egg whites – you can separate whole eggs for this in a pinch. I’ve also used half egg whites and half flax egg, just know that macros will change.
almond milk – the original recipe calls for almond milk creamer, but I never have it on hand. So I use almond milk to keep calories low and it turns out great.
old fashioned oats- Use rolled oats for this to get the right texture. As with most oat recipes, you could sub in quick oats but don’t use steel cut!!
chocolate protein powder – I use the FASTer Way Hydrobeef protein powder. I love the way it tastes in my shakes, but it also bakes really well here too.
jet black cocoa powder – regular cocoa powder is fine too.
vanilla extract
baking powder
mini chocolate chips – these are key. When you sprinkle them across the top they add a great texture and pop of real chocolate to each slice. Use mini dark chocolate chips – not regular or large sized chips to keep it macro friendly.
Ensure you’re using certified gluten-free oats, whether they be quick oats, rolled oats, or steel-cut oats. Gluten-free oats are processed in facilities free from gluten contamination, making them safe for those with celiac disease or gluten sensitivity.
I know this will sound crazy, but I don’t even heat it up when I eat it! I actually prefer it cold, straight out of the fridge with a splash of almond milk.
👩🍳 How to Make My Chocolate Baked Oats
Preheat Your Oven to 350°F (175°C).
Prepare the Squash by using a box grater to finely grate it. You can use a food processor to get a smoother texture. In fact, it was recommended in the original version of this recipe, but I just cannot dirty another appliance when cooking!
In a large mixing bowl, combine the squash, egg whites, oats, milk, chocolate protein powder, cocoa powder, vanilla extract, and baking powder.
Mix Well until all ingredients are fully combined.
Pour into a greased 9×9 baking dish. For good measure I also line it with foil or parchment paper to make clean up easy. Trust me, it sticks to the pan! Top with mini chocolate chips.
Bake for 45-50 minutes or until the center is set. The bottoms may appear moist but will firm up as they cool.
Cool to room temperature before cutting into 4 pieces.
📓 Best served with
Enjoy your chocolate baked oats with a drizzle of peanut butter, a pinch of salt, or a few fresh berries. Add a dollop of almond butter or cashew butter for some healthy fats and a depth of flavor. Pair with a glass of oat milk or tea for a complete, delicious breakfast.
I top with a spray of Reddi Whip. Don’t judge!
Join my next 6 week challenge!
Tired of endless diets and no results? Join the FASTer Way to Fat Loss and see real, sustainable changes in just 6 weeks!
Store leftovers in an airtight container covered with plastic wrap in the refrigerator. These oats can stay fresh for up to five days, making them perfect for meal prep. You can also freeze them for longer storage.
🧠 Common Questions
Can I use different types of milk?
Yes! Feel free to use any type of milk, such as unsweetened vanilla almond milk, soy milk, or coconut milk, depending on your preference.
What if I don’t have a food processor?
A high-speed blender can also work well for grating the squash. Alternatively, you can grate it manually using a box grater.
Can I make this vegan?
Yes! Replace egg whites with flax eggs to make the recipe vegan-friendly.
Is this recipe suitable for an air fryer?
You can try baking individual portions in a muffin tin using an air fryer, but adjust the bake time accordingly.
In a large bowl, combine your squash (no need to drain), liquid egg whites, oats, creamer, protein powder, stevia, cocoa powder, vanilla, and baking powder. Mix well and pour into a greased 9×9 pan. Sprinkle the top with 2 Tbsp mini chocolate chips and bake for 45-50 minutes or until set. The bottoms will be wet but that’s ok! It gets better as it sits in the fridge.
I’m a chef, registered dietitian, foodie, wife and mom. If you’re looking for quick and healthy meal inspiration that serves YOU and your family well, then you’ve come to the right place!
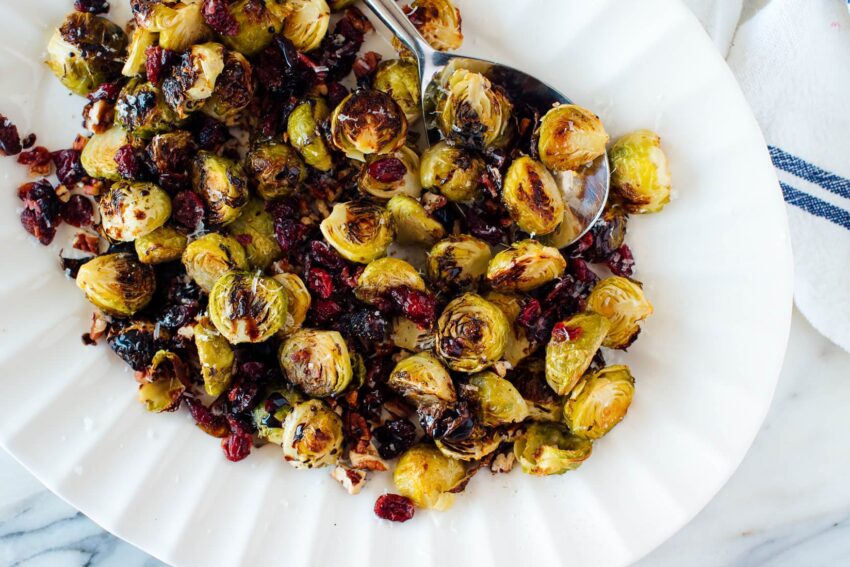
Need an addictive side dish this holiday season? This Brussels sprouts recipe uses a combo of simple ingredients to turn this mini cabbage into your favorite vegetable. Just try it, trust me! You will be so happy you have this recipe in your back pocket.
😍 Why You’ll Love Perfect Roasted Brussels Sprouts
If you’re looking for a simple yet delicious way to elevate your veggie game, this recipe is a must-try! With crispy edges, a golden-brown caramelized outside, and a tender inside, these little bites of goodness will become a family favorite. Tossed in olive oil, seasoned and roasted to crispy perfection, they’re a perfect side dish for any meal. Ready in under 30 minutes, they’re as easy to make as they are addictive!
🗒️ Ingredients
Brussels sprouts, trimmed and halved – I will make these any time of year, but if you can find them still on the stalk, grab them!
olive oil – no need for extra virgin olive oil since we’re going to cook it. Save your EVOO for drizzling.
sea salt
black pepper
dried cranberries – pomegranate seeds can be used too. To limit added sugars look for unsweetened dried cranberries.
pecans – use walnuts or even pine nuts if that is what you have on hand.
balsamic glaze (optional) – use your homemade balsamic reduction if you’ve got it!
👩🍳 How to Make My Perfect Roasted Brussels Sprouts
Step 1: Prep Your Sprouts
Start by grabbing some fresh Brussels sprouts from your grocery store or farmer’s market. Trim the ends and halve the larger sprouts to ensure even cooking. Rinse them under cold water and pat dry with a paper towel.
Step 2: Season the Sprouts
In a large bowl, toss the halved Brussels sprouts with olive oil, sea salt, and freshly ground black pepper. This simple combination enhances the natural sweetness of the Brussels sprouts and reduces their bitter taste.
Step 3: Roast for Perfection
Preheat the oven to the ideal oven temperature of 400°F (200°C). Line a half sheet pan or large baking sheet with parchment paper for easy cleanup. Spread the Brussels sprouts in a single layer, cut sides down, to promote even cooking and achieve that perfect balance of crispiness and tenderness. Roast for 20-25 minutes of cook time, flipping halfway through. The goal is to achieve a golden brown finish.
Step 4: Add Flavors
While the Brussels sprouts are still warm, sprinkle dried cranberries and chopped pecans over the top. The cranberries add a touch of natural sweetness, while the pecans contribute a delightful crunch.
Step 5: The Finishing Touch
Drizzle with tangy balsamic glaze for an extra layer of flavor. If you prefer a more savory taste, consider adding crispy bacon bits or a sprinkle of parmesan cheese for a next-level dish.
Step 6: Serve and Enjoy!
Transfer your roasted Brussels sprouts to a serving platter or bowl. This flavorful side dish pairs well with roast meat, green beans, or your favorite main courses. It’s the perfect recipe to bring to a holiday party or Christmas dinner.
💡 Gluten-Free? Read This!
If you’re following a gluten-free diet, know that brussels sprouts and all other green vegetables are naturally gluten free! And this recipe contains naturally gluten-free ingredients. Just ensure your balsamic glaze and any additional toppings like bacon bits or parmesan cheese are labeled gluten-free to maintain the integrity of the dish.
📓 Best Served With
Perfect Roasted Brussels Sprouts pair marvelously with roast lamb, turkey or chicken. Serve with roasted carrots for a classic meal. The will complement any holiday spread, especially if you serve with my baked kale salad.
If you have leftovers, store them in an airtight container in the fridge. They can be reheated easily on the stove top or air fryer for a quick weeknight dinner side.
Join my next 6 week challenge!
Tired of endless diets and no results? Join the FASTer Way to Fat Loss and see real, sustainable changes in just 6 weeks!
Preheat the oven to 400°F and line a baking sheet with parchment paper.
In a large mixing bowl, toss the halved Brussels sprouts with olive oil, salt, and black pepper until they’re well-coated.
Spread the Brussels sprouts in an even layer on the baking sheet and roast for 20-25 minutes, flipping halfway through, until they’re golden brown and crispy.
Remove from the oven, and while they’re still warm, sprinkle cranberries and pecans over the top.
Drizzle with balsamic glaze if desired, toss gently, and serve warm.