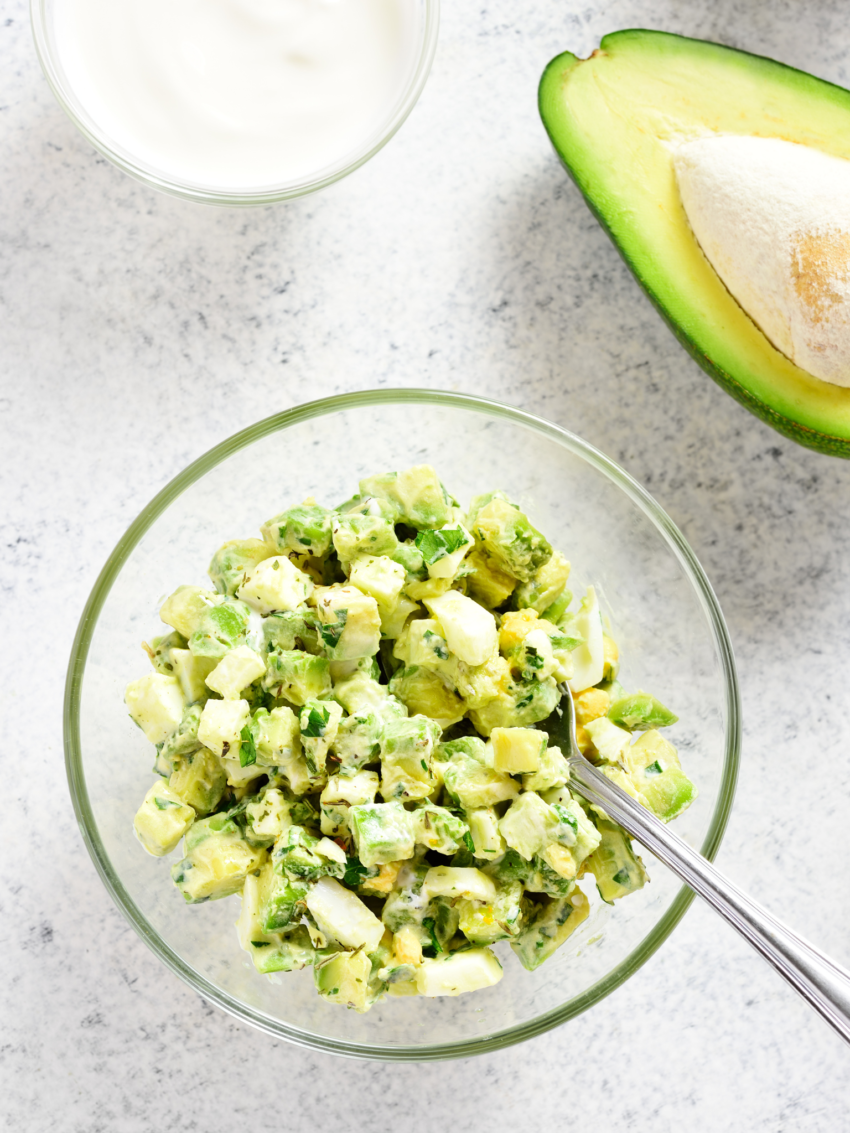
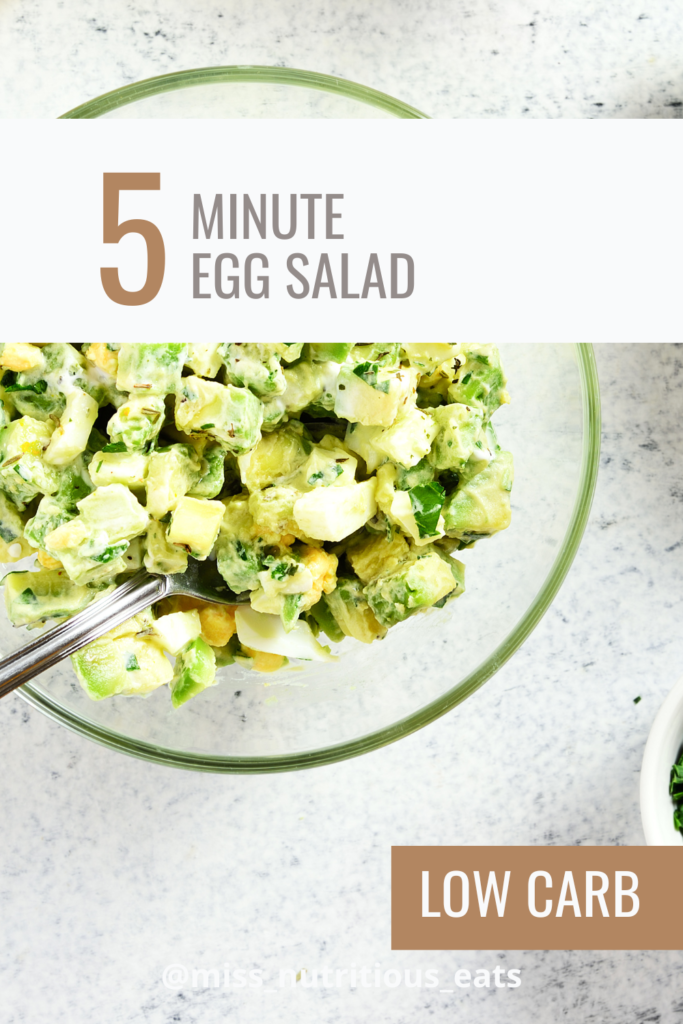
Check out this healthy -ish protein rich Egg Salad Recipe
I polled you all in my stories and was interested to learn that 100% of you ate egg salad! All different kinds of ways too – some simply mashed with avocado, others mash eggs with a bit of mayo, whether for breakfast or for lunch, you all love your egg salad. And I do too.
What’s not to love, it holds well, tastes great, and is protein rich – fitting into many eating patterns including low carb, diabetic, keto and of course, for those of us carb cycling in the FASTer Way. I think there’s a misconception though: That egg salad is unhealthy because most creamy salads are loaded with fat. And lets be honest, a lot of time they are! But with a few thoughtful swaps, and measurements (don’t eyeball the mayo!) you can create an easy egg salad recipe that has great flavor and will keep you on your health journey.
Jump to Recipe
Table of contents
Why Choose Egg Salad?
Egg salad is an excellent source of protein, thanks to the egg whites and Greek yogurt. It’s also packed with essential vitamins and minerals like B vitamins, vitamin D, and selenium. By substituting mayonnaise with plain Greek yogurt, you reduce the fat content while still achieving that creamy texture we all love. Plus, using lots of fresh herbs and crunchy veggies adds fiber and antioxidants, and most importantly flavor.
Ingredients and substitutions:
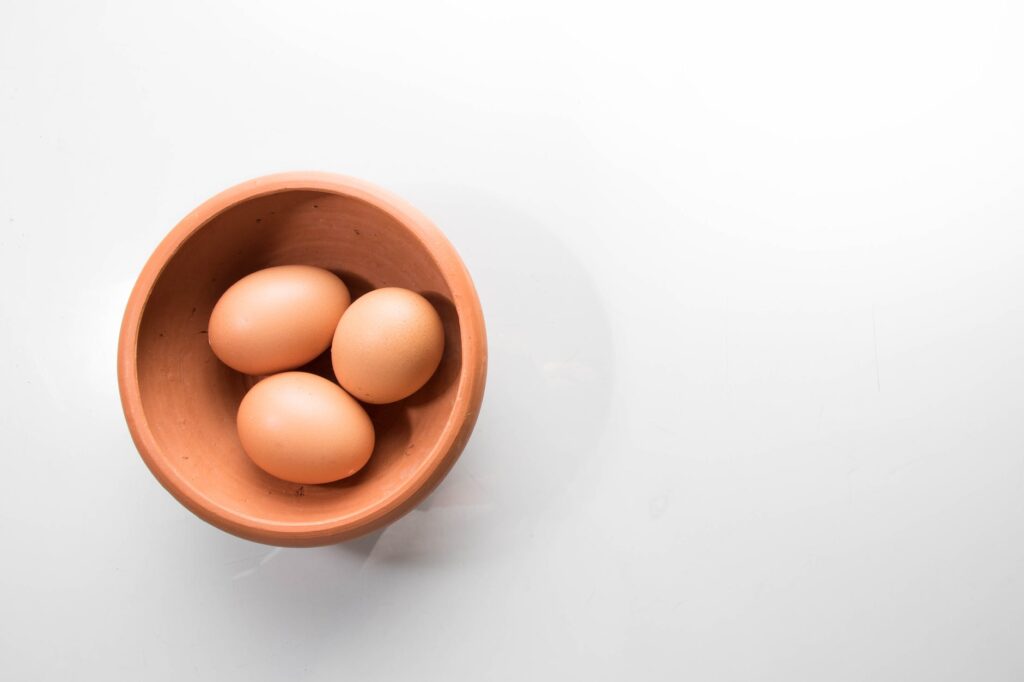
- Hard-boiled eggs – This is really the star of the show, I think you could substitute with possibly chickpeas or extra firm tofu but would like to test that for you first. What makes this a great no-cook recipe is that you can either boil your own eggs, or purchase them pre-boiled at nearly every grocery store.
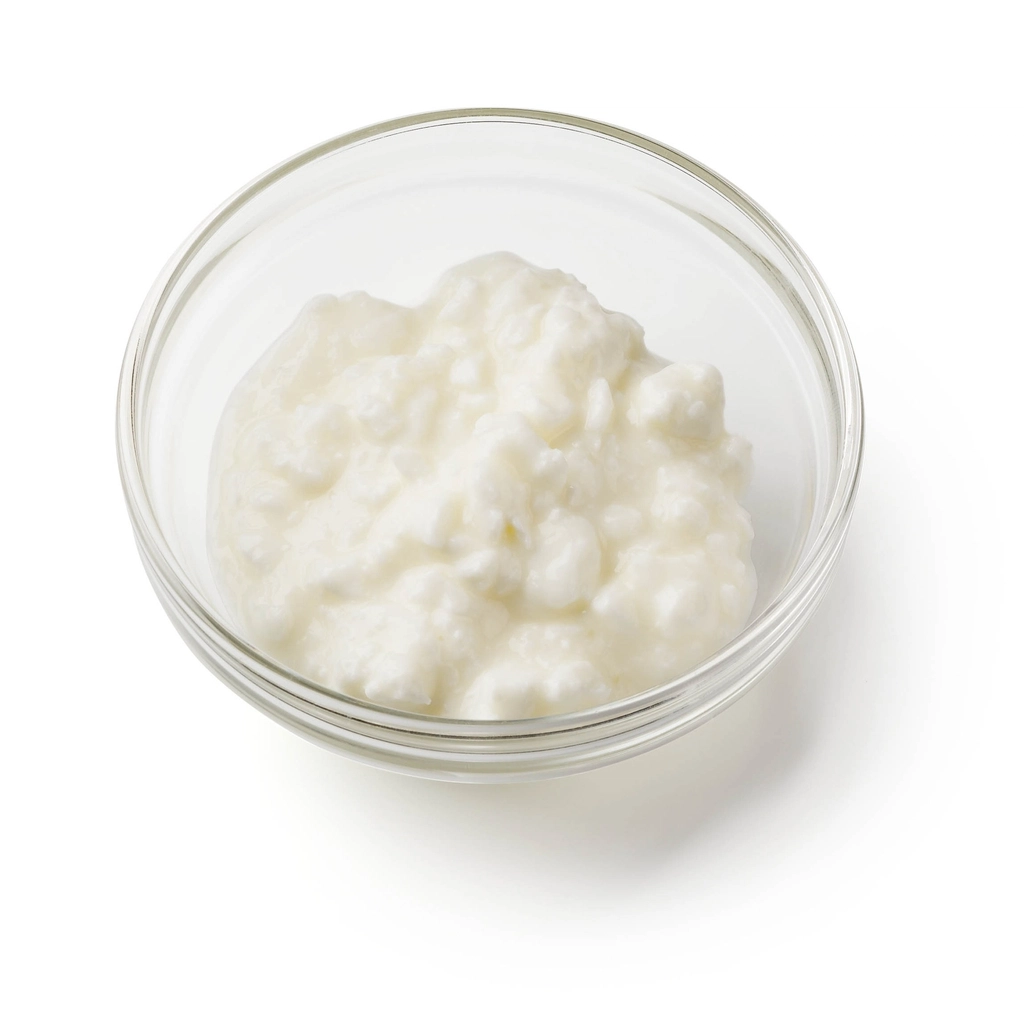
- Plain Greek yogurt – I love full fat Greek yogurt, but use whatever you have. Sour cream, cottage cheese or simply more mayo works here too.
- Mayo – I kept this in to hold onto that traditional egg salad flavor. A little mayo goes a long way for extra flavor and a little creaminess! You can use any of the yogurt substitutions if you want to omit.
- Dijon mustard – You can sub any mustard you have on hand, even yellow mustard
- Parsley, fresh dill, or chives – if you don’t have fresh use a teaspoon of dried herbs.
- Red onion – green onions or fresh chives would work well too. If you don’t have red onion all together, you can use celery to get a similar crunch.
- Capers – these are optional but add a great brininess and pop of bright flavor.
- Black pepper and kosher salt to taste – sea salt is fine too, I just prefer kosher!
Instructions:
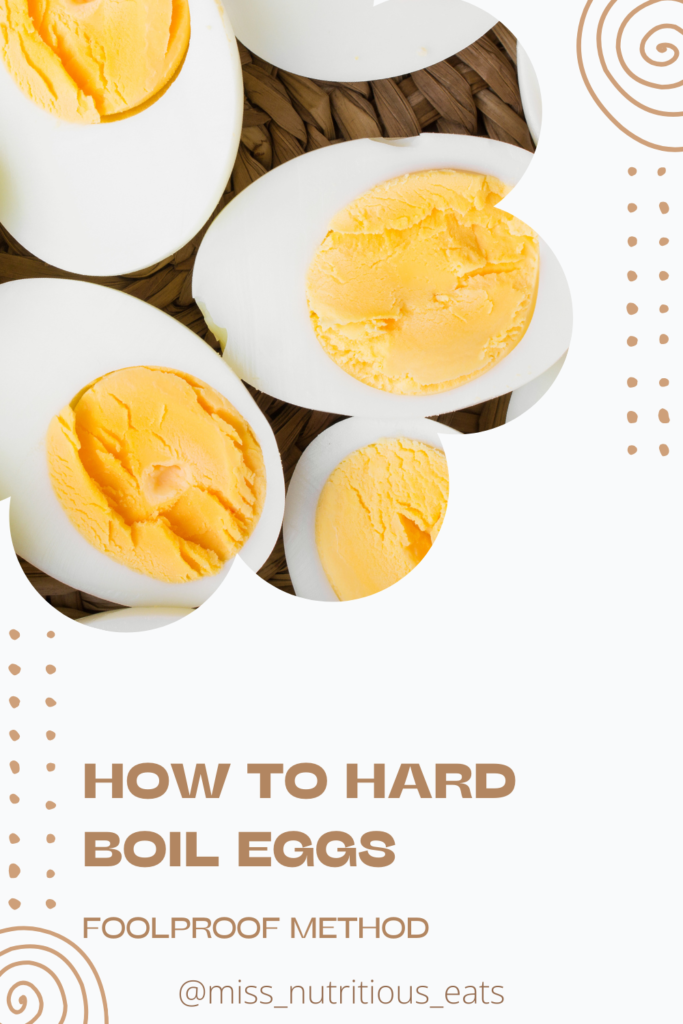
- Boil Eggs:
- Place eggs in a large bowl.
- Fill the bowl with hot water until the eggs are covered.
- Bring the water to a rolling boil, then reduce the heat and simmer for about 10 minutes to achieve perfect hard-boiled eggs.
- For an easier method, you can use an Instant Pot or air fryer to make hard-boiled eggs.
- Cool the Eggs:
- Transfer the boiled eggs to an ice bath (a bowl filled with cold water and ice) to cool them quickly.
- Once cooled, peel the eggs and chop them into small pieces.
- Mix the Ingredients:
- In a separate bowl, combine the chopped eggs, Greek yogurt, Dijon mustard, red onion, and fresh herbs.
- If using, add capers.
- Season with fresh cracked black pepper and sea salt to taste.
- Serve and Enjoy:
- Serve your delicious egg salad in romaine lettuce cups for a low-carb option or on slices of whole-grain bread for a more traditional egg salad sandwich.
- For a nice crunch, add some fresh celery or bell pepper pieces.
- Store any leftovers in an airtight container in the refrigerator.
Join my next round of the FASTer Way
Tired of endless diets and no results? Join the FASTer Way to Fat Loss and see real, sustainable changes in just 6 weeks!

Health Benefits
High Protein Content
Our healthy egg salad recipe is rich in protein, aiding in muscle repair and growth. The combination of eggs and Greek yogurt provides a complete protein source, making it an excellent choice for those looking to increase their protein intake.
Essential Vitamins and Minerals
Eggs are loaded with B vitamins, vitamin D, and selenium, all of which are crucial for maintaining overall health and well-being. These nutrients support energy production, immune function, and bone health.
Heart-Healthy Option
By using Dijon mustard and capers, you add depth of flavor without the need for additional salt.
Fresh Herbs and Veggies
Incorporating fresh parsley, dill, chives, and crunchy veggies like celery and bell pepper adds fiber and antioxidants. These components promote digestive health and provide a bright, fresh flavor.
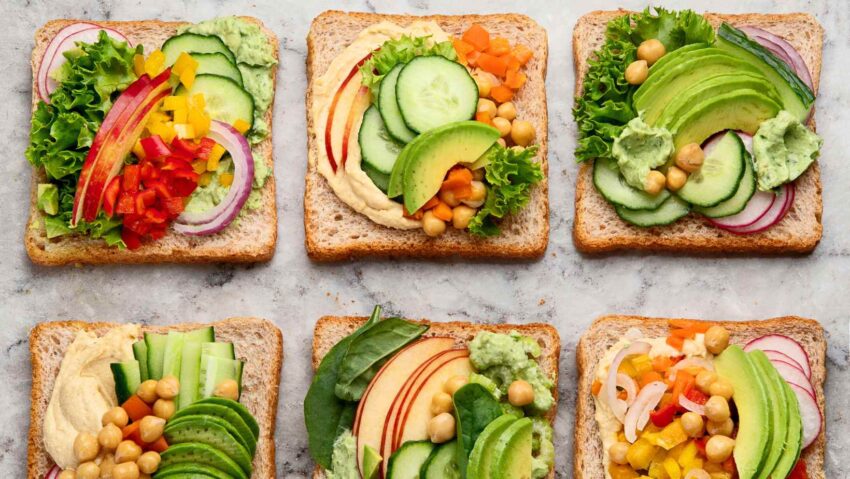
Different Ways to Enjoy Egg Salad
Egg salad is incredibly versatile and can be enjoyed in various ways:
- Lettuce Wraps: Serve in romaine lettuce cups for a low-carb meal.
- Whole Grain Bread: Create a classic healthy egg salad sandwich using slices of whole-grain bread and a dash of hot sauce.
- Avocado Toast: Top your favorite avocado toast with a scoop of egg salad for added protein and flavor.
Meal Prep Made Easy
Egg salad is a great way to use up leftover hard-boiled eggs from Easter time or any meal prep session. Store your egg salad in an airtight container in the refrigerator, and it will stay fresh for up to three days. This makes it a convenient option for healthy lunches throughout the week.
With its high protein content and essential vitamins it’s a dish that aligns perfectly with a health-conscious lifestyle. Plus, the variety of ways to serve it ensures that you’ll never get bored.
Love this healthy egg salad recipe? Share your star rating and leave a comment below! For more delicious recipes and healthy eating tips, sign up for my newsletter and follow on social media.
Egg Salad Recipe
Ingredients
- 6 hard-boiled eggs chopped
- 2 tbsp plain Greek yogurt I use full fat
- 2 tbsp mayo
- 1 tbsp Dijon mustard
- 2 tbsp parsley dill, or chives
- 1/4 cup red onion finely chopped
- 2 tbsp capers optional
- Fresh cracked black pepper and sea salt optional
Instructions
- Combine all ingredients in bowl.
- Let sit in fridge 20 minutes before serving.
Nutrition