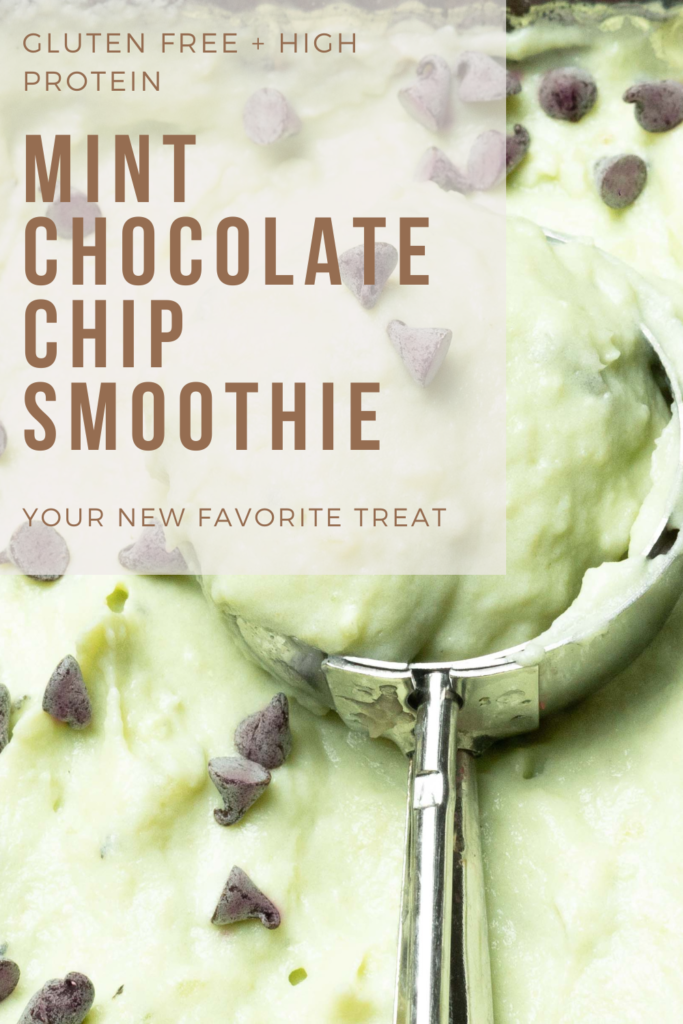
Addictive Mint Chocolate Chip Protein Shake
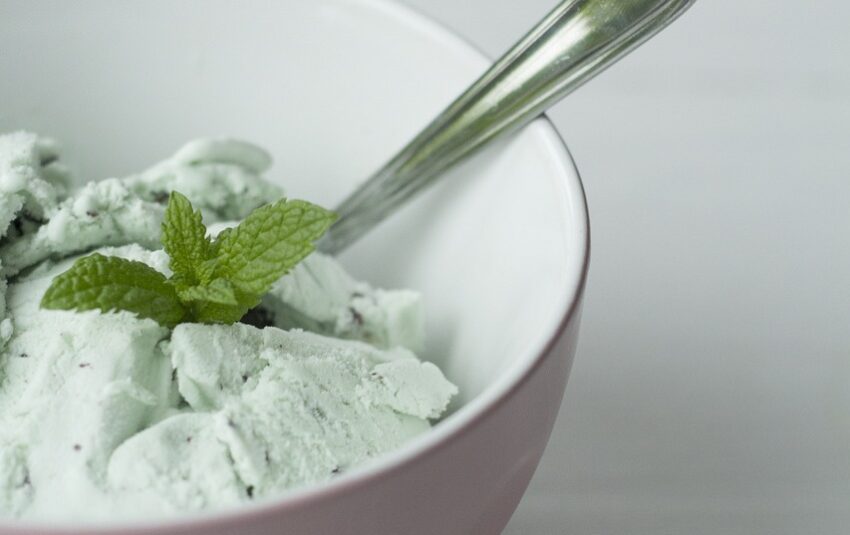
Mint chocolate chip is my favorite ice cream flavor – but it has to be the green kind 😉. I will however, make an exception for this smoothie. I found a sugar free version of Torani Mint Chocolate Chip syrup while walking through Home Goods and decided to take a chance. I usually have a protein shake (in ice cream form with extra ice and a frozen banana), so I thought I could experiment with this syrup. And let me tell you – it hits the spot. The mint isn’t too overpowering and it 1000% tastes like green mint chocolate chip ice cream. Plus my husband refused to share it with me after assuming it wasn’t healthy. So you’re welcome. This is your new guilt-free way to satisfy your sweet tooth —the Mint Chocolate Chip Smoothie! Packed with 20g of protein, this indulgent yet healthy smoothie feels like dessert in a glass PLUS it will support your health goals, especially weight loss. Whether you crave a post-workout recovery snack or a night time TV treat, this recipe checks all the boxes.
As I write this, we could totally make it a green smoothie by adding a handful of baby spinach. …for the green mint chocolate chip sticklers out there.
Table of contents
😍 Why You’ll Love my Mint Chocolate Chip Smoothie
- It tastes like mint chocolate chip ice cream without the added sugars.
- It’s perfect for weight loss, thanks to its high protein content and satisfying nature.
- The creamy texture will remind you of a shamrock shake but without the guilt—ideal for a St. Patrick’s Day treat or any single day!
- With potential to add healthy ingredients like fresh mint leaves, cacao nibs, and almond milk to nourish your body.
- There’s zero compromise on flavor while keeping it low in added sugars.
🗒️ Ingredients + Substitutions
Here’s everything you need to whip up your Mint Chocolate Chip Smoothie. Substitute freely depending on dietary needs or preferences!
- FASTer Way Vanilla Protein Powder 🌟 (Swap for chocolate protein powder or vegan protein powder as needed.)
- Unsweetened Almond Milk (Or use coconut milk for a richer taste, just note calories will need to be adjusted).
- Sugar-Free Mint Chocolate Chip Syrup (I use Torani) (Peppermint extract will work, but adjust for sweetness.).
- Xanthan Gum (For a thicker, ice-cream-like consistency.).
- Vanilla Extract (Adds incredible flavor, but optional.).
- Sea Salt (A pinch enhances those chocolatey notes!).
- Ice (Essential for that frosty, creamy texture.).
- Mini Chocolate Chips or Cacao Nibs (Go for dark chocolate chips for extra nutrition.).
💡 Gluten-Free? Read This!
Great news for gluten-free folks—this recipe is naturally gluten-free, provided all your ingredients (like the protein powder or artificial flavors) are certified gluten-free. Always check labels when you’re at the grocery store!
👩🍳 How to Make My Mint Chocolate Chip Smoothie
1️⃣ Add all ingredients (except the chocolate chips) into a blender. Pro tip? Toss in a frozen banana to create an even creamier texture if it fits your daily diet.
2️⃣ Blend on high until smooth. Adjust the mix with more ice or almond milk depending on how thick you like your shake.
3️⃣ Sprinkle in your mini chocolate chips or cacao nibs, and blend lightly for a chocolate chip protein smoothie effect.
4️⃣ Pour into your favorite glass, garnish with fresh mint leaves, and enjoy!
📓 Best Served With
Turn this smoothie into a meal or a snack by pairing it with a slice of whole-grain toast, and nut butter for added healthy fats or sprinkle in chia seeds or flax seeds for additional omega-3s.
👝 How to Store Leftovers
If you can’t finish it all, pour any leftovers into an airtight container and store in the fridge for up to one day. Alternatively, pour it into popsicle molds and freeze for a fun, healthy snack!
🧠 Common Questions
Can I make this vegan?
Absolutely! Substitute the whey protein with a vegan protein powder and swap coconut milk or almond milk for any plant-based option you love.
Is this better than a mint chocolate chip milkshake?
Yes! You get the same indulgent, delicious flavor as a classic milkshake but with extra protein, fewer calories, and better nutrition facts to fit into your daily macros.
Can I drink this every day?
Totally! Incorporate it into your daily diet for an amazing post-workout snack or an easy way to curb your sweet tooth.
Join my new 21 DAY reset!
Tired of endless diets and no results? This reset is for you if you want to gain energy, cut the cravings, build strength, decrease bloat and feel amazing going into the holiday season!

💪🏼 Tracking Macros? Check This Out
This smoothie packs a protein punch with 20g of protein while keeping your sugar intake low. Here’s a breakdown to fit it into your nutrition plan:
- Protein – 21 g protein From the FASTer Way Vanilla Protein Powder.
- Carbs – Balanced with unsweetened almond milk and frozen banana. If it’s a low carb day, omit the banana and replace with ice cubes for thickness.
- Fats – Enhanced by dark chocolate chips or nut butter as garnish.
This chocolate mint protein shake not only zaps your sweet tooth but also supports weight loss with clean energy and healthy ingredients.

Ingredients
Equipment
Method
- Add everything to blender except chocolate and blend until smooth.
- Top with mini chocolate chips and enjoy.