Category: Protein

Addictive Mint Chocolate Chip Protein Shake 

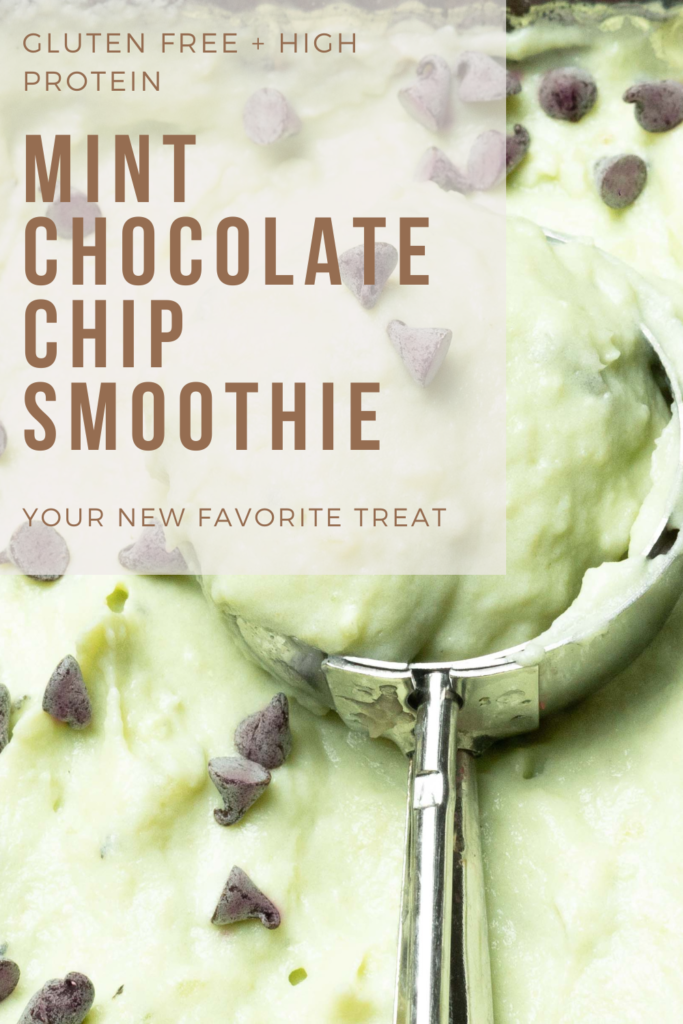
Mint chocolate chip is my favorite ice cream flavor – but it has to be the green kind 😉.  I will however, make an exception for this smoothie. I found a sugar free version of Torani Mint Chocolate Chip syrup while walking through Home Goods and decided to take a chance. I usually have a protein shake (in ice cream form with extra ice and a frozen banana), so I thought I could experiment with this syrup.  And let me tell you – it hits the spot.  The mint isn’t too overpowering and it 1000% tastes like green mint chocolate chip ice cream. Plus my husband refused to share it with me after assuming it wasn’t healthy. So you’re welcome. This is your new guilt-free way to satisfy your sweet tooth —the Mint Chocolate Chip Smoothie! Packed with 20g of protein, this indulgent yet healthy smoothie feels like dessert in a glass PLUS it will support your health goals, especially weight loss. Whether you crave a post-workout recovery snack or a night time TV treat, this recipe checks all the boxes.  

As I write this, we could totally make it a green smoothie by adding a handful of baby spinach.  …for the green mint chocolate chip sticklers out there.  

Jump to Recipe

😍 Why You’ll Love my Mint Chocolate Chip Smoothie  

  • It tastes like mint chocolate chip ice cream without the added sugars.  
  • It’s perfect for weight loss, thanks to its high protein content and satisfying nature.   
  • The creamy texture will remind you of a shamrock shake but without the guilt—ideal for a St. Patrick’s Day treat or any single day!  
  • With potential to add healthy ingredients like fresh mint leaves, cacao nibs, and almond milk to nourish your body. 
  • There’s zero compromise on flavor while keeping it low in added sugars.  
Jump to Recipe
Jump to Recipe

🗒️ Ingredients + Substitutions  

Here’s everything you need to whip up your Mint Chocolate Chip Smoothie. Substitute freely depending on dietary needs or preferences!  

  • FASTer Way Vanilla Protein Powder 🌟 (Swap for chocolate protein powder or vegan protein powder as needed.)  
  • Unsweetened Almond Milk (Or use coconut milk for a richer taste, just note calories will need to be adjusted).  
  • Sugar-Free Mint Chocolate Chip Syrup (I use Torani) (Peppermint extract will work, but adjust for sweetness.).  
  • Xanthan Gum (For a thicker, ice-cream-like consistency.).  
  • Vanilla Extract (Adds incredible flavor, but optional.).  
  • Sea Salt (A pinch enhances those chocolatey notes!).  
  • Ice (Essential for that frosty, creamy texture.).  
  • Mini Chocolate Chips or Cacao Nibs (Go for dark chocolate chips for extra nutrition.).  

💡 Gluten-Free? Read This!  

Great news for gluten-free folks—this recipe is naturally gluten-free, provided all your ingredients (like the protein powder or artificial flavors) are certified gluten-free. Always check labels when you’re at the grocery store!  

👩‍🍳 How to Make My Mint Chocolate Chip Smoothie  

1️⃣ Add all ingredients (except the chocolate chips) into a blender. Pro tip? Toss in a frozen banana to create an even creamier texture if it fits your daily diet.  

2️⃣ Blend on high until smooth. Adjust the mix with more ice or almond milk depending on how thick you like your shake.  

3️⃣ Sprinkle in your mini chocolate chips or cacao nibs, and blend lightly for a chocolate chip protein smoothie effect.  

4️⃣ Pour into your favorite glass, garnish with fresh mint leaves, and enjoy!  

📓 Best Served With  

Turn this smoothie into a meal or a snack by pairing it with a slice of whole-grain toast, and nut butter for added healthy fats or sprinkle in chia seeds or flax seeds for additional omega-3s.

👝 How to Store Leftovers  

If you can’t finish it all, pour any leftovers into an airtight container and store in the fridge for up to one day. Alternatively, pour it into popsicle molds and freeze for a fun, healthy snack!  

🧠 Common Questions  

Can I make this vegan?  

Absolutely! Substitute the whey protein with a vegan protein powder and swap coconut milk or almond milk for any plant-based option you love.  

Is this better than a mint chocolate chip milkshake?  

Yes! You get the same indulgent, delicious flavor as a classic milkshake but with extra protein, fewer calories, and better nutrition facts to fit into your daily macros.  

Can I drink this every day?  

Totally! Incorporate it into your daily diet for an amazing post-workout snack or an easy way to curb your sweet tooth.

Join my next round of the FASTer Way

Tired of endless diets and no results? Join the FASTer Way to Fat Loss and see real, sustainable changes in just 6 weeks!

Melanie Marcus FASTer Way to Fat Loss Coach

💪🏼 Tracking Macros? Check This Out  

This smoothie packs a protein punch with 20g of protein while keeping your sugar intake low. Here’s a breakdown to fit it into your nutrition plan:

  • Protein – 21 g protein From the FASTer Way Vanilla Protein Powder.  
  • Carbs – Balanced with unsweetened almond milk and frozen banana.  If it’s a low carb day, omit the banana and replace with ice cubes for thickness.
  • Fats – Enhanced by dark chocolate chips or nut butter as garnish.  

This chocolate mint protein shake not only zaps your sweet tooth but also supports weight loss with clean energy and healthy ingredients.  

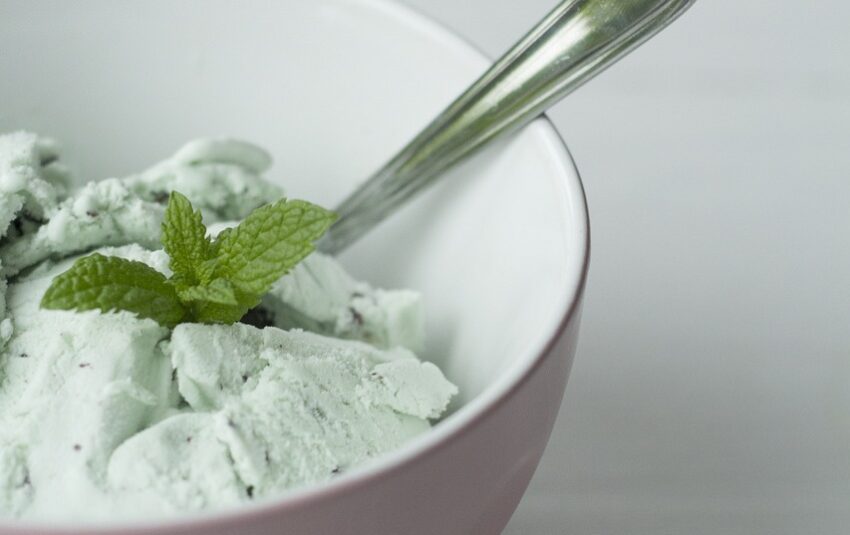
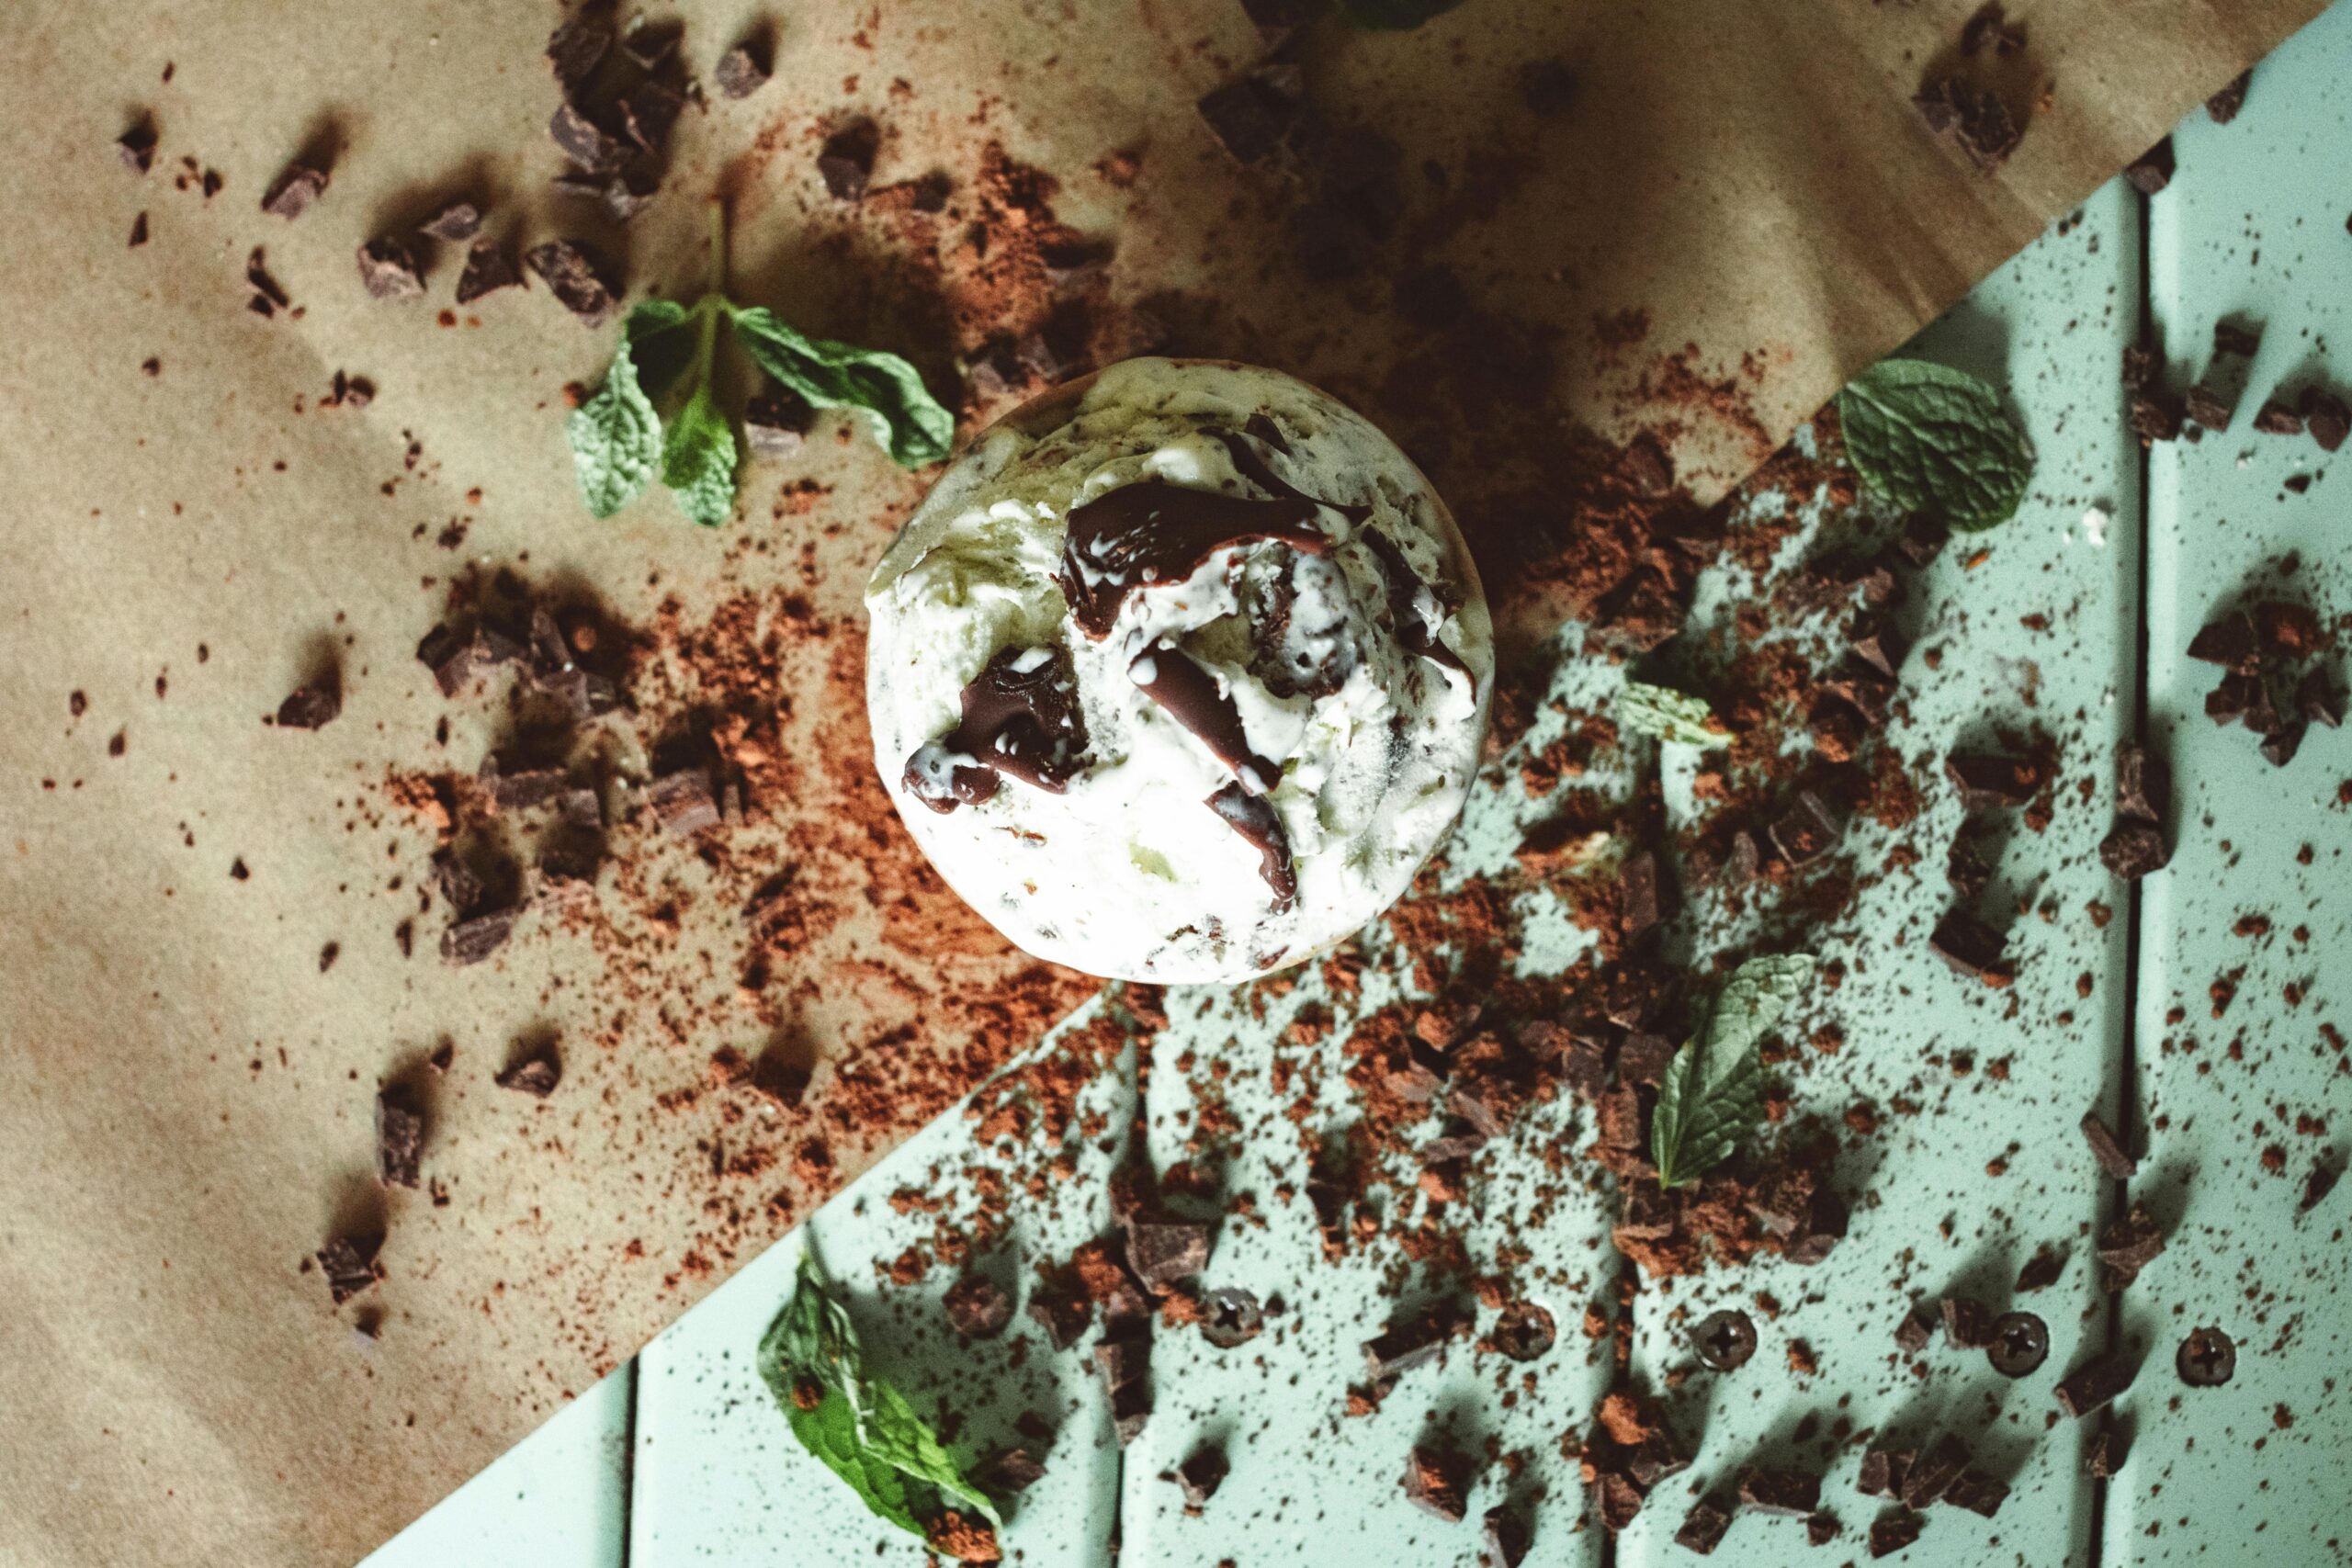
Top view of mint chocolate ice cream with cocoa and mint leaves.

Mint Chocolate Chip Shake (Protein)

Prep Time 5 minutes
Course Dessert, Snack
Cuisine American
Servings 1
Calories 197 kcal

Equipment

  • blender

Ingredients
  

  • 1 scoop Vanilla Protein Powder 20g protein
  • 1 each banana frozen
  • 2 tbsp mint chocolate chip syrup sugar free
  • 1 cup unsweetened almond milk
  • 1/4 tsp xanthan gum
  • 1/4 tsp sea salt
  • 1/2 tsp vanilla extract
  • 1/2 cup ice to thicken
  • 1/2 tbsp mini chocolate chips

Instructions
 

  • Add everything to blender except chocolate and blend until smooth.
  • Top with mini chocolate chips and enjoy.

Nutrition

Calories: 197kcalCarbohydrates: 13gProtein: 21gFat: 7gSaturated Fat: 2gPolyunsaturated Fat: 2gMonounsaturated Fat: 2gTrans Fat: 0.01gCholesterol: 63mgSodium: 1016mgPotassium: 132mgFiber: 2gSugar: 7gVitamin A: 17IUVitamin C: 0.1mgCalcium: 467mgIron: 0.1mg
Keyword Shake
Tried this recipe?Let us know how it was!

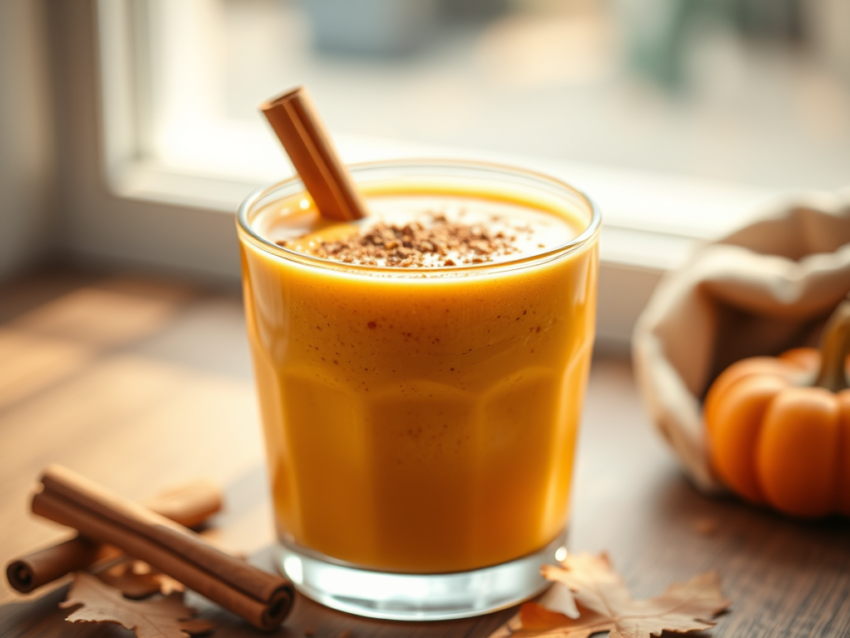
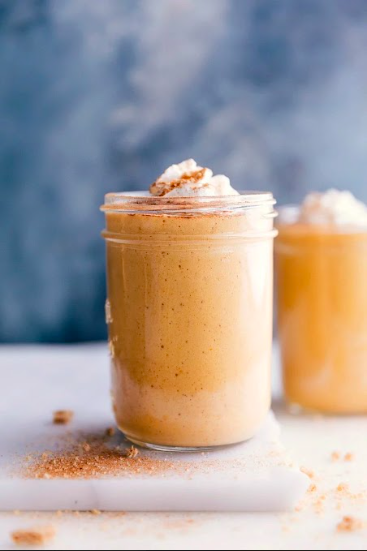
Pumpkin Pie Smoothie Recipe (High Protein + GF)

Is your pumpkin spice latte messing with your diet? If you’ve got this Starbucks seasonal favorite on repeat, it may be! Instead, try this tasty, high-protein pumpkin treat. I promise, you’ll get your fix! It’s just as indulgent as a slice of pumpkin pie but loaded with health perks. This  Pumpkin Pie Protein Smoothie is the perfect way to satisfy those fall cravings while keeping up with your macros and protein needs.  

Jump to Recipe

It’s got it all—a creamy texture, cozy spices, and simple ingredients your taste buds will adore. Plus, it’s gluten-free and packed with vitamins and minerals like vitamin A, vitamin C, and some healthy fats.

😍 Why You’ll Love the Pumpkin Pie Protein Smoothie  

  • High in Protein: With a scoop of your favorite vanilla protein powder (plant-based or whey), this smoothie is a fantastic way to meet your daily protein goals. 
  • Immune-Boosting Ingredients: Pumpkin and warm spices like cinnamon and nutmeg are packed with antioxidants to support your immune system during cold-weather months.  
  • Simple and Flexible Ingredients: Perfect for using pantry staples like canned pumpkin (or leftover pumpkin purée) and unsweetened almond milk or oat milk.  
  • Fall in a Glass: The pumpkin spice flavor combined with natural sweetness from pumpkin and spices will give you all the cozy, fall vibes without artificial flavors or gellan gum.  
  • Fast and Easy: You’ll need just five minutes, a high-speed blender, and eight simple ingredients!  
Jump to Recipe

🗒️ Ingredients  & substituions

Here’s what you’ll need to create this pumpkin pie protein smoothie masterpiece:  

  • 1 scoop vanilla protein powder—Plant-based protein powder or whey works great! I use the FW Vanilla Grass Fed protein for this.  It’s got 20g protein per scoop.   
  • 1/2 cup canned pumpkin (not pumpkin pie filling)—Ensure it’s pure pumpkin purée for that natural sweetness and health benefits. I feel like Libby’s has the best flavor. I’ve tried others that seem too bitter, or watery.
  • 1/2 cup unsweetened almond milk (or any non-dairy milk like oat milk, coconut milk, or cashew milk—your choice!)  I use Kirkland brand with just 30 calories per cup.  
  • 1/4 tsp ground cinnamon  
  • 1/4 tsp ground nutmeg  
  • 1/4 tsp ground ginger  
  • 1 tsp vanilla extract—To amplify that pumpkin spice flavor.  
  • Ice cubes (optional)—For a thicker, frostier smoothie.  

Optional Add-ins  

  • Dash of pumpkin pie spice for extra pumpkin shake flavor.  
  • Frozen banana for creaminess and natural sweetness.  
  • Chia seeds or flax seed meal for healthy fats and fiber.  
  • Greek yogurt for even more protein and a tangy twist.  
  • Peanut butter or almond butter to add richness and essential amino acids.
  • Granola for that pumpkin pie crust texture! 

💡 Gluten-Free? Read This!  

This recipe is completely gluten-free if you ensure your protein powder is certified gluten-free and you skip add-ins like granola that may have gluten. Always check the packaging for cross-contamination warnings when purchasing your ingredients.  

👩‍🍳 How to Make My Pumpkin Pie Protein Smoothie  

Making this healthy, pumpkin-packed smoothie is super simple. Here’s the step-by-step guide to get it just right every time:

  1. Gather Your Ingredients: Start by gathering everything listed above (including optional add-ins if you’d like).  
  2. Blend: Add the vanilla protein powder, canned pumpkin, almond milk (or milk of choice), cinnamon, nutmeg, ginger, and vanilla extract into a high-powered blender. Blend on high until smooth and creamy.  
  3. Adjust Thickness: For a thicker consistency, toss in a few ice cubes and blend again. If it’s too thick, add a splash of almond milk.  
  4. Serve: Pour into your favorite glass or serving container (bonus points if it’s autumn-themed!) and sprinkle with a dash of pumpkin pie spice for garnish.  
  5. Enjoy: Sip, savor, and fall in love with your new favorite fall drink!  

📓 Best Served With  

Pair your pumpkin pie protein smoothie with these great options for an extra-special treat:

  • A slice of warm whole grain toast topped with almond butter and chia seeds.  
  • Pumpkin spice energy bites or cranberry bars for a double hit of fall flavors.  
  • A tall glass of water for post-workout hydration.  

👝 How to Store Leftovers  

Though this pumpkin shake is best enjoyed fresh, you can store leftovers in an airtight container in the fridge for up to 24 hours. If you prefer, freeze the smoothie in silicone ice cube trays. When you’re ready to enjoy, just re-blend the frozen cubes with a splash of almond milk for the same creamy texture.  

Join my next round of the FASTer Way

Tired of endless diets and no results? Join the FASTer Way to Fat Loss and see real, sustainable changes in just 6 weeks!

Melanie Marcus FASTer Way to Fat Loss Coach

🧠 Common Questions  

Can I make this smoothie dairy-free?  

Absolutely! Use non-dairy milk like almond milk, cashew milk, oat milk, or coconut milk, and opt for a plant-based protein powder to keep it dairy-free and vegan.  

What’s the nutritional value?  

This pumpkin protein smoothie is packed with grams of protein, healthy fats, and essential vitamins like vitamin A, vitamin C, and vitamin D. It’s a perfect breakfast or meal replacement option for anyone looking to up their general nutrition advice game.  

Is canned pumpkin the same as pumpkin pie filling?  

No! Pumpkin pie filling is sweetened and pre-spiced, while canned pumpkin (or pumpkin purée) has no added sugar or artificial flavors. Opt for pure pumpkin for this recipe.  

Can I use leftover pumpkin purée?  

Definitely! This recipe is a great way to use up leftover pumpkin puree.  I’m usually making my kids pumpkin parfaits, with vanilla yogurt, so I usually have a can in the fridge.

🍂 Fall in Love with This Pumpkin Pie Protein Smoothie  

If you’re a fan of smoothies, pumpkin spice lattes, or all things pumpkin, this is the perfect breakfast or pre-workout boost for you. Packed with protein, healthy ingredients, and warm spice blend vibes, this pumpkin protein shake is sure to become a fall staple in your daily diet.  

If you try this smoothie – and I hope you do – leave a rating and let me know what you think!  

Pumpkin Pie Smoothie

Prep Time 5 minutes
Course Breakfast, Drinks, Snack
Servings 1
Calories 164 kcal

Ingredients
  

  • 1 scoop vanilla protein powder 20g protein
  • 1/2 cup canned pumpkin not pumpkin pie filling
  • 1/2 cup unsweetened almond milk or milk of choice
  • 1/4 tsp ground cinnamon
  • 1/4 tsp ground nutmeg
  • 1/4 tsp ground ginger
  • 1 tsp vanilla extract
  • Ice cubes optional, for thickness

Instructions
 

  • In a blender, combine the protein powder, canned pumpkin, almond milk, cinnamon, nutmeg, ginger, and vanilla extract.
  • Blend until smooth.
  • If you’d like a thicker consistency, add ice cubes and blend again.
  • Pour into a glass and enjoy.

Nutrition

Calories: 164kcalCarbohydrates: 12gProtein: 22gFat: 2gSaturated Fat: 0.3gPolyunsaturated Fat: 1gMonounsaturated Fat: 1gSodium: 169mgPotassium: 269mgFiber: 4gSugar: 5gVitamin A: 19067IUVitamin C: 5mgCalcium: 189mgIron: 2mg
Tried this recipe?Let us know how it was!

Chocolate Baked Oatmeal recipe (High protein + GF)

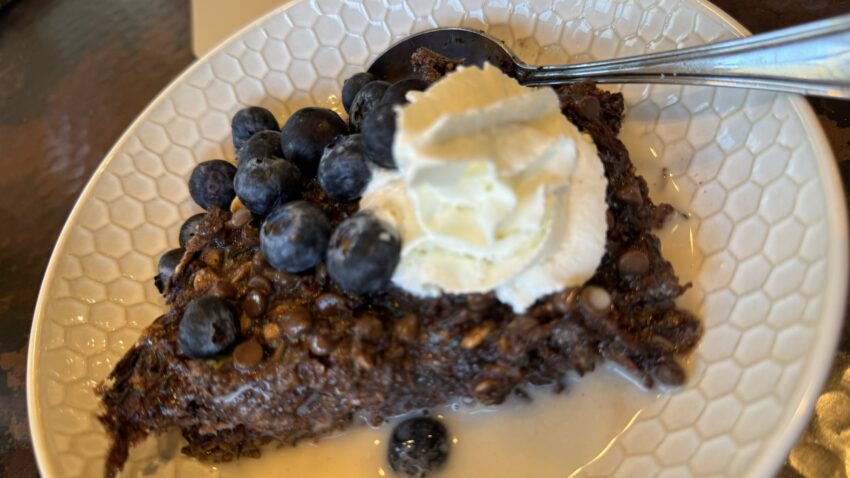
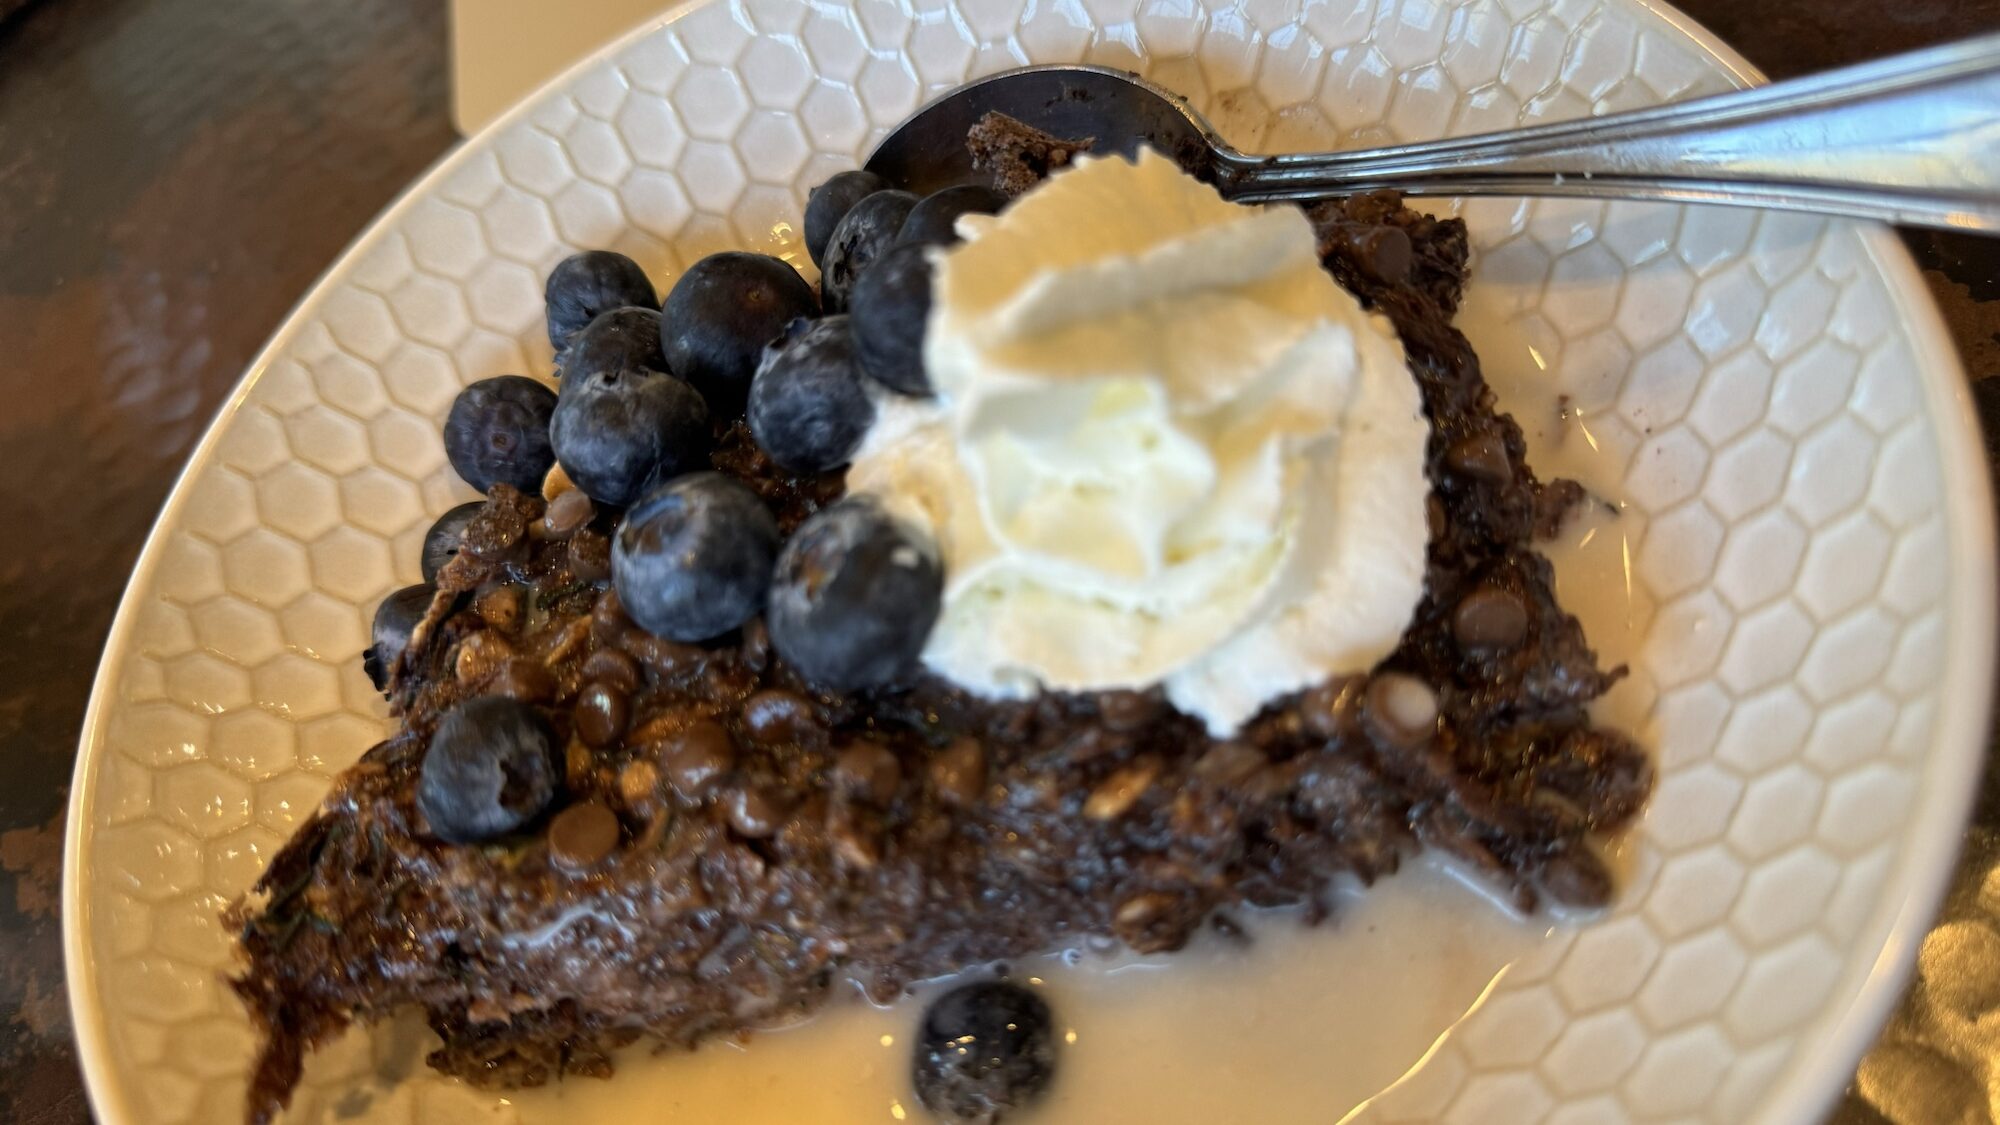
If you’re anything like me, planning meals in advance can save you so much stress during the week. That’s why I love making this chocolate baked oats recipe (originally from Lillie Eats and Tells) at the beginning of the week. It’s the perfect blend of taste and nutrition thanks to zucchini and mini chocolate chips and other healthy ingredients like gluten-free oats and chocolate protein powder.  And for the record, I know this will sound crazy, but I don’t even heat it up when I eat it!  I actually prefer it cold, straight out of the fridge with a splash of almond milk. 🤷🏻‍♀️

This post may include affiliate links for which I receive a small commission.  

Jump to Recipe

😍 Why You’ll Love Chocolate Baked Oats

  • High Protein Content: Thanks to the chocolate protein powder and egg whites, these baked oats offer a protein boost to keep you full and satisfied. 
  • Gluten-Free: Made with gluten-free oats, these baked oats are perfect for those with gluten sensitivities.
  • Satisfaction: You may think I drank the kool-aide with this one, but I really get satisfaction with these. Similar to that of chocolate, undercooked brownies. I know!
  • Simple Ingredients: This recipe uses ingredients easily found at your local grocery store.
  • Great for Meal Prep: Prepare this dish at the beginning of the week and enjoy individual portions throughout, stored in an airtight container.

🗒️ Ingredients

  • yellow summer squash or zucchini – this is where the bulk of the recipe comes from. Don’t worry, it won’t affect the flavor of the chocolate oats.  That’s what makes zucchini and squash such a home run for macro friendly baking!
  • liquid egg whites – you can separate whole eggs for this in a pinch.  I’ve also used half egg whites and half flax egg, just know that macros will change.  
  • almond milk – the original recipe calls for almond milk creamer, but I never have it on hand.  So I use almond milk to keep calories low and it turns out great.  
  • old fashioned oats- Use rolled oats for this to get the right texture. As with most oat recipes, you could sub in quick oats but don’t use steel cut!!
  • chocolate protein powder – I use the FASTer Way Hydrobeef protein powder. I love the way it tastes in my shakes, but it also bakes really well here too.  
  • jet black cocoa powder  – regular cocoa powder is fine too. 
  • vanilla extract 
  • baking powder
  • mini chocolate chips – these are key.  When you sprinkle them across the top they add a great texture and pop of real chocolate to each slice.  Use mini dark chocolate chips – not regular or large sized chips to keep it macro friendly.  
Jump to Recipe

💡Gluten-Free? Read This!

Ensure you’re using certified gluten-free oats, whether they be quick oats, rolled oats, or steel-cut oats. Gluten-free oats are processed in facilities free from gluten contamination, making them safe for those with celiac disease or gluten sensitivity.

I know this will sound crazy, but I don’t even heat it up when I eat it!  I actually prefer it cold, straight out of the fridge with a splash of almond milk.

👩‍🍳 How to Make My Chocolate Baked Oats

  1. Preheat Your Oven to 350°F (175°C).
  2. Prepare the Squash by using a box grater to finely grate it.  You can use a food processor to get a smoother texture. In fact, it was recommended in the original version of this recipe, but I just cannot dirty another appliance when cooking!  
  3. In a large mixing bowl, combine the squash, egg whites, oats, milk, chocolate protein powder, cocoa powder, vanilla extract, and baking powder.
  4. Mix Well until all ingredients are fully combined.
  5. Pour into a greased 9×9 baking dish. For good measure I also line it with foil or parchment paper to make clean up easy.  Trust me, it sticks to the pan! Top with mini chocolate chips.
  6. Bake for 45-50 minutes or until the center is set. The bottoms may appear moist but will firm up as they cool.
  7. Cool to room temperature before cutting into 4 pieces.

📓 Best served with

Enjoy your chocolate baked oats with a drizzle of peanut butter, a pinch of salt, or a few fresh berries. Add a dollop of almond butter or cashew butter for some healthy fats and a depth of flavor. Pair with a glass of oat milk or tea for a complete, delicious breakfast.

I top with a spray of Reddi Whip. Don’t judge!

Join my next round of the FASTer Way

Tired of endless diets and no results? Join the FASTer Way to Fat Loss and see real, sustainable changes in just 6 weeks!

Melanie Marcus FASTer Way to Fat Loss Coach

👝 How to Store Leftovers

Store leftovers in an airtight container covered with plastic wrap in the refrigerator. These oats can stay fresh for up to five days, making them perfect for meal prep. You can also freeze them for longer storage.

🧠 Common Questions

Can I use different types of milk?

Yes! Feel free to use any type of milk, such as unsweetened vanilla almond milk, soy milk, or coconut milk, depending on your preference.

What if I don’t have a food processor?

A high-speed blender can also work well for grating the squash. Alternatively, you can grate it manually using a box grater.

Can I make this vegan?

Yes! Replace egg whites with flax eggs to make the recipe vegan-friendly.

Is this recipe suitable for an air fryer?

You can try baking individual portions in a muffin tin using an air fryer, but adjust the bake time accordingly.

Chocolate Baked Oats (GF + high protein)

I meal prep this one just for me <3
Servings 4
Calories 254 kcal

Ingredients
  

  • 2 yellow summer squash or zucchini finely grated (520 g)
  • 1 cup liquid egg whites
  • 1 ⅓ cup old fashioned oats
  • ¼ cup Califia Farms almond milk creamer or just sub your favorite milk
  • 2 scoops FW chocolate hydrobeef protein
  • ¼ cup jet black cocoa powder
  • 2 tsp vanilla
  • 2 tsp baking powder
  • 2 Tbsp mini chocolate chips

Instructions
 

  • Pre-heat oven to 350 degrees.
  • In a large bowl, combine your squash (no need to drain), liquid egg whites, oats, creamer, protein powder, stevia, cocoa powder, vanilla, and baking powder. Mix well and pour into a greased 9×9 pan. Sprinkle the top with 2 Tbsp mini chocolate chips and bake for 45-50 minutes or until set. The bottoms will be wet but that’s ok! It gets better as it sits in the fridge.
  • Let them cool before cutting into 6 pieces.
  • Make sure to store in the refrigerator and enjoy!

Nutrition

Calories: 254kcalCarbohydrates: 32gProtein: 22gFat: 5gSaturated Fat: 2gPolyunsaturated Fat: 1gMonounsaturated Fat: 1gTrans Fat: 0.01gCholesterol: 3mgSodium: 401mgPotassium: 475mgFiber: 6gSugar: 8gVitamin A: 704IUVitamin C: 18mgCalcium: 183mgIron: 3mg
Tried this recipe?Let us know how it was!

About Me

I’m Melanie.

I’m a chef, registered dietitian, foodie, wife and mom.
If you’re looking for quick and healthy meal inspiration that serves YOU and your family well, then you’ve come to the right place!

Melanie Marcus Selfie

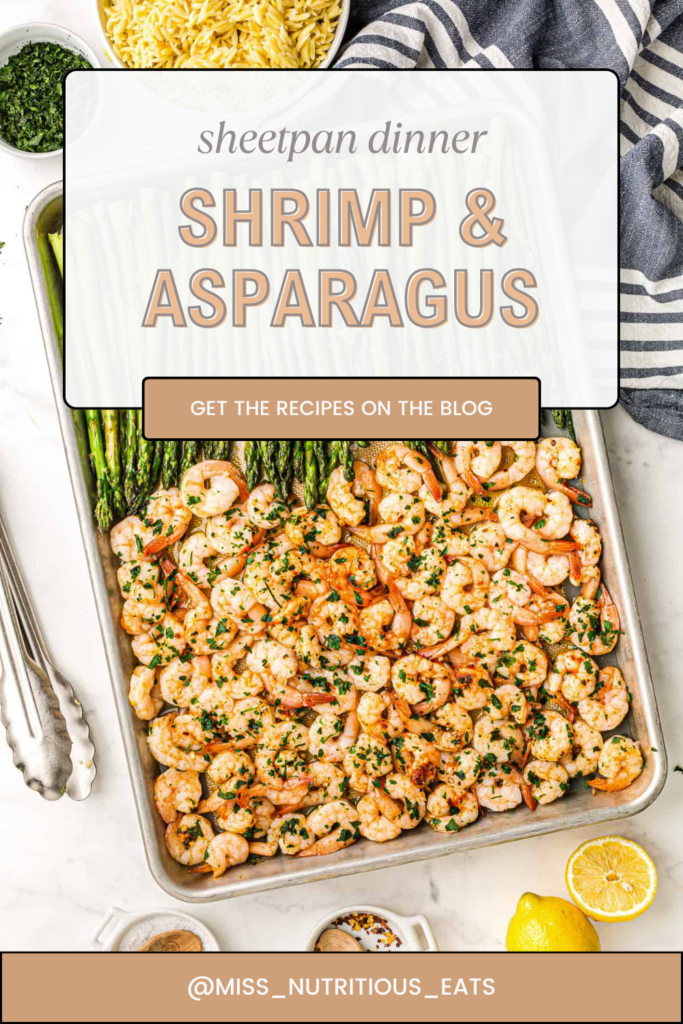
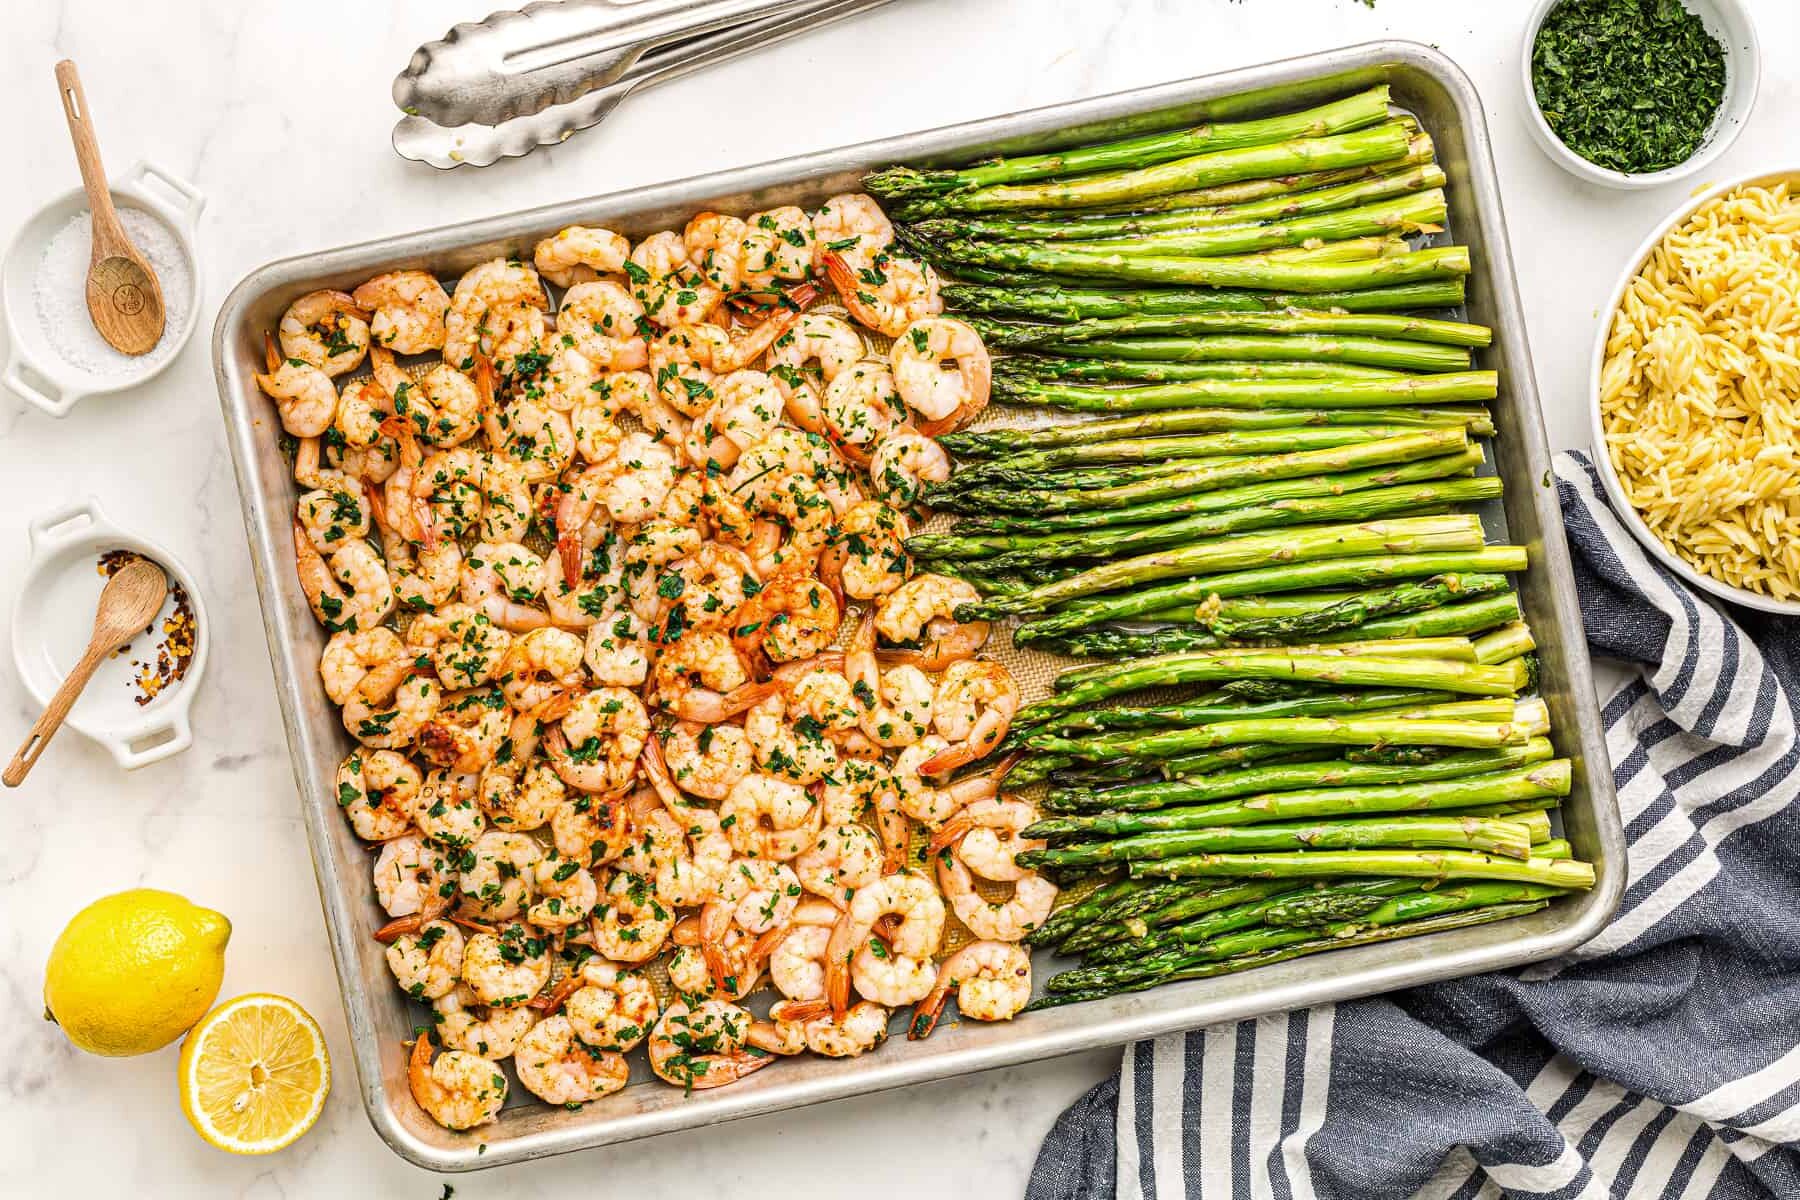
Sheet pan lemon and garlic shrimp with asparagus

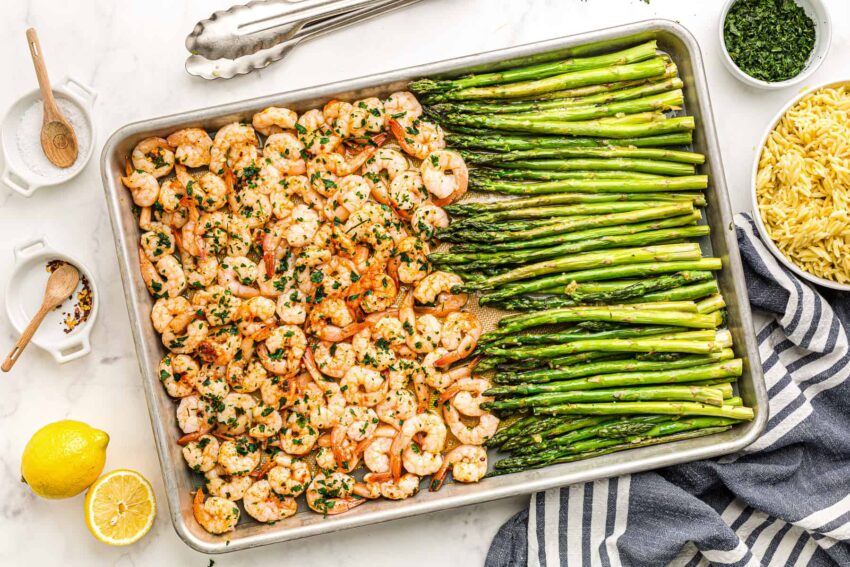
Looking for an easy sheet pan dinner that’s both delicious and perfect for busy weeknights? How about one that’s high in protein and lower in calories too?  This Sheet Pan Lemon Garlic Shrimp and Asparagus recipe has you covered. It’s a great way to make a complete meal with minimal effort and maximum flavor. 

Jump to Recipe

😍 Why you’ll love my sheet pan asparagus & shrimp

You will 100% love this sheetpan asparagus and shrimp recipe because it’s super quick to prepare, making it perfect for busy weeknights. It’s also high in protein, ensuring a satisfying meal without the fuss. Using a single sheetpan means minimal cleanup which noone will argue is a major bonus!

📒 Ingredients

  • Large shrimp, peeled and deveined – I usually get frozen shrimp from Trader Joe’s or Costco and defrost what we need as needed.
  • fresh asparagus, trimmed
  • olive oil – regular olive oil is good for this. No need to do extra virgin olive oil.
  • garlic – I often use frozen cubes
  • lemon
  • paprika
  • Salt and black pepper
  • Fresh parsley

👩🏻‍🍳 How to make my sheet pan asparagus & shrimp

  1. Prepare the Shrimp and Asparagus: Preheat your oven to 400°F (200°C). On a prepared sheet pan lined with parchment paper or non-stick spray, place asparagus and shrimp in separate halves of the pan. Trim ends of asparagus spears to remove any tough ends.
  2. Season the Ingredients: In a large bowl, mix together olive oil, minced garlic, fresh lemon juice, lemon zest, paprika, kosher salt, and black pepper. Add the shrimp and asparagus to the bowl and toss until well-coated. For marinated shrimp, you can leave the mixture to sit and absorb flavors for a few minutes of prep time.
  3. Arrange on the Sheet Pan: Spread everything into a single layer on your large sheet pan for even cooking. For best results, make sure the asparagus and shrimp aren’t overcrowded. If needed, use a second half of another pan.
  4. Bake: Cook in the preheated oven for about 10-12 minutes. Keep an eye on the shrimp as they cook; you’re looking for them to be pink and cooked through while the asparagus remains tender but still crunchy.
  5. Garnish and Serve: Remove from the oven and garnish with fresh parsley, lemon slices, and a sprinkle of parmesan cheese. Serve alongside a side of brown rice or coconut rice for a complete meal.

🧠 Common Questions

Does Shrimp Sizes Matter? The size of your shrimp can affect cooking time, so adjust accordingly. Fresh shrimp works best, but frozen shrimp is a good alternative—just make sure to thaw and pat dry with paper towels before using.  I usually buy frozen shrimp from Costco or Trader Joe’s.  

Do I have to use fresh ingredients? Fresh asparagus and fresh lemon juice will enhance the flavors of this dish, making it a perfect asparagus dinner.

What other seasonings can I use? Add a kick to your dish with red pepper flakes, onion powder, or garlic powder. The best part of this easy way to cook is how customizable it is!

👝 How to store leftovers

Storage and Meal Prep: This is an easy meal for meal prep. Save leftovers in airtight containers for lunch or as lighter meals throughout the week.

Keep this easy recipe in your back pocket for quick weeknight dinners.  Shrimp cook so quickly, you’ll be making this sheet pan recipe more than you think!

Sheetpan Shrimp and Asparagus

Prep Time 5 minutes
Cook Time 10 minutes
Total Time 15 minutes
Course Main Course
Cuisine American
Servings 2
Calories 314 kcal

Ingredients
  

  • 1 lb large shrimp peeled and deveined
  • 1 bunch fresh asparagus trimmed
  • 2 tablespoons olive oil
  • 4 cloves garlic minced
  • 1 lemon zested and juiced
  • 1 teaspoon paprika
  • Salt and black pepper to taste
  • Fresh parsley chopped (for garnish)

Instructions
 

  • Preheat your oven to 400°F (200°C). On a prepared sheet pan lined with parchment paper or non-stick spray, place asparagus and shrimp in separate halves of the pan. Trim ends of asparagus spears to remove any tough ends.
  • In a large bowl, mix together olive oil, minced garlic, fresh lemon juice, lemon zest, paprika, kosher salt, and black pepper. Add the shrimp and asparagus to the bowl and toss until well-coated. For marinated shrimp, you can leave the mixture to sit and absorb flavors for a few minutes of prep time.
  • Spread everything into a single layer on your large sheet pan for even cooking. For best results, make sure the asparagus and shrimp aren’t overcrowded. If needed, use a second half of another pan.
  • Cook in the preheated oven for about 10-12 minutes. Keep an eye on the shrimp as they cook; you’re looking for them to be pink and cooked through while the asparagus remains tender but still crunchy.
  • Remove from the oven and garnish with fresh parsley, lemon slices, and a sprinkle of parmesan cheese. Serve alongside a side of brown rice or coconut rice for a complete meal.

Nutrition

Calories: 314kcalCarbohydrates: 10gProtein: 32gFat: 17gSaturated Fat: 2gPolyunsaturated Fat: 2gMonounsaturated Fat: 10gTrans Fat: 0.02gCholesterol: 286mgSodium: 1287mgPotassium: 394mgFiber: 2gSugar: 2gVitamin A: 974IUVitamin C: 31mgCalcium: 152mgIron: 1mg
Tried this recipe?Let us know how it was!

About Me

I’m Melanie.

I’m a chef, registered dietitian, foodie, wife and mom.
If you’re looking for quick and healthy meal inspiration that serves YOU and your family well, then you’ve come to the right place!

Melanie Marcus Selfie

How to cook lentils perfectly (recipe + tips)

I find that lentils can either be a kitchen staple for clients, or they shy away from them because they don’t know how to prepare them.  The reality is, dry lentils are versatile, nutritious, and easy to prepare. They offer rich texture and earthy flavors which are a great addition to most ground meat recipes, but a staple for vegetarian recipes.  If you use black beans in your recipes, you can often substitute lentils instead.  

Whether you’re new to cooking lentils or looking to refine your technique, this guide will provide you with essential tips and recipes for various types of lentils.

Why are lentils so healthy?

Lentils are small round legumes that come in many different colors, shapes, and sizes. They are a great source of plant-based protein, making them an excellent meat alternative for vegetarians and vegans. With their high dietary fiber content, lentils aid in digestion and promote a feeling of fullness, supporting weight management. They are also packed with essential vitamins and minerals such as folate, iron, phosphorus, and potassium.

Nutritional Benefits of Lentils

  • High in Plant-Based Protein: Ideal for vegetarians and vegans.
  • Rich in Dietary Fiber: Promotes digestion and fullness.
  • Low in Fat: Provides steady energy without blood sugar spikes.
  • Packed with Vitamins and Minerals: Essential for overall health.
  • Antioxidants: Help reduce inflammation.  

Macros

A half-cup (about 100 grams) of cooked brown lentils typically contains the following macronutrients:

  • Calories: 115-120 kcal
  • Protein: 9 grams
  • Carbohydrates: 20 grams
    • Fiber: 8 grams
  • Fat: 0.4 grams

These values can vary slightly depending on cooking method and specific type of lentils.

Join my next round of the FASTer Way

Tired of endless diets and no results? Join the FASTer Way to Fat Loss and see real, sustainable changes in just 6 weeks!

Melanie Marcus FASTer Way to Fat Loss Coach

Cooking Tips for Lentils

Rinse Lentils: Always rinse lentils under cold water to remove dirt, small rocks or debris. Look for small stones or rocks and remove them.

Soak Them: Letting them sit for even just 30 minutes (or overnight) will reduce cooking time by at least 15 minutes.  

Sauté for Flavor: Sauté onions, garlic, bay leaves and spices in olive oil before adding lentils and water for enhanced flavor. 

Water Ratio: Use plenty of water, a ratio of 3 cups of water for every 1 cup of lentils. Adjust as needed for different types of lentils.  In culinary school we removed excess water afterwards in a colander.  

Salt Timing: Add a pinch of salt towards the end of cooking to ensure the lentils are tender but not mushy.

Tender but Firm: For salads or cold dishes, cook lentils just until al dente to maintain a firm texture.

Quick Cooking: For a faster cooking process, consider soaking lentils for a few hours or overnight.  You’ll notice that they plump up and absorb a lot of water which will help reduce the cooking time.  

Free lentils tricolor image

Types of Lentils and How to Cook Them

Red Lentils (Masoor Dal)

Other Names: Orange Lentils

  • Cooking Time: 15-20 minutes
  • Texture: Soft and creamy
  • Flavor: Mild and slightly sweet
  • Best For: Soups, stews, and Indian cuisine
  • Instructions:
  1. Rinse 1 cup of red lentils under cold water.
  2. In a large pot, sauté onions, garlic, and your favorite spices in olive oil.
  3. Add the lentils, 3 cups of water, and bring to a boil.
  4. Reduce heat and simmer for 15-20 minutes until tender.
  5. Add salt towards the end of cooking.

Brown Lentils

Other Names: The most common type of lentils

  • Cooking Time: 20-30 minutes
  • Texture: Soft but holds shape
  • Flavor: Earthy and mild
  • Best For: Soups, stews, and veggie burgers
  • Instructions:
  1. Rinse 1 cup of brown lentils under cold water.
  2. Sauté onions, garlic, and spices in olive oil in a large pot.
  3. Add the lentils, 3 cups of water or vegetable broth, and bring to a boil.
  4. Reduce heat and simmer for 25-30 minutes until tender.
  5. Add salt towards the end of cooking.

Green Lentils

Other Names: French Lentils, Le Puy, Lentils de Puy and French green lentils

  • Cooking Time: 30-40 minutes
  • Texture: Firm and peppery flavor
  • Flavor: Earthy and robust
  • Best For: Salads, side dishes, and soups
  • Instructions:
  1. Rinse 1 cup of green lentils under cold water.
  2. Sauté onions, garlic, and spices in olive oil in a large pot.
  3. Add the lentils, 3 cups of water or vegetable stock, and a bay leaf.
  4. Bring to a boil, then reduce heat and simmer for 30-40 minutes until tender.
  5. Add salt towards the end of cooking.

Black Lentils

Other Names: Black Beluga Lentils

  • Cooking Time: 25-30 minutes
  • Texture: Firm and holds shape
  • Flavor: Rich and earthy
  • Best For: Salads, side dishes, and lentil salad
  • Instructions:
  1. Rinse 1 cup of black lentils under cold water.
  2. Sauté onions, garlic, and spices in olive oil in a large pot.
  3. Add the lentils, 3 cups of water or vegetable broth, and bring to a boil.
  4. Reduce heat and simmer for 25-30 minutes until tender.
  5. Add salt towards the end of cooking.

Using an Instant Pot or Pressure Cooker

For faster cooking, you can use an instant pot or pressure cooker. Follow the same steps but reduce the water to 2 cups for every 1 cup of lentils. Cook on high pressure for half the time specified for each type.

Storing Cooked Lentils

Store cooked lentils in an airtight container in the refrigerator for up to a week. They make excellent additions to salads, soups, and meal prep.

Favorite Lentil Recipes

  • Red Lentil Soup with fresh herbs and lemon juice
  • Brown Lentil Stew with hearty vegetables
  • French Green Lentil Salad with fresh herbs and olive oil
  • Black Lentil Salad with roasted vegetables and a tangy dressing
  • Greek Inspired Turkey Meatballs (with lentils!)

About Me

I’m Melanie.

I’m a chef, registered dietitian, foodie, wife and mom.
If you’re looking for quick and healthy meal inspiration that serves YOU and your family well, then you’ve come to the right place!

Melanie Marcus Selfie

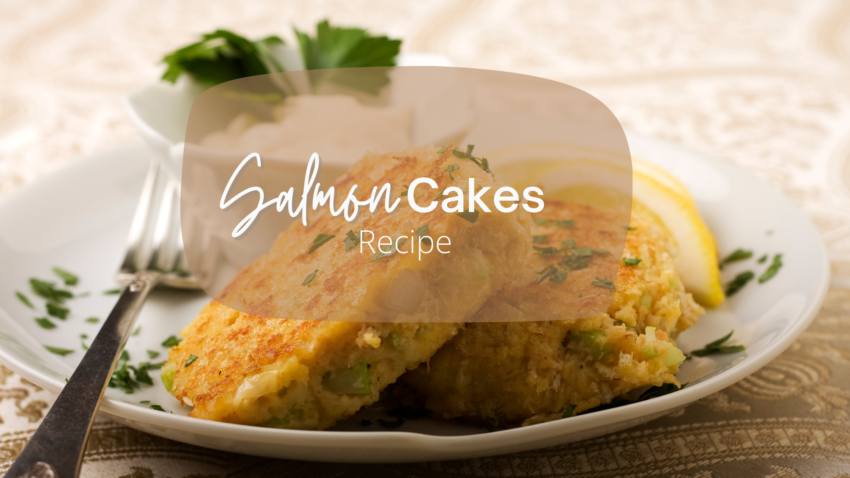
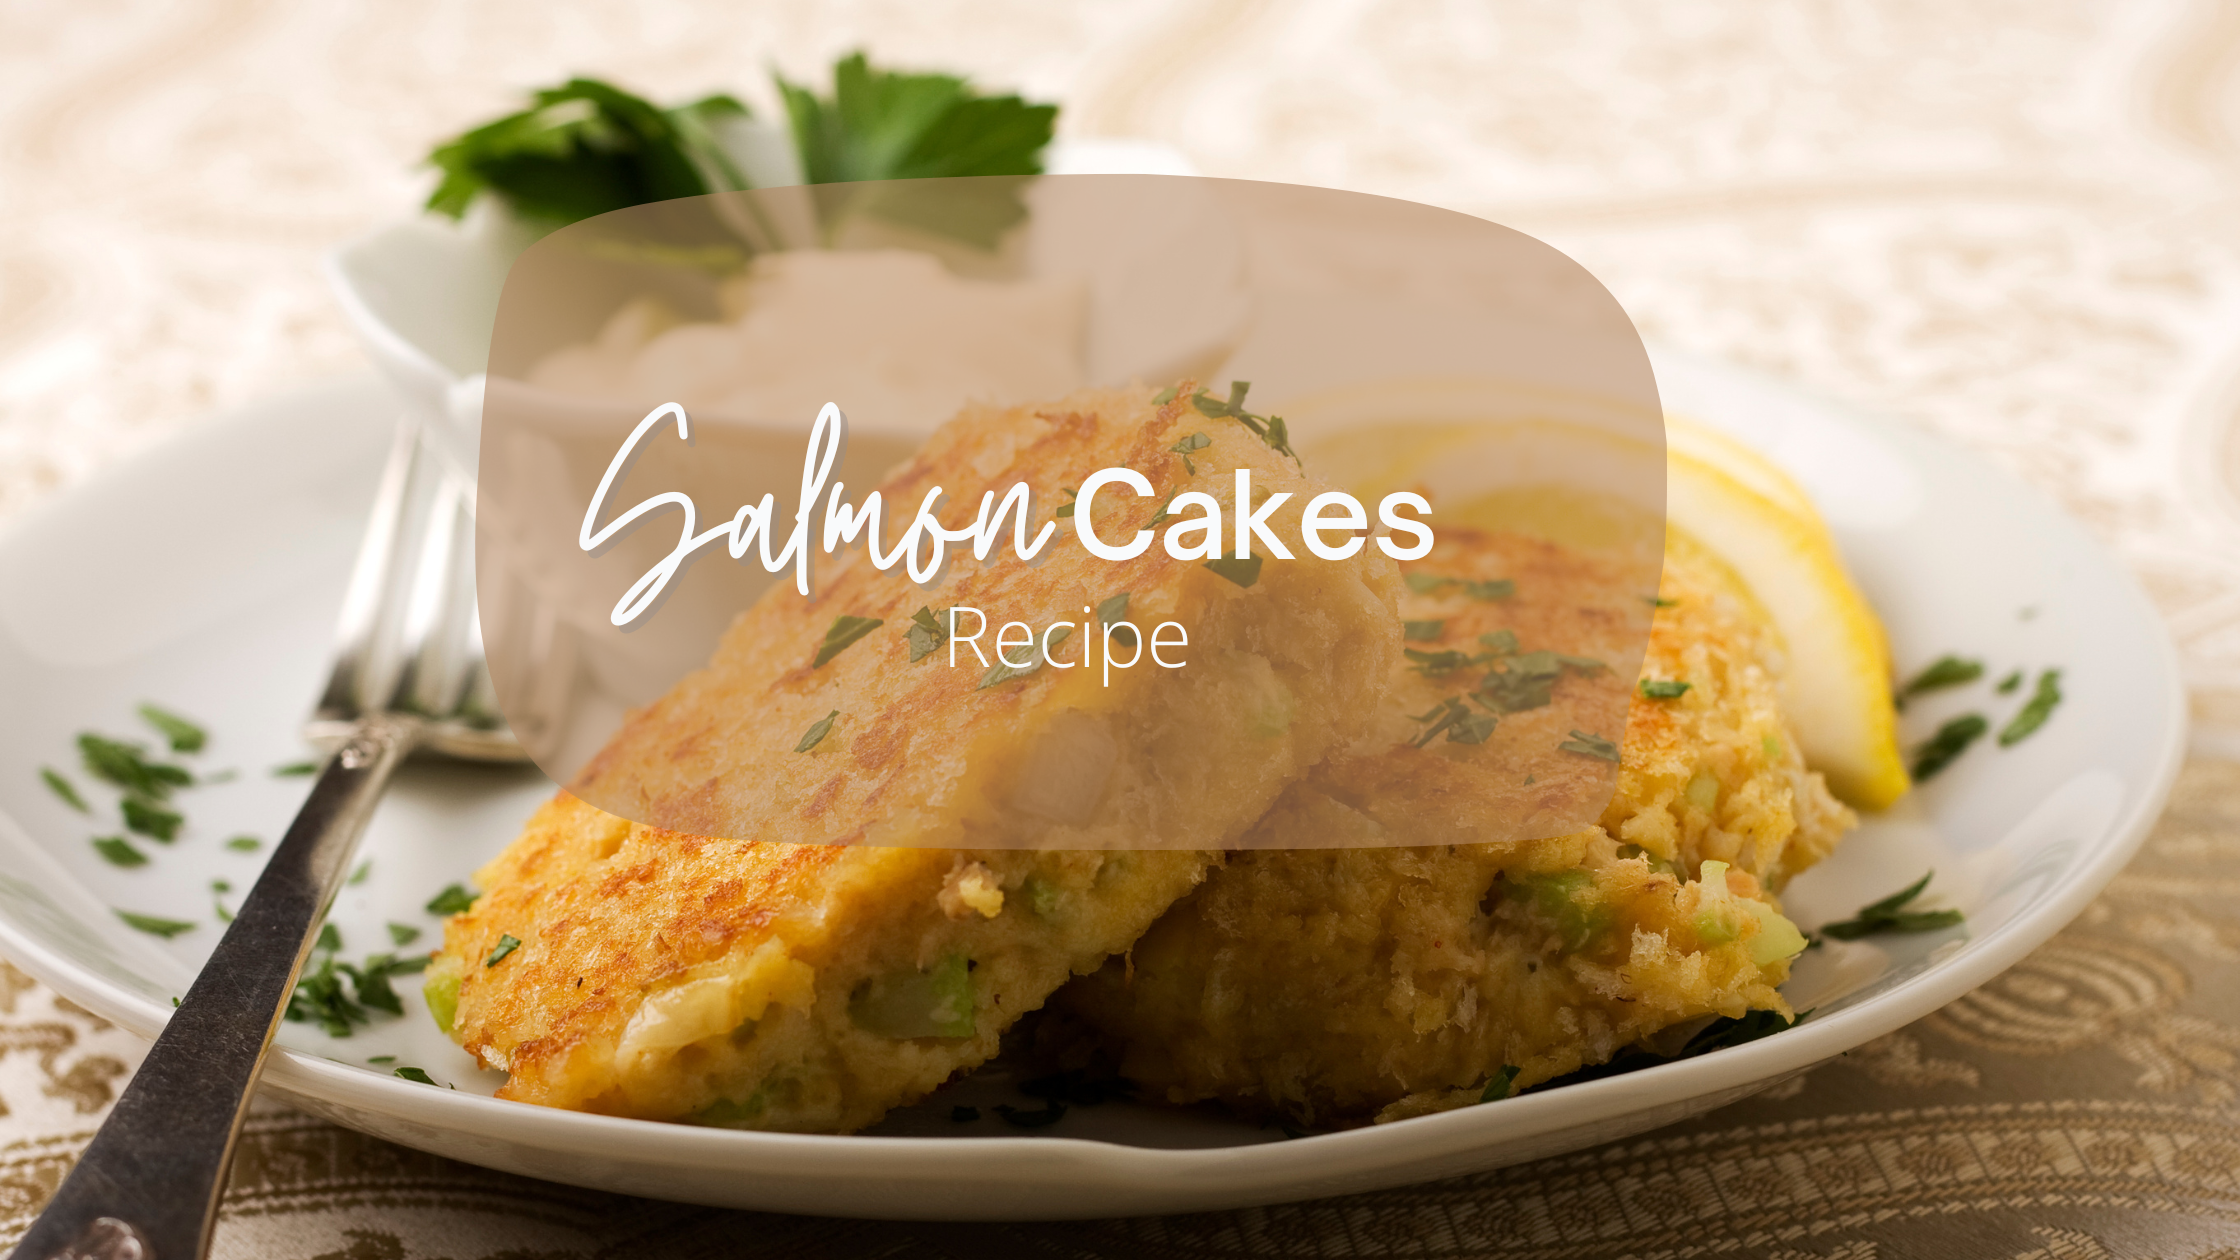
How to make gluten free salmon cakes (recipe)

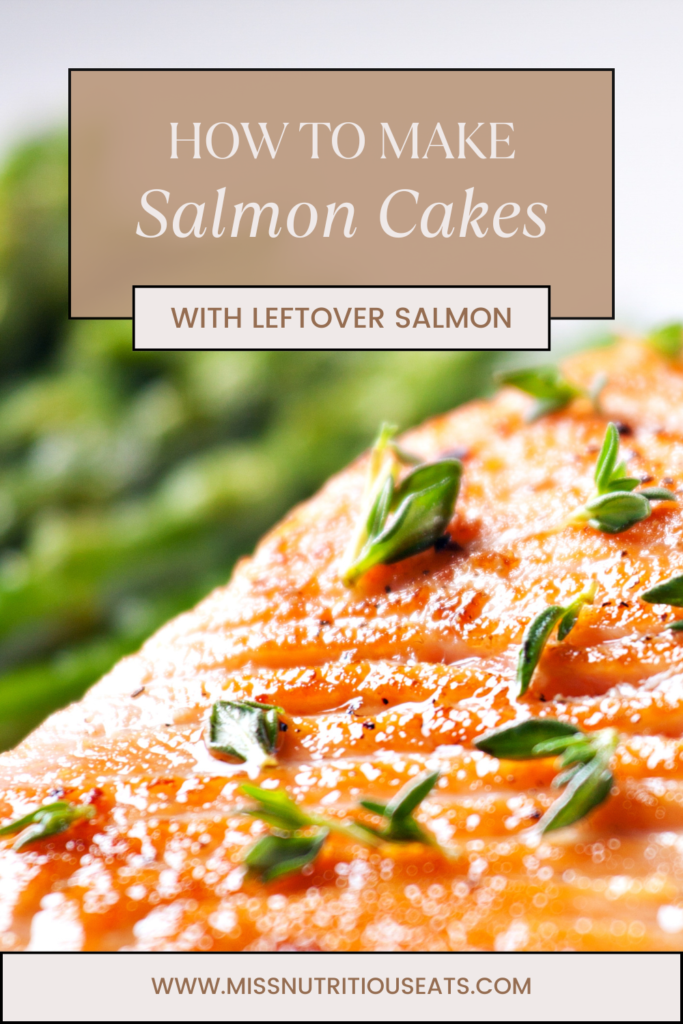
When I shared this quick throw together recipe on my stories- ya’ll loved it!  It was born out of using up salmon that I cooked up from the weekend that needed new life.  But you can use canned and it will come out equally as good!  (This salmon salad is also delicious!) So if you’re looking for a delicious and easy weeknight dinner that’s both healthy and satisfying, these salmon cakes that happen to be gluten free are the perfect answer.

I like to make these because it’s one of the ways my husband actually enjoys eating salmon.  He loves crab cakes, and these are very similar.  

Jump to Recipe

Ingredients and substitutions

Before we get started, let’s gather all the ingredients:

  • salmon: Use what you have.  Wild-caught salmon like sockeye salmon or leftover Atlantic salmon work just as well as a couple of cans of salmon.
  • olive oil: Any neutral oil will do.  
  • onion: yellow or white onion works well. You can use pre chopped or even frozen.  
  • red bell pepper:  Any bell pepper works for this one.  I recommend yellow or orange.  Green bell peppers may be bitter.
  • garlic cloves:  Use fresh, frozen or jarred.  I like frozen for this one.
  • almond flour:  You could use regular breadcrumbs or gluten free breadcrumbs instead.
  • eggs: Egg whites could be used.  I do not recommend flax eggs for this purpose.
  • mayonnaise: Sour cream could be used in a pinch.
  • Dijon mustard:
  • parsley: fresh or dried will work, feel free to use green onions or chives if you have them.
  • dill: fresh or dried will work.  
  • Kosher salt and black pepper to taste
Jump to Recipe

Step-by-Step Guide to Making Gluten-Free Salmon Cakes

Follow these simple steps to make the best gluten-free salmon cakes:

1. Prepare the Salmon Mixture

In a large mixing bowl, combine the flaked salmon, diced onion, red bell pepper, minced garlic, almond flour, beaten eggs, mayonnaise, Dijon mustard, parsley, dill, salt, and pepper. Mix until well combined.

I find that using my alligator chopper really helps to make this meal come together very quickly.

Tip: If the mixture feels too wet to form into patties, add a little bit of almond flour to help bind it together.

2. Form the Patties

Form the salmon mixture into 8 patties, depending on your desired size. These easy salmon patties should hold together well but may need a gentle touch.

3. Cook the Salmon Cakes

Heat 3 tablespoons of olive oil in a large skillet (I like using my cast-iron skillet) over medium heat. Once the oil is hot, add the salmon patties in batches. Cook each patty for about 4-5 minutes on each side, or until they turn a beautiful golden brown and are cooked through.

Alternative cooking methods:

  • Air Fryer: Preheat your air fryer to 375°F. Place the patties on a parchment-lined baking sheet and air fry for 3-4 minutes on each side.
  • Oven: Bake the salmon cakes on a parchment paper-lined baking sheet at 375°F for 15-20 minutes, flipping halfway through.

4. Serve and Enjoy

Serve your gluten-free salmon cakes with a dollop of tartar sauce or a squeeze of fresh lemon juice. These healthy salmon patties pair really well with a summer corn salad, mixed greens salad, or coleslaw.

Join my next round of the FASTer Way

Tired of endless diets and no results? Join the FASTer Way to Fat Loss and see real, sustainable changes in just 6 weeks!

Melanie Marcus FASTer Way to Fat Loss Coach

Storage and Meal Prep Tips

  • Leftovers: Store any leftover salmon cakes in an airtight container in the refrigerator for up to 3 days. Reheat gently in a skillet or oven for the best flavor and texture.
  • Freezing: Freeze uncooked patties on a parchment-lined baking sheet. Once frozen, transfer them to a bpa-free freezer bag. They can be cooked directly from frozen; just add a few extra minutes to the cooking time.

Why You’ll Love This Recipe

  • Healthy and Nutritious: Packed with omega-3 fatty acids, these patties are a great addition to a gluten-free diet.
  • Versatile: This recipe can be made with wild salmon, canned salmon, or even farm-raised salmon. Just choose your favorite kind of salmon for the best results.
  • Easy: With minimal prep time and cooking time, these salmon cakes are perfect for an easy weeknight dinner or meal prep sessions.

FASTer Way Clients

Savet this recipe for a low carb or regular macro night. It’s higher in healthy fats and protein to help you meet your macro goals easily.

Whether you’re aiming to impress, or just trying to get a weeknight meal on the table, these salmon cakes are a surefire way to elevate your dinner table. 

Ready to get started? Follow my easy recipe card below and don’t forget to rate the recipe with a star rating!

Note: Some links in this blog may be affiliate links. I earn a small commission if you make a purchase through them, at no extra cost to you.

Salmon Cakes

If you like crab cakes, this one is for you!
Prep Time 10 minutes
Cook Time 10 minutes
Total Time 20 minutes
Course Main Course
Cuisine American
Servings 4
Calories 436 kcal

Ingredients
  

  • 16 oz cooked salmon
  • 3 tablespoons olive oil
  • 1 medium onion finely diced
  • 1 red bell pepper finely diced
  • 1 to 2 garlic cloves minced
  • ½ cup almond flour
  • 2 large eggs beaten
  • 2 tablespoons mayonnaise
  • 1 tablespoon Dijon mustard
  • cup fresh parsley finely chopped
  • Kosher salt and black pepper to taste

Instructions
 

  • In a large mixing bowl, combine the flaked salmon, diced onion, red bell pepper, minced garlic, almond flour, beaten eggs, mayonnaise, Dijon mustard, parsley, dill, salt, and pepper. Mix until well combined.
  • Form the salmon mixture into 8 patties, depending on your desired size. These easy salmon patties should hold together well but may need a gentle touch.
  • Heat 3 tablespoons of olive oil in a large skillet (I like using my cast-iron skillet) over medium heat. Once the oil is hot, add the salmon patties in batches. Cook each patty for about 4-5 minutes on each side, or until they turn a beautiful golden brown and are cooked through.

Nutrition

Serving: 2pattiesCalories: 436kcalCarbohydrates: 8gProtein: 29gFat: 32gSaturated Fat: 5gPolyunsaturated Fat: 8gMonounsaturated Fat: 12gTrans Fat: 0.02gCholesterol: 147mgSodium: 172mgPotassium: 727mgFiber: 3gSugar: 3gVitamin A: 1525IUVitamin C: 47mgCalcium: 75mgIron: 2mg
Keyword low carb
Tried this recipe?Let us know how it was!

About Me

I’m Melanie.

I’m a chef, registered dietitian, foodie, wife and mom.
If you’re looking for quick and healthy meal inspiration that serves YOU and your family well, then you’ve come to the right place!

Melanie Marcus Selfie

Nutrition Benefits of cottage cheese for good health

Move over Greek yogurt, cottage cheese is having a moment. You could even say it’s the darling of the diary aisle!  The truth is, it’s a super versatile healthy food that offers a creamy texture and a bunch of protein to keep you full and satisfied. This soft, fresh cheese is characterized by its mild flavor and unique texture of small to large curds. It’s also a staple food for health-conscious people aiming for a balanced diet. Its high protein content, rich calcium levels, and low fat make it a go-to choice for anyone looking to maintain or achieve a healthy weight, enhance muscle growth, and support overall health.  Bonus, you can find it in nearly any grocery store!

Nutritional Highlights of Cottage Cheese

A half-cup serving of low-fat cottage cheese packs a significant nutrition with approximately 90 calories, 12 grams of protein, and modest amounts of fat— 2.5 grams. 

Calcium:  

Calciumplays an important role not just in maintaining strong and healthy bones as we age, but it’s also vital for proper muscle functions and nerve transmissions. It’s like giving your body the building blocks it needs to stay strong and functional. 

Phosphorus:  

Phosphorus is another hero found in cottage cheese, which works hand-in-hand with calcium to bolster bone health. It’s also critical in repairing cells and tissues — kind of like your body’s natural maintenance team keeping everything in tip-top shape.

Potassium: 

Potassium is another star nutrient, acting to help balance fluids in your body and support heart health by regulating blood pressure. Imagine it as a behind-the-scenes operator making sure everything runs smoothly, from your heartbeat to how your muscles contract.

Vitamin B12:  

B12 is essential for creating red blood cells and maintaining brain health—a real brain booster that keeps your memory sharp and your mood stable.

Protein:  

Cottage cheese is a high-protein food. It’s unique composition of its protein, predominantly casein, offers slower digestion, which aids in satiety and muscle recovery post-exercise. One cup of cottage cheese has nearly 25g protein!  

Probiotics: 

Some brands are a good source of live active cultures that support gut health.  Just be sure to read labels and ingredients lists to see if a significant amount are included.

If you’re managing conditions such as lactose intolerance or high blood pressure, opting for low-sodium varieties and considering the lower lactose content in cottage cheese compared to other dairy products can be beneficial. 

Choosing the Right Cottage Cheese for a Healthy Diet:

When it comes to picking the perfect cottage cheese, think of it like selecting the best Greek yogurt – aim for options without added sugar, particularly found in flavored varieties. It’s a simple switch that keeps your meals both delicious and health-oriented.

Sodium Levels to Watch For:

Pay close attention to sodium levels if you’re monitoring your blood pressure. Many cottage cheeses on the market tend to be high in sodium. A 1/2 cup serving of cottage cheese has about 356 mg of sodium.  But don’t worry, there are ‘reduced sodium’ or ‘no salt added’ varieties available to keep your intake in check. The American Heart Association suggests a sodium limit of 1,500–2,300 milligrams daily for most adults, with an ideal goal of 1,500 milligrams or less for individuals managing high blood pressure.

The Fat Content Dilemma: 

Dairy products, including cottage cheese, come in no-fat, low-fat, and full-fat versions. Your choice should align with your health objectives. If you’re looking for something that feels more indulgent and satisfies your hunger, full-fat cottage cheese might just hit the spot due to its rich flavor and texture.

Quality Is Key: 

Top-notch cottage cheese should boast a short and sweet list of ingredients, highlighting the quality of the dairy used. At the end of the day, however, the best choice for you might simply come down to the flavors and ingredients that you and your family prefer. And that’s perfectly fine!

Does the size of the curd matter?  

Not really…

Small Curd Cottage Cheese presents a smoother, creamier consistency, making it almost melt in your mouth. Its more homogeneous texture is preferable for those who enjoy a subtle taste profile or when a dish requires a silkier cheese component. 

Large Curd Cottage Cheese, on the other hand, is all about the experience of texture and taste. The larger, chewier curds provide a more pronounced mouthfeel, often described as rich and satisfying. 

bread with cream on top

Quick ways to add Cottage Cheese to your diet

Morning Boost: Break your fast with a serving of low-fat or nonfat cottage cheese alongside fresh fruit or whole-grain toast for a balanced breakfast.

Healthy Alternative: Use it as a substitute for sour cream or ricotta cheese in dips, spreads, and baking to reduce saturated fat while increasing protein (similar to how you may use greek yogurt.

Protein Rich Pasta:  ​Mix cottage cheese into your favorite pasta sauce for a creamy sauce option.  

Post-Workout Snack: Blend cottage cheese into smoothies for a creamy texture and protein boost.

Protein-Rich Salads: Create nourishing salads by adding cottage cheese for a satisfying and nutritious meal.

Savory Options: Enhance your lasagnas, casseroles, and stuffed shells with cottage cheese for a calcium-packed twist.

Dessert:  Blend plain cottage cheese into the social media favorite- ice cream!  

For more ideas check out this post for 30 high protein meal ideas that star cottage cheese.  

Cottage Cheese: A Smart Choice for Healthy Living

From aiding in blood sugar control with its low carbohydrate content to providing a good source of selenium, important for heart disease prevention and muscle growth, cottage cheese integrates well into any healthy eating plan.

Considering the U.S. Department of Agriculture’s dietary guidelines, incorporating low-calorie, high-protein foods like cottage cheese into your diet supports weight loss and healthy weight management without compromising on taste or nutrition. Whether opting for traditional cottage cheese with its distinctive large curds or preferring the smoother texture of small curds in low-fat options, there’s a variety to suit every palate and dietary need.

Why do we avoid dairy in the FASTer Way to Fat Loss?

I want to address the elephant in the room. In the FASTer Way, my 6 week weight loss program, we avoid both gluten and dairy. We do this for a few reasons including reducing inflammation, improving gut health, and promoting weight loss. But I know that for many of you, giving up these two food groups can seem daunting and even scary. Trust me, I’ve been there too.

But the truth is, eliminating gluten and dairy from your diet doesn’t have to be difficult or restrictive (or forever!) There are plenty of delicious and nutritious alternatives available that can still satisfy your cravings and provide the nutrients your body needs. We recommend eliminating these two things because many people are sensitive to gluten without knowing it. As a result, they are in a state of inflammation and benefit from removing it from the diet. Similarly, many people don’t tolerate dairy well, and they don’t even know it! So for the first 6 weeks of the FASTer Way, we recommend eliminating both to help reduce inflammation to support metabolism and shed fat. Then, you can slowly experiment with adding whole, unprocessed forms of both back into your diet so you can assess how you feel afterwards.

About Me

I’m Melanie.

I’m a chef, registered dietitian, foodie, wife and mom.
If you’re looking for quick and healthy meal inspiration that serves YOU and your family well, then you’ve come to the right place!

Melanie Marcus Selfie

30 High-Protein Meals Made with Cottage Cheese

This post is dedicated to my co-worker who is OBSESSED with cottage cheese. Literally any recipe- he’s shamelessly adding it to boost his protein intake.  But I can’t blame him. It’s a whole food.  It tastes great and it’s incredibly versatile and an excellent ingredient to support weight loss.  So Scott – this one is for you!  

Cottage cheese is an excellent source of protein, and according to the American Dairy Association it packs about 12 grams per 1/2 cup serving.1 Not only does it boast high protein content, but its creamy texture makes it a versatile ingredient for a variety of meals. Whether you’re a fan of the taste of cottage cheese or looking for ways to sneak more protein into your diet, these recipes are great additions to your meal plan. Here, I’ve compiled the best cottage cheese recipes that are gluten-free and perfect for breakfast, lunch, dinner, and snacks, each designed to deliver at least 30 grams of protein.

1/4 cup (2 oz) cottage
1/4 cup (2 oz) cottage by U.S. Department of Agriculture

Breakfast:

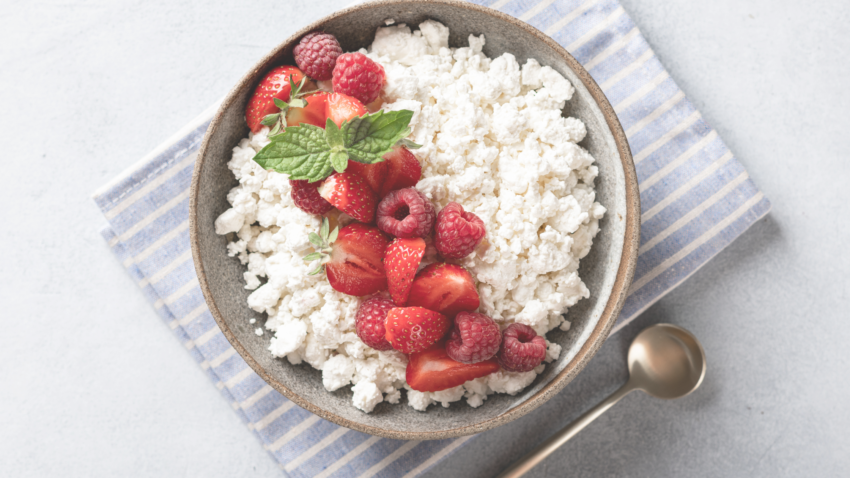
Cottage Cheese Breakfast Bowls: Start your day with these bowls combining cottage cheese, fresh berries, a scoop of protein powder, and a touch of honey. Blend in a food processor for a creamy texture similar to Greek yogurt.

High-Protein Pancakes: Mix cottage cheese with oats, eggs, and a scoop of your favorite protein powder. Cook on medium heat for pancakes that are a healthy breakfast option and a good source of calcium.

Savory Cottage Cheese Bowl: For those who prefer savory recipes, this bowl mixes cottage cheese with avocado, cherry tomatoes, and olive oil. It’s a great way to incorporate healthy fats and important nutrients into your morning routine.  

Cottage Cheese Toast: Upgrade your toast with a spread of cottage cheese, topped with sliced bell peppers and a sprinkle of cheddar cheese. Place under the broiler for a few minutes until the cheese melts for added deliciousness.

High-Protein Omelette: Whip up an omelette by adding 1/2 cup of cottage cheese into the egg mixture. Throw in fresh veggies and cooked chicken for extra protein and flavor.

Cottage Cheese Cake Overnight Oats: Combine 1/2 cup of cottage cheese with 1/2 cup rolled oats.  Mix in a touch of vanilla, and 1/2 a mashed banana and let sit overnight.  Top with fresh raspberries.  It’s one of the best ways to have cake for breakfast!  Add stevia as needed for sweetness.  

Lunch:

Cottage Cheese Alfredo Sauce: A healthier version of the classic alfredo made with cottage cheese, parmesan cheese, garlic and fresh herbs blended until smooth. Serve over your favorite gluten free pasta for a nutritious lunch.

Cottage Cheese and Quinoa Salad: A filling salad that combines the protein power of quinoa and cottage cheese with fresh greens and a lemon olive oil dressing.

Stuffed Bell Peppers: Mix cottage cheese, cooked lean ground turkey, and quinoa for a filling, then stuff into bell peppers. Bake in the oven until the peppers are tender.

Cottage Cheese Tacos: Replace traditional taco meat with a blend of cottage cheese, taco seasoning, and black beans, served in lettuce wraps for a low-carb option.

Savory Cottage Cheese Dip: Blend cottage cheese until smooth, then mix with diced tomatoes, green onions, and a touch of garlic for a dip that goes well with tortilla chips or fresh veggies.

Cottage Cheese Egg Salad: For a refreshing twist, mix chopped boiled eggs with cottage cheese, mustard, and herbs for a high-protein egg salad.

Dinner:

Cottage Cheese Lasagna: Substituting ricotta with cottage cheese is a great way to boost the protein content in this classic dish. Layer with cooked pasta, your favorite sauce, and plenty of vegetables. I’ve done it several times with my baked ziti recipe!

Cottage Cheese Pizza: Swap out mozzarella for cottage cheese on your pizza for an unusual but tasty twist. Add toppings like cooked chicken breast, spinach, and bell peppers for added nutrients.

Cottage Cheese Stuffed Chicken: Stuff chicken breasts with a mixture of cottage cheese, spinach, and sun-dried tomatoes, then bake until juicy and tender.

Creamy Cottage Cheese Vodka Sauce: Make a quick cottage cheese Vodka sauce to create a creamy, satisfying pasta dish paired with grilled chicken.  Zip cottage cheese with your favorite jarred marinara sauce and then heat and serve!  

You can easily replace the ricotta in this recipe with cottage cheese.

Cottage Cheese Burrito Bowl: Mix cottage cheese with rice, beans, and fajita vegetables for a hearty and nutritious meal.

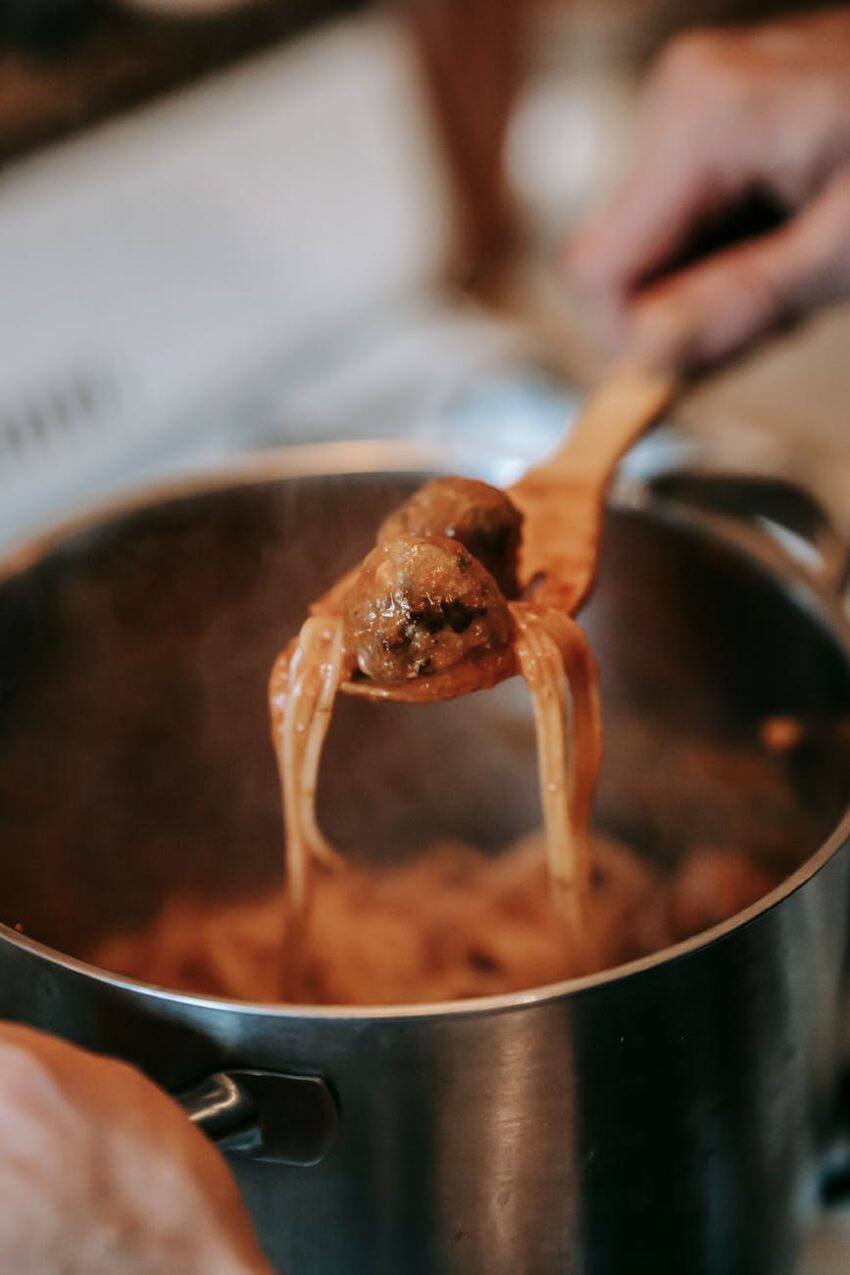
Cottage Cheese Bolognese: Replace half the meat in your traditional Bolognese sauce with cottage cheese for a lighter, yet still protein-rich sauce.

Snacks:

Cottage Cheese Ice Cream: Combine cottage cheese with coconut milk and your choice of sweetener, then freeze for a healthy alternative to traditional ice cream. Check out my recipe here!

Cottage Cheese Energy Balls: Blend cottage cheese with oats, chia seeds, protein powder, and a bit of honey, then roll into balls and refrigerate—a perfect pre-workout snack.

Cottage Cheese and Fruit Parfait: Layer cottage cheese with fresh fruits, a drizzle of honey, and some granola for a quick and easy snack.

Cottage Cheese Dip for Fresh Veggies: Blend cottage cheese until smooth, then season with your favorite spice mix.  I like the Trader Joe’s Ranch seasoning for a kid friendly dip that pairs well with any type of fresh vegetables.

Cottage Cheese Caprese Bites: A simple snack of a slice of tomato, topped with a scoop of cottage cheese, basil leaf, and a drizzle of balsamic glaze. Don’t forget the flaky sea salt!

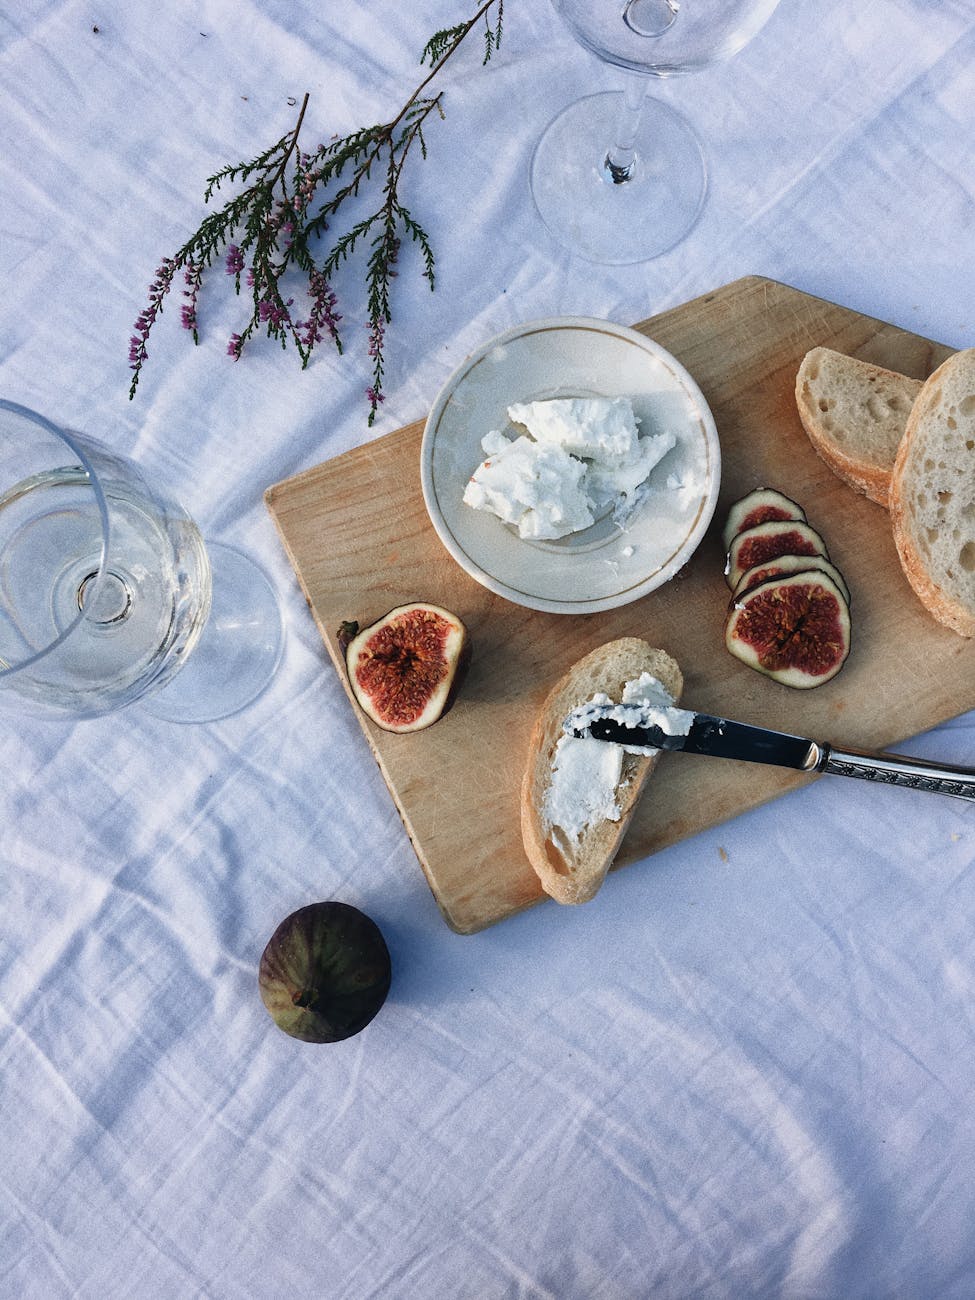
Cottage Cheese on Toast: Just scoop your cottage cheese onto your favorite gluten free bread or seed cracker. Top withe diced tomato, chive and everything but the bagel seasoning.

Additional Meal Ideas:

Protein-Packed Smoothies: Blend cottage cheese with fresh or frozen fruit, almond milk, and a scoop of protein powder for an easy way to increase your protein intake.

Cottage Cheese-Stuffed Avocado: Halve an avocado and fill with cottage cheese, topped with salsa and a squeeze of lime, for a balance of creamy and tangy flavors.

Cottage Cheese Frittata: Beat eggs with cottage cheese, pour into a baking dish, and add your choice of vegetables and cheese. Bake until set for a high-protein, easy meal prep option.

Cottage Cheese Meatballs: Combine cottage cheese with ground meat, breadcrumbs (gluten-free options available), and spices. Basically use in place of your liquid or eggs. Bake and serve with your favorite sauce.

Savory Cottage Cheese Crepes: Fill crepes with cottage cheese mixed with herbs and shredded chicken for a delightful lunch or dinner option.

Cottage Cheese and Berry Compote: A simple dessert or snack, layer cottage cheese with a homemade berry compote for a burst of flavor.

Incorporating cottage cheese into your meals is not only an easy way to boost your protein intake but also enhances the flavor and texture of dishes. From the creamy sauce of a lasagna to the sweet satisfaction of cheesecake, cottage cheese proves to be a great ingredient for anyone looking to maintain a healthy, high-protein diet. 

Benefits of eating cottage cheese

It’s a good source of high-quality protein.  With about 12 grams of protein per half-cup serving, cottage cheese is an excellent source of casein protein. 

It’s a source of bone-strengthening minerals: Cottage cheese is packed with calcium, phosphorus, and magnesium, which are vital for strong, healthy bones. 

Can be low in fat: Available in low-fat and nonfat varieties, cottage cheese is an excellent option for those looking to reduce their fat intake without sacrificing taste or nutritional value.

Gut Health Benefits: When produced with live and active cultures, cottage cheese can offer probiotics similar to yogurt, promoting a healthy gut microbiome. 

Macros

This is a list of ideas. You will need to play with the amounts you use to fit your macro goals. Feel free to DM or email me with questions!

References

1.  https://www.americandairy.com/health-wellness/benefits-of-dairy/cottage-cheese/

About Me

I’m Melanie.

I’m a chef, registered dietitian, foodie, wife and mom.
If you’re looking for quick and healthy meal inspiration that serves YOU and your family well, then you’ve come to the right place!

Melanie Marcus Selfie