Simple Eggless Banana Muffin Recipe (with Flax)
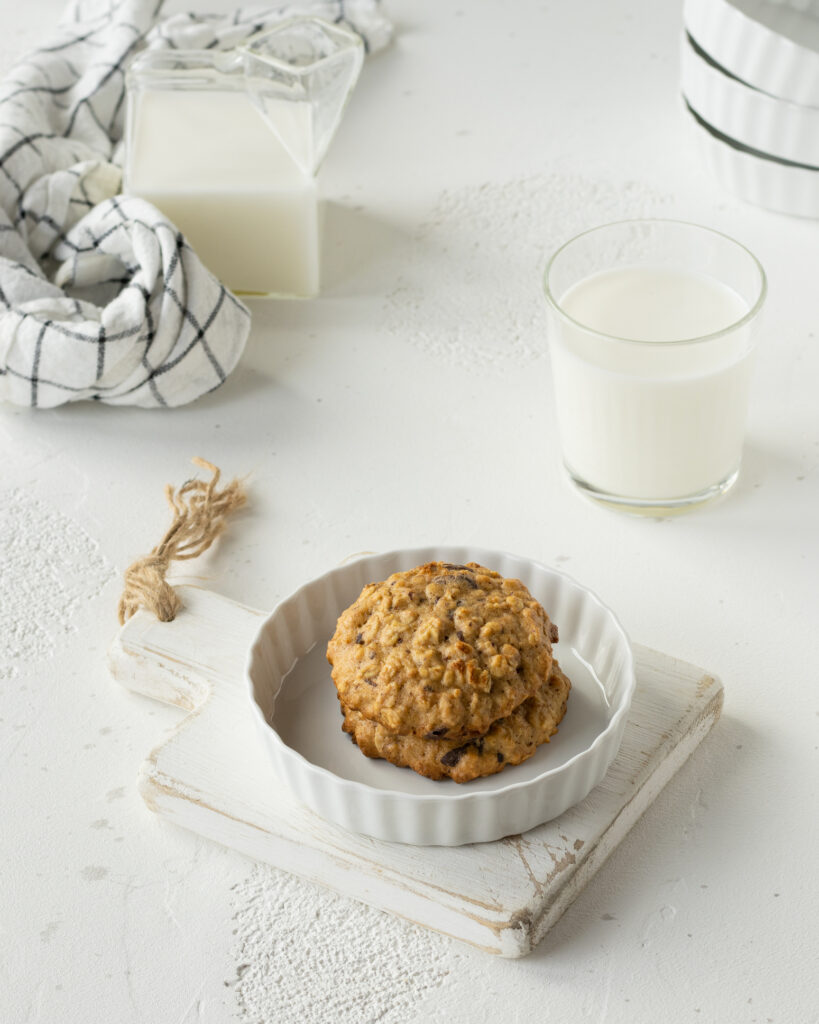
Muffins are on a weekly rotation in our house. Whether they’re store bought or homemade, we love them. Enjoyed with a hot cup of coffee or a tall glass of milk, does a better, more convenient go-to breakfast or snack exist? Delicious muffins are actually quite easy to whip up, and they can easily be made without eggs – and they’re super easy to batch cook! In fact, you can even make vegan muffins quite easily with just a few substitutions.
I found this recipe online several years ago, jotted it down in my kitchen notebook and have been using it ever since!
Jump to RecipeTable of contents
Why would I want to make eggless muffins?
Eggs are a nutrient dense food to have in your fridge, but there are times when they’re not available. More recently, they’ve become quite expensive and are about 3x’s the price they were just a year or two ago.
There are also those with egg allergies or dietary preferences such as vegan that simply choose not to eat eggs.
Making egg-free banana muffins with a flax egg is a great way to incorporate healthy plant based fat into your diet as well. My kids don’t even know the flax is in there!
My favorite Banana Muffin Recipe
I’ve tried a lot of banana muffin recipes. Many are high in fat and refined sugars, and the “better for you versions” often flop. My favorite recipe uses a combo of apple cider vinegar and flax seed that just gives them an overall comforting flavor, especially when they come right out of the oven. I also love this recipe because I can make them in a large mixing bowl and don’t have to pull out the stand mixer!
Jump to RecipeIngredients you need for these quick eggless banana muffins
- ground flaxseed
- whole wheat flour
- all purpose flour
- warm water
- cinnamon
- nutmeg
- baking powder
- baking soda
- kosher salt
- 1% milk
- apple cider vinegar
- maple syrup
- canola or grape-seed oil, any neutral oil
- vanilla extract
- mashed overripe bananas
- mini chocolate chips
Additions and Substitutions
What if I don’t have apple cider vinegar?
White vinegar or lemon juice will work well too! I would not suggest using a balsamic vinegar because that flavor is quite distinct. If you don’t have any vinegar on hand, you can also leave it out.
What can I use instead of whole wheat flour?
For this recipe, I like to use a flour mixture. It helps limit the number of different flours that I have in my pantry. You could easily use a whole wheat pastry flour or a white whole wheat flour instead. Alternatively, I have used all white flour without an issue in this recipe. When I’ve used 100% all purpose flour instead of a blend, I’ve found the muffin batter was just a bit thick and needed 1/4 cup more milk.
What can I use instead of flax seed?
Use 2 eggs and omit the water instead! No problem :). Read more about the flax egg here.
What can I use instead of maple syrup?
The natural sweetness from mashed bananas is enhanced by maple syrup but you could easily use an equal amount of agave or even honey. In an absolute pinch, you could use white sugar in this recipe, but I prefer to recommend more natural sources of sweetness.
Which oil is best to use?
Almost any oil will work here. Vegetable oil, sunflower oil even olive oil will work if you like the flavor! Melted butter is traditionally used in muffins to create a fluffy texture, but we use oil instead. Because oil is a fat that is liquid at room temperature, it’s a more heart healthy alternative. Coconut oil would work in this recipe but it would increase the saturated fat and contribute a distinct flavor.
Can I leave the chocolate chips out?
Yes, but I don’t know why you’d want to! Just kidding, there is a time and place for everything. I often make them without any add ins, and they disappear just as quickly! You can also add raisins, white chocolate chips, chopped walnuts or fresh blueberries.
Can I leave out the milk?
If you don’t have milk on hand or follow a dairy free lifestyle, soy milk, oat milk or almond milk will work perfectly fine. You could also use lactose free milk, unsweetened vanilla almond milk or a light refrigerated coconut milk instead. You could also use full fat milk or even fat free milk if that is what you have on hand.
Jump to RecipeHow to make a moist eggless banana muffin
First, preheat the oven to 350F.
Next, prepare your muffin pan by lining with paper liners. If you don’t have muffin cups, spray the muffin tray with nonstick spray.
Then, combine all of the dry ingredients in a large bowl.
Combine, all of the wet ingredients in another bowl. I like to use a 4 cup measurer for this.
Then add half the dry ingredients into the wet, and mix until combined. Add the remaining dry ingredients.
Once combined, add your optional mix in’s
Pour batter in to prepared muffin tin. I like to use an ice cream scoop or 1/3 cup measuring cup to ensure they’re all the same size.
This is a good time to add more optional mix in’s to the top of the muffins! OR, skip mixing them in and just add a few for interest on top! This is what they do at the coffee shop with caster sugar. They sprinkle it on top for extra crunch!
Slide the tray onto the center rack of the oven. Be sure it’s a preheated oven!
Set timer for 20 minutes or until a toothpick comes out clean.
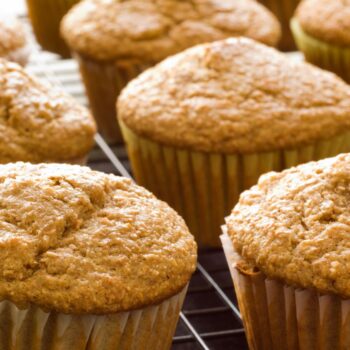
Let them cool down on a wire rack and store in the fridge in an airtight container for up to a week!
Eggless Banana Muffins
Ingredients
- 4 tbsp flax seed ground
- 4 tbsp water warm
- 1 cup whole wheat flour
- 3/4 cup white flour
- 1 tsp cinnamon
- 1/4 tsp nutmeg
- 1 tsp baking powder
- 1/2 tsp baking soda
- 1/2 tsp kosher salt
- 2/3 cup 1% milk
- 1 tbsp apple cider vinegar
- 1/3 cup maple syrup
- 1/3 cup neutral oil
- 1 tsp vanilla
- 1 cup banana mashed
- 1/2 cup chocolate chips or other mix ins optional
Instructions
- First, preheat the oven to 350F.
- Next, prepare your muffin pan by lining with paper liners. If you don't have muffin cups, spray the muffin tray with nonstick spray.
- Then, combine all of the dry ingredients in a large bowl.
- Combine, all of the wet ingredients in another bowl. I like to use a 4 cup measurer for this.
- Then add half the dry ingredients into the wet, and mix until combined. Add the remaining dry ingredients.
- Once combined, add your optional mix in's.
- Pour batter in to prepared muffin tin. I like to use an ice cream scoop or 1/3 cup measuring cup to ensure they're all the same size.
- This is a good time to add more optional mix in's to the top of the muffins! OR, skip mixing them in and just add a few for interest on top! This is what they do at the coffee shop with caster sugar. They sprinkle it on top for extra crunch!
- Slide the tray onto the center rack of the oven. Be sure it's a preheated oven!
- Set timer for 20 minutes or until a toothpick comes out clean.
- Let them cool down on a wire rack and store in the fridge in an airtight container for up to a week!