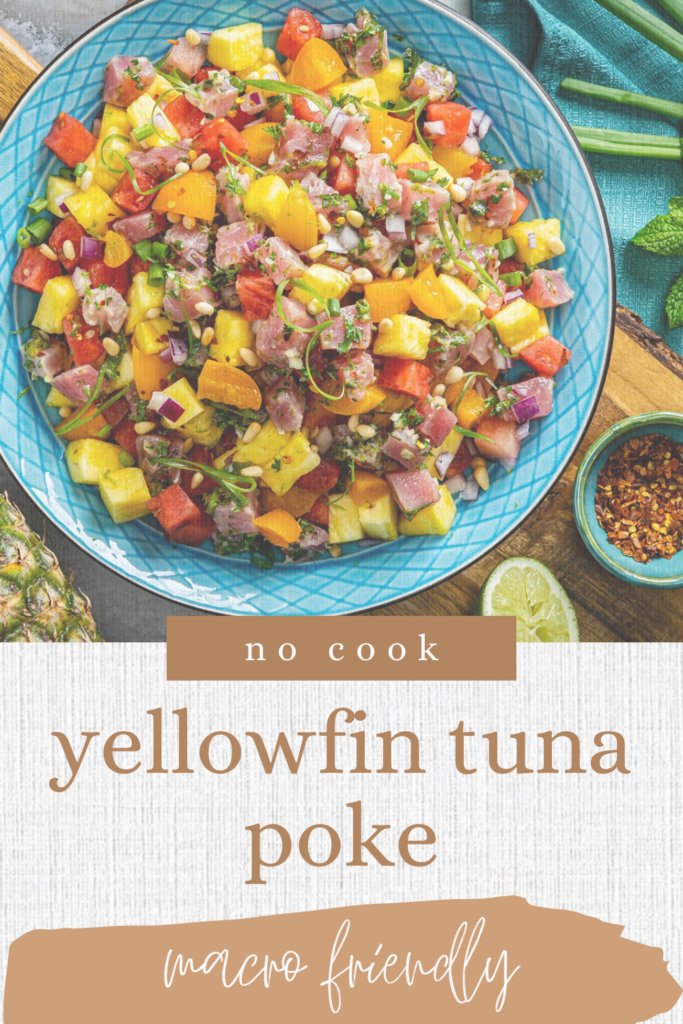
The Ultimate Yellowfin Tuna Poke Salad Recipe
If you like sushi – then this recipe is for you. I recently tested this recipe originally from dole.com and made a few tweaks and it is my new obsession.
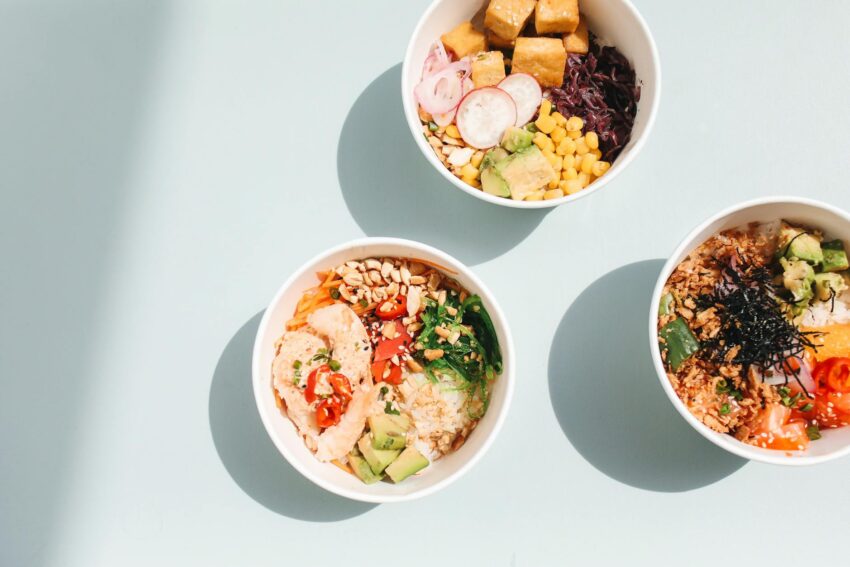
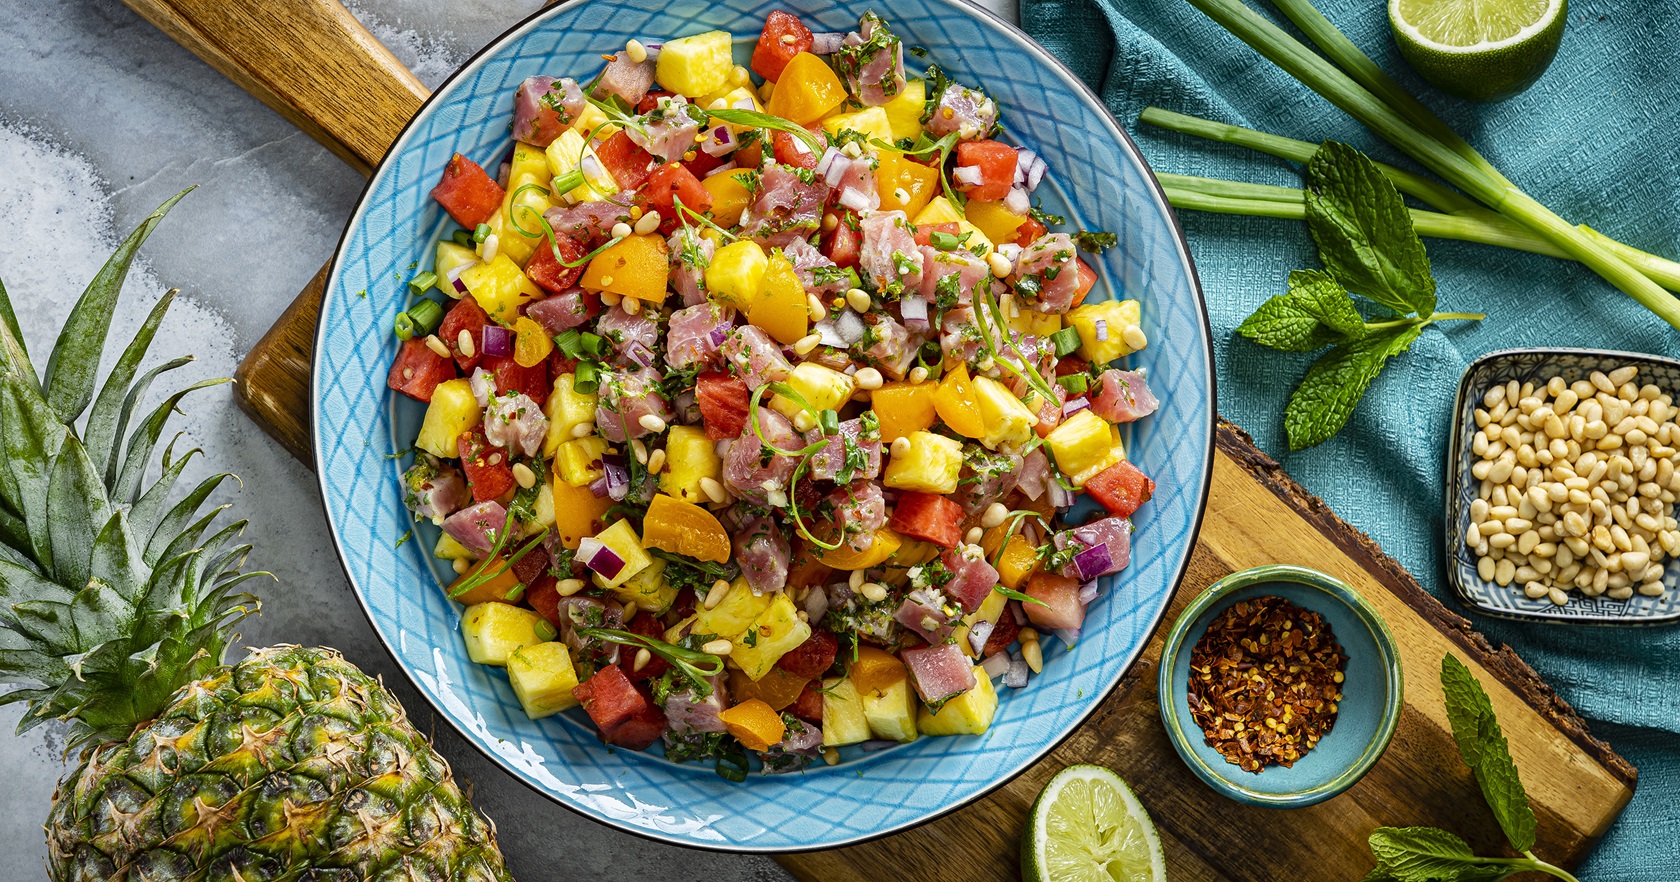
Poke (pronounced “POH-kay”) has surged in popularity, becoming a staple of healthful eating for many. A traditional Hawaiian dish that has leaped from the islands to the mainland, poke bowls are known for their fresh fish, vibrant sauces, and the sheer satisfaction of customizable, bowl-based feasting. Today, I’m sharing a Yellowfin Tuna Poke recipe.
Jump to RecipeOnce you make you’re own fresh poke, I think it’s safe to say – you’ll be hooked!
Ingredients & Substitutions for yellowfin tuna poke
- Red wine vinegar: substitute with a splash of another acidic component like apple cider vinegar for a similar tangy kick.
- Honey: for a different type of sweetness or if honey is not on hand, try using agave syrup or a dash of sugar.
- Lime juice and zest: lemon in combination with orange juice would be nice.
- Garlic: I would consider using frozen pureed garlic for this if fresh wasn’t available.
- Fresh parsley and mint: cilantro would offer a similar freshess.
- Crushed red pepper : optional
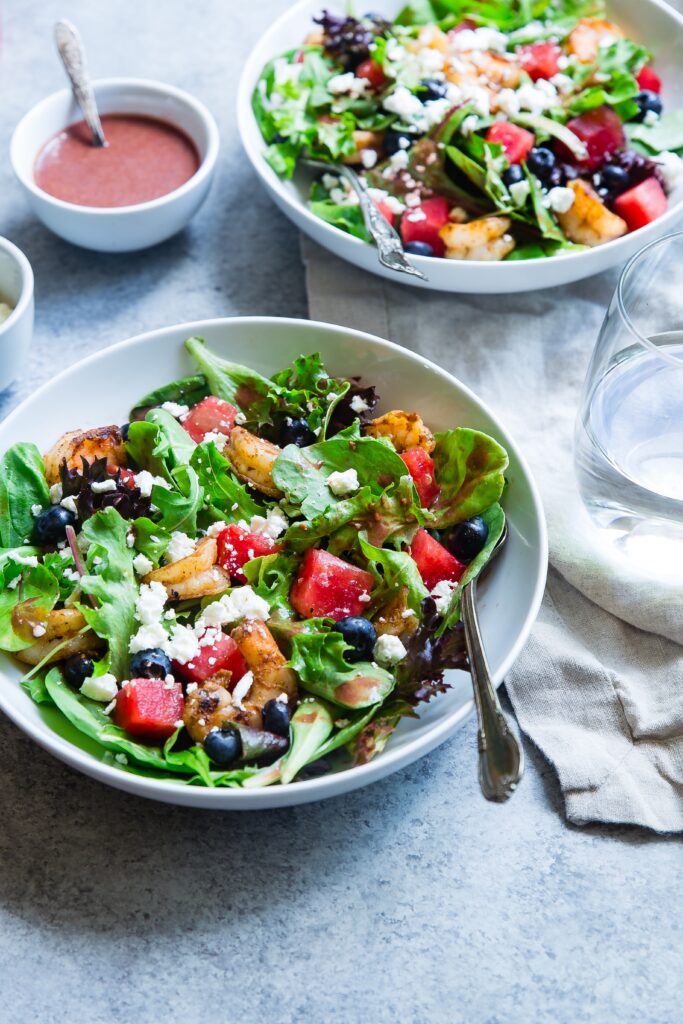
- Sushi-grade Yellowfin tuna:consider using other types of sushi-grade fish such as Ahi tuna, salmon or cooked shrimp
- Pineapple and watermelon
- Red Onion: sweet yellow onion
- Green Onions
- Pine nuts: macadamia nuts would be a great alternative.
How to make yellowfin tuna poke
- Combine vinegar, honey, lime zest and juice, garlic, parsley, mint and red pepper in medium bowl. Add tuna and toss to evenly coat. Set aside.
- Stir together pineapple, watermelon and red onion, in large bowl. Spoon over tuna. Sprinkle with green onion and nuts.
Serving Suggestions
Serve your tantalizing Yellow Fin Tuna Poke with:
- white rice
- cauliflower rice
- brown rice
- avocado slices
- sriracha mayo
- black sesame seeds
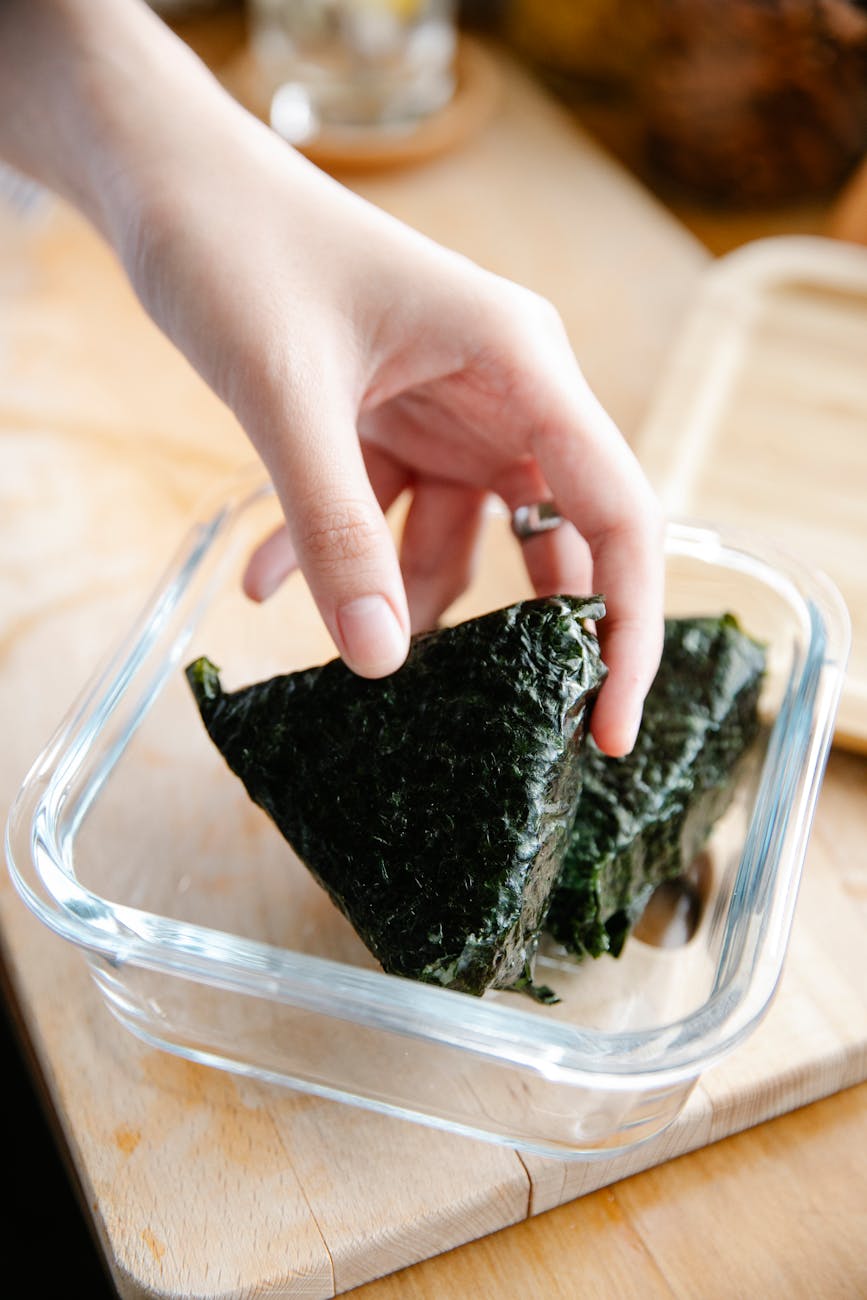
- nori sheets
Crafting the Perfect Bowl of Yellowfin Tuna Poke
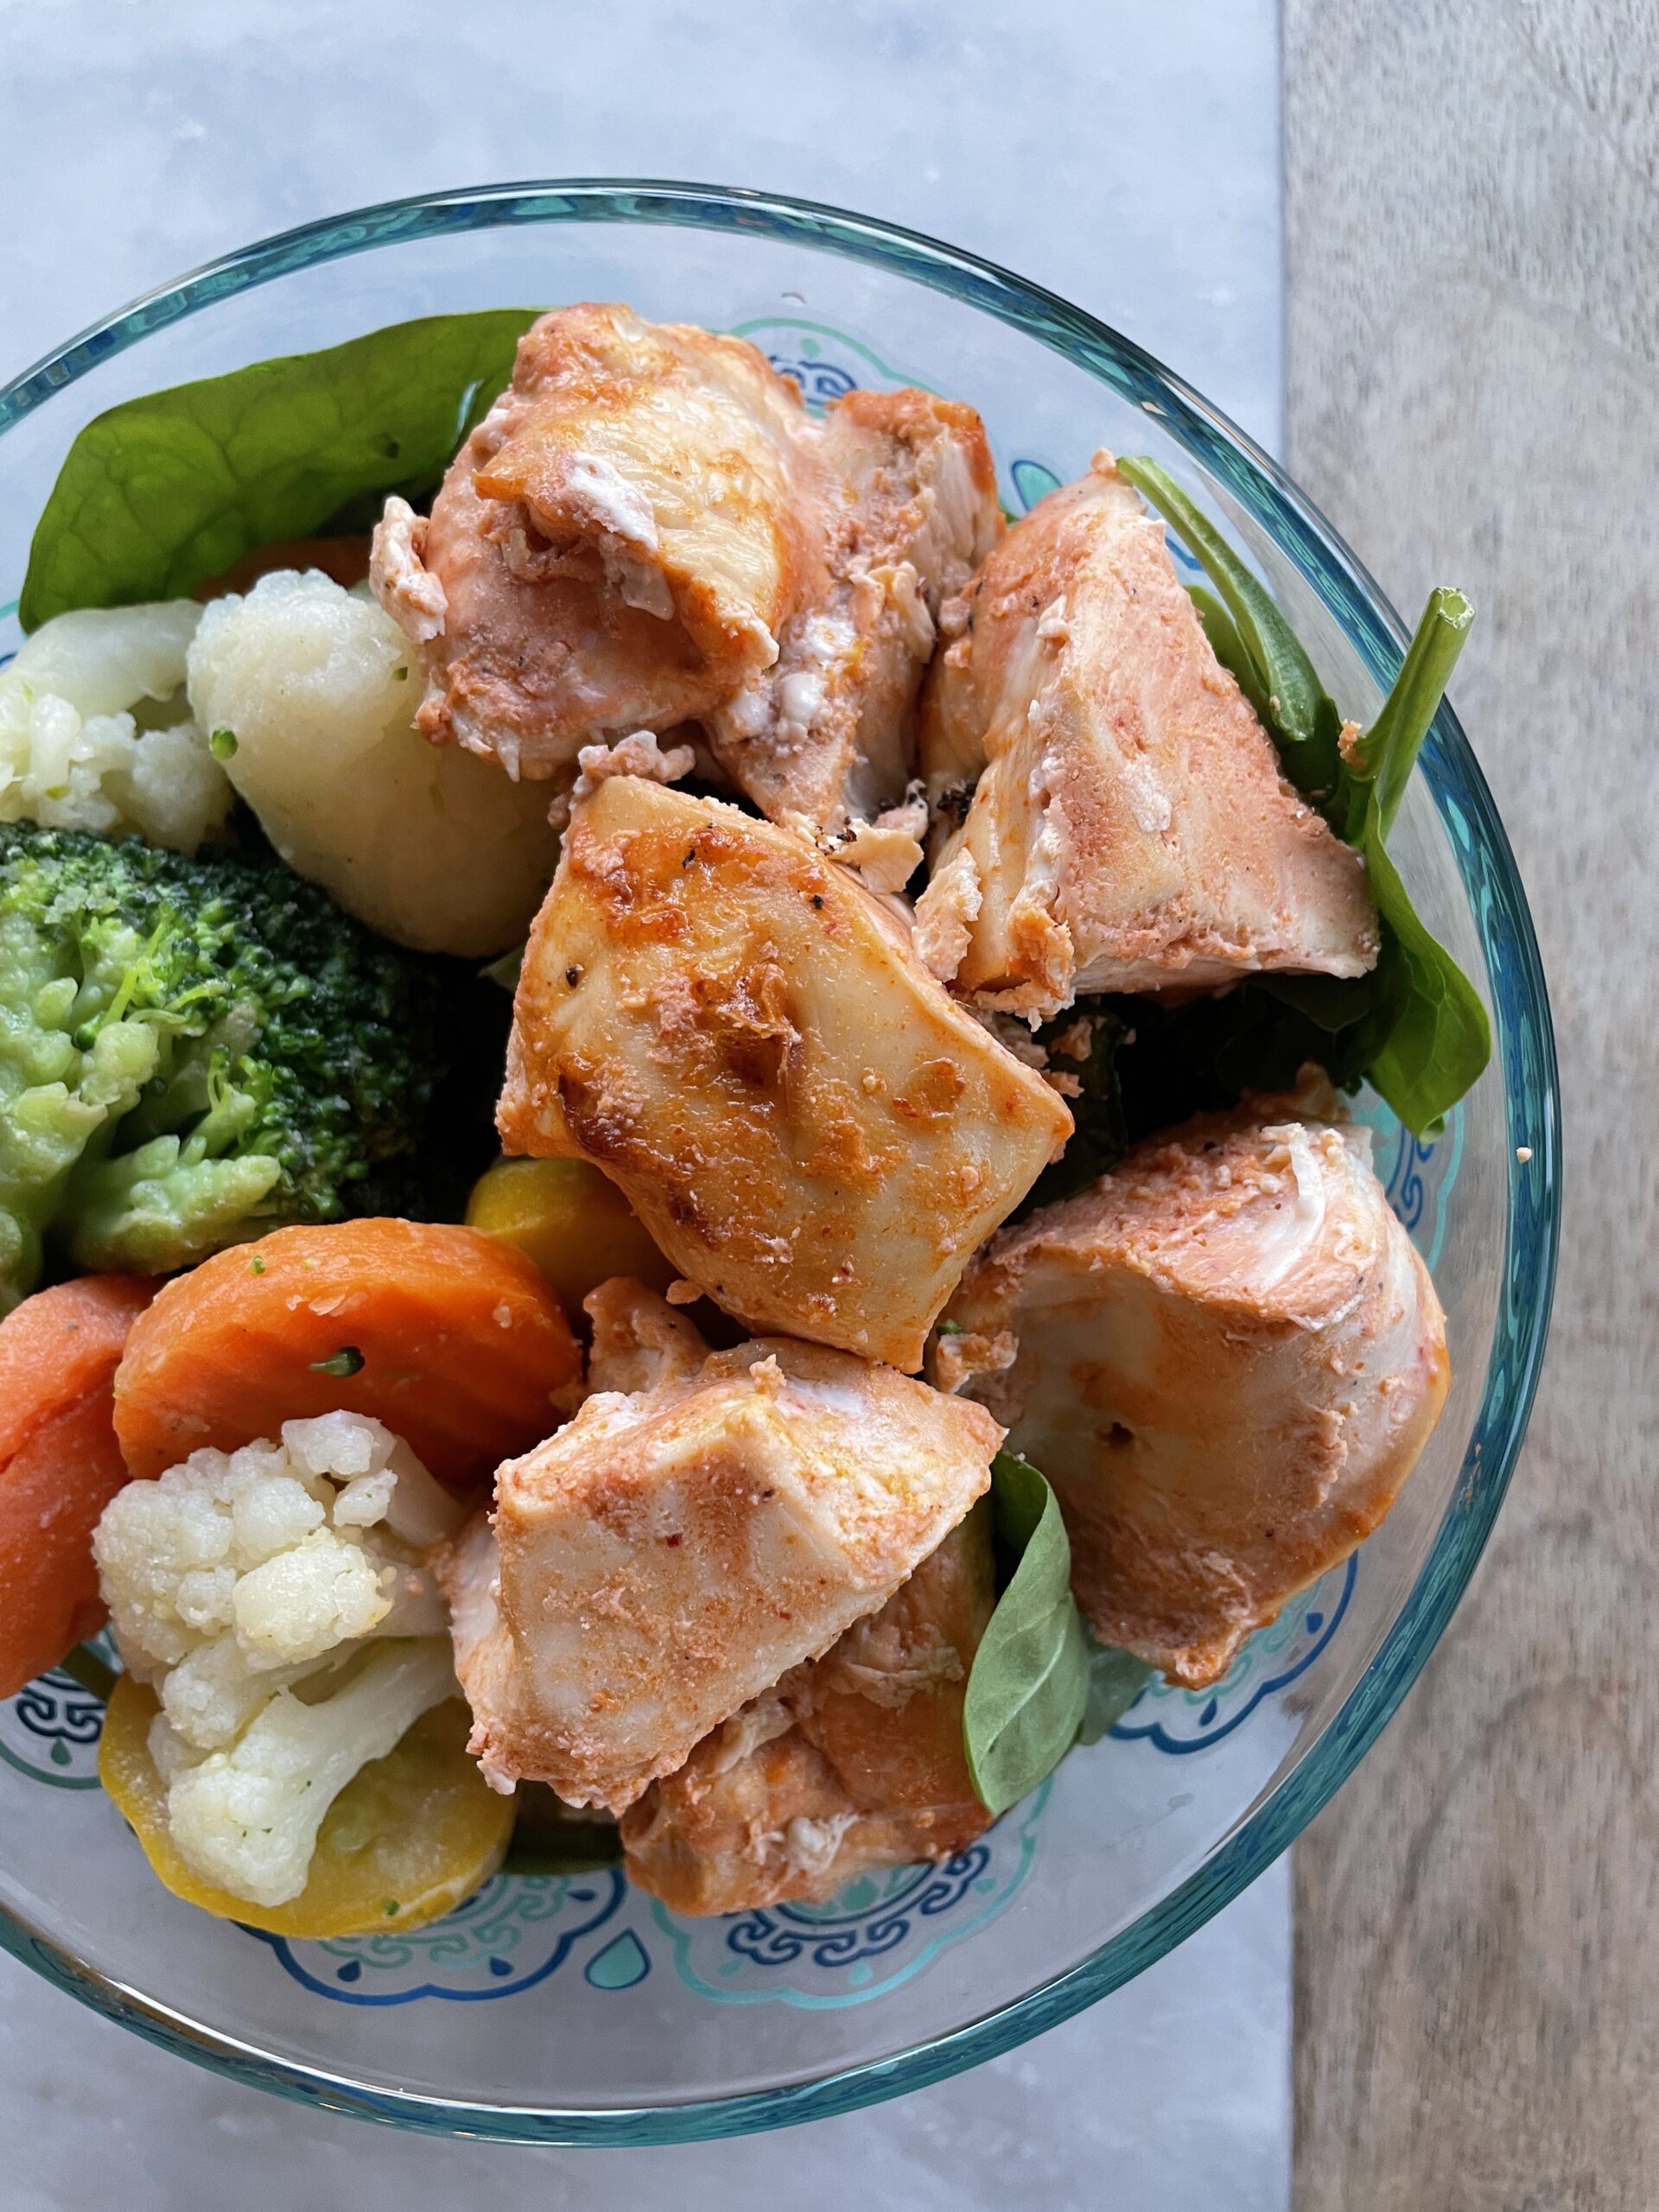
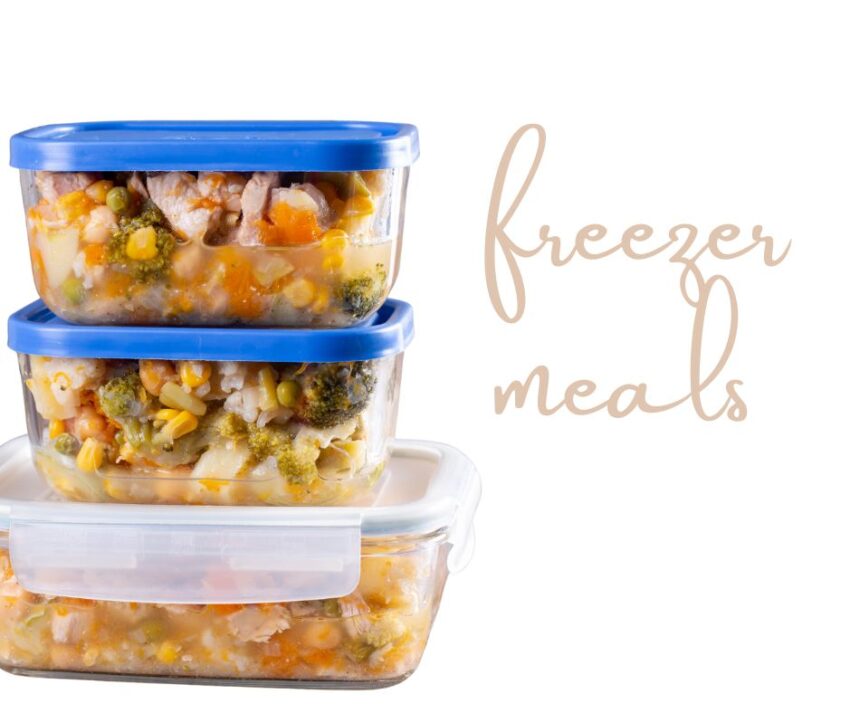
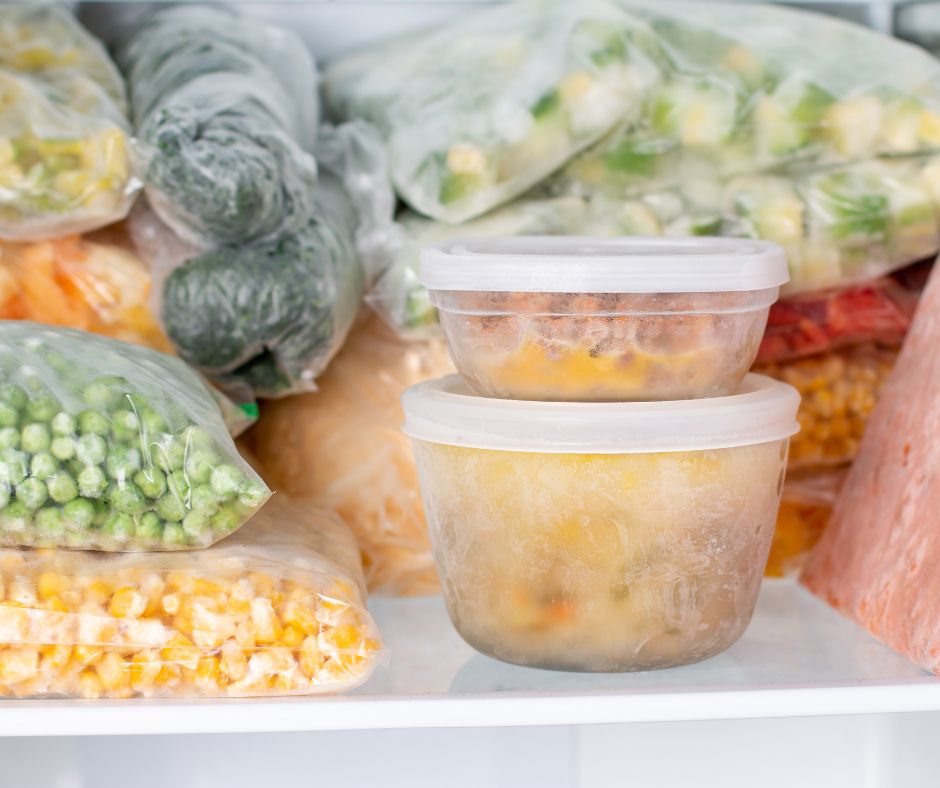
Now comes the fun part. Poke bowls are a great way to use up a variety of items from the fridge or freezer.
Step 1: Sushi-Quality Yellowfin
A sushi-grade quality is non-negotiable as we will be enjoying this dish on the raw side. sushi-grade tuna can usually be found in specialty or high-end grocery stores, I found mine at Whole Foods in the freezer section – it was even on sale! You can also purchase sushi grade fish from many grocery store sushi counters.
Step 2: Cube with Care
Handling tuna, especially when it’s to be enjoyed raw, deserves attention. Think precision and uniform cubes of about 1/4-inch in size. This not only aids in even marination but ensures a pleasant mouthfeel. I recommend cutting the fish when it is still frozen to prevent tearing.
Step 3: The Marinade Matters
When crafting a Yellowfin Tuna Poke, the marinade is the soul of the dish. This recipe combines honey, red wine vinegar and lots of lime juice and zest and red onion.
Step 4: Add More Produce
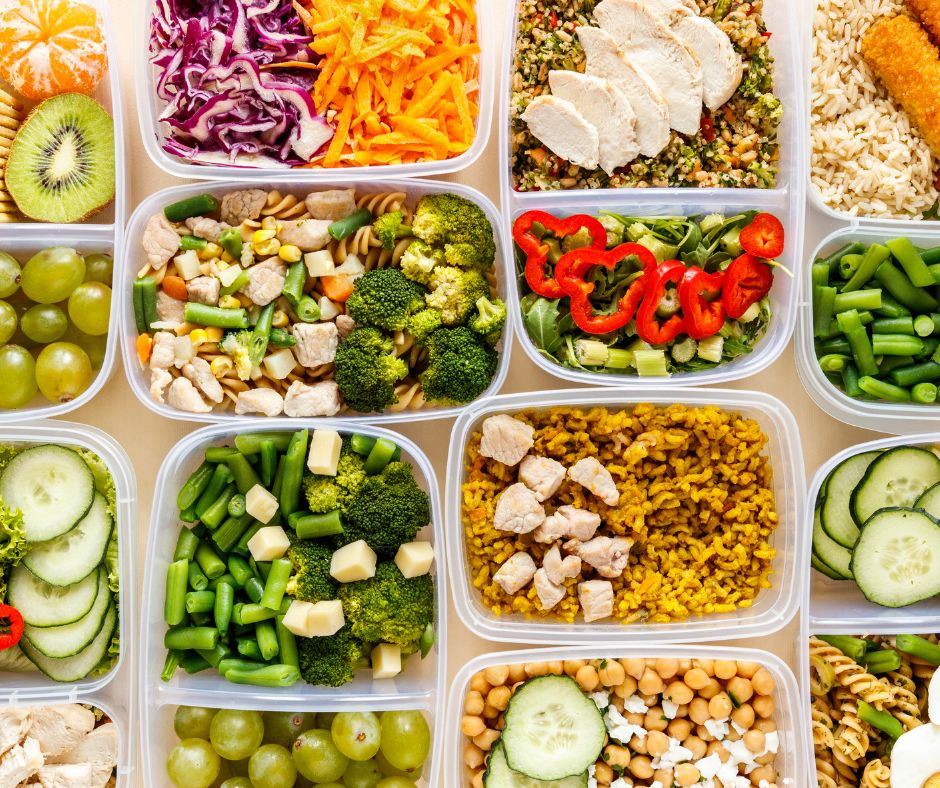
Every great dish has a produce sidekick, and the Yellowfin Tuna Poke is no exception. Sky is the limit. Add daikon radish, cabbage slaw or crunchy carrots for color.
Step 5: The Bowl Build
Take a large bowl and layer the base with a sticky grain, whether that’s traditional white sushi rice, or a health-conscious substitution like cauliflower rice or brown rice. Place the marinated poke salad on top, then artfully arrange your toppings. Think – avocado, seaweed salad, or edamame.
Step 6: The Final Splash
Some extra drizzles of the marinating sauce, a dollop of spicy mayo, a couple of dashes of sesame seeds, and perhaps a wedge of lime to brighten the flavors, and your ultimate Yellowfin Tuna Poke bowl is ready to be relished in all its healthful glory.
Tips and Tricks for the Freshest Poke Bowl Experience
Tip 1: Keep It Cool
Yellowfin Tuna Poke is at its prime when its components are cool and freshly assembled. Keep it chilled until the moment of serving.
Tip 2: Spice Sensibly
Use spice to enhance, not to dominate. The same goes for the spicy mayo—less can certainly be more in this case.
Tip 4: Serve with the Right Sides
Traditional sides include edamame, pickled ginger, or even kale for those seeking a heartier accompaniment. Choose your sides wisely to complement the dish and your preferred taste.
Tip 5: The Deconstructed Roll
Transform the poke experience into a deconstructed sushi roll by serving the ingredients alongside a bed of leafy greens or even in a nori wrap for a handheld taste adventure.
Is Raw Tuna Safe to Eat?
Addressing the question that often stops poke enthusiasts in their tracks—Is raw tuna safe? Here’s the raw truth. When sourced from trusted vendors, and prepared and stored properly, the risks are minimal. Always look for the word ‘sushi-grade’ to ensure a certain level of safety in handling and quality.
Cooling in Confidence
Rapid and sustained cooling prevents bacteria growth. If the fish is not to be consumed immediately, keeping it in an airtight container, placed on top of ice, ensures it stays out of the temperature danger zone.
The Health Check
For those with medically restrictive diets or concerns, it’s best to consult a professional before including raw fish. But for average, health-conscious consumers, the occasional inclusion of Yellowfin Tuna Poke can be a fantastic addition to a well-rounded diet.
Nutrition Benefits
Lower in sodium
This recipe relies on the natural salinity from the yellowfin tuna and does not used added soy sauce or coconut aminos for flavor. This makes this recipe a great fit for anyone who is concerned with sodium, blood pressure or overall heart health.
Heart-healthy fat
Tuna is a natural source of healthy fats such as omega-3 fatty acids. These fats have been shown to improve heart health, reduce inflammation in the body, and may even help with cognitive function.
Lean protein
Yellowfin tuna is a great source of lean protein, making it an ideal choice for those looking to build muscle or maintain a healthy weight. It also contains essential amino acids that our bodies need for various functions, including tissue repair and hormone production.
Macro Friendly
This recipe delivers protein and carb macros with little fat. It’s made with whole foods and is perfect on it’s own for a low macro day, or it can be combined with more macro dense foods for regular macro or feast day. Check out this post to learn more about macros and the FASTer Way to Fat Loss.
Ingredients
Method
- Combine vinegar, honey, lime peel, lime juice, garlic, parsley, mint and red pepper in medium bowl.
- Add tuna and toss to evenly coat. Set aside.Stir together pineapple, watermelon and red onion, in large bowl. Spoon over tuna. Sprinkle with green onion and nuts.
Nutrition