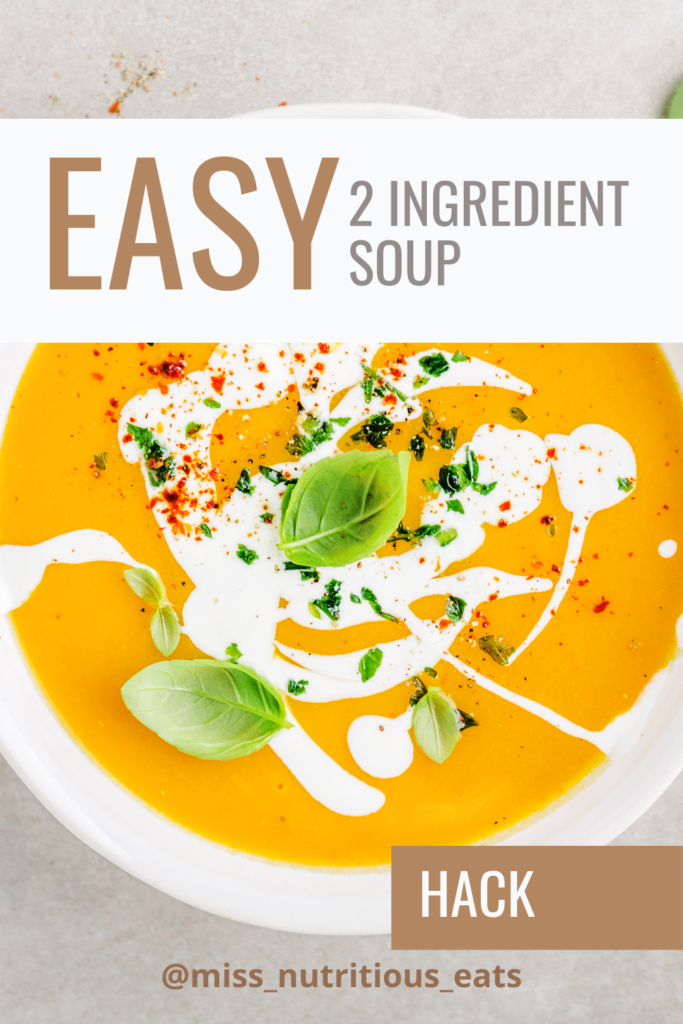
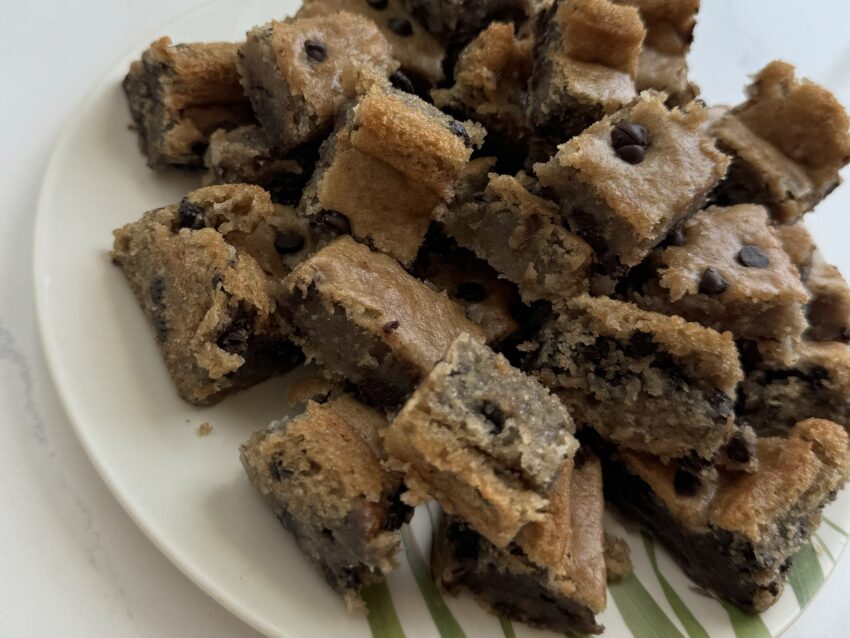
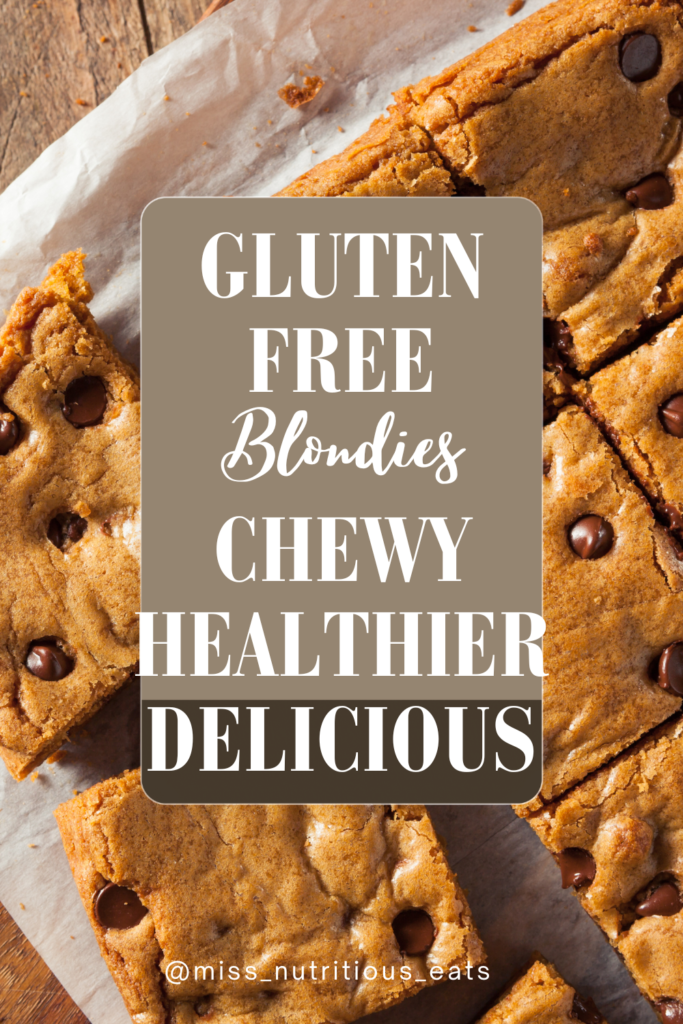
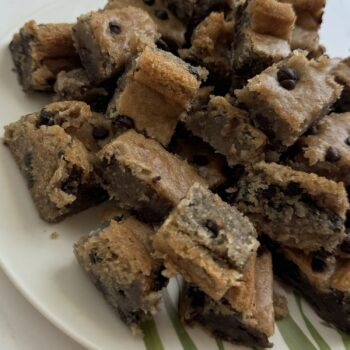
Healthier Recipe for chewy Gluten-Free Blondies
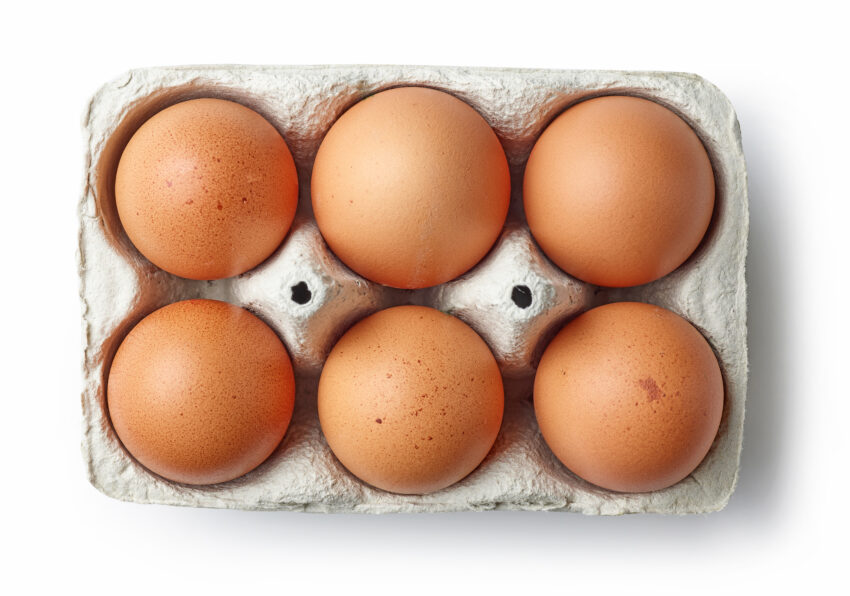
No butter, no eggs, xanthan gum
Full disclosure. This recipe is still a treat, AND it has a good amount of sugar in it. That said, these have a lot of redeeming qualities like protein, fiber and healthy fats because we’re using almond butter, almond flour and white beans to keep it vegan if that’s a concern for you. I know, I said beans. But stick with me, no one will know they are in there.
So… if you’re craving a sweet treat but want to keep it healthy-ish these healthier blondies will satisfy your sweet tooth while keeping your macros on track. These blondies are vegan, vegetarian, and gluten-free, making them perfect for anyone with dietary restrictions or preferences. Plus, they’re made from simple ingredients that you probably already have in your pantry.
Table of contents
Ingredients
Here’s what you’ll need to make these delicious and healthier blondies:
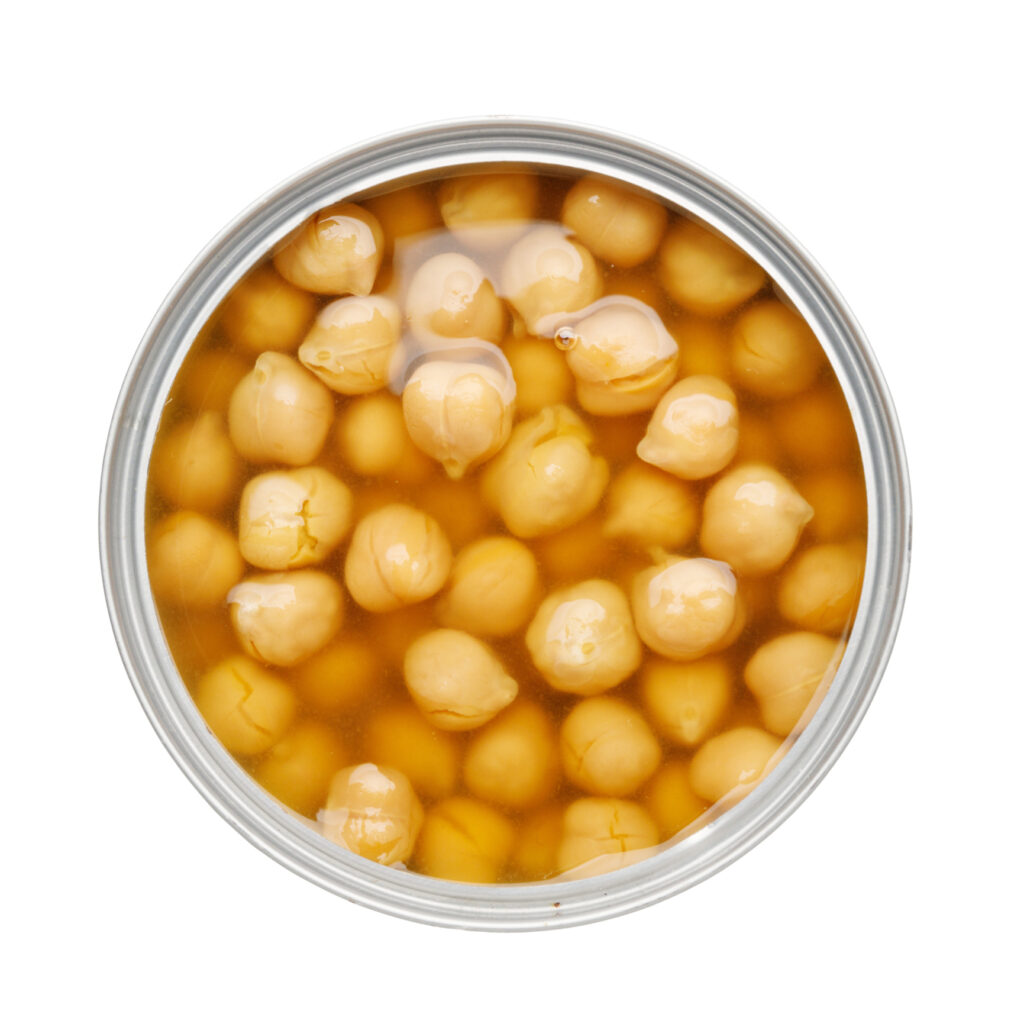
- 1 can white beans, drained and rinsed very well
- 1 tsp baking powder
- 1/4 tsp each of salt and baking soda
- 3/4 cup granulated sugar (you can also use coconut sugar, or light brown sugar for a distinct taste)
- 1/2 cup almond flour or almond meal
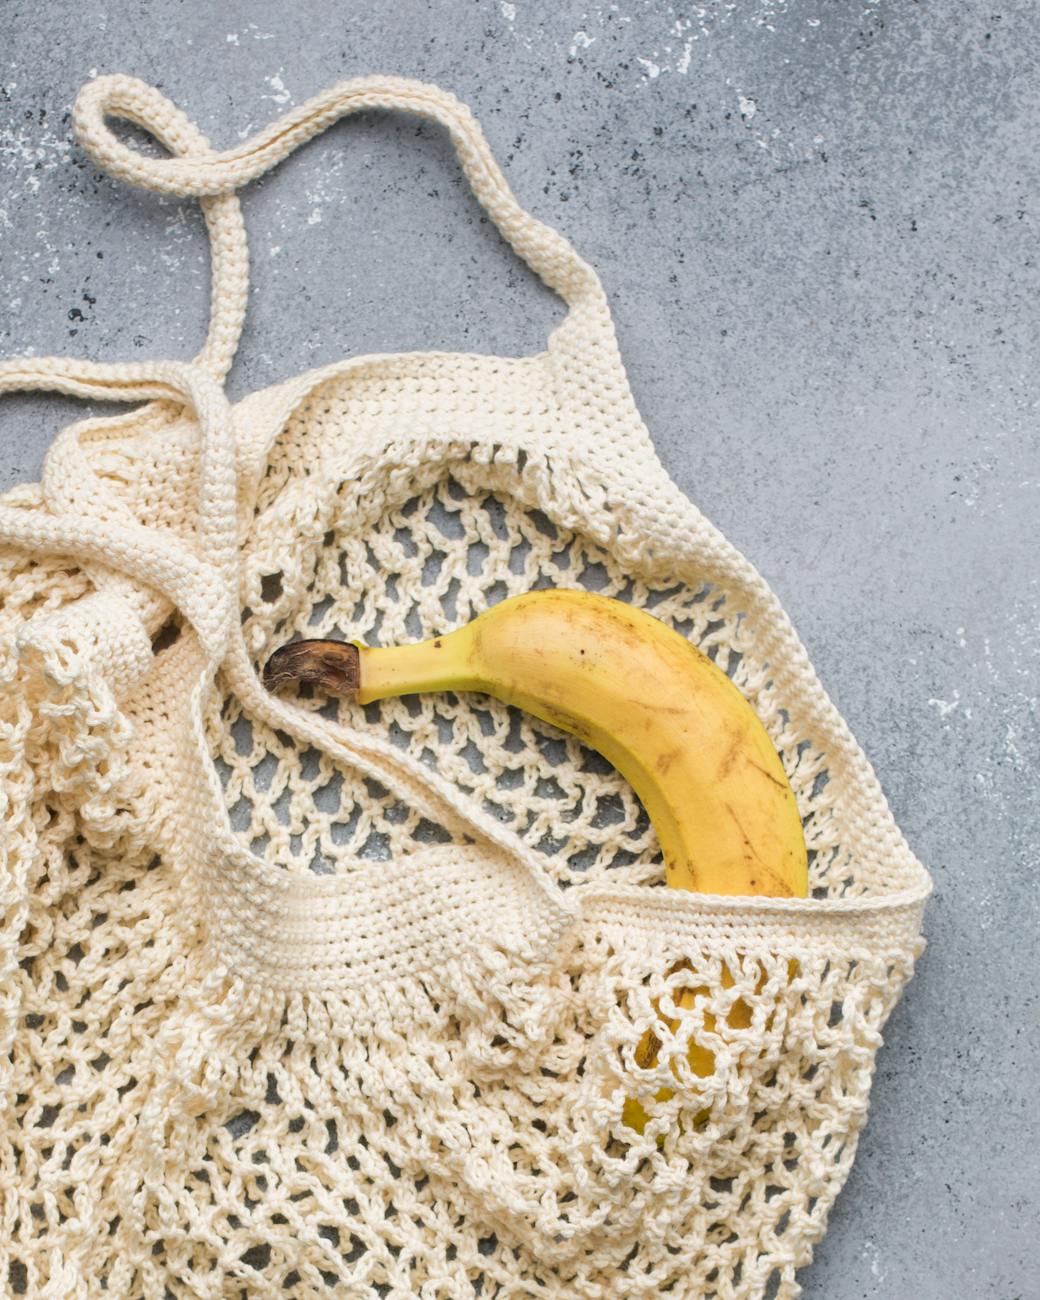
- 1/4 cup mashed banana
- 1/4 cup nut butter (like almond butter or peanut butter)
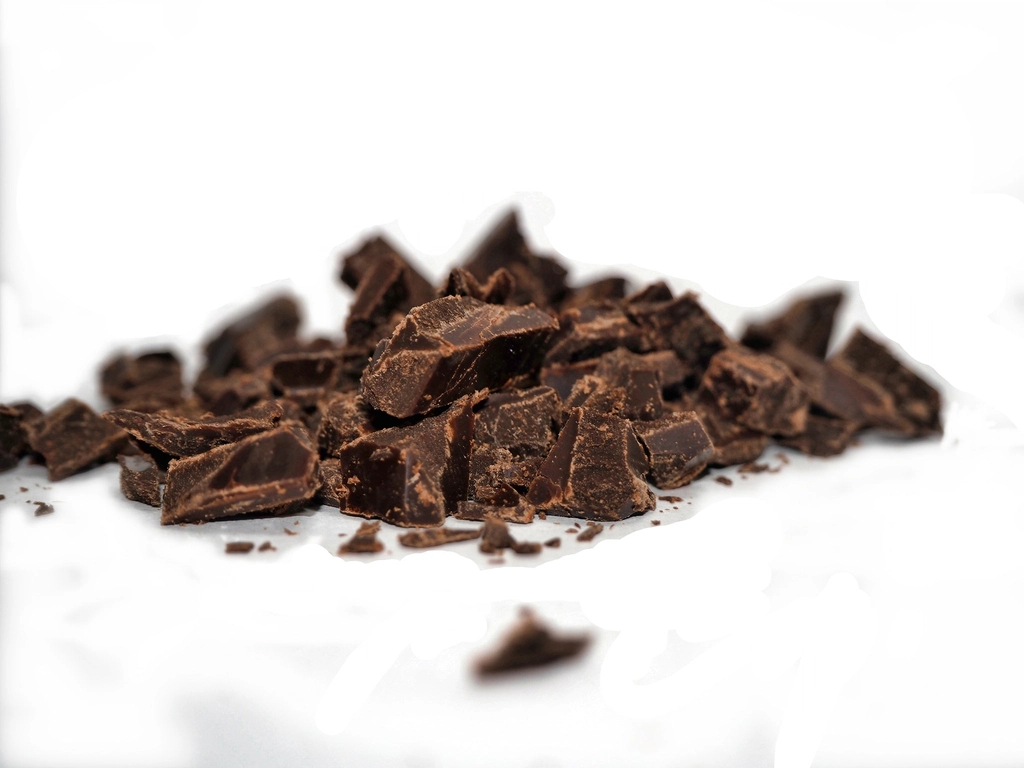
- 1/4 cup chocolate chips (or butterscotch chips if you prefer)
- 1 tsp vanilla extract
Instructions
Follow these steps for the best results:
Preheat Your Oven
- Preheat your oven to 350 degrees Fahrenheit. Grease an 8×8 baking pan or line it with parchment paper to prevent sticking.
Blend Ingredients
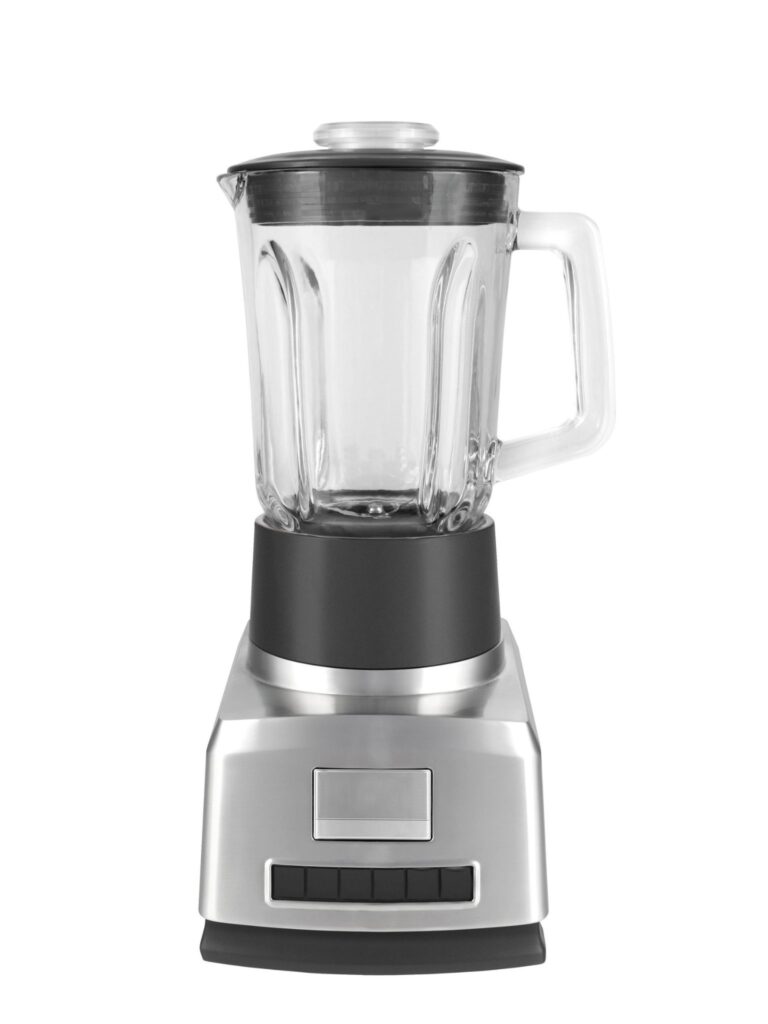
- In a good food processor, blend all the ingredients (except the chocolate chips) until very smooth. If you don’t have a food processor, an electric mixer and a large mixing bowl will work too. Just ensure to blend the beans very well.
Incorporate Chocolate Chips
- Mix the chocolate chips into the blondie batter using a wooden spoon. You can also add some chocolate chips on top for extra gooeyness.
Bake
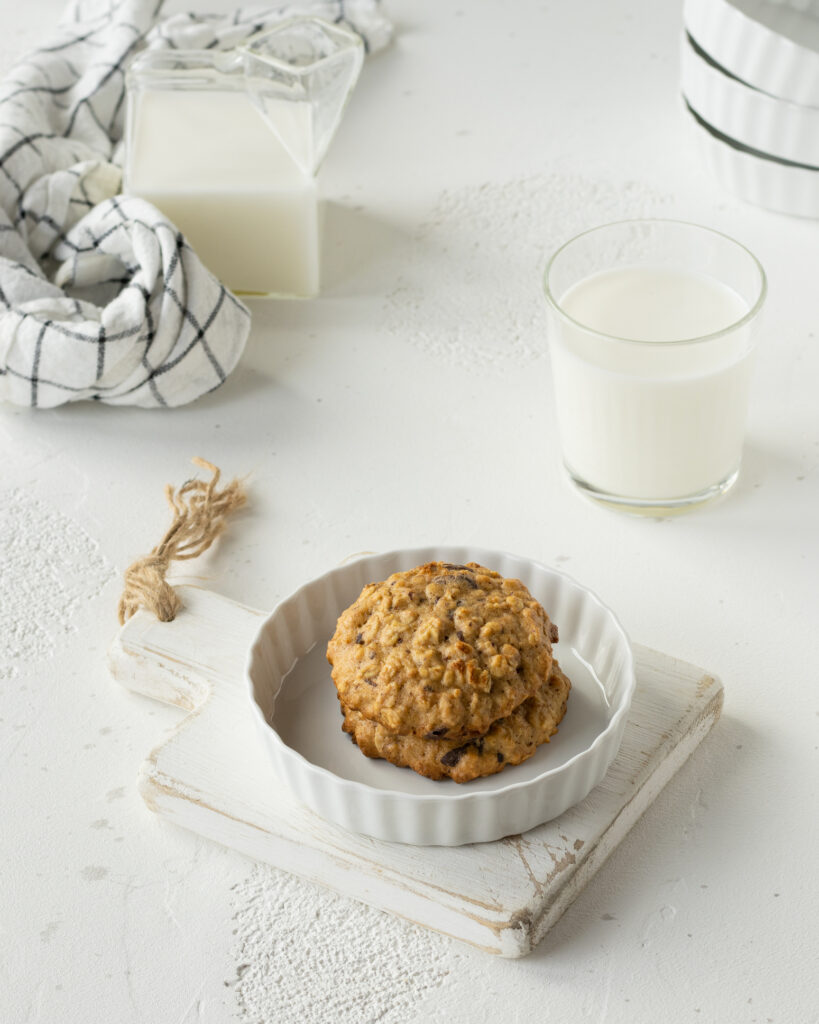
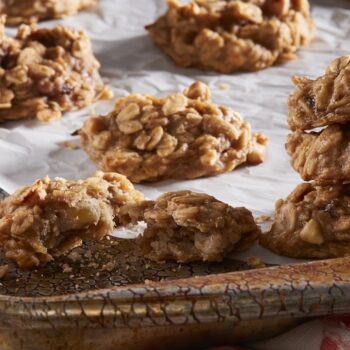
- Scoop the batter into the prepared baking pan. I used a square baking tin. Bake for 30 minutes. The blondies will look a little undercooked when you take them out, but they will firm up as they cool to a golden brown once they reach room temperature.
Cool Down
- Allow the blondies to cool in the baking pan. Once cooled, you can cut them into squares. Store the blondies in an airtight container to keep them fresh.
Additional Tips
Gluten-Free Options
For those avoiding gluten, ensure all your dry ingredients, like almond flour, are certified gluten-free. Bob’s Red Mill and other high-quality brands offer great options. These are made with naturally gluten-free ingredients, but you’ll want to be sure they’re certified if you have celiac disease.
Sweetener Alternatives
If you’re looking to reduce the sugar content, consider substituting granulated sugar with monk fruit sugar. It’s a natural sugar substitute that can be exchanged 1:1 for regular sugar in baking. It’s a little pricey though, but worth it if you need to keep refined sugars down.
I don’t recommend maple syrup or honey for this recipe because the blondies won’t firm up as needed with it. The structure of the solid sugar is what helps create the soft but stable final texture.
Oil Substitutes
In this recipes we’re using mashed banana instead of melted butter, vegan butter, or even coconut oil.
Join my next round of the FASTer Way
Tired of endless diets and no results? Join the FASTer Way to Fat Loss and see real, sustainable changes in just 6 weeks!

Why you’ll love these Healthier Blondies?
Nutritional Benefits
Using ingredients like white beans and almond flour not only makes these treats gluten-free but also boosts their protein and fiber content.
Versatility
Whether you’re a seasoned baker or it’s your first time, this easy recipe allows for plenty of customization. Add in butterscotch chips, semi-sweet chocolate chips, walnuts, or even white chocolate chips for different variations.
Storage
This gluten free blondie recipe stores very well. Once they’re cut, place them in an airtight container and keep in the freezer for snacks as needed. This helps with portion control and is a good idea to keep the high quality of these bars!
If you try these gluten free blondies- and I hope you do – tag me on social media and use the hashtag #MissNutritiousEats so I can see your creations!
Making these almond flour blondies is not just easy; it’s a really tasty way to enjoy a dessert bar without compromising your dietary needs.
Gluten Free Blondies
Ingredients
- 1 can white beans drained and rinsed very well
- 1 tsp baking powder
- 1/4 tsp baking soda
- 3/4 cup granulated sugar you can also use coconut sugar, or light brown sugar for a distinct taste
- 1/2 cup almond flour
- 1/4 cup mashed banana
- 1/4 cup nut butter like almond butter or peanut butter
- 1/4 cup chocolate chips or butterscotch chips if you prefer
- 1 tsp vanilla extract
- 1/4 tsp salt
Instructions
- Preheat your oven to 350 degrees Fahrenheit. Grease an 8×8 baking pan or line it with parchment paper to prevent sticking.
- In a good food processor, blend all the ingredients (except the chocolate chips) until very smooth. If you don’t have a food processor, an electric mixer and a large mixing bowl will work too. Just ensure to blend the beans very well.
- Mix the chocolate chips into the blondie batter using a wooden spoon. You can also add some chocolate chips on top for extra gooeyness.
- Scoop the batter into the prepared baking pan. I used a square baking tin. Bake for 30 minutes. The blondies will look a little undercooked when you take them out, but they will firm up as they cool to a golden brown once they reach room temperature.
- Allow the blondies to cool in the baking pan. Once cooled, you can cut them into squares. Store the blondies in an airtight container to keep them fresh.
Nutrition