Start making extra money with a nutrition side hustle

As a registered dietitian and all around food person, FASTer Way to Fat Loss is THE program I would recommend for anyone looking to tone up, shed fat, feel better in their clothes, have more energy, even improve cholesterol levels or simply start establishing healthy habits. I would recommend it for all of these reasons and more – BECAUSE IT WORKS!
It’s not a diet, it’s a lifestyle that delivers customized results. No gimmicks, just a massive support system and all the tools you need to be successful.
Read more about the FASTer Way to Fat Loss here.
Table of contents
- But then something unexpected happened
- Who would I recommend become a coach with the FASTer Way to Fat Loss?
- Blending Passion with Income
- Is this passive income?
- All of the right tools to do the job
- A Source of Joy and Personal Growth
- Unbeatable Support
- Harness Your Expertise
- Flexible Schedule
- Is Social Media Required?
- The First Step Towards a Full-Time Passion
- References
But then something unexpected happened
After just a few months of starting the FASTer Way – I had a little voice in the back of my head that was nudging me to become a coach. It was involuntary… and kind of a no-brainer. With my corporate position as a dietitian, I don’t have the opportunity to work with clients one on one. So in sharing a lifestyle that I already live (and know delivers results), I can help people and make significant income. Three years later, I wouldn’t change a thing.
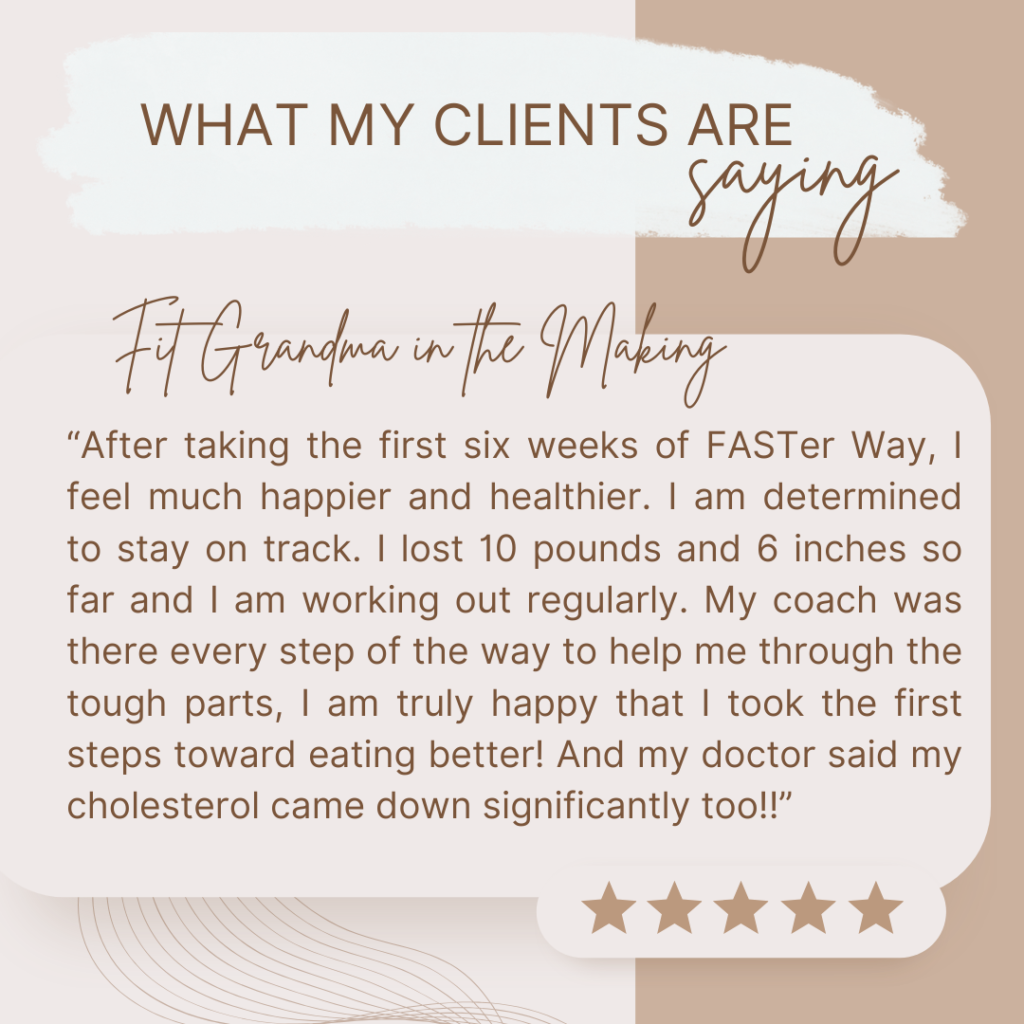
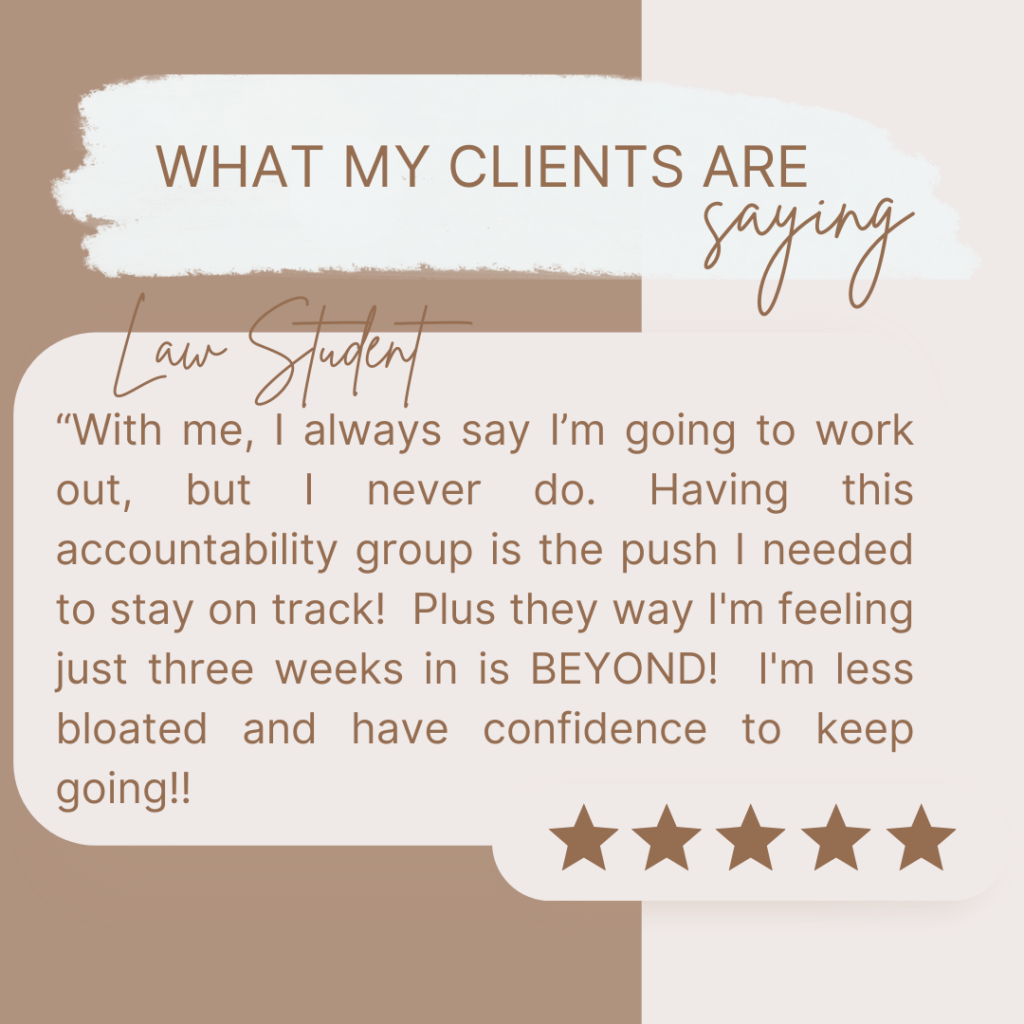
There is nothing quite seeing one of your clients hit a milestone or overcome a limiting belief. It is G-O-L-D.

Who would I recommend become a coach with the FASTer Way to Fat Loss?
- Registered Dietitians who works in a clinical setting who want’s to diversify client base. Or maybe you’re an RD that wants to get out of clinical all together?
- Do you want to pivot to working with motivated clients?
- Are you an RD entrepreneur who is starting out and wants to make a bigger impact.
- Wellness professionals who have the knowledge, but need the business support to get started.
- A personal trainer who has the fitness expertise, but needs the proper nutrition support that is correct and sound!
If you are a nutrition or wellness professional that wants to make additional income, this post is for you!
Blending Passion with Income
Convergence is a beautiful thing, especially when your passion for nutrition intersects with the potential for earning income. The median annual wage for a dietitian or nutritionist is $71,000.1 That’s the median, meaning many RD’s are making much less. By becoming a Faster Way coach, you unlock a great way to do just that (and more). Not only do you get to witness incredible health transformations everyday, but you also get compensated for your commitment and expertise in coaching clients through the program. So how much can you make? Sky is the limit really. Check out this income calculator tool to get an idea of what you could make in a side hustle or in a full time commitment.
Is this passive income?
No, as a coach with the FASTer Way to Fat Loss, you are paid to coach clients through the six week program and on an ongoing basis when they go into membership. This is an active and ongoing commitment to leverage your nutrition knowledge and coach clients with healthy recipes, tweaking macros, learning balance and educating clients on a daily or weekly basis. (Totally different than patient care!)
THE FASTER WAY TO FAT LOSS COACHING CERTIFICATION HAS ONE PURPOSE:
To empower you to become the best nutrition and fitness coach using the most effective program on the market so you can help your clients get incredible, sustainable results while you earn a significant income.
All of the right tools to do the job
Imagine having an online course, digital products like lead generators, and social media marketing strategies at your fingertips. With Faster Way, you’re not just dabbling in an extra gig; while it could be your hobby, you’re actually growing a scalable online business. When I logged into the coach portal for the first time, I was really impressed with the amount of resources available. Literally everything I wanted to know was at my fingertips. But more importantly, the infrastructure to run a business is already set up. Once I signed on to become a coach, it’s like I received a business in a box and could hit the ground running.
For example:
- coding on the back end
- all the financials are automated from clients, and to you
- a back office login to keep leads, income, reports organized
- tools like macro tracker, meal plans, and workouts that synergistic and customizable
- macro tool for nutrition analysis
- Did I mention that the program works?
Literally all of the little things that you need have already been thought of, and they’re at your fingertips!
Read more about the initial six week program here.
A Source of Joy and Personal Growth
From personal experience—I can tell you, there’s little that compares with the satisfaction of guiding real, everyday women towards sustainable health solutions and if you’re a health professional, I know you know it’s true. The FASTer Way program is technically virtual, but you can bring it to the real world in a lot of ways. Partner with a local grocery stores, bike shop or coffee shop to add value in a small group for these businesses. You can put as much work into it as you want to, and you have the ability as a dietitian to discuss you’re passion nutrition topics with your clients. Some FASTer Way to Fat Loss coaches incorporate the program into their private nutrition practice offerings while others exclusively promote the FASTer Way to Fat Loss.
Unbeatable Support

You’re not going into this alone. I will help you, and the FASTer Way team will support you every step of the way. Benefit from tools and resources crafted to boost your personal growth and professional development. From meal plans, workouts and a central app to a back office manager, comprehensive coach portal and ongoing trainings, you will have everything you need to succeed.
Harness Your Expertise
Leverage your nutrition knowledge in ways traditional dietetic roles may not allow. Personally I love that we focus on whole food nutrition while incorporating fitness and mindset. With the FASTer Way you get the benefit of a nutrition program developed by dietitians WITH the expertise from trainers to pair diet and exercise to build healthy longterm habits with your clients.
Flexible Schedule
Benefit from a flexible schedule that tailors to your time management needs. Whether it’s a supplement to your full time job or a transition to entrepreneurship, Faster Way gives you the control to pace your growth and client engagements on your own time.


Is Social Media Required?
Truthfully, you don’t even need social media to get new clients. If you’re a dietitian, you know, once you tell someone what you do – you get all the details, and inevitably you’re asked for a meal plan! Welp- the FASTer Way offers a solution that can turn those conversations into extra income. But it doen’t hurt to have a social media presence. Many coaches start from scratch with Instagram, a brand new youtube channel, an email list or simply dedicated blog posts. Whichever platform you use to communicate to your ideal client, is where you will start. And a lot of times this changes as time goes on.
The First Step Towards a Full-Time Passion
If that little voice is in the back of your head too. Read more about certification here. It’s a great place to start thinking about your business plan and to find out if it’s the right place for you! As I continue with the FASTer Way, I often think back to our ShopRite User Group days. All 50-150 dietitians getting together once a month to share best practices and learn from each other. The FASTer Way is user group on steroids. IYKYK 🙂
If you’re ready to redefine your career or to become a side hustler, then this opportunity is for you!
Your expertise is needed, wanted, and can be lucratively rewarded. Coaching with Faster Way to Fat Loss isn’t just a profitable prospect; it’s a substantial move towards a more fulfilled, impactful professional life.
References
1. https://www.bls.gov/oes/current/oes291031.htm