Kid-friendly + Easy baked Turkey Meatball recipe

If you know me, you know I love my mom’s turkey meatballs. They’re actually called kotlety, which is Polish for “meatball”. They’re just downright comforting and very simple to make. I love them with sauce, sliced cold onto a sandwich or just straight out of the fridge for a quick snack. IYKYK. So, honestly, I’m sharing this recipe more for myself, my brother and my sister so all of my nieces and nephew can enjoy and remember these as fondly as I do. Thanks Mom!
Jump to RecipeKid appeal
The best part? This turkey meatball recipe is baked and can be a delicious dinner staple for every age—from younger children with little fingers to picky eaters who only eat one food – this is a strong contender. The flavorful meatballs are a mixture of ground turkey, breadcrumbs, and the secret ingredient, Locatelli Romano, making them perfect for a childhood food and well into adulthood.
Ingredients You’ll Need:
- 3 pounds lean ground turkey
- 1/3 cup breadcrumbs
- 1/4 cup grated Locatelli Romano cheese
- 3/4 cup finely chopped parsley
- 1/4 cup milk
- 1 clove garlic
- 1 large egg
- Salt and pepper to taste
About the turkey
I’ve tried this recipe with 85%, 92% and 99% lean ground turkey. I am always happier with the texture and flavor when I use 85 or 92% lean ground turkey. Not to mention when I use 99% only, they need much less bake time, and could be done in about 30 minutes. So while I love a good lean protein option, this one should be saved for low carb day. I recommend going with 85% lean ground turkey.
The secret ingredient – Locatelli Romano
We’ve tried making this dish with parmesan cheese in a pinch, and it is simply not the same. Locatelli Romano cheese has a deep, sharp and salty flavor that literally makes this recipe. Don’t try to substitute it! Buy a large chunk and grate with a box grater or microplane when you need it for this recipe.
Don’t skimp on the parsley

Let me tell you why. This recipe has a lot of umami rich ingredients. With turkey and egg and cheese, it needs the brightness from the parsley and while 3/4 cup chopped seems like a lot (I sometimes add more) and it’s really what makes it such a great recipe.
A Few ‘Great Ways’ To Serve These Meatballs:
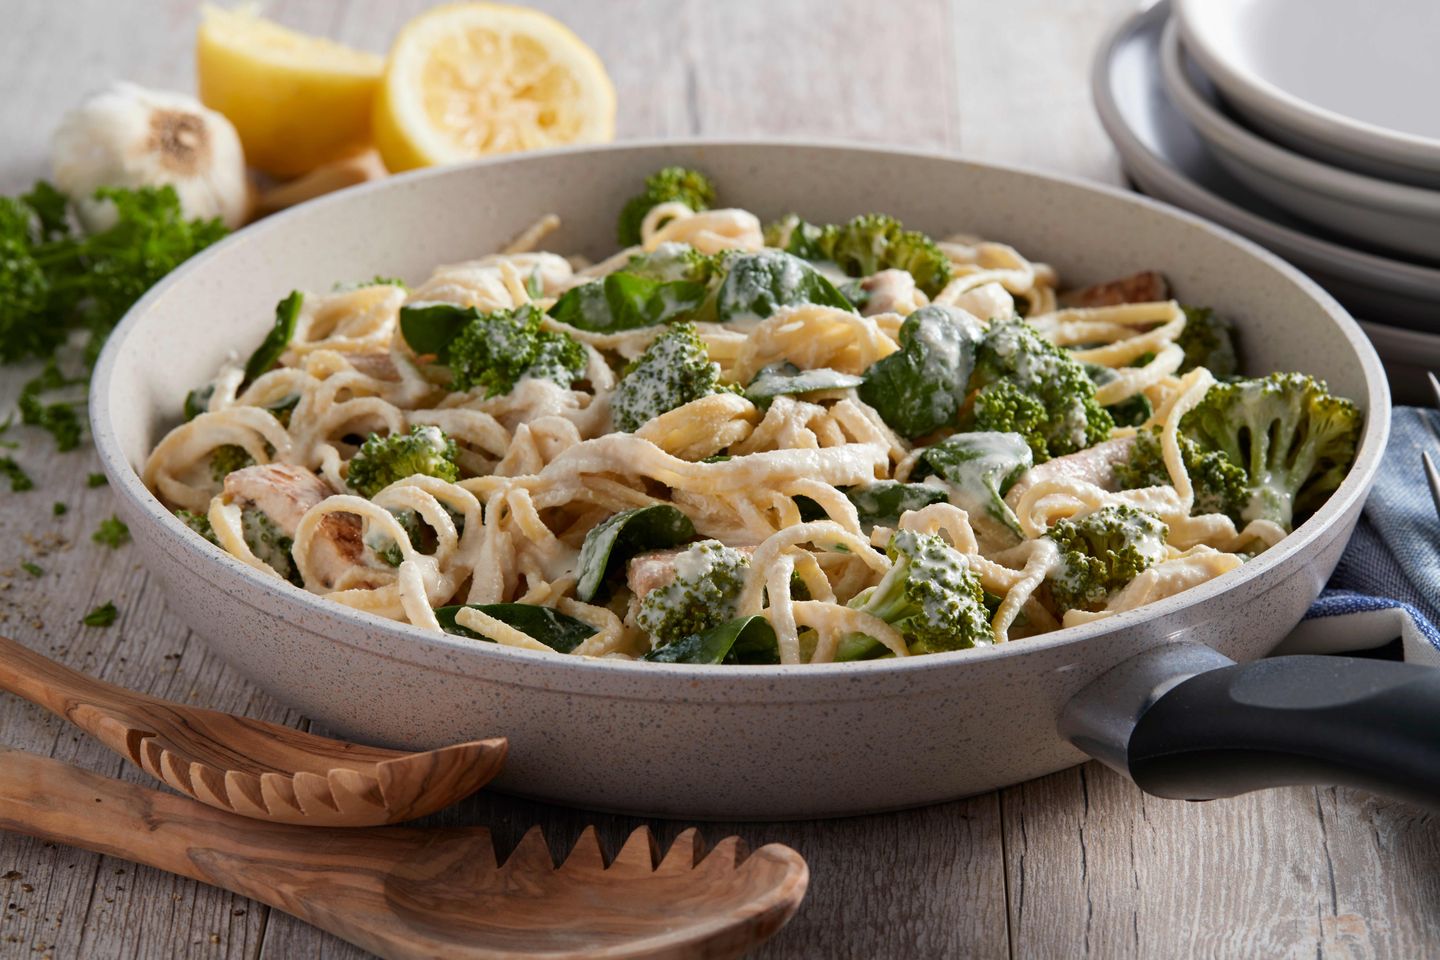
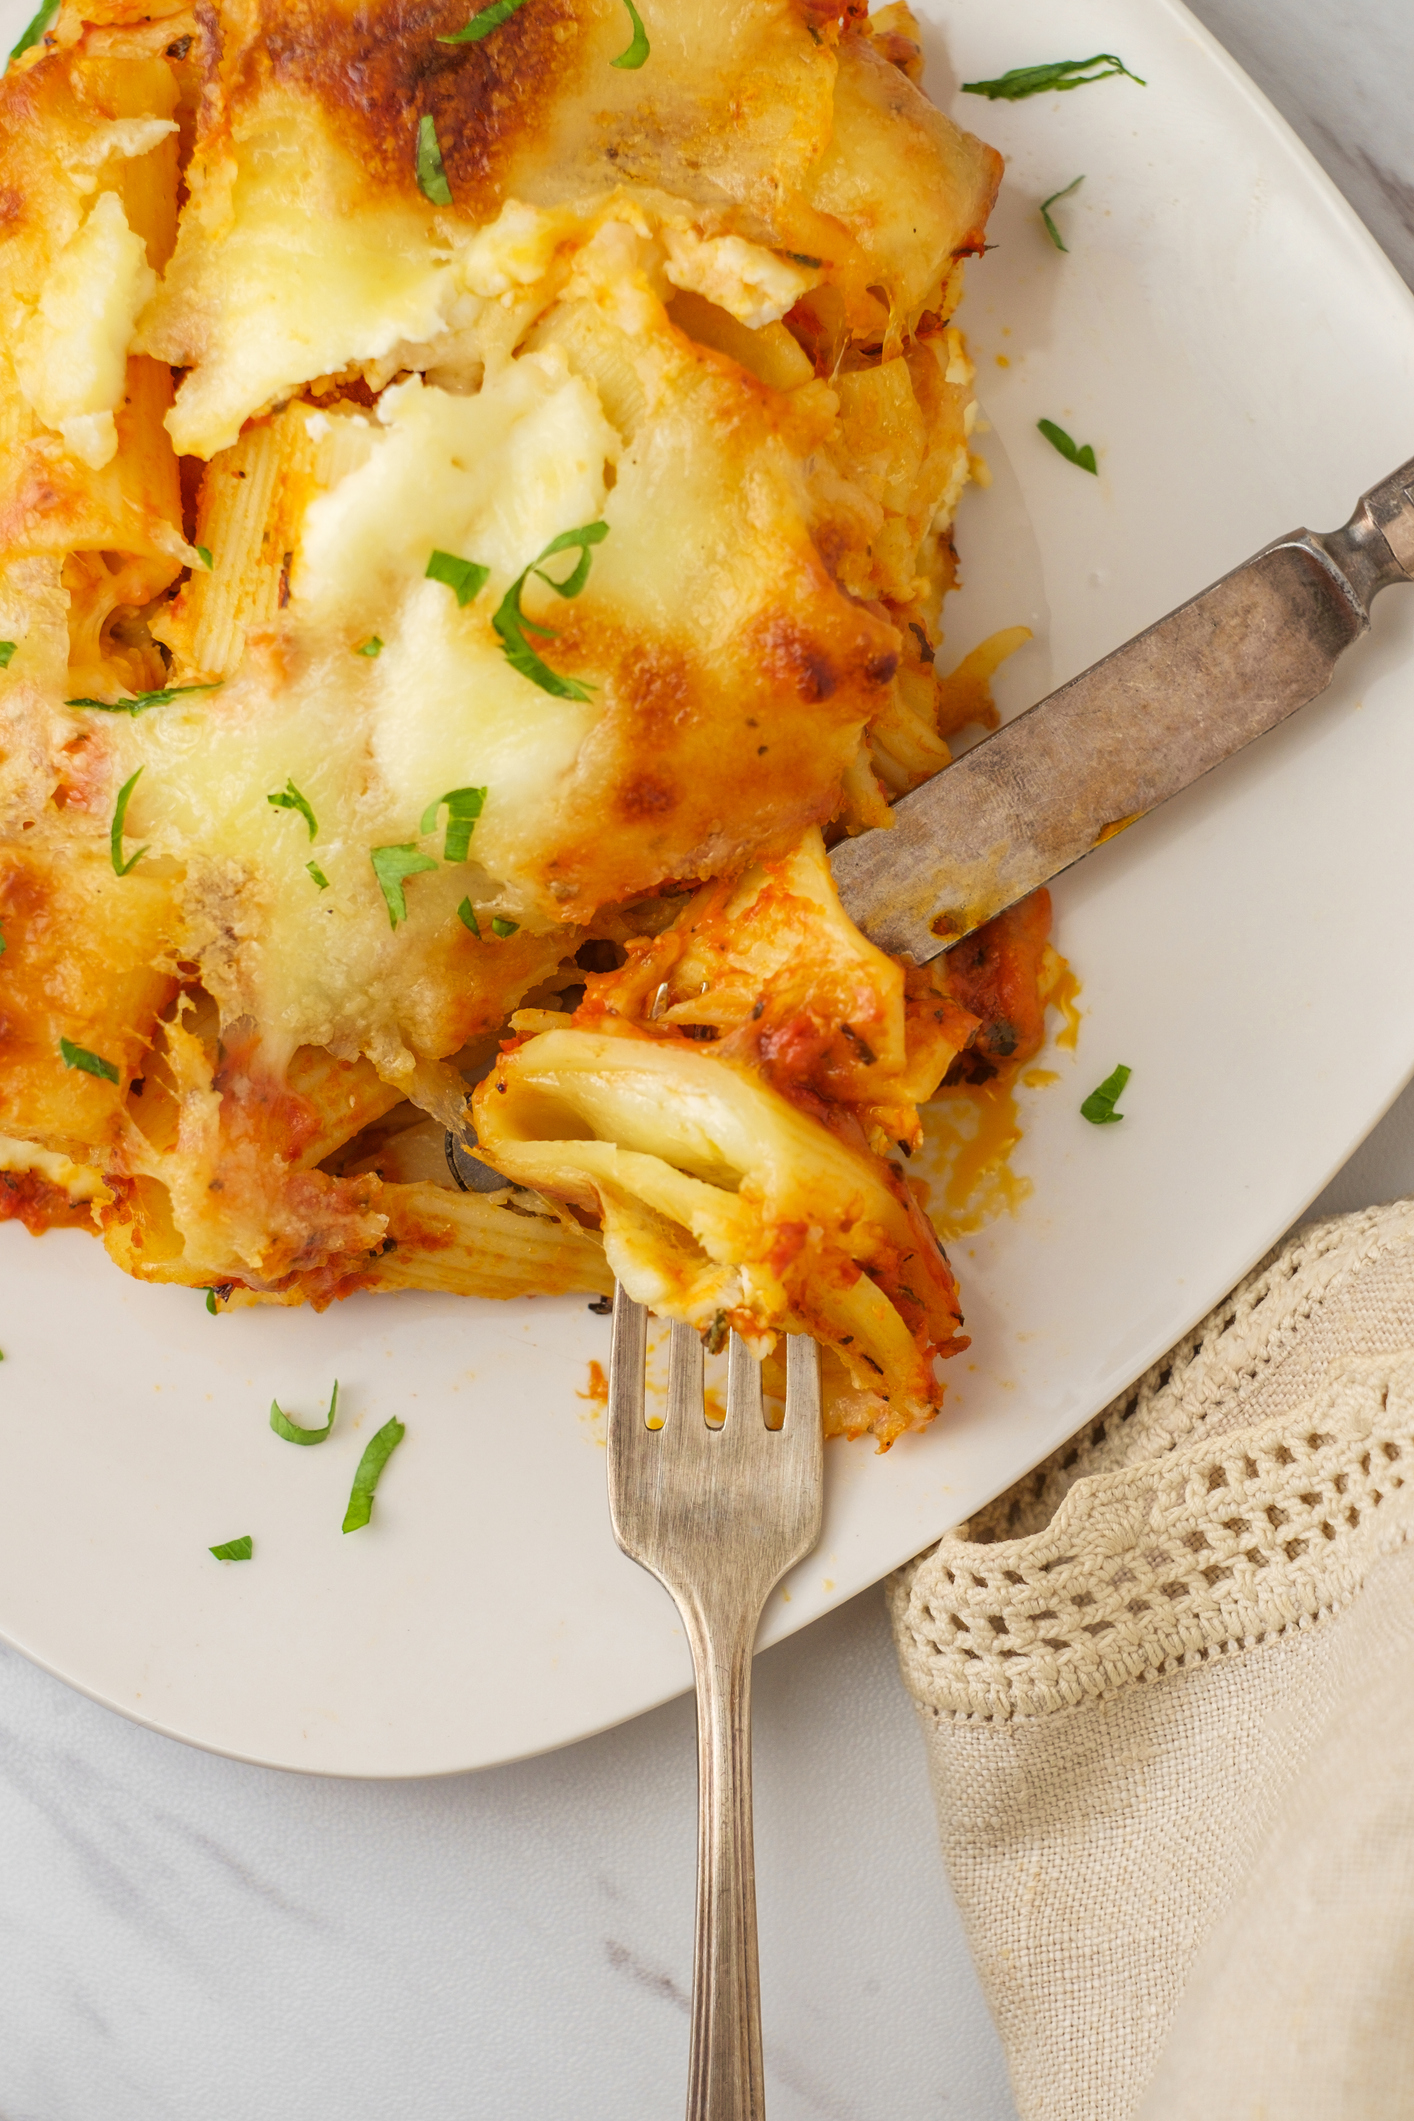
- Over your favorite pasta with marinara sauce for a quick meal.
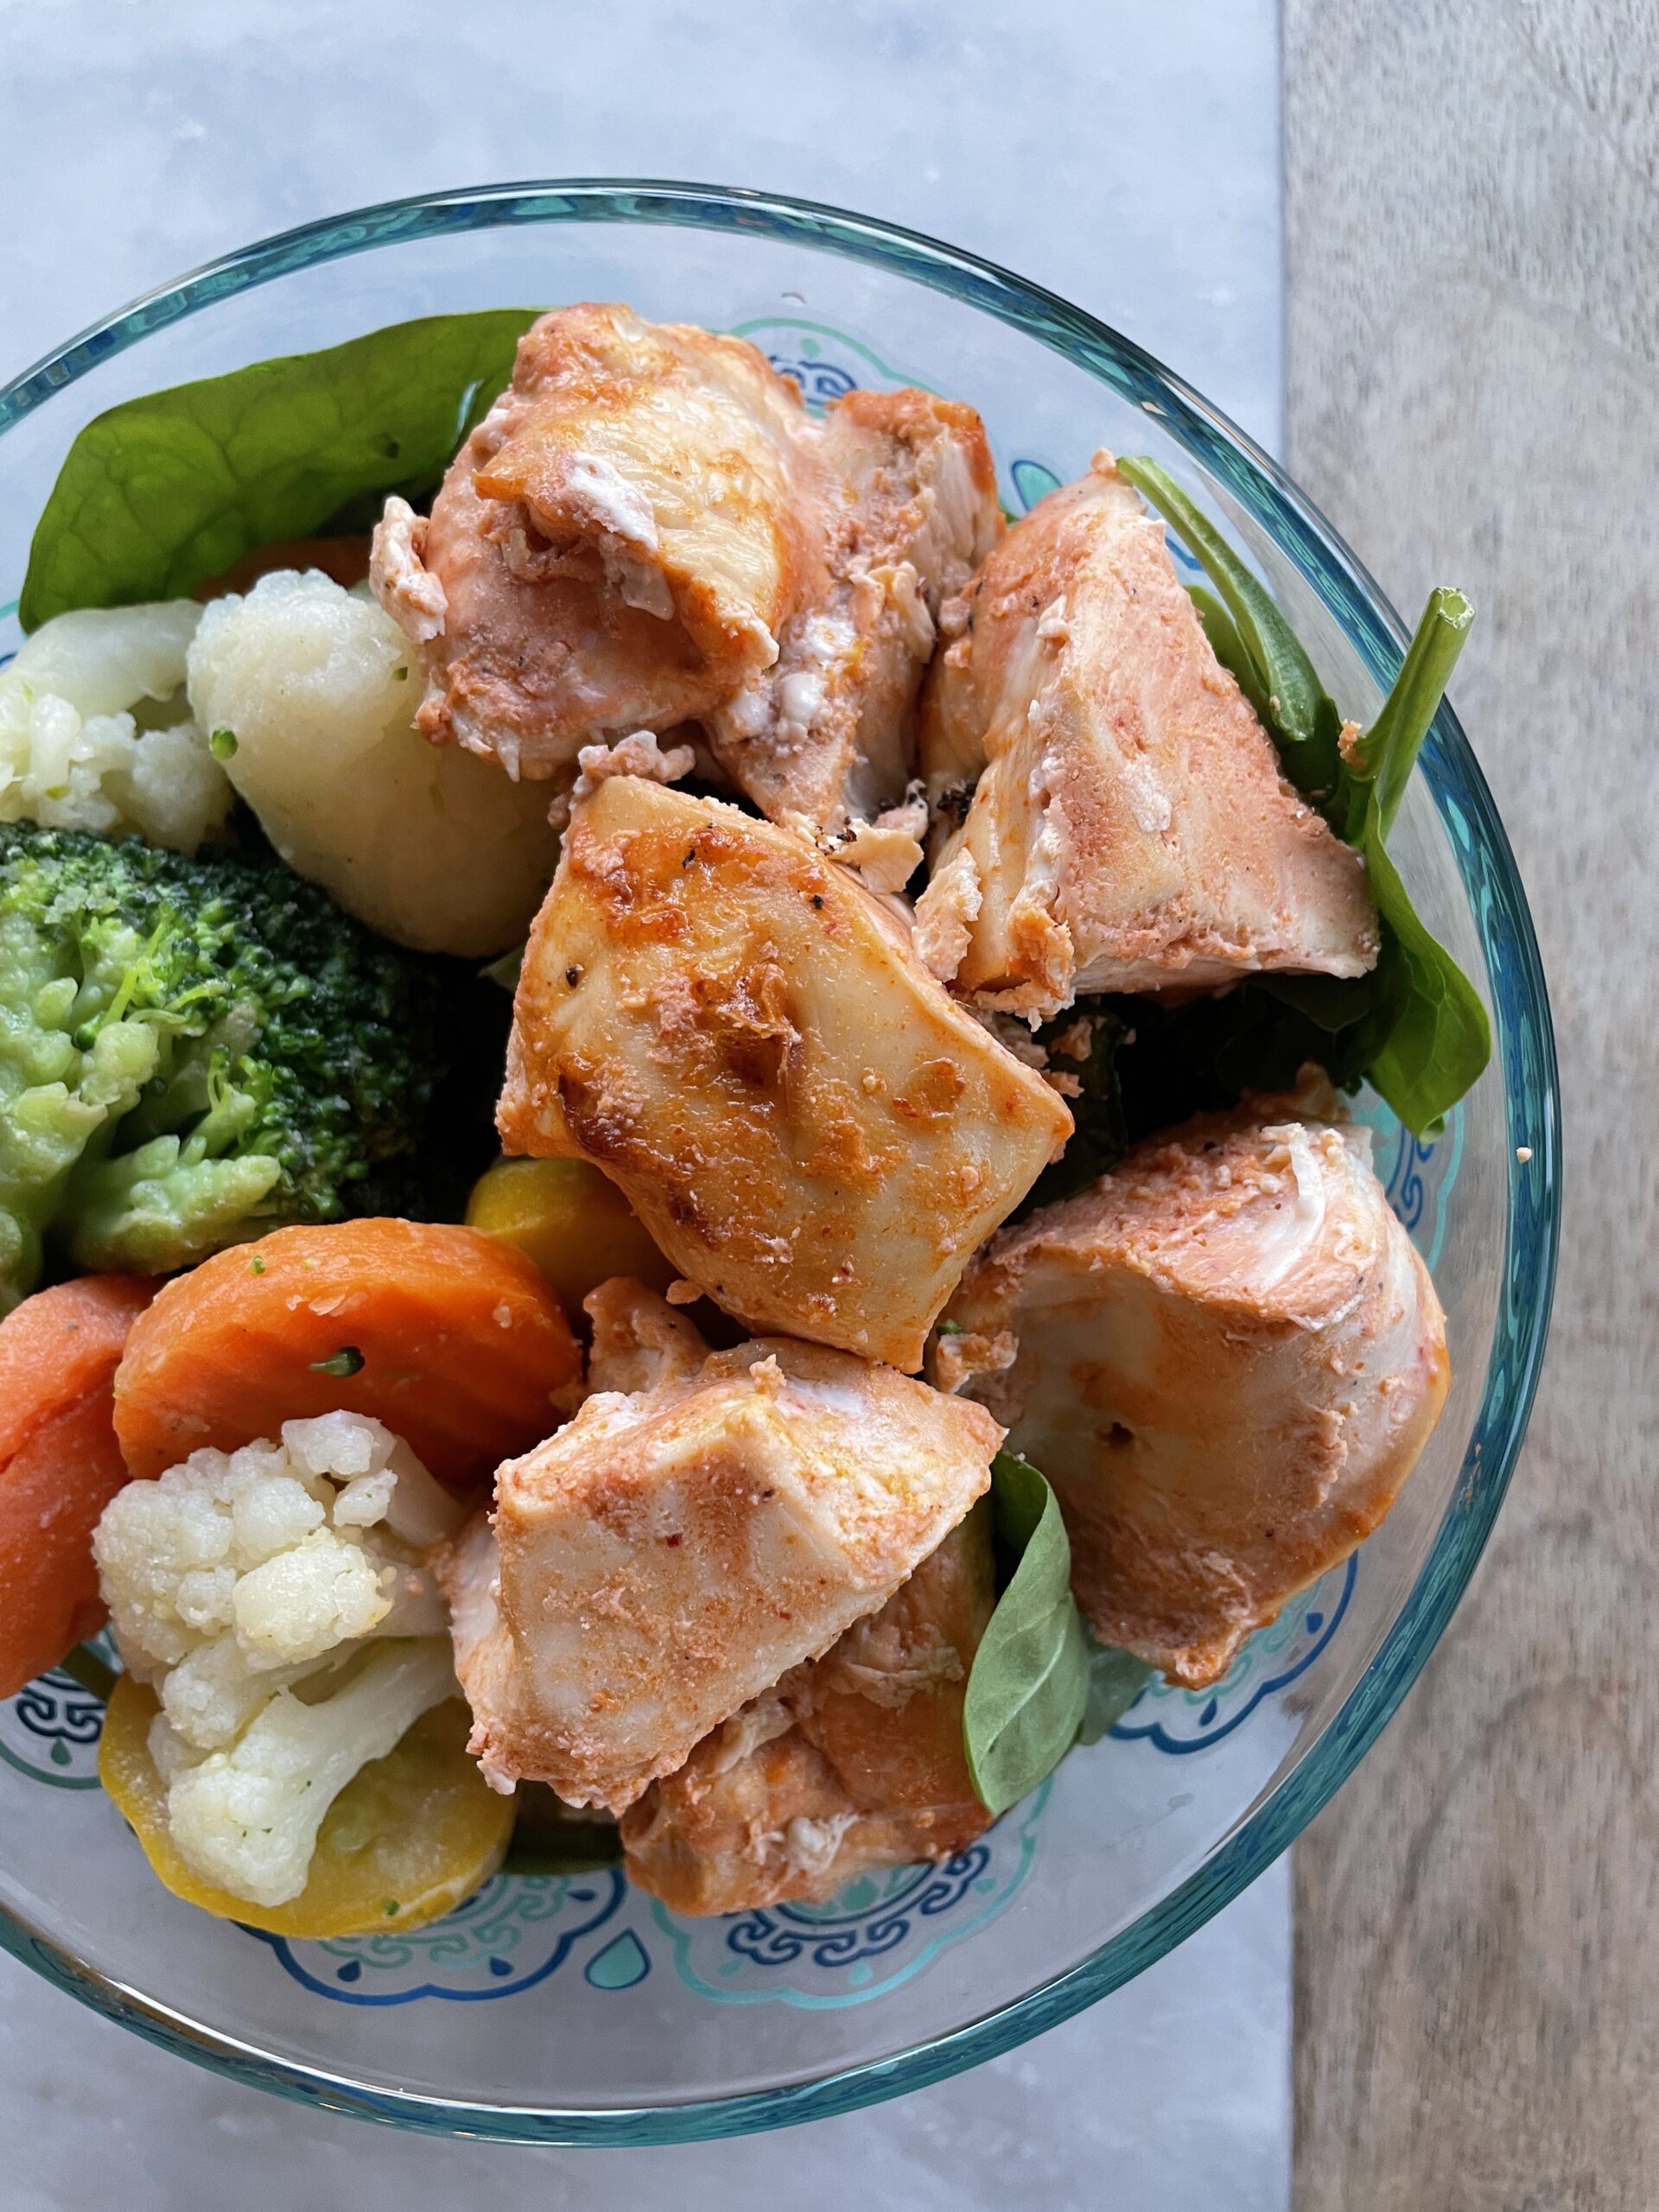
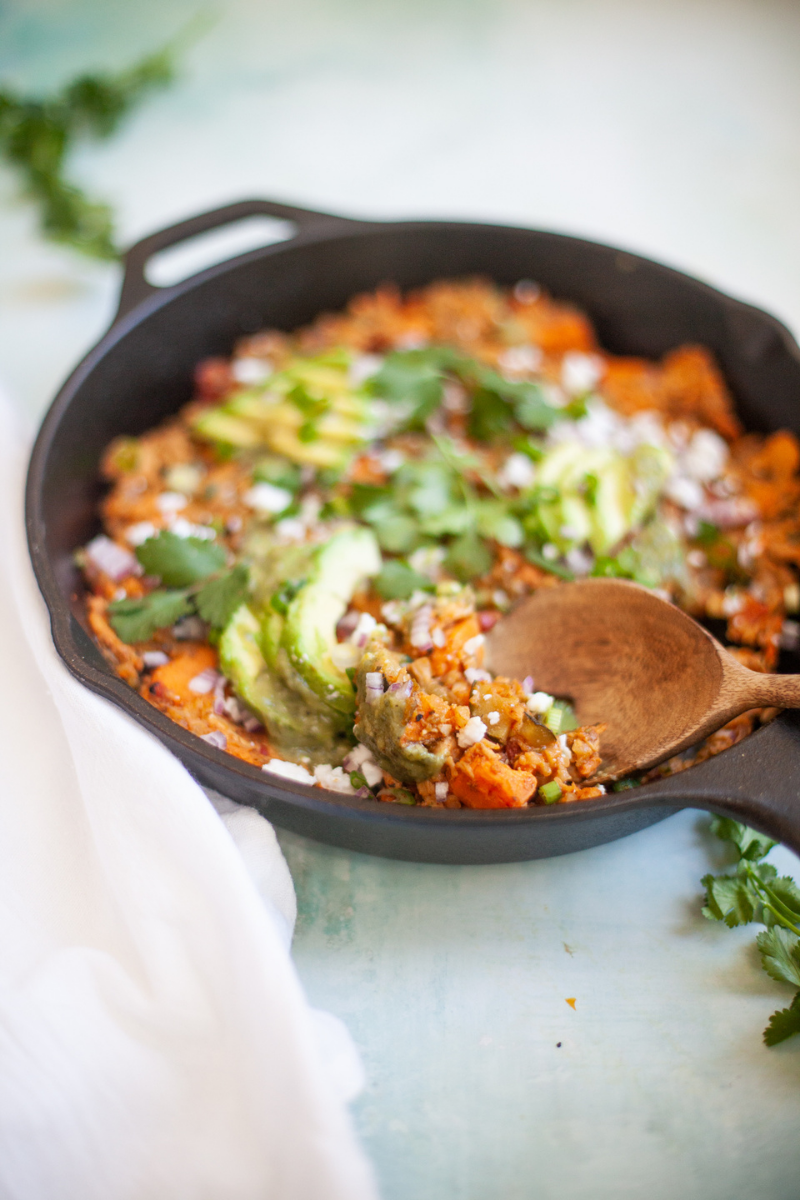
- Paired with sweet potato fries or brown rice and broccoli for a well-balanced plate.
- Smothered in Rao’s marinara or any tomato sauce you love served on a whole grain roll.
- Stored in an airtight container, they make for fantastic meal prep options for a quick meal the next day.

Instructions for Making Mom’s Turkey Meatballs:
Jump to Recipe- Preheat your oven to 375 degrees F and line a baking sheet with non-stick parchment sheets or parchment paper for fast cleanup.
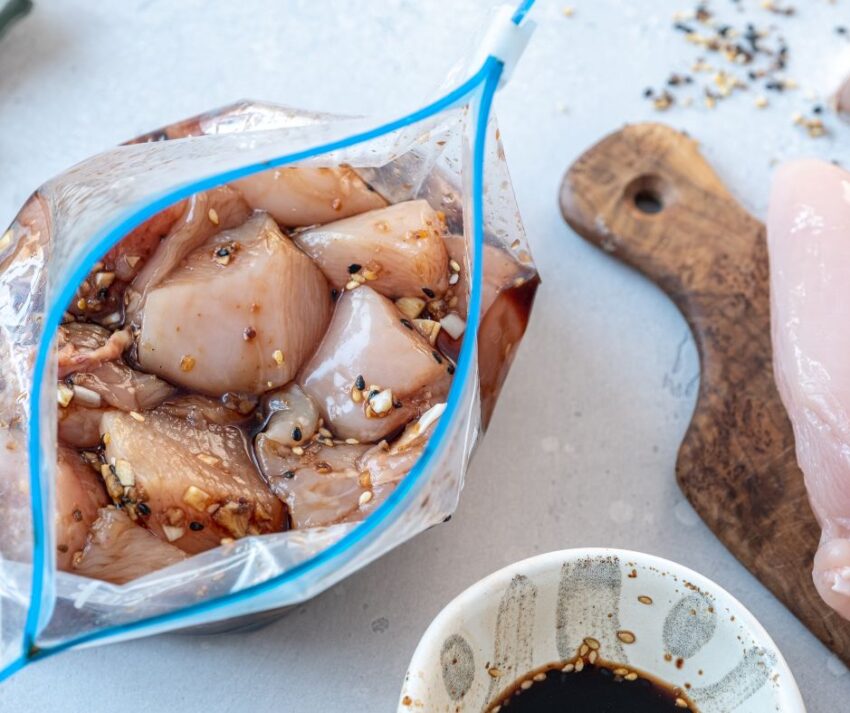
- In a large mixing bowl, combine all ingredients. Integrating a food processor might seem like an easy way, but some things are best done the traditional way, ensuring the turkey mixture retains its texture.
- Into the turkey mixture go the grated Locatelli Romano, breadcrumbs, fresh parsley, and milk. Using a wooden spoon, mix until you’ve got a consistent meatball mixture.
- Crack in the egg, and crushed garlic followed by a sprinkle of salt and pepper. Mix until combined.
- Time to shape these simple turkey meatballs! With clean hands or a set of scoopers, form the turkey mixture into perfect balls. For consistent sizes, use a small cookie scoop—it also makes the prep time fly by while keeping my hands clean!
- Place the meatballs on the prepared baking sheet ensuring they’re spread out evenly.
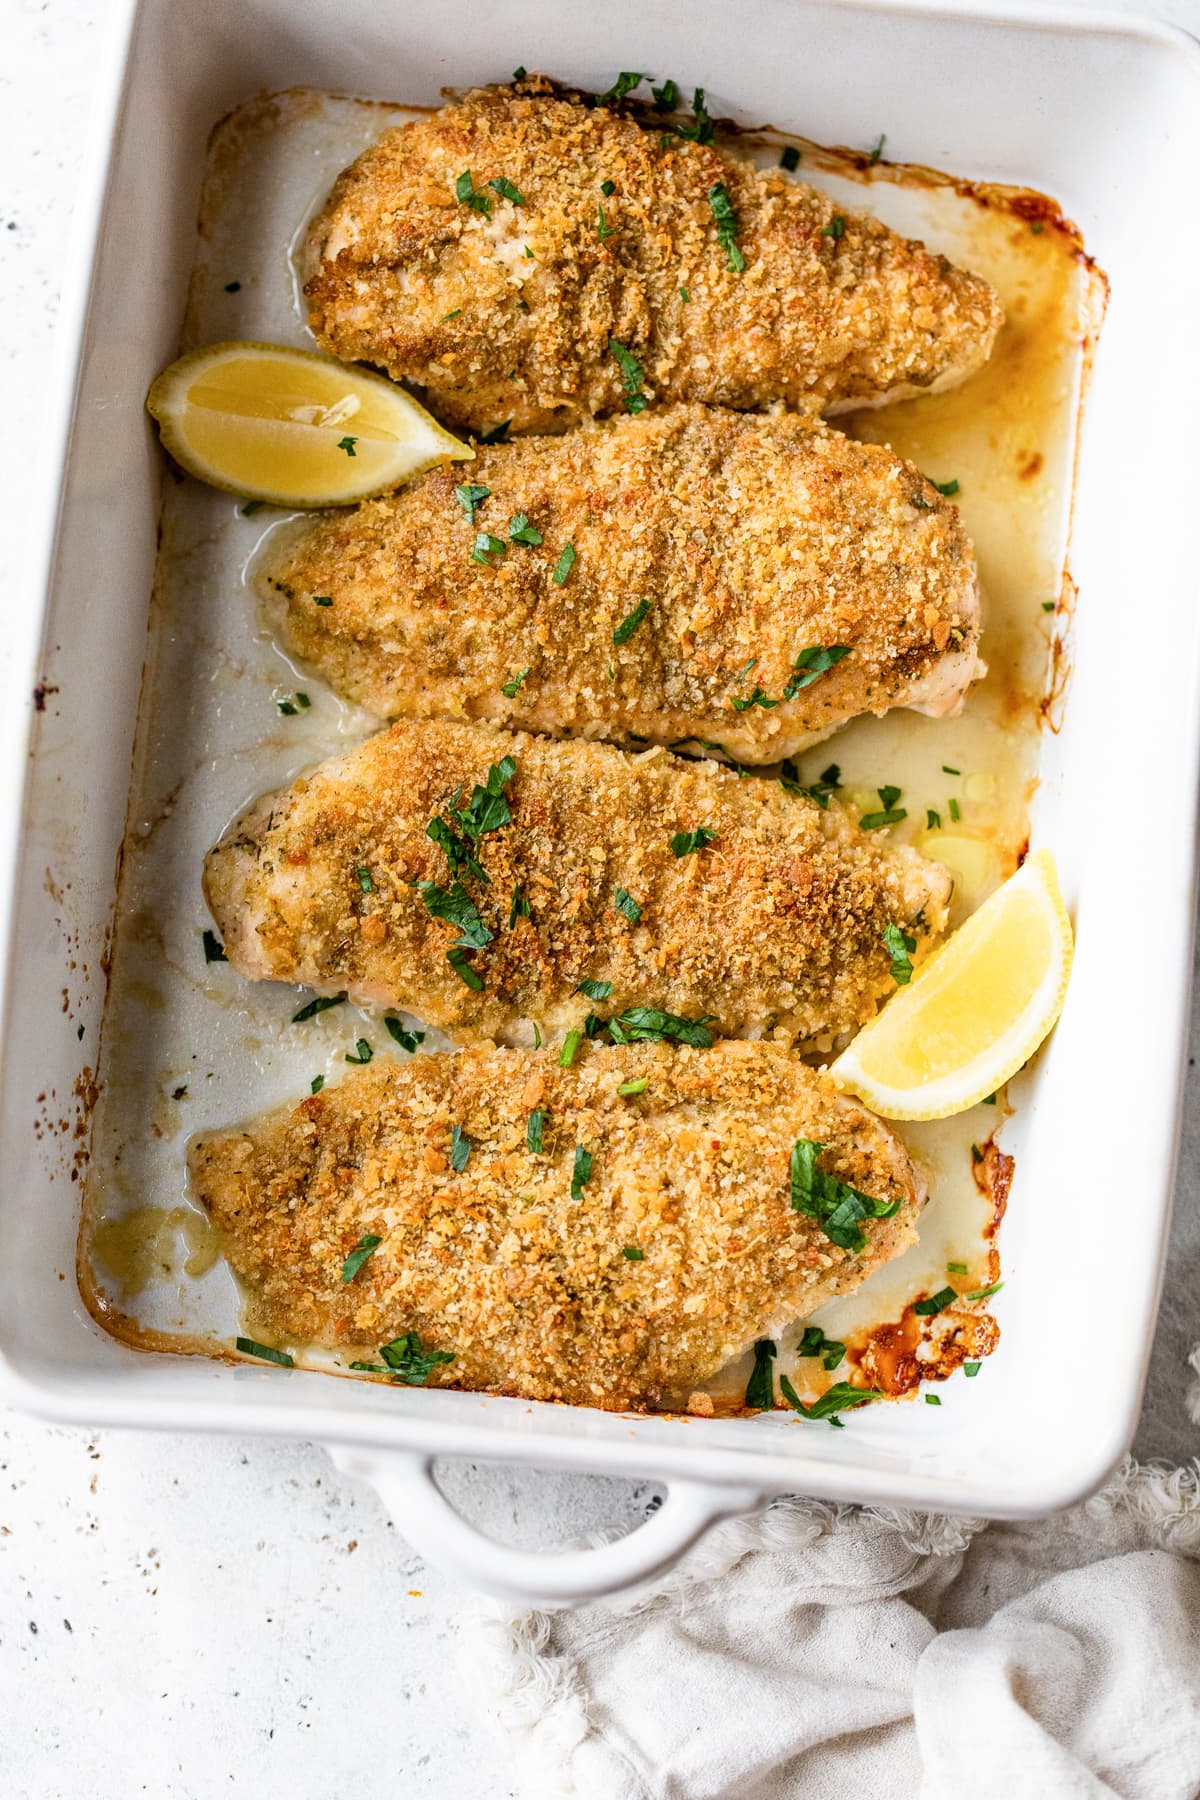
- Bake the meatballs in the preheated oven until golden and cooked through, with an internal temperature of 165 degrees F—this usually takes 50 minutes.
Protein Options
For those who like to tinker in the kitchen, here are different ways to modify this new recipe:
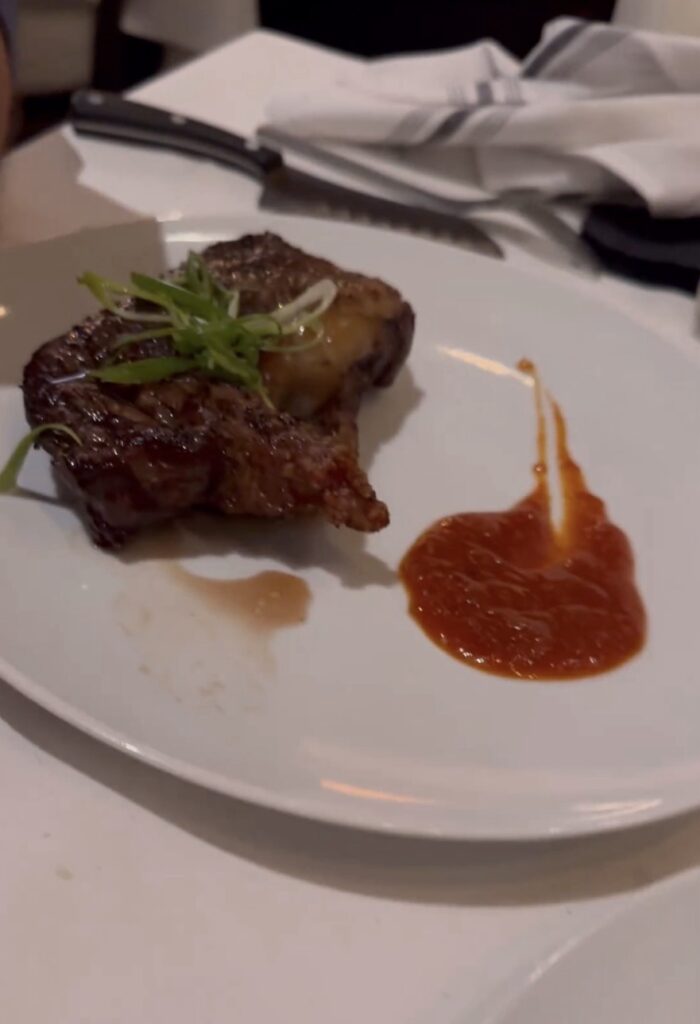
- Swap ground turkey for ground chicken or lean ground beef.
- Turn them into paleo turkey meatballs by using almond flour instead of breadcrumbs.
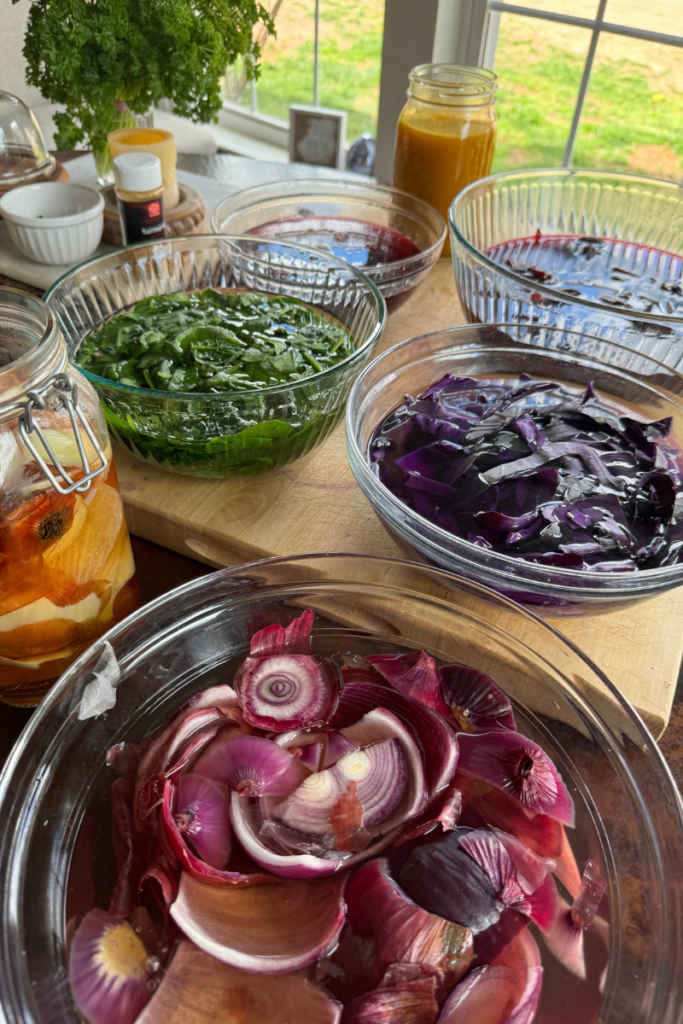
- Hide additional nutrients like finely diced red onion or grated sweet potatoes into the mix for hidden vegetables.
- Make a double batch of these baked meatballs and store extras in the freezer for an even quicker family meal next time. For other batch cooking ideas, check out this article.

Macros and Nutrition
I broke out the serving for these to one meatball so you can create a serving of 2, 3, 4 or more meatballs to meet your individual macro needs.
When made with 85% lean turkey, one meatball has:
Carb: 1g
Protein: 14g
Fat: 2g
Other Family Favorite recipes to try

Follow me on IG for more daily inspo in my stories: @miss_nutritious_eats

Ingredients
Equipment
Method
- Gently combine all ingredient in a large bowl.
- Use a small ice cream scoop to form into even balls. (about 24)
- Bake at 375 F for 1 hour.
Nutrition