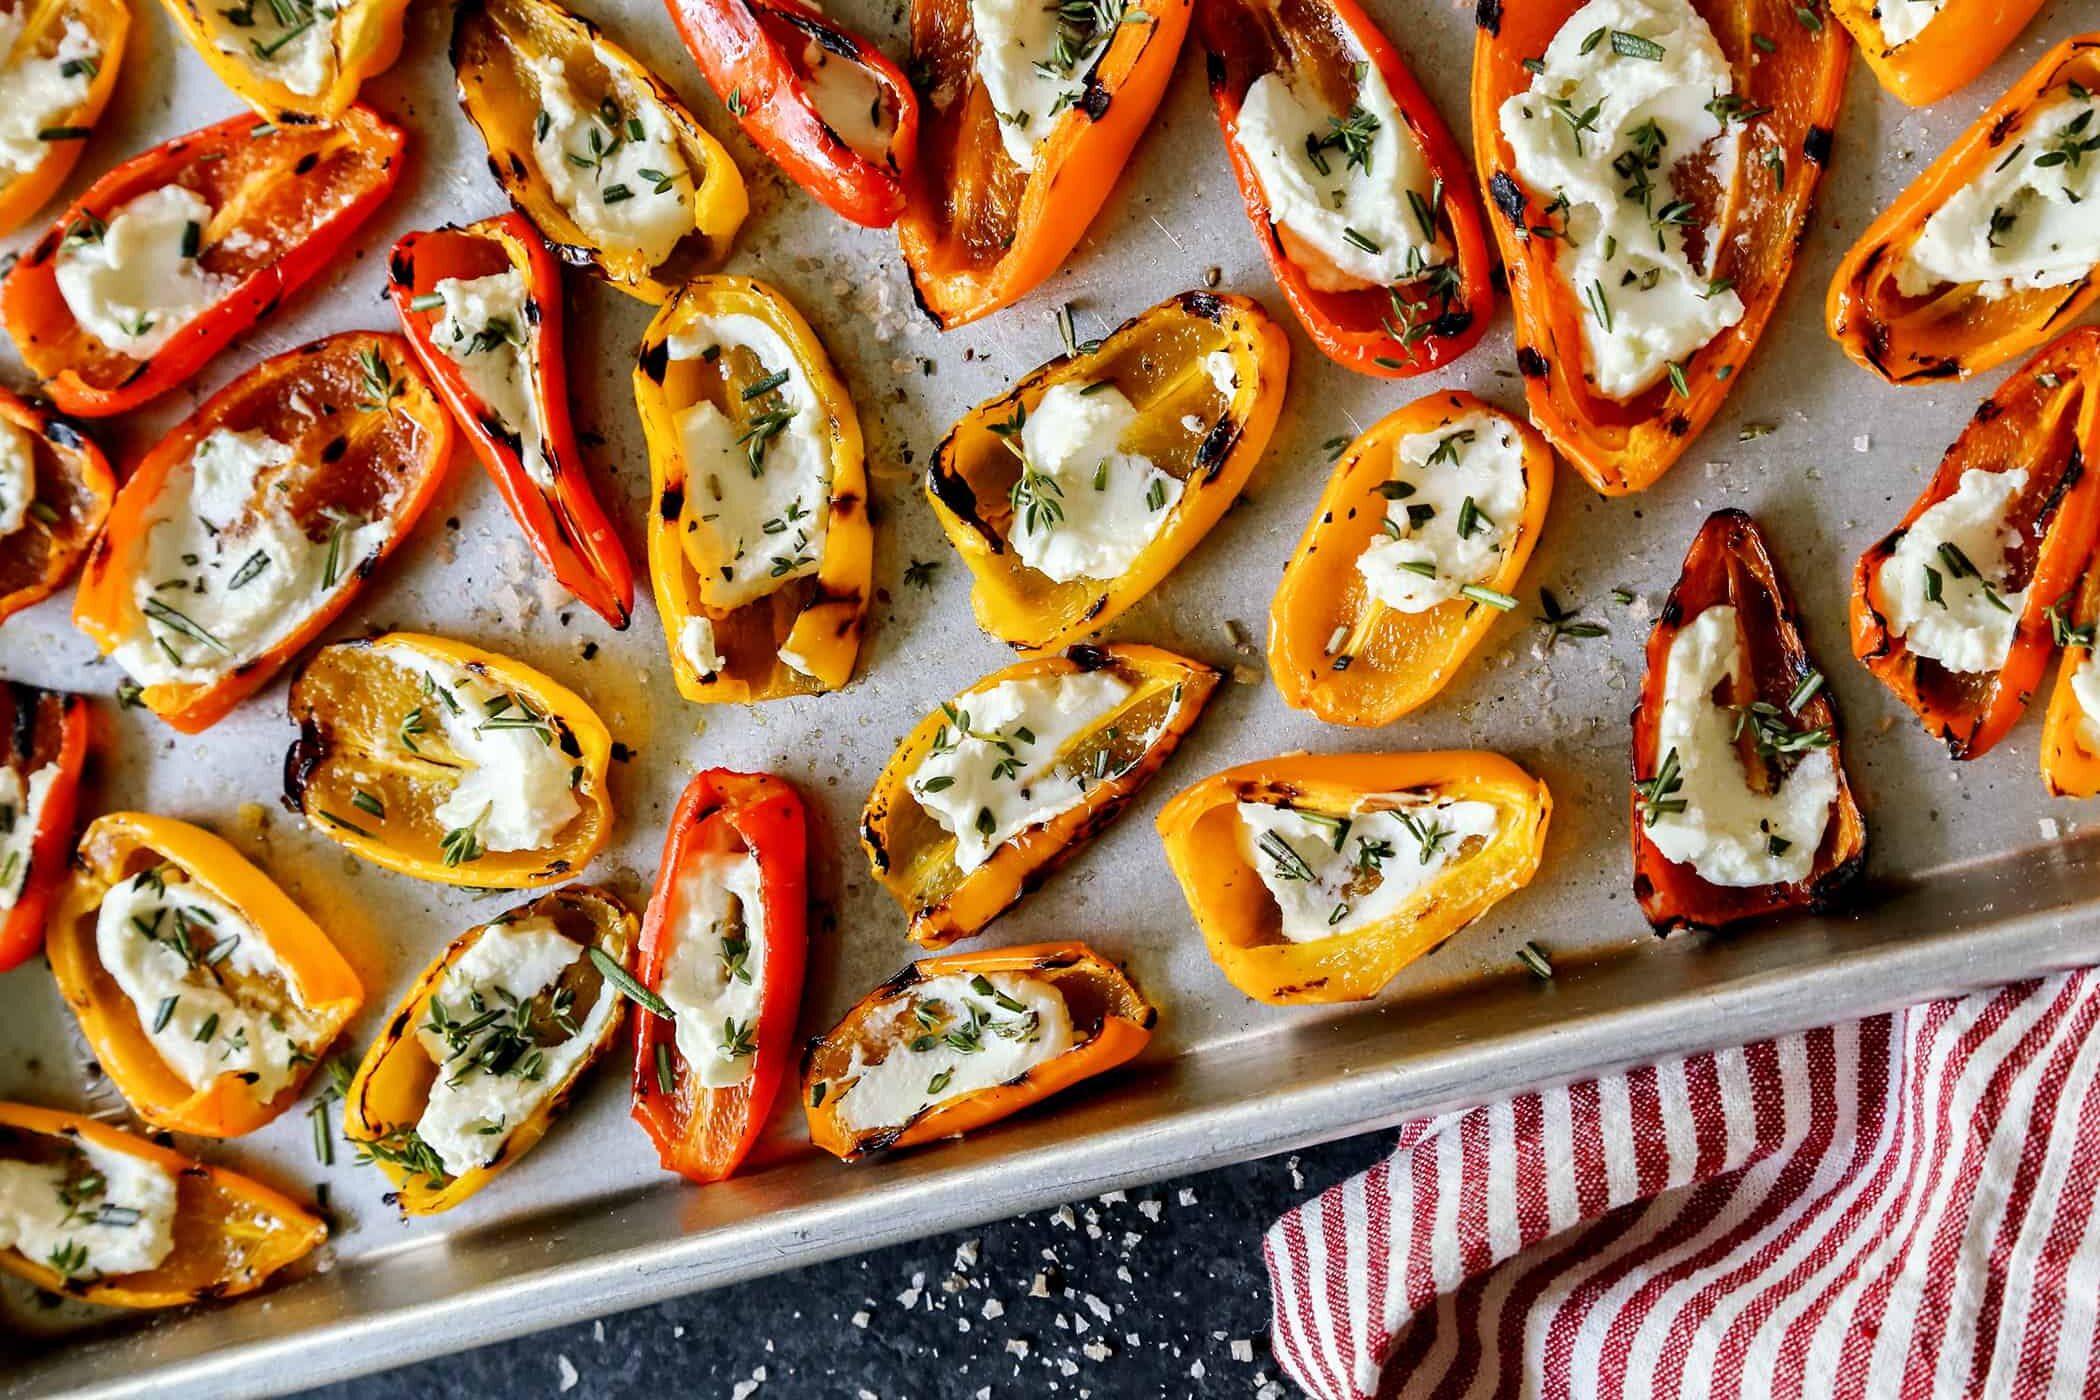
Easy Mini pepper appetizer

When I need to throw together a quick appetizer that will be a hit at almost any gathering – this is it. These Mini Sweet Pepper Appetizers have limited ingredients and don’t need too much prep time. Plus they are low-carb, gluten free and the perfect vessel for creamy goat cheese. This is a recipe that you want to have in your back pocket.
Table of contents
😍 Why You’ll Love these Mini Sweet Pepper Appetizers
They’re the perfect appetizer for any occasion, be it a super bowl party, baby shower, or your next game day gathering. The combination of creamy cheese filling, healthy sweet peppers, and fresh herbs creates a tasty appetizer that’s both satisfying and nutritious. Plus, they’re packed with vitamin C and other nutrients, making them a healthy snack option.
🗒️ Ingredients
- mini bell peppers – you can make this work with regular sized bell peppers too. You’ll just need to cut the peppers smaller.
- goat cheese – in this recipe we’re using goat cheese instead of cold cream cheese.
- Greek yogurt – I use plain fat free or 5% Fage depending what I have on hand. Just note the macros will change if you choose to use a fuller fat version.
- 2 tbsp fresh chives, finely chopped
- 2 tbsp fresh parsley, finely chopped
- garlic – fresh garlic adds a zing of flavor. You could use 1/2 tsp garlic powder in a pinch.
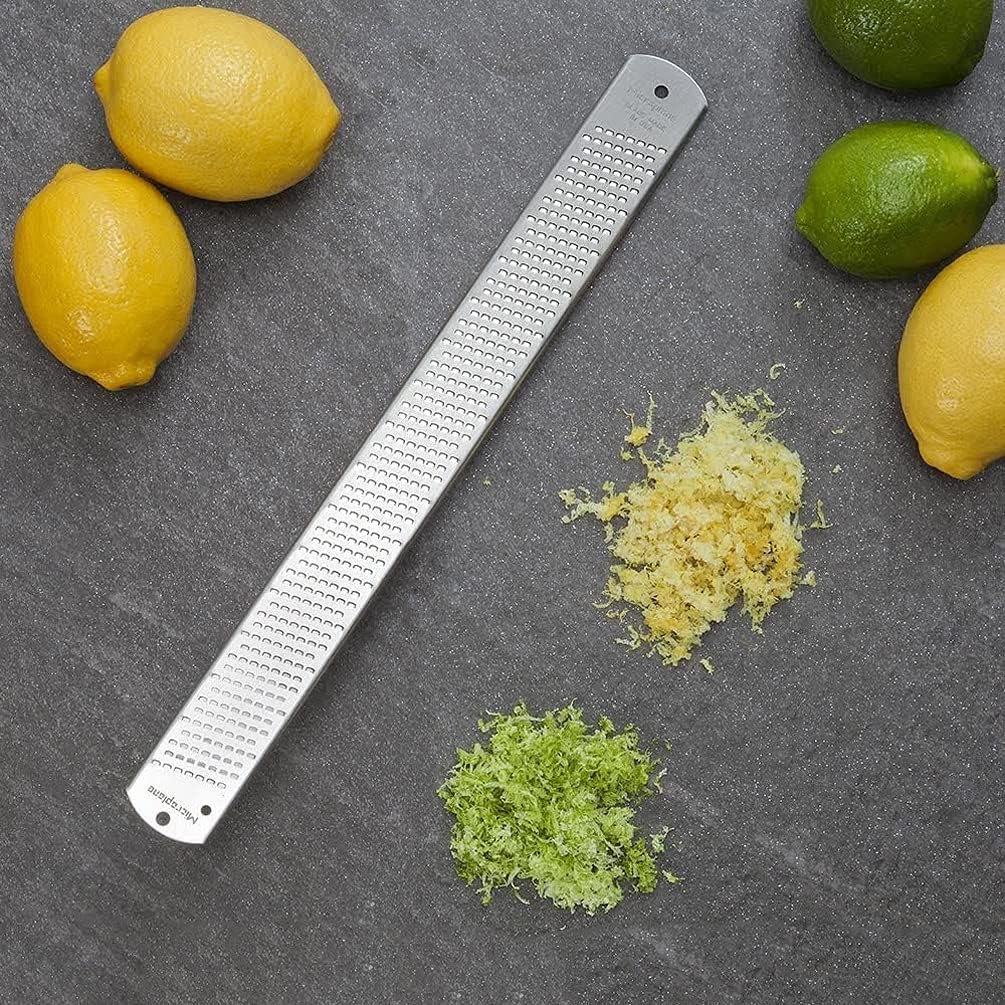
- lemon zest
- Salt and black pepper to taste
- Optional: drizzle of sweet honey or hot honey on top! Chopped green onions or fresh thyme would also be nice.
💡 Gluten-Free? Read This!
This recipe is naturally gluten-free, which makes it a great choice for those with dietary restrictions. Just ensure all ingredients, especially seasonings, are certified gluten-free if needed.
👩🍳 How to Make My Mini Sweet Pepper Appetizers
- Prepare Ingredients: Preheat your oven to 400°F. Using a mixing bowl, combine the goat cheese, Greek yogurt, chives, parsley, garlic, lemon zest, salt, and pepper. Stir until you achieve a smooth mixture.
- Stuff the Peppers: Carefully spoon or pipe the creamy cheese mixture into each raw mini pepper half. Use a baking sheet lined with parchment paper to hold the pepper halves.
- Bake: Place the baking sheet in the oven and bake for 10-12 minutes, or until the mini bell peppers are tender and the cheesy goodness on top turns slightly golden.
- Finishing Touch: If desired, drizzle a little olive oil or honey over the top of the stuffed peppers before serving. Top with a little bit of hot sauce for a spicier take!
📓 Best Served With
These flavorful appetizers pair well with a variety of dips and main dishes. Consider serving them alongside jalapeño poppers for a spicy food option or with a selection of healthy snacks like a hummus board with whole grain pita and sliced veggies for crunch.
👝 How to Store Leftovers
To store leftover mini sweet peppers, use an airtight container and refrigerate them for up to 3 days. For best results, allow the peppers to cool completely before wrapping them in plastic wrap. They can also be reheated in the oven to maintain their melted cheese texture.
Join my next 6 week challenge!
Tired of endless diets and no results? Join the FASTer Way to Fat Loss and see real, sustainable changes in just 6 weeks!
🧠 Common Questions
- Can I use different kinds of cheese? Absolutely! Feel free to experiment with cream cheese or Bourson. These will offer great flavor but macros will increase!
- Can they be made in advance? Yes, you can prepare the cheese mixture and stuff the peppers a few hours ahead. Store them wrapped in plastic wrap in the fridge and bake just before serving.
- Are there variations to try? You can add taco meat or ground beef to the cream cheese stuffed mini peppers for a more filling appetizer. Sprinkle a touch of chili powder or red pepper flakes for extra heat.
🔍 Macro Breakdown
This dish is a great macro-friendly choice with a balanced nutritional profile. At 62 calories per serving, it’s awesome for anyone watching their weight or sticking to a calorie-restricted diet.
The 4g of protein is perfect for muscle repair and post-workout recovery. Plus, it has healthy fats that help with cell function and keep you feeling full.
The 4g carbs and 1g fiber give you steady energy and help with digestion. It’s also loaded with essential vitamins A and C, which boost your immune system and support good vision.
Ingredients
Method
- Preheat the oven to 400°F.
- In a mixing bowl, combine the goat cheese, Greek yogurt, chives, parsley, garlic, lemon zest, salt, and pepper, stirring until smooth and well-mixed.
- Spoon or pipe the herbed cheese mixture into each halved mini bell pepper.
- Arrange the stuffed peppers on a parchment-lined baking sheet, and bake for 10-12 minutes, until the peppers are tender and the cheese is slightly golden on top.
- For an optional touch, drizzle a bit of honey over the peppers before serving. Enjoy!