Month: May 2023

Quick and Easy Canned Salmon Recipe for fast lunches

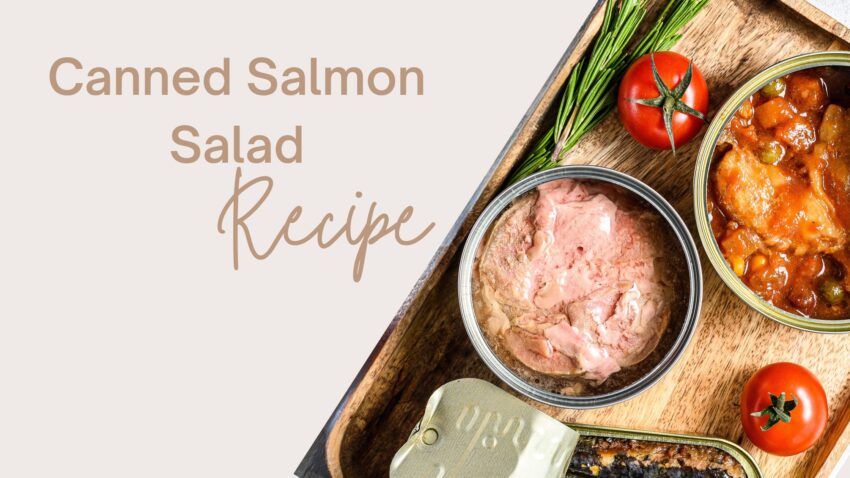
If canned salmon isn’t currently in your pantry – it should be. I love this canned salmon recipe because it’s got a ton of flavor and it can be eaten in a bunch of ways. It’s a tasty recipe that makes a great meal from lettuce wraps to on top of toast, however you eat it, you’ll be getting a good dose of healthy fats that will support heart health and your mood. It’s also a great source of protein. If you like egg salad, chicken salad or classic tuna salad, you should definitely give this healthy salad recipe a try.

Plus… did I mention it’s easy to put together? I’ve tried salmon salads that use fresh salmon fillets, and it was just too much work. Canned salmon, has all of the same nutritional properties as fresh – at a fraction of the price.

This salad recipe packs a punch of healthy omega-3 fatty acids, vitamin D, and calcium (if you go for bone-in salmon) while clocking in as a protein powerhouse!

Ingredients and substitutions

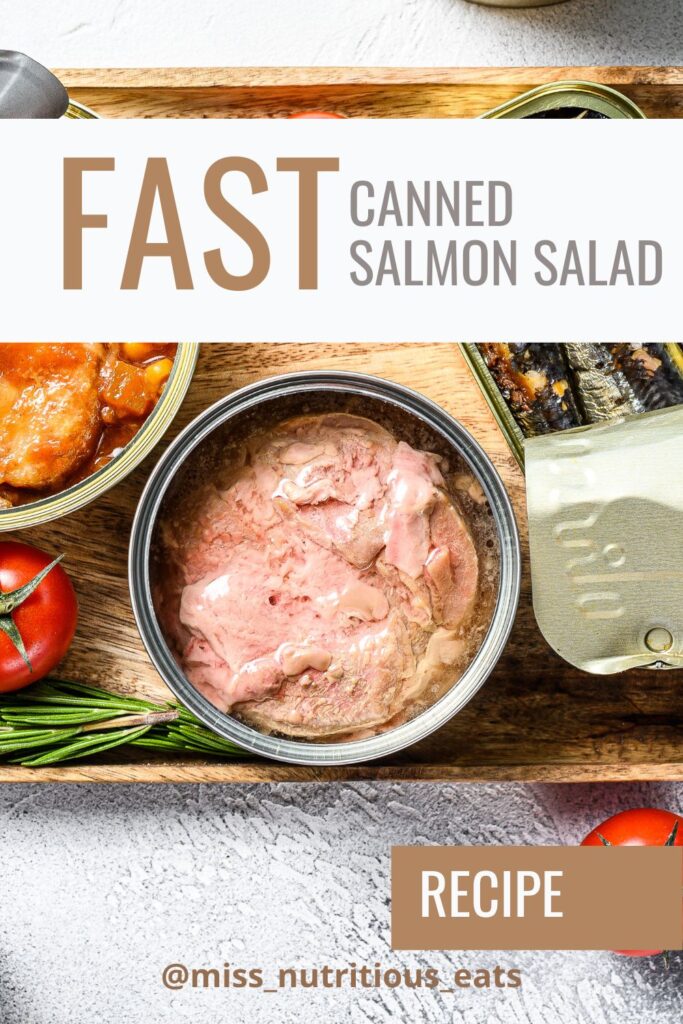
  • Canned salmon – I prefer to choose salmon with the bones because it’s a great source of calcium especially if you’re avoiding dairy. The bones just kind of disintegrate into the salad, you can’t even tell that they’re there! You can use red salmon, canned wild salmon, pink salmon or just a can of tuna if that’s what you have!
  • Capers – a little goes a long way with these guys. They add a saltiness that goes well with the crunch of all the veggies. If you don’t like capers you can chop up kalamata olives to get a similar effect.
  • English cucumber – you can substitute whatever kind of cucumber you have, I would just remove any seeds and most of the skin if it’s thick.
  • Celery – don’t skip the celery in this recipe, it adds such a great crunch!
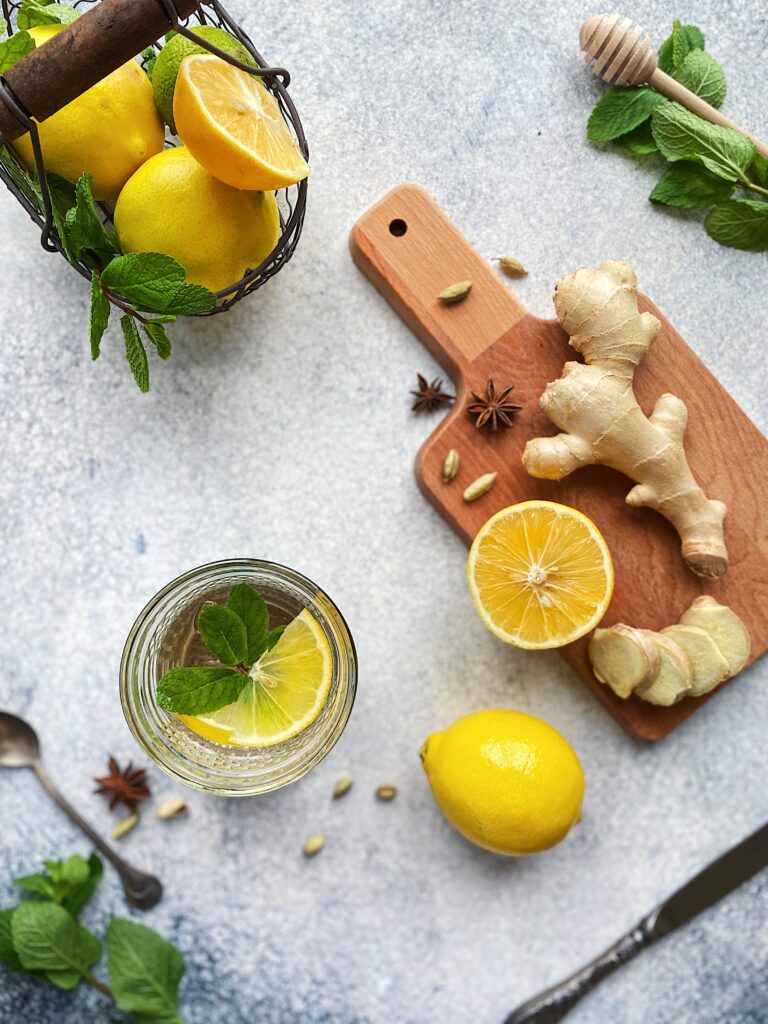
  • Feta – I prefer sheeps milk feta to add a creamy tang. It also makes for a pretty presentation because the white contrasts well on the salmon.
  • Red wine vinegar – substitute with champagne vinegar, or apple cider vinegar. Fresh lemon juice works too!
  • Olive oil – other neutral oil such as avocado oil will work, but olive oil has such great flavor.
  • Dijon mustard – use a high quality dijon mustard for the best flavor.
  • Optional – you can add in red onion, bell peppers if you like. A dollop of greek yogurt will make it creamier if you prefer. If you have fresh herbs like basil, fresh dill or parsley, add a few tablespoons for freshness.

How to make salmon salad

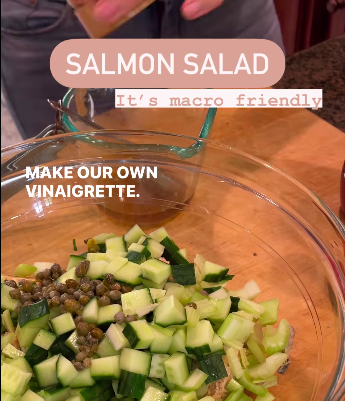
I like to start by making the vinaigrette in a large bowl. Combine your vinegar and olive oil with mustard. Mix it with a small whisk or fork. Add in your salt and black pepper to taste. I like to use truffle salt or Seasonello. If you are a sea salt fan, use that!

Next, chop your vegetables. I find that a veggie chopper makes this salad very easy and fast to make. Start with chopping the cucumber into a larger dice, followed by celery. Then, add them to the bowl with the dressing.

Once your veggies are in the dressing, open and drain your can of salmon and add that to the veggies. Mix everything well and then add your feta and herbs if using!

I immediately portion out into 4 small meal prep containers so they’re ready for anytime during the week. Any airtight container will work. And aim to eat it within 4 days.

How to eat canned salmon salad
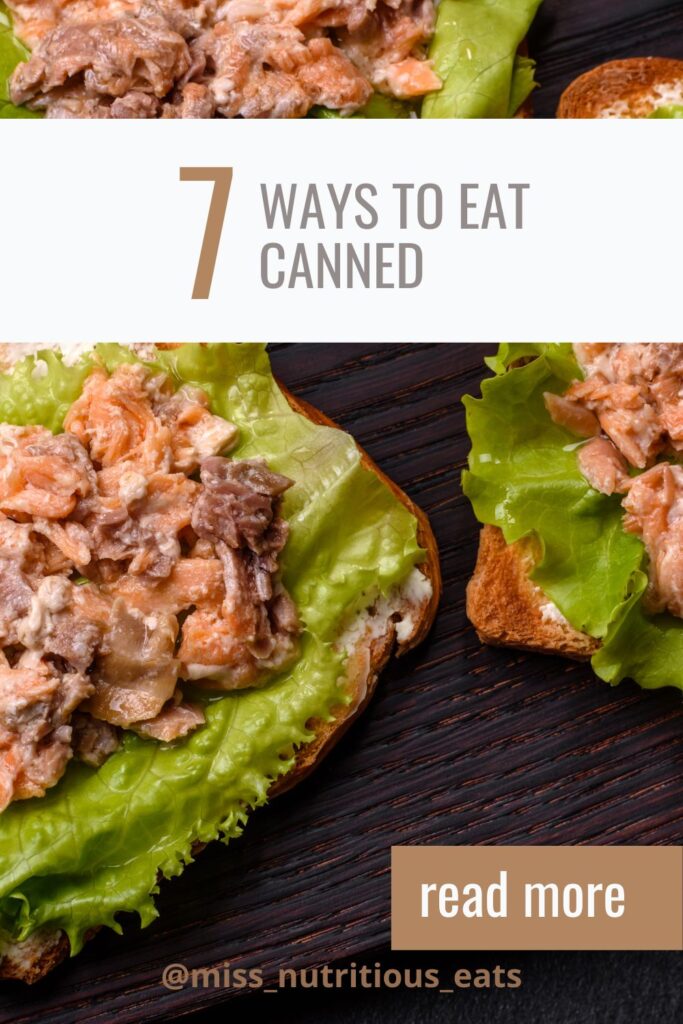
  • Pair with all of your favorite fresh veggies – think baby carrots, red peppers, cherry tomatoes, sliced fennel or endive
  • Romaine lettuce cups
  • Stuff into an avocado half
  • Over a bed of lettuce or baby spinach
  • Eat as a salmon salad sandwich on a slice of toasted whole grain bread topped with a tomato and fresh basil
  • Pair with whole grain or seed crackers and more cucumber slices.
  • Turn into a wrap stuffed with lettuce and tomato

Nutrition

When buying canned salmon, it’s crucial to check the ingredients list. You should aim for one that has minimal ingredients, most often salmon, water, and salt. Once you have selected a few good options, it’s time to compare the sodium level. Choose the brand with the lowest amount of sodium per serving. Simple as that!

If you’re following the FASTer Way to Fat Loss with me, this is a very easy salmon salad recipe that works well for low carb days, and you can also turn it into a complete meal for regular macro days too. It’s full of whole food nutrition, real food, and it’s a great way to meet your macro goals.

This salad recipe packs a punch of healthy omega-3 fatty acids, vitamin D, and calcium (if you go for bone-in salmon) while clocking in as a protein powerhouse!

Macros look like this:

Makes 4 servings

Calories: 176

Fat: 8g

Carbohydrate: 3g

Protein: 21g

Fiber: 1g

More about salmon here…
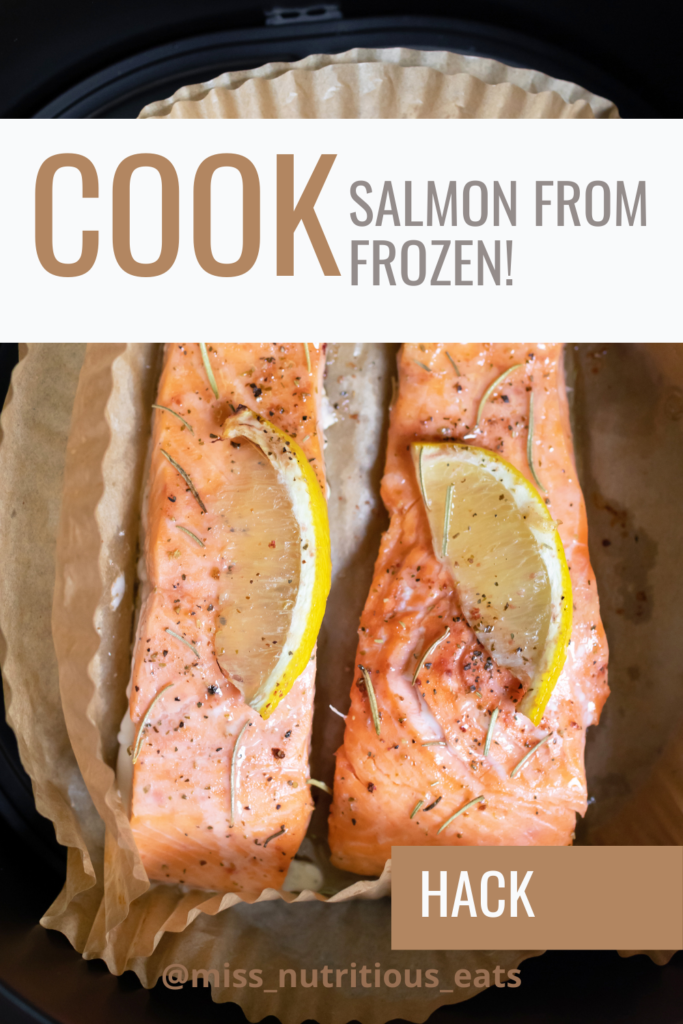
roasted salmon pin

Read more about why I love leftover salmon straight from the fridge. AND how to cook it from frozen in just 14 minutes!
Salmon Salad

Using canned salmon for a quick protein rich meal
Prep Time 10 minutes
Total Time 10 minutes
Course Main Course
Servings 4 servings
Calories 204 kcal

Ingredients
  

  • 1 tsp capers drained
  • 1 whole English cucumber diced
  • 3 stalks celery diced
  • 1 ounce feta cheese crumbled
  • 2 tbsp red wine vinegar
  • 1 tbsp olive oil
  • 15 ounces canned salmon
  • 1 tbsp dijon mustard

Instructions
 

  • Combine capers, cucumber, celery , salmon in a large bowl.
  • Combine oil, vinegar and dijon mustard together with salt and pepper.
  • Drizzle the dressing over the salmon.
  • Top with feta.
  • Mix in chopped fresh herbs if desired.

Nutrition

Calories: 204kcalCarbohydrates: 1gProtein: 26gFat: 11gSaturated Fat: 2gPolyunsaturated Fat: 2gMonounsaturated Fat: 4gTrans Fat: 0.03gCholesterol: 95mgSodium: 566mgPotassium: 446mgFiber: 1gSugar: 0.5gVitamin A: 237IUVitamin C: 1mgCalcium: 351mgIron: 1mg
Keyword easy, low carb, protein
Tried this recipe?Let us know how it was!

About Me

I’m Melanie.

I’m a chef, registered dietitian, foodie, wife and mom.
If you’re looking for quick and healthy meal inspiration that serves YOU and your family well, then you’ve come to the right place!

Melanie Marcus Selfie

Easily make Pancakes for a crowd with your sheet pan

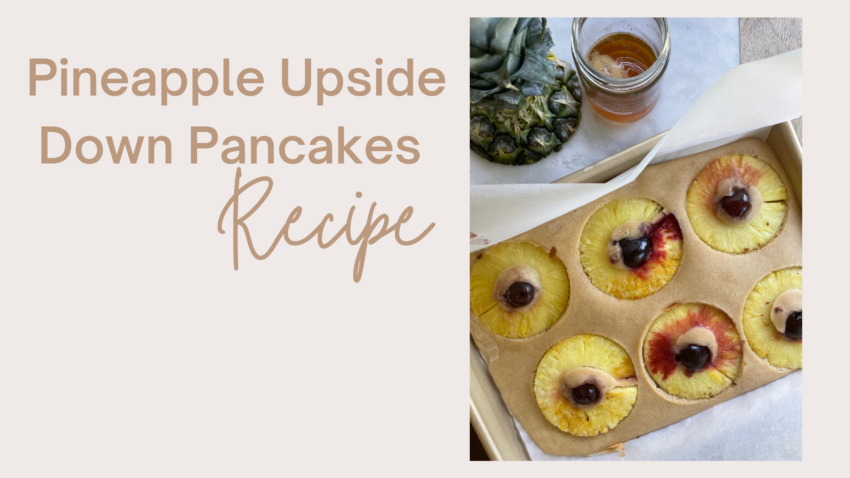
There’s nothing more welcoming than traditional pancakes for breakfast – especially when you have guests. But let’s be honest, have you actually tried making individual pancakes for a crowd? It can be hectic. After trying this method, I’ll never make pancakes one-by-one for a large crowd again! With just your trusty sheet pan and a few simple ingredients, you can easily make delicious pancakes for an entire family or party. Forget standing in front of the hot griddle flipping endless numbers of pancakes. Instead batch cook with your baking sheet and oven to make one giant pancake in a fraction of the time. Keep reading to find out how easy it is to make this classic breakfast favorite with minimal fuss. Plus I’ll show you how to take the toppings up a notch. Still healthy- but they’re dessert level. Check out this quick reel for a visual.

Add this to your list of easy breakfast ideas. You’re welcome 🙂

Jump to Recipe

Ingredients you need for easy sheet pan pancakes

  • Your favorite box mix of pancakes. I love the Buttermilk Kodiac pancake mix because it tastes great with the bonus of being whole grain and a good source of protein.
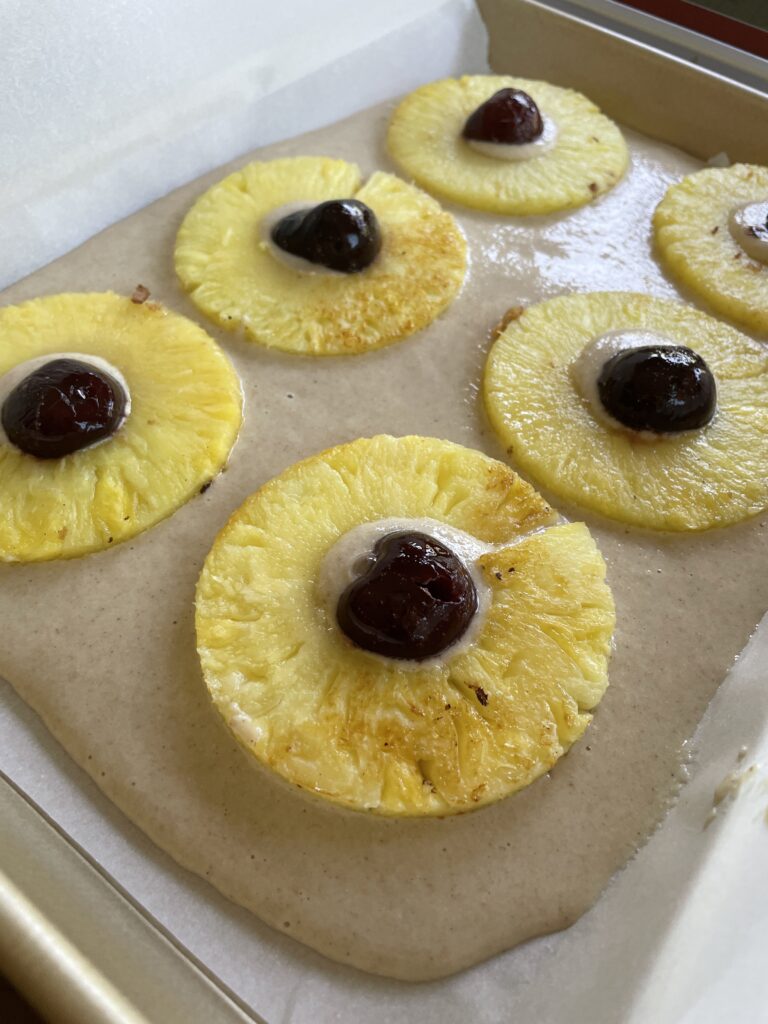
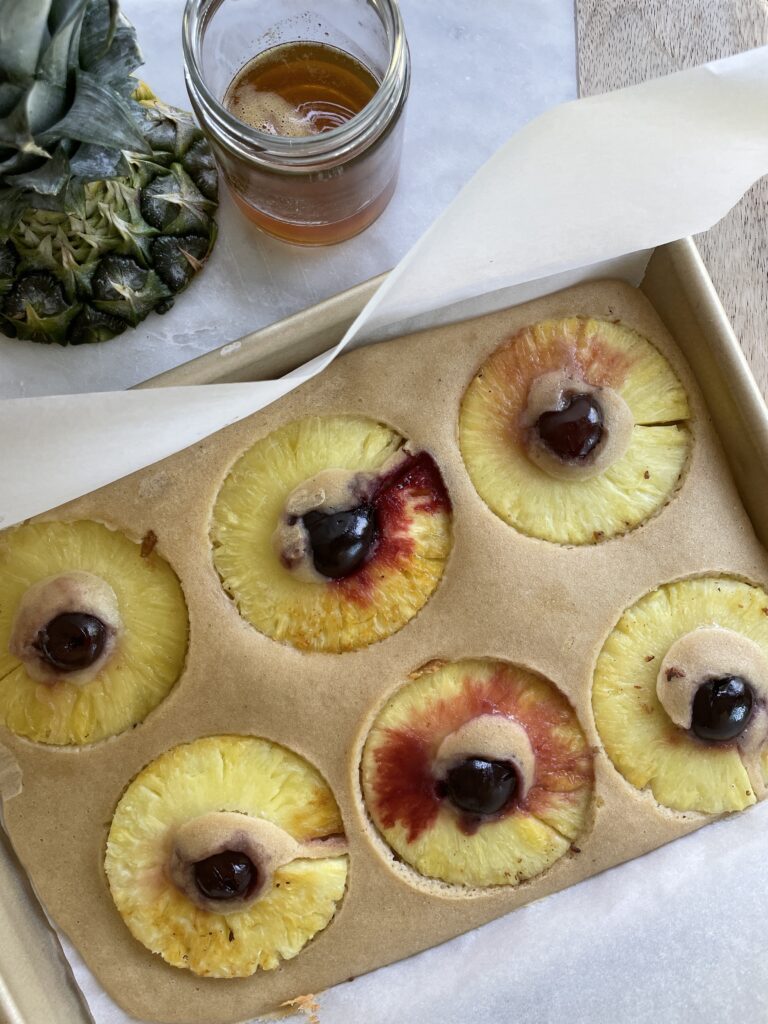
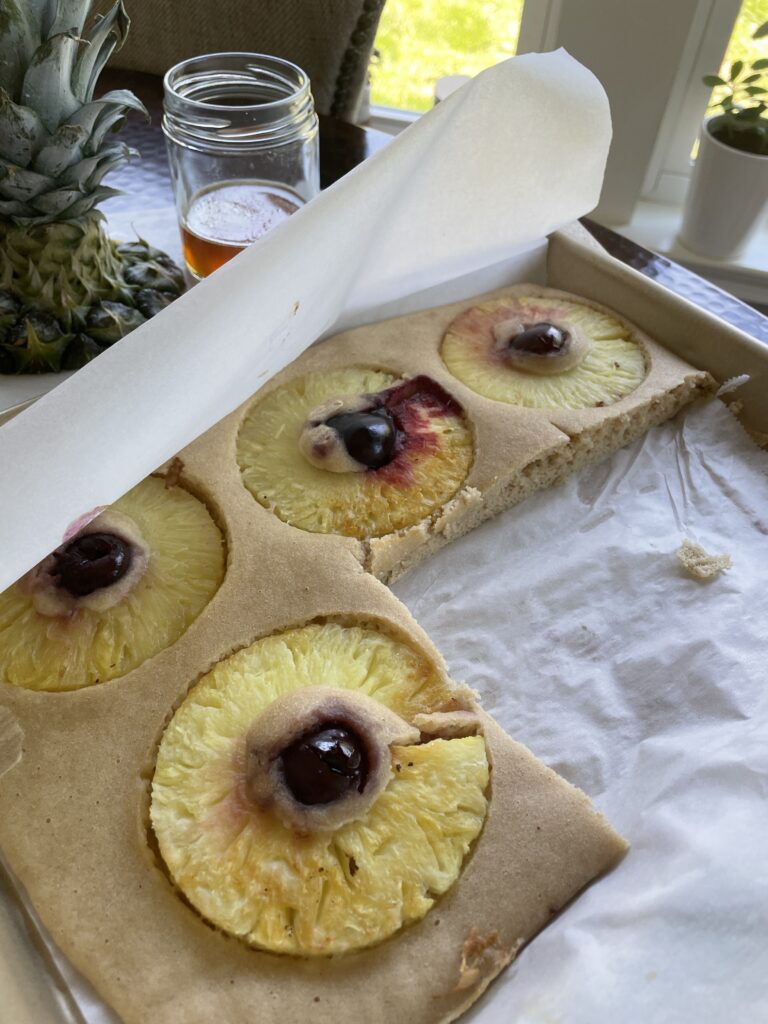
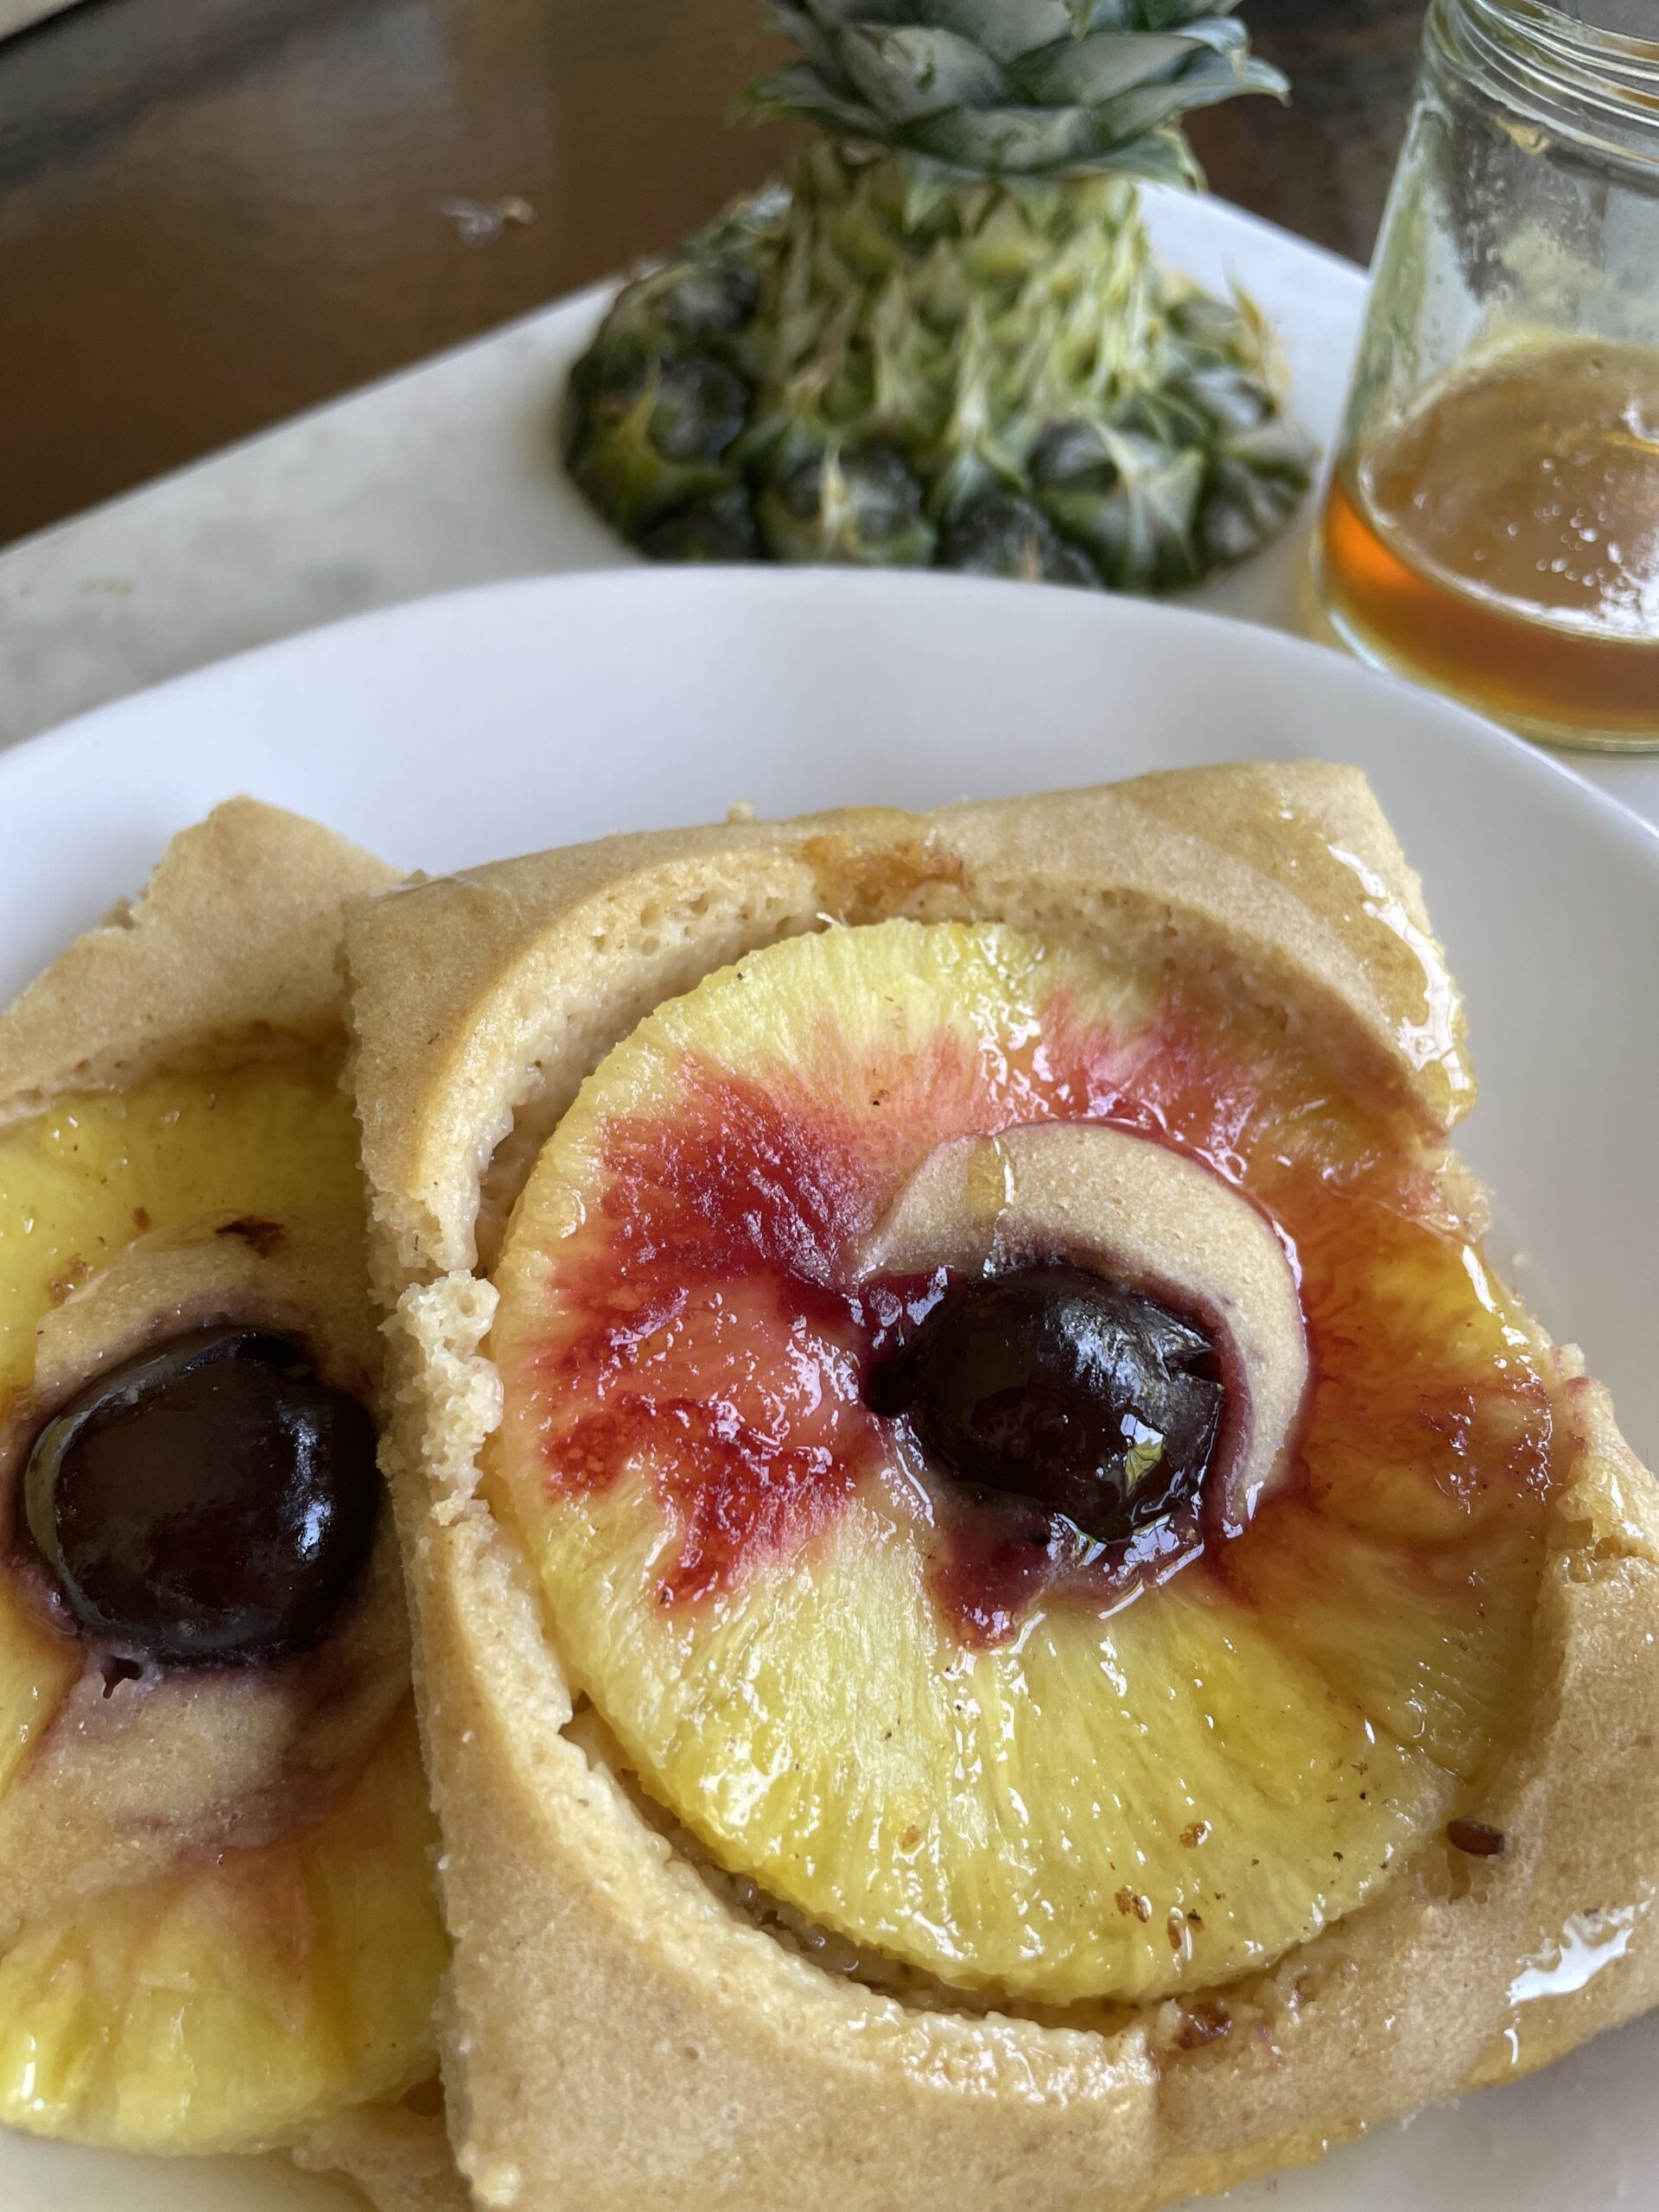
  • Toppings – Today I’m sharing a pineapple upside down cake version so we’re using fresh pineapple rings and frozen cherries, with a sauce made from maple syrup, pineapple juice and vanilla extract. Scroll down for other different flavors and combinations.
  • Neutral cooking spray

Tools you need for this easy recipe

  • Sheet pan – I have used a 1/4 sheet pan or a 1/2 sheet pan. Just depends on how large your batch of pancakes will be, as well as the size of your oven.
  • Parchment paper for easy removal.

My favorite toppings for pancake batter

  • Everyones favorites chocolate chips
  • Drizzle peanut butter and sliced bananas
  • Lemon zest and fresh blueberries
  • Sliced bananas and toasted walnuts
  • Raspberries and white chocolate
  • Thinly sliced apples and cinnamon
  • Sliced fresh, canned or frozen peaches
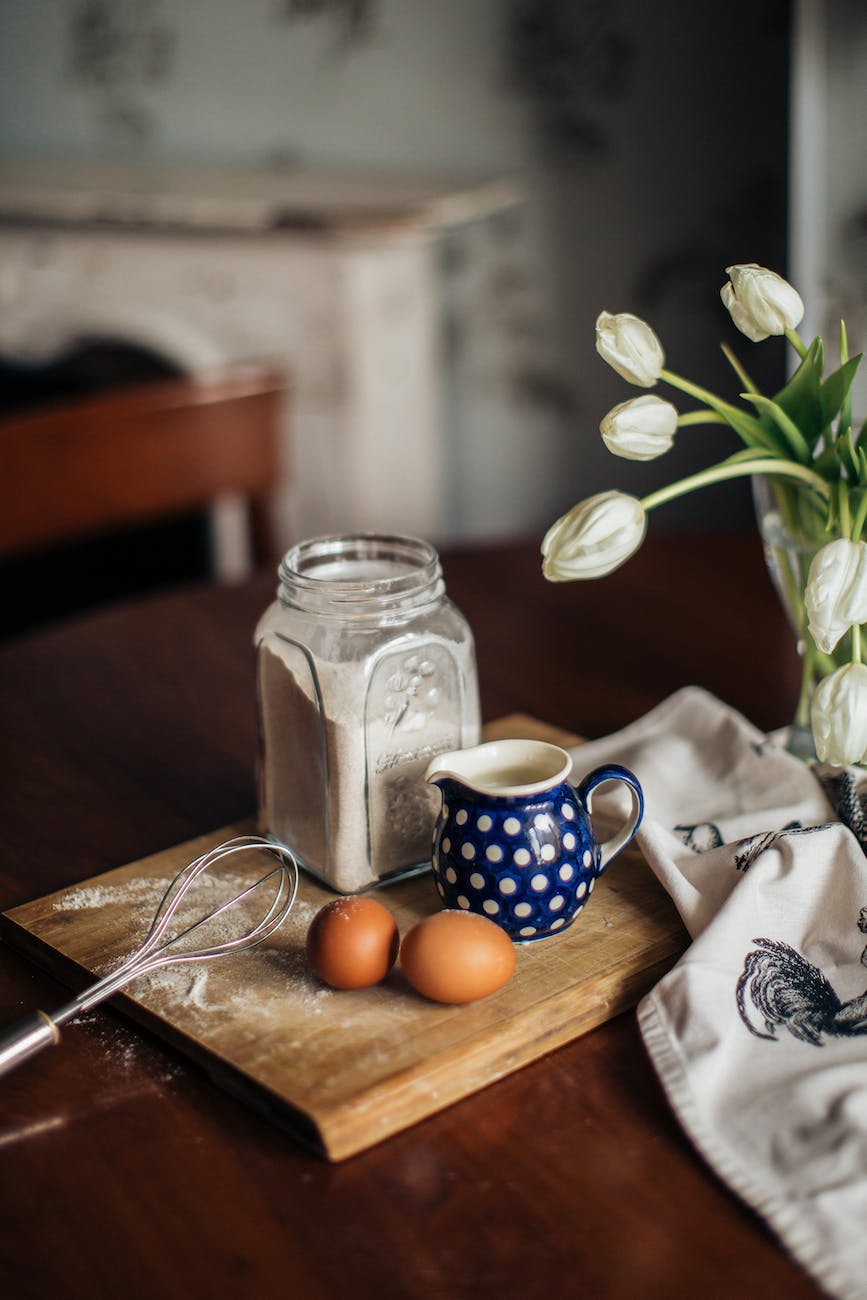
ingredients for dough and flowers on table

Once they’re cooked you can top with vanilla yogurt, warm maple syrup, berry compote or powdered sugar. Whether you serve with fresh fruit, eggs, sausage or bacon, it’ll be a tasty breakfast for everyone.

Jump to Recipe

Tips for how to make these oven-baked pancakes

  1. Make sure the oven is hot. Preheat 400 degree F oven. They need about 11minutes to turn golden brown.
  2. In a large mixing bowl combine all of the dry ingredients, and add the wet. Don’t over mix.
  3. Prepare your pan with nonstick spray AND line with parchment paper. This will ensure your tasty pancakes make it out of the pan without a hitch.
  4. Use a sharp serrated knife or a pizza cutter to cut your pancakes into enough servings for the whole family.
  5. Use a thin, wide spatula to get them out of the pan. I love using my fish spatula for this, it’s the easiest way.
  6. Any pancake recipe will work for this. Just be sure to pour batter down the center of the pan and use a rubber spatula to spread it evenly towards the four corners of the pan.
  7. Have your different toppings ready. You can even accommodate a few different combinations if you need to! Just have everything cut up and ready.

If you have leftover pancakes, store them in an airtight container and reheat in the toaster oven. My picky eaters loved these pancakes so much, they asked to have them for dessert with a bit of whipped cream 🙂

Calorie Information

Makes 6 servings

Calories 85

Fat 1 gram

Protein 5 grams

Carbohydrate 15 grams

Fiber 2 grams

pineapple pancakes

Pineapple Pancakes

Prep Time 5 minutes
Cook Time 12 minutes
Total Time 17 minutes
Course Breakfast
Servings 6
Calories 85 kcal

Equipment

  • 1 Sheetpan
  • parchment paper

Ingredients
  

  • 1 cup Kodiak Pancake Mix
  • 6 slices Fresh Pineapple
  • 6 each Frozen Cherries
  • water
  • cooking spray

Instructions
 

  • Combine pancake mix and water according to package directions
  • Spread batter onto prepared pan, lined with parchment and sprayed.
  • Top with pineapple rings and cherries.
  • Bake at 400F, for 11 minutes or until cooked through.

Nutrition

Calories: 85kcal
Keyword for a crowd, kid friendly
Tried this recipe?Let us know how it was!

About Me

I’m Melanie.

I’m a chef, registered dietitian, foodie, wife and mom.
If you’re looking for quick and healthy meal inspiration that serves YOU and your family well, then you’ve come to the right place!

Melanie Marcus Selfie

Easy fried rice for one

Are you looking for an easy and tasty weeknight dinner that won’t take all night to make? Well, look no further than this super fast fried rice! You can may also like my egg roll in a bowl or easy ricotta pasta recipes – so check them out if you have time. But this delicious fried rice is my go to for busy weeknights since it has minimal ingredients and takes way less than 30 minutes from start to finish.

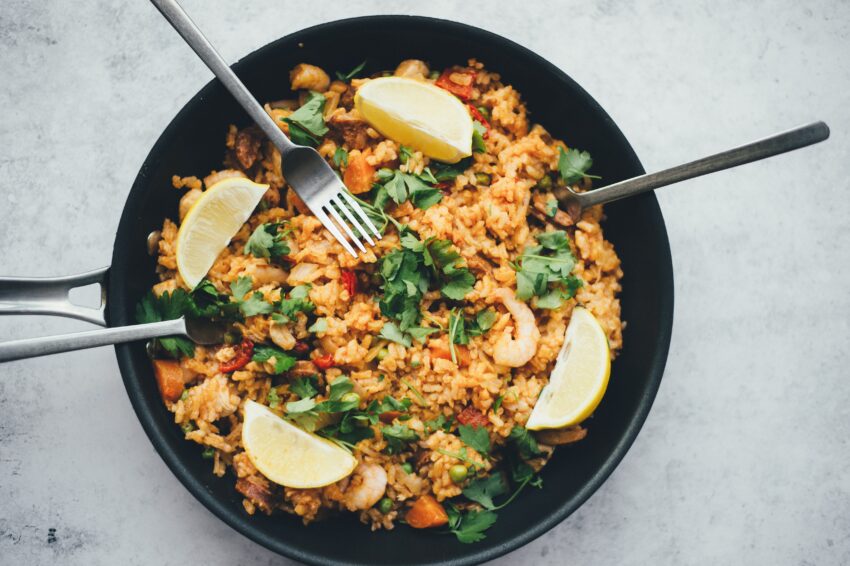
Plus, you can customize this basic recipe by using whatever vegetables or proteins you have in your fridge whether they are fresh or frozen. Keep reading to learn how my step-by-step guide will help you whip up a batch of irresistible fried rice in no time flat. It can also be made as a side dish for two or easily made to feed the entire family.

Jump to Recipe

Ingredients you need for this easy fried rice recipe

  • Toasted sesame oil – Other neutral oil such as vegetable oil, canola oil or olive oil will work well too here but sesame oil adds a lot of flavor.
  • Garlic – this is a classic flavor component, so don’t skimp. You can mince whole fresh garlic, use jarred minced garlic or frozen cubes are a great way to add flavor.
  • Fresh ginger – I like to use frozen cubes to keep this simple, but you can also grate fresh ginger.
  • Mixed vegetables – think fresh veggies like broccoli, bok choy, carrot, bell pepper, zucchini, green peas, green beans, onions, mini corn, bell peppers. A bag of frozen veggies will work here too.
  • Brown rice – I like to use brown rice, but it’s a matter of personal preference. Any rice will work. Leftover rice is a fabulous option if you have it. But white rice or cauliflower rice are also good substitutes. Just be sure any of the rice is pre-cooked and cooled. In fact, cold rice works best for fried rice recipes.
  • Gluten-free tamari – low sodium soy sauce, coconut aminos, even regular soy sauce will work but it does have gluten. These are all interchangeable so just use what you have.
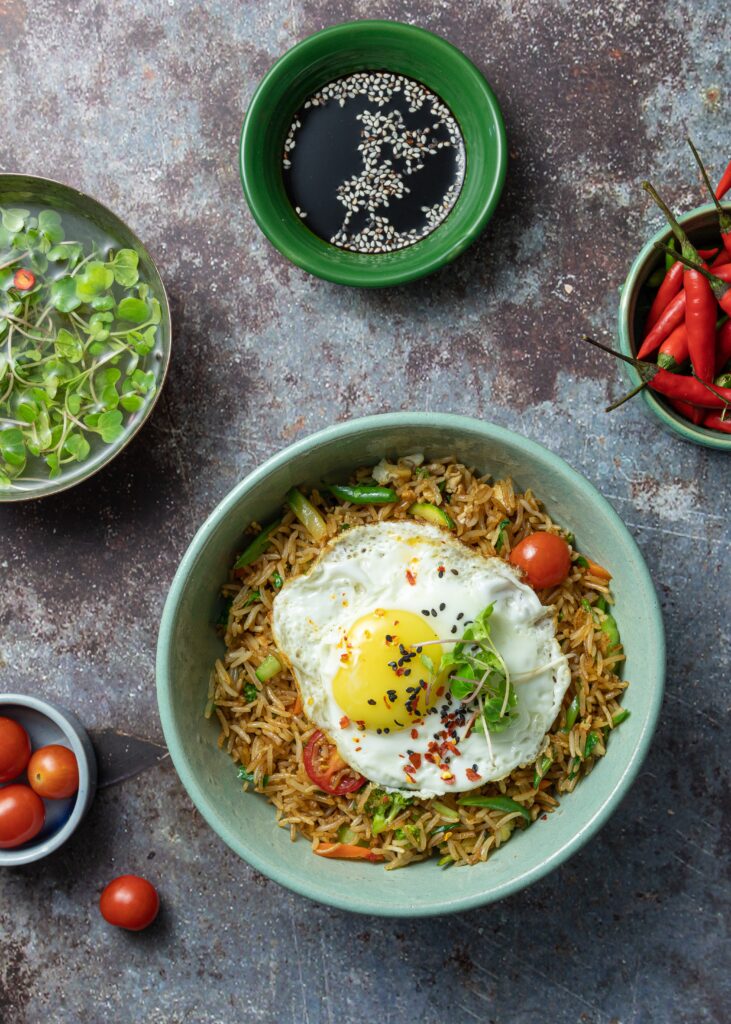
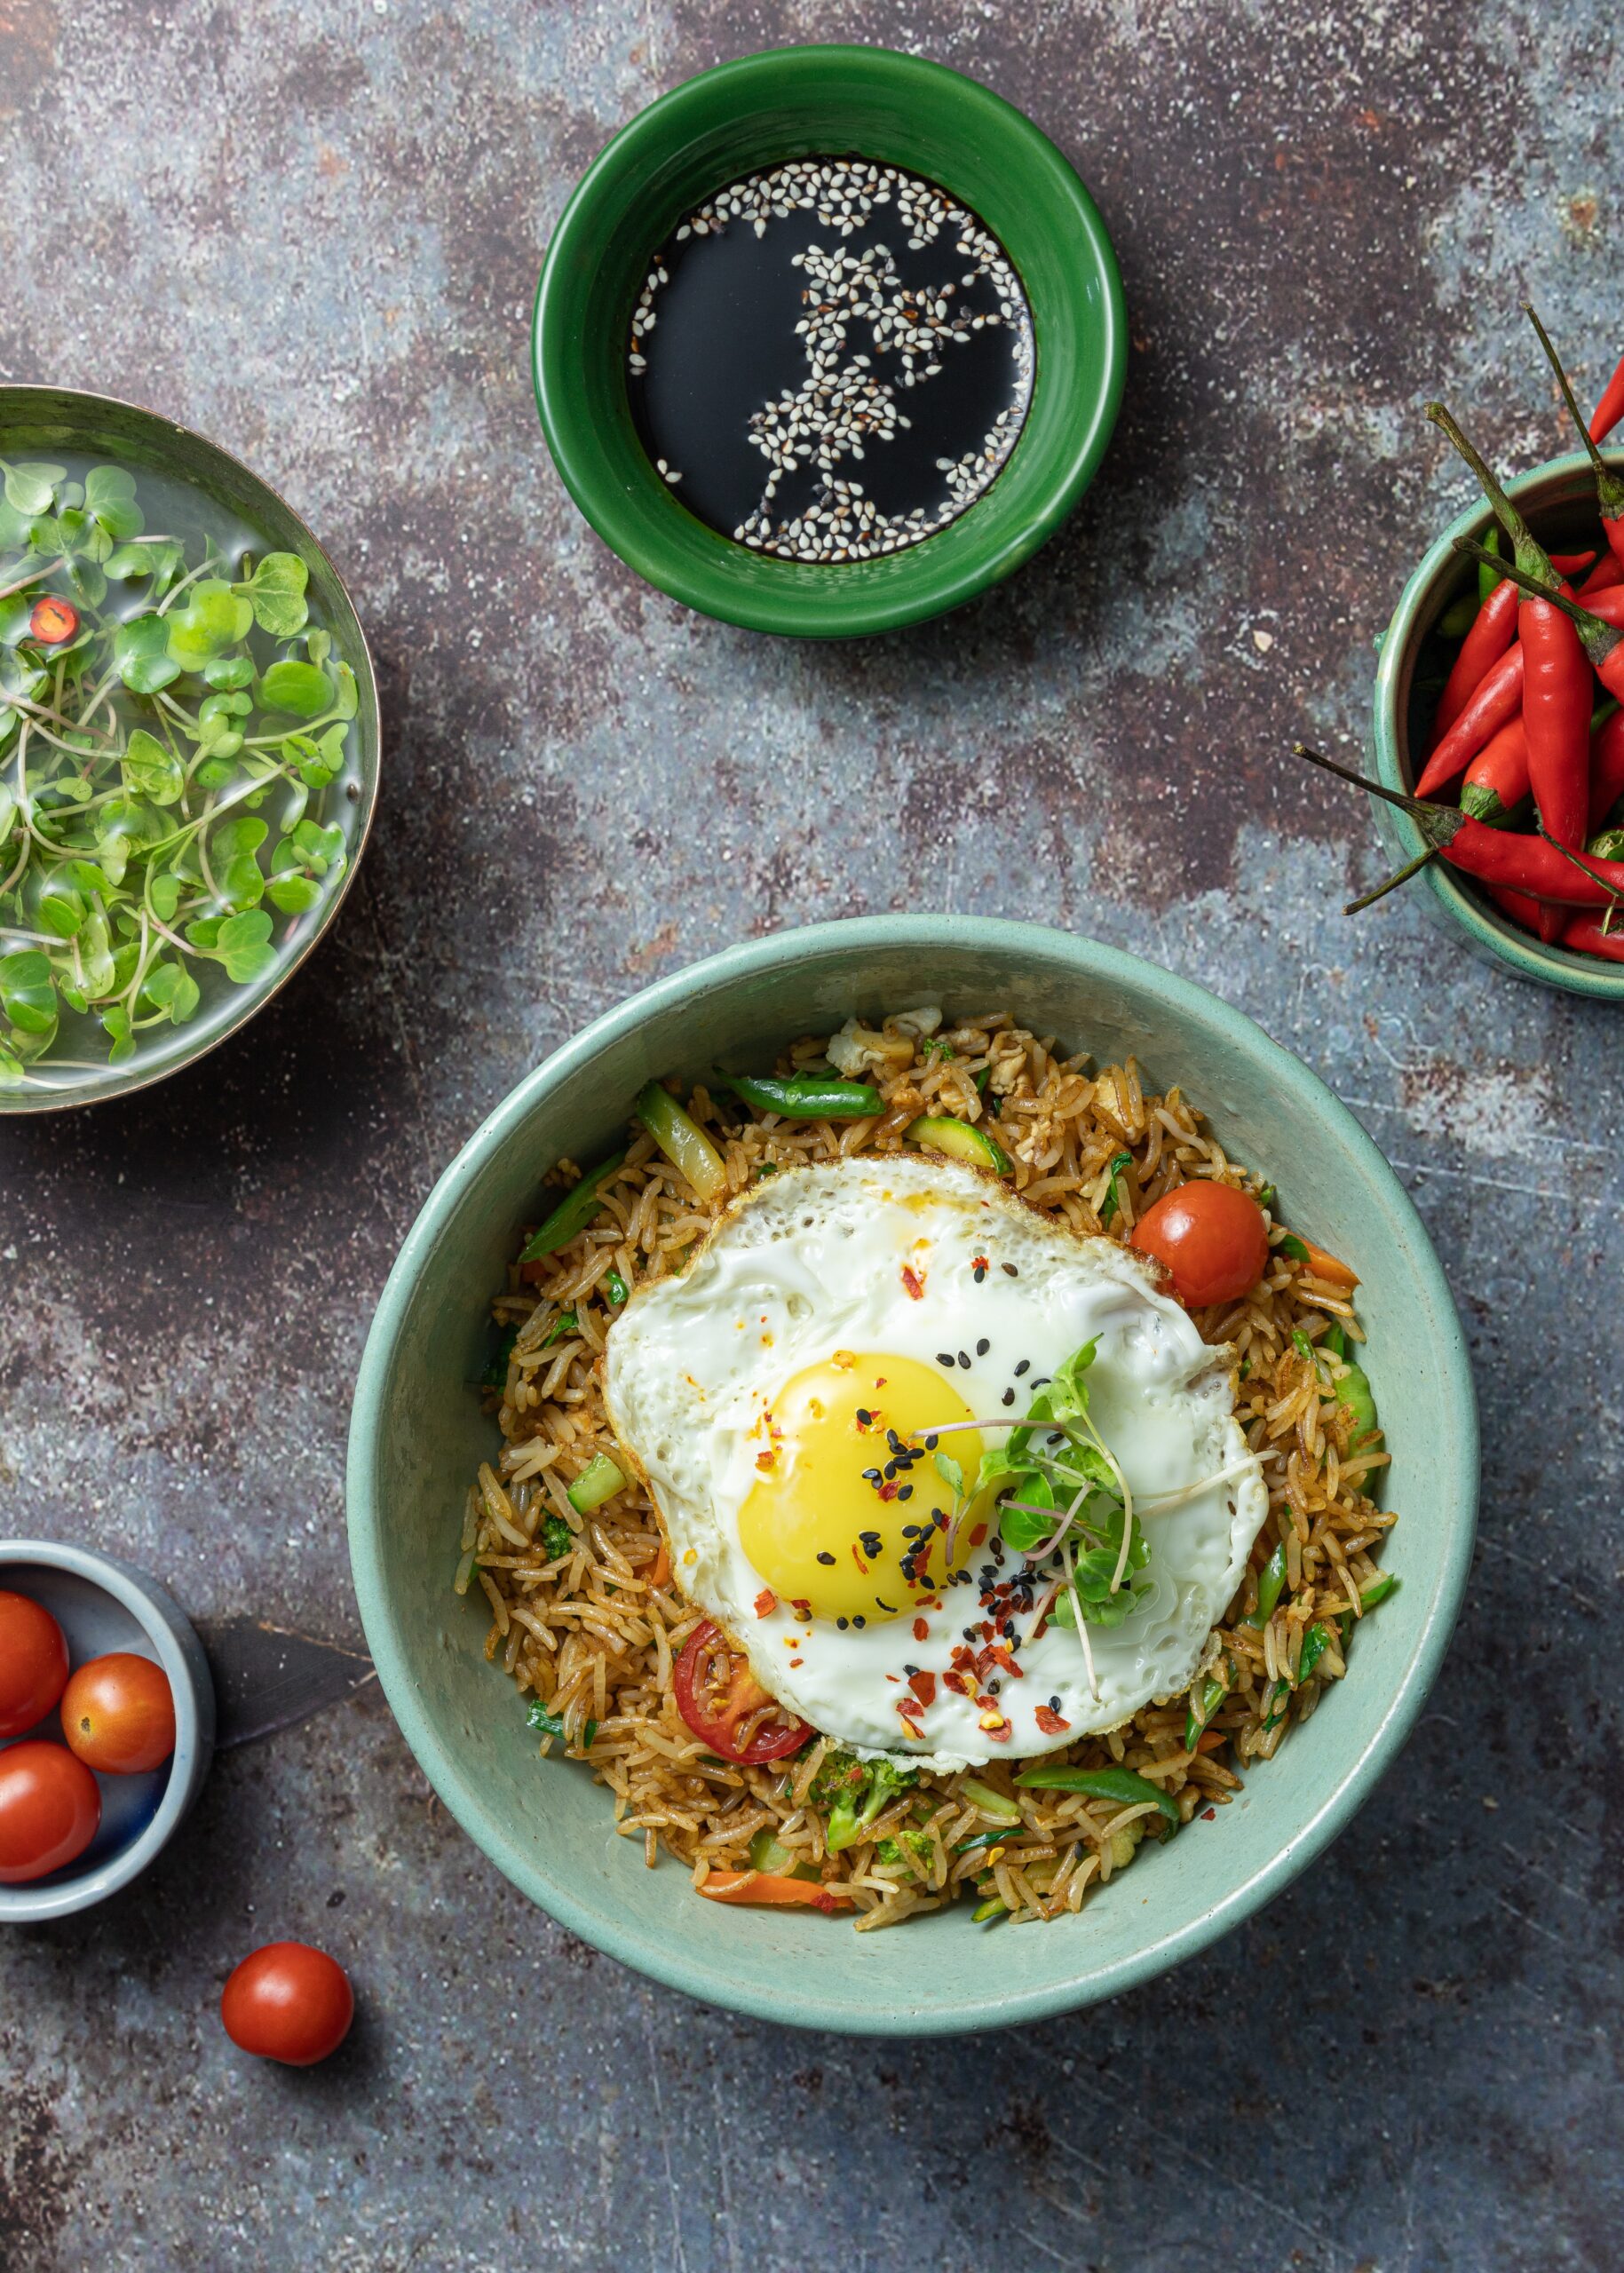
  • Whole egg – We fry them sunny side up, but I also like to scramble the egg into the rice the way my mom used to do it for us, so it’s just personal preference.
  • They key is to use a hot wok or well heated frying pan to make sure everything cooks evenly!
  • optional toppings: Sriracha, green onions, bean sprouts, cilantro, sesame seeds, cubed tofu, or protein of choice such as leftover chicken.
Jump to Recipe

Steps to make classic fried rice

  1. Heat the oil in a large skillet or large wok over high heat.
  2. When the oil is hot, add the garlic, ginger, and chopped vegetables and cook over medium-high heat .
  3. Stir-fry the vegetables for about 5 minutes, until lightly browned and softened. Keep the ingredients moving so they cook evenly.
  4. Add the rice and cook, for another 3 minutes, then add the soy sauce and cook for 1 minute more. 
  5. Let the rice cook, undisturbed for 1-2 minutes if you like crispy bits in your fried rice.  
  6. Remove rice from panServe with sriracha.

What kind of rice is best to use for fried rice?

Personally I love to use leftover cooked rice from takeout. Day-old rice works really well because the individual grains maintain their texture as opposed to getting mushy. While jasmine rice is popular because of its aroma and flavor, but it tends to naturally have wetter consistency that helps it clump together.

  • If you have a rice cooker – Make the most of it by making a larger batch of fresh rice, let it return to room temperature and then freeze on a sheet pan in a single layer to use for later weeknight meals.
  • Microwaveable packets of long-grain rice are great for this type of quick cooking. They are also the best way to keep on hand in your pantry to make a complete meal in under 2 minutes!
  • Frozen brown or white long grain rice are other good options. I recommend that you microwave just before you add to the cooked vegetables. Though I find that rice doesn’t get as crispy with this method.

As you can see there are several types of rice you can use.

Here’s a secret for good fried rice: Cook your rice until it’s al dente, which means it has a little bite left to it. This prevents your fried rice from becoming mushy as you add sauces to your stir fry.

Tips for adding more flavor

When making dishes that include soy sauce, you may think more soy sauce is better. While you don’t want to skimp, it could become very one note if you use too much. Here’s what I recommend instead.

Make your fried rice with quantities listed in the ingredient list. Then taste it. While it may need more soy sauce for your liking, it’s important to remember that 15 milliliters or 1 Tablespoon of soy sauce has 920 milligrams of sodium. That’s 38% of the daily recommended value, and just about half of what the American Heart Association recommends for a heart healthy diet.

Instead of adding more soy sauce, you may want to sprinkle with a small amount of kosher salt to help bring out some high notes.

Alternatively, use lemon or lime juice! Citrus helps bring balance to salty or fatty foods and helps your tongue and mind appreciate the flavors. Just give a squeeze over the top and taste the difference for yourself!

If you happen to have leftovers, store your homemade fried rice in the refrigerator in an airtight container.

Calorie information

This recipe is really macro friendly because it has a significant source of fiber, plus you can modify the fat, protein or carbohydrate to meet your needs easily!

Calories 456

Fat 12 grams

Saturated 2grams

Sodium 571 grams

Protein 16 grams

Fiber 7 grams

About Me

I’m Melanie.

I’m a chef, registered dietitian, foodie, wife and mom.
If you’re looking for quick and healthy meal inspiration that serves YOU and your family well, then you’ve come to the right place!

Melanie Marcus Selfie

Quick Fried Rice for One

Prep Time 2 minutes
Cook Time 11 minutes
Total Time 13 minutes
Course Main Course, Side Dish
Servings 0
Calories 456 kcal

Ingredients
  

  • 1 tsp toasted sesame oil
  • 1 clove garlic minced
  • 2 tsp fresh ginger minced
  • 2 cups vegetables chopped
  • 1 cup cooked brown rice cooled
  • 2 tsp low sodium soy sauce
  • 1 egg fried
  • edamame, shrimp, tofu, green onion, sesame seeds, sriracha

Instructions
 

  • Heat the oil in a large nonstick skillet over high heat.
  • When the oil is hot, add the garlic, ginger, and chopped vegetables.
  • Stir-fry the vegetables for about 5 minutes, until lightly browned and softened.  Keep the ingredients moving so they cook evenly.
    Add the rice and cook, for another 3 minutes, then add the soy sauce and cook for 1 minute more. 
  • Let the rice cook, undisturbed for 1-2 minutes if you like crispy bits in your fried rice.  
  • Transfer your rice to serving bowl and top with fried egg and additional toppings if desired.

Nutrition

Calories: 456kcal
Tried this recipe?Let us know how it was!