
Easy Lemon herb salmon cakes (26g pro + GF)

When I first started making these Lemon Herb Salmon Cakes, I was searching for something quick, healthy, and—most importantly—something my two kids, Jules and Max, would actually eat without a fuss. One hectic weeknight, we experimented with what we had on hand which was canned salmon, some fresh herbs from the garden, and almond flour. I was totally surprised when Jules actually got excited about shaping the patties while Max was in charge of squeezing the lemon (mostly onto the counter). Now, these salmon cakes aren’t just a nutritious, high-protein choice, they’re a staple in our family, always greeted with grins and lots of second helpings. If you’re looking for an easy dinner solution that brings everyone to the table, this recipe might just become a new favorite in your home too.
Table of contents

😍 Why You’ll Love Lemon Herb Salmon Cakes
- Quick and Easy – This easy salmon patties recipe comes together in less than 20 minutes, perfect for busy weeknights or last-minute meal prep.
- Super Nutritious – Packed with omega-3 fatty acids, fresh herbs, and wholesome ingredients, these salmon cakes are a great way to nourish your body while hitting your health goals.
- Customizable – Whether you’re a fan of tartar sauce, greek yogurt, or a zesty lemon dill sauce, this recipe pairs well with a variety of toppings.
- Kid-Friendly – Transforming pantry staples like canned salmon into golden brown patties is a surefire way to turn picky eaters into seafood lovers.
Outsmart Hormonal Weight Gain
This guide walks you through how unknowingly, hormones may be in the way of your fat loss goals.
Hormone Recipe Guide
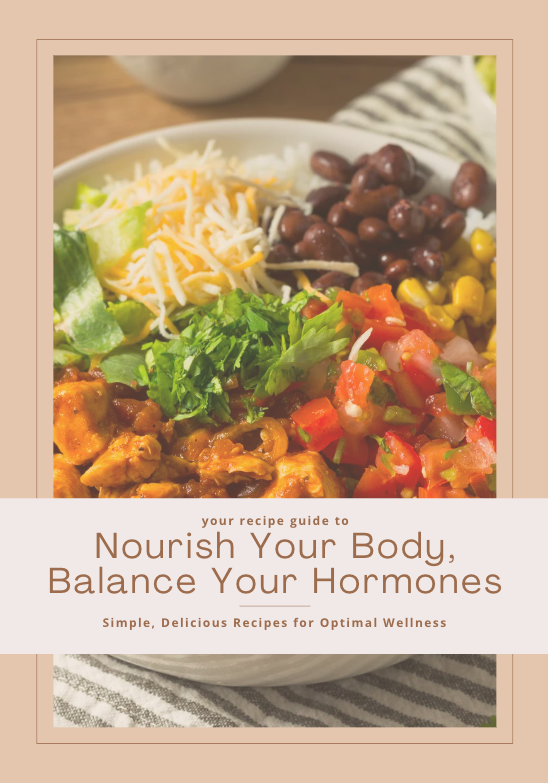
If you’re ready to eat to support your hormones, this guide is for you!
Workout with Me

Try one of the custom workouts that my clients and I do daily! Just 30 minutes for results.
🗒️ Ingredients + Substitutions
Here’s what you need to make these tender, flaky Lemon Herb Salmon Cakes. Don’t have everything? No problem—substitutions are simple!
- Canned Salmon (14 oz): The hero of this salmon cake recipe. Opt for wild-caught if you can for better flavor and quality. Fresh salmon cakes can be made with chopped salmon if you prefer.
- Egg (1, large): Acts as the binder for the patty mixture.
- Almond Flour (¼ cup): Keeps the cakes gluten-free, but oat flour or panko bread crumbs work well too.
- Dijon Mustard (1 tbsp): A major flavor booster. Try a teaspoon of Worcestershire sauce for a bolder twist.
- Fresh Lemon Juice (1 tbsp) + Lemon Zest (1 tsp): Adds a refreshing touch to balance the richness of the salmon mixture.
- Parsley (2 tbsp, chopped): Fresh parsley shines here, but dried works in a pinch. Swap with fresh dill for a unique variation.
- Garlic Powder (¼ tsp): Adds subtle depth. For garlic lovers, minced garlic is an excellent upgrade.
- Sea Salt + Black Pepper, to taste: Don’t skimp here—seasoning is key!
If you love experimenting with bold flavors, try adding a dash of Old Bay seasoning, a sprinkle of celery seed, or chopped red pepper for good measure.
💡 Gluten-Free? Read This!
Good news—this recipe is naturally gluten-free thanks to almond flour. If almond flour isn’t handy, look for certified gluten-free oat flour or use panko bread crumbs if serving guests without dietary restrictions.
For even more control, consider making these salmon cakes in the air fryer on parchment paper. Many air fryer models make it easier to crisp these patties without needing breadcrumbs.
👩🍳 How to Make My Lemon Herb Salmon Cakes
Creating these easy salmon cakes is surprisingly simple. Just follow these steps for perfect patties every time!
Instructions
- Mix the Ingredients: Start by combining the canned salmon (flaked), egg, almond flour, Dijon mustard, lemon juice, lemon zest, parsley, garlic powder, and seasonings in a large mixing bowl.
- Form the Patties: Using your hands, form the salmon mixture into 4-5 1-inch-thick patties. If the patty mixture feels too wet, chill it briefly or add an extra tablespoon of almond flour.
- Cook the Patties: Heat olive oil in a large nonstick skillet over medium heat. Cook the patties for 3–4 minutes per side, or until golden brown and crisp on the edges. Flip carefully using a spatula to keep the patties intact.
- Optional Garnishes: Serve immediately, topping with tartar sauce, sour cream, or a dollop of greek yogurt for a creamy finish.
Pro tip: For batch cooking or longer storage, arrange patties on a foil-lined baking sheet, freeze them in a single layer, then transfer to a freezer bag. Reheat gently in the air fryer or large skillet for best results.
📓 Best Served With
These versatile salmon cakes are the perfect centerpiece for several healthy, satisfying meals. Here are a few serving ideas to elevate your experience.
- On a Salad: Serve these patties warm or chilled on top of a crisp green salad with lemon dill sauce.
- With Favorite Vegetables: Pair with roasted veggies, like red bell pepper or asparagus, for a colorful, well-rounded plate.
- Low-Carb Options: Opt for cauliflower rice, a refreshing cucumber salad, or serve as a salmon burger with lettuce wraps instead of buns.
- Traditional Sides: Enjoy with coleslaw or mashed potatoes for an approach similar to crab cakes.
👝 How to Store Leftovers
Planning for leftovers? Here’s how to keep your salmon cakes fresh and flavorful.
- Refrigerate in an airtight container for up to three days. For extra freshness, place a sheet of parchment paper between patties to avoid sticking.
- Freeze: Allow patties to cool completely, then arrange them on a prepared baking sheet and freeze in a single layer. Once frozen, transfer them to a freezer bag for up to two months.
- Reheat: Place leftover salmon patties on a parchment-lined baking sheet or large skillet. Heat at 350°F for about 10 minutes or until warmed through.
🧠 Common Questions
1. Can I make these with fresh salmon instead of canned?
Absolutely! Cook and flake fresh salmon filet or raw salmon beforehand for a fresher take on the original recipe. If you’re partial to fresh salmon, check out my suggestions for eating salmon cold.
2. Can I bake these instead of frying?
Yes! Bake in a preheated oven at 400°F on a prepared baking sheet for 12-15 minutes or until golden brown, flipping halfway through.
3. Are these salmon cakes keto-friendly?
Yes—swap almond flour for another low-carb option like crushed pork rinds if needed.
Other recipes you may like


Join my new 21 DAY reset!
Tired of endless diets and no results? This reset is for you if you want to gain energy, cut the cravings, build strength, decrease bloat and feel amazing going into the holiday season!

💪🏼 Tracking Macros? Check This Out
Each patty in this easy salmon cakes recipe is packed with protein, healthy fats, and minimal carbs, making it ideal for those following the FASTer Way or other macro-based nutrition plans.
- Serving Size: 1 patty
- Macros: Approx. 140 calories, 4g carbs, 7g fat, 14g protein per patty
- Pro Tip: Pair with avocado, veggies, or add tartar sauce for extra flavor without derailing your daily values. If logging macros, use an immersion blender to test additional ingredients like mayonnaise or alternative binders for an even better fit next time.
Make this your go-to salmon cake recipe! It’s an easy dinner that’s both crowd-pleasing and packed with health benefits. Try it tonight and explore more with your favorite vegetables or refreshing touch like hot sauce for an added kick!
Ingredients
Method
- In a medium bowl, mix together all ingredients (except oil) until well combined.
- Form into 4–5 small patties. Heat oil in a nonstick skillet over medium heat.
- Cook patties for 3–4 minutes per side, until golden and heated through.
- Serve with a side salad, roasted veggies, or cauliflower rice.
- Optional: Top with a dollop of dairy-free tzatziki or avocado.


