Category: Knife Skills

How to prep kale for any recipe – step by step

Kale is a delicious, leafy green that’s rich in vitamin C and essential nutrients. It’s no surprise that many people consider it one of their favorite ingredients! However, if you’ve ever cooked with curly kale, tuscan kale, dinosaur kale, or lacinato kale, you might have noticed that these greens have tough stems running down the center of the leaves. These stems can be bitter and chewy, detracting from the best flavor of the kale leaf. That’s where deveining kale comes in. In this step-by-step guide, you’ll learn the best way to devein kale for any recipe.
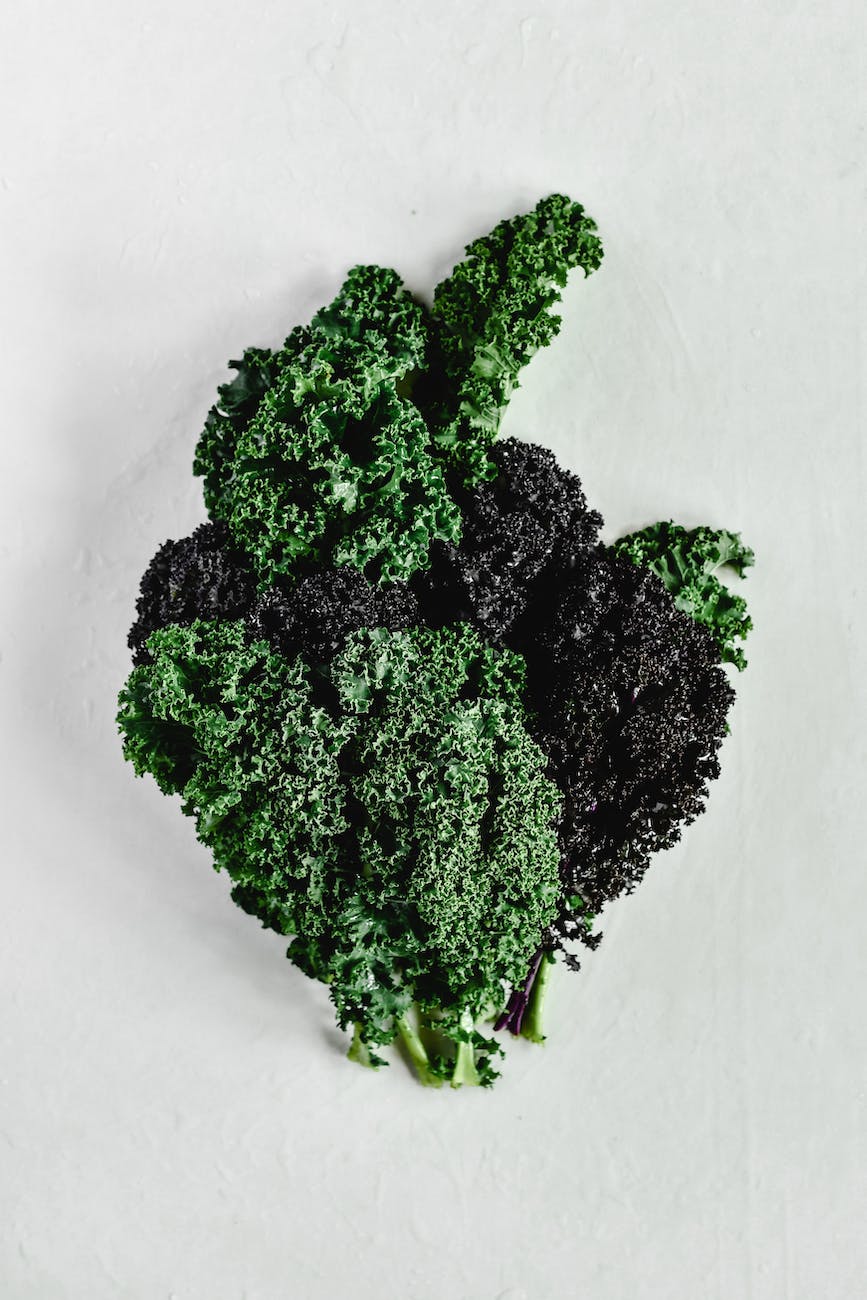
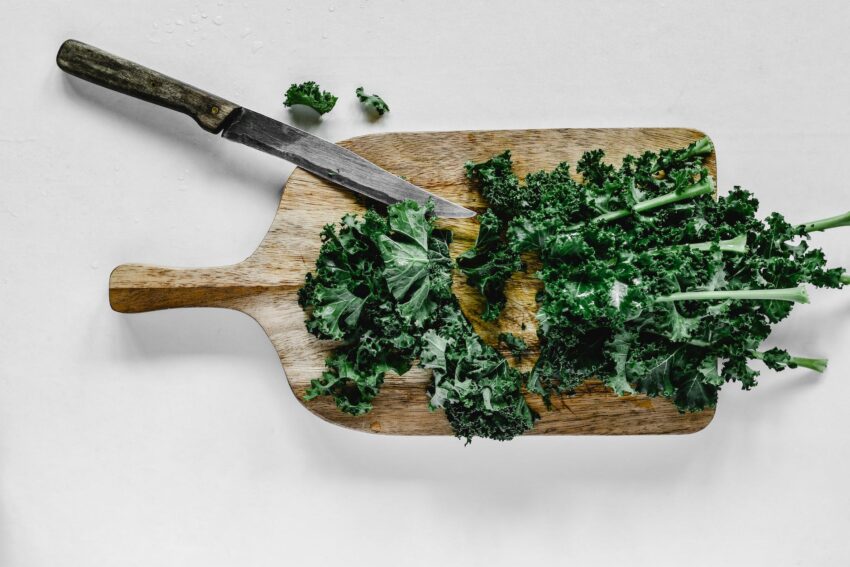
curly kale on white background

Step-by-Step Guide: How to Devein Kale for Any Recipe

Step 1: Gather Your Tools and Ingredients

To prepare your kale, you’ll need a few simple tools and ingredients:

  • A bunch of kale (curly kale, tuscan kale, dinosaur kale, or lacinato kale all work well)
  • A cutting board
  • A sharp knife
  • A large bowl
  • Cold water
  • Ice
  • Paper towels or a salad spinner

Optional:

  • Plastic bags
  • Sheet pans

Step 2: Remove the Kale Leaves from the Stem
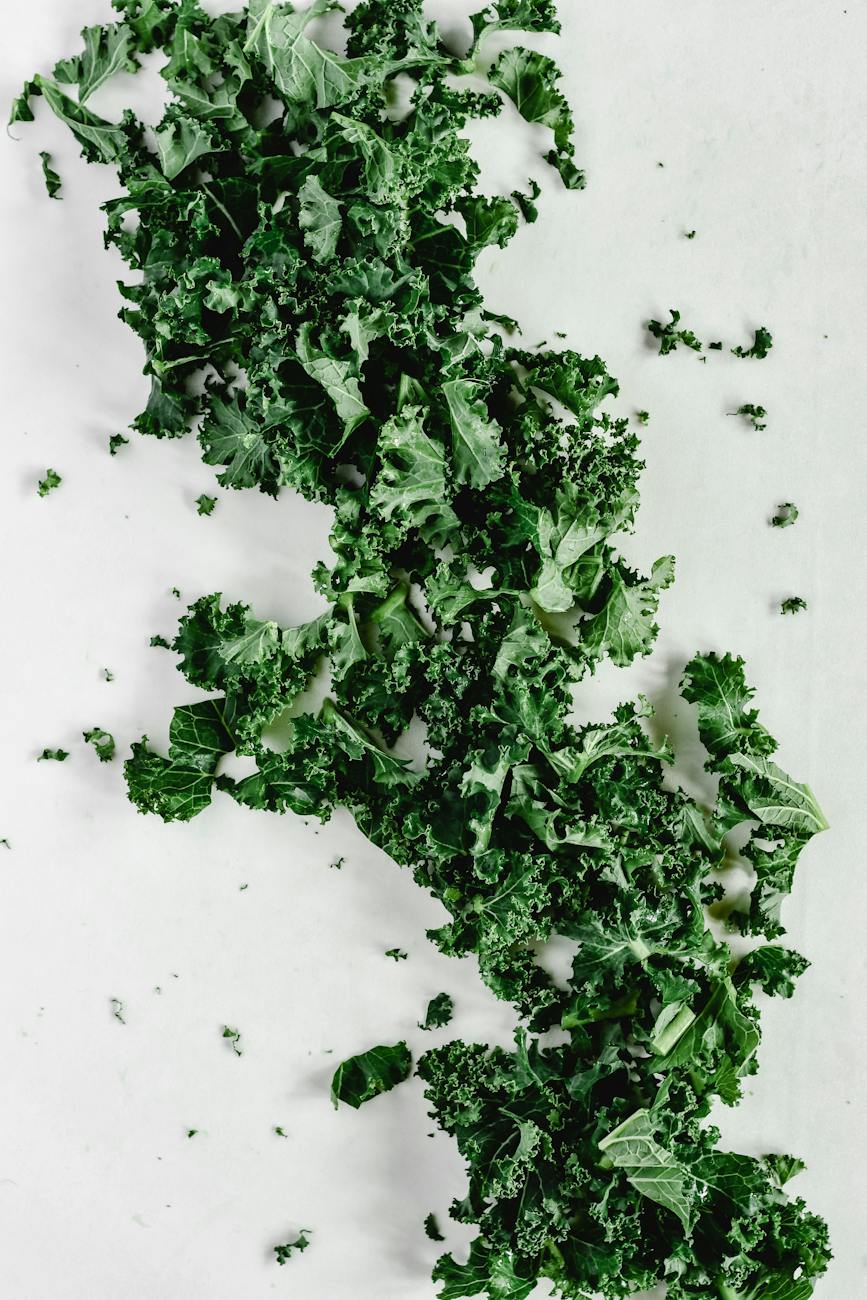
close up shot of chopped kale on a white surface

To begin, hold the kale leaf by the stem, with the tip of the leave pointing down. With a paring knife, slide the blade of the knife down both sides of the stem. The tough stems should come out in one piece, leaving you with kale leaves ready to be washed and cooked.

Step 3: Wash the Kale Leaves

Once you’ve separated the kale leaf from the stem, put the leaves in a large bowl of cold water. Move the leaves around in the water to help remove any dirt or debris. Then, lift the kale leaves out of the water and discard the water. It’s important to remember not to soak the leaves for too long, as kale can absorb too much water and become soggy, diminishing its best flavor.

Step 4: Blanch the Kale (optional)

If you’d like to soften your kale leaves, you can quickly blanch them in boiling water for about 30 seconds. Then, immediately transfer the blanched kale to a bowl of ice water to stop the cooking process. After a minute or two, drain the kale and gently squeeze any excess water out of the leaves.

Step 5: Dry the Kale Leaves

Whether you blanch the kale or not, it’s important to dry the leaves well before cooking. You can do this by using paper towels to blot the kale dry or by using a salad spinner to remove excess water. If you choose to use a salad spinner, be sure to spin the leaves in smaller pieces to ensure that they dry thoroughly.

Step 6: Chopping the Kale Leaves

Now that you’ve deveined and cleaned your kale, it’s time to chop it into smaller pieces. Using a sharp knife, cut the leaves into thin strips or smaller pieces, depending on the recipe. Skip this step if you need the leaves to remain whole.

Step 7: Store Your Deveined Kale

To keep your kale fresh and crisp, wrap it in paper towels, place it in a plastic bag, and store it in the refrigerator. This will help absorb any excess moisture and keep your kale fresh for up to a week. In a pinch, you can purchase kale at your local farmer’s market or grocery store that has already been washed chopped and deveined.

Easy recipes to make with Kale

Kale Chips:  Toss the chopped kale leaves with a bit of olive oil or sesame oil and add a pinch of salt. Spread them in a single layer on a sheet pan and bake in the oven at 350°F for about 10-15 minutes, or until they’re crispy.

Optional: For an added kick, you can add a squeeze of lemon juice or sprinkle of red pepper flakes to your kale leaves.

Kale Salad:  Drizzle your fresh kale(small pieces) with red wine vinegar and a bit of salt.  Massage the kale with your hands until kale is slightly wilted.  Then drizzle with olive oil and fresh ground pepper to taste.  You can top this with goat cheese, white beans and pepitas for a refreshing side.  It’s my favorite way to eat kale!

One of the best things about kale is its versatility in the kitchen. It can be eaten raw, blended into smoothies, roasted, sautéed, or even made into chips.

This baked salad recipe with kale is a must try!
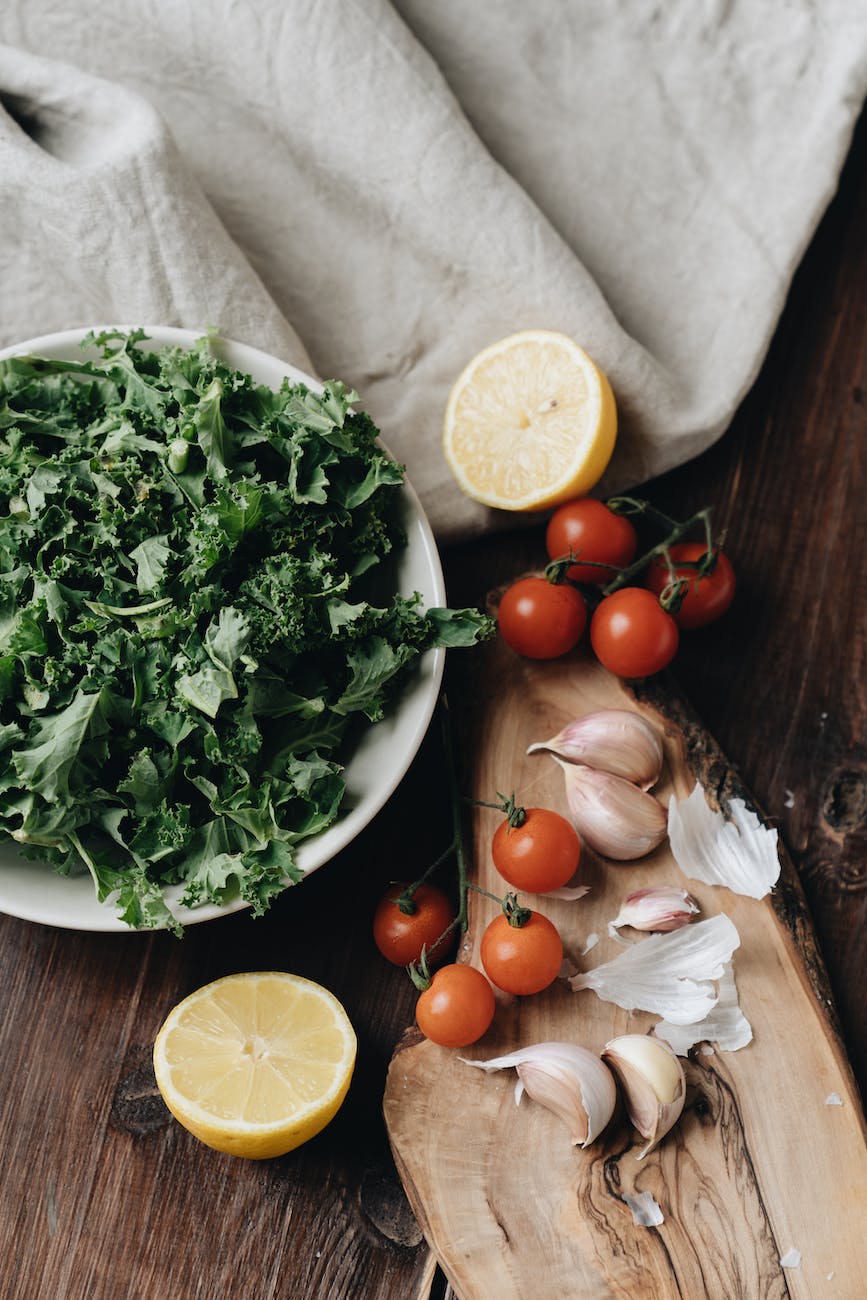
photo of salad ingredients

“As a mom and registered dietitian, I am always on the lookout for nutrient-dense and delicious food options that my family will actually enjoy. That’s why I love sautéing kale with just a few simple ingredients – olive oil, garlic, and Seasonello seasoning. Not only does it taste incredibly flavorful, but it’s also full of essential vitamins and minerals. Plus, the healthy fats from the olive oil help your body absorb those nutrients even better. When you cook up a big batch of this tasty kale dish, it’ll be hard to keep it on the table for very long. Give it a try and see for yourself!”

Melanie Marcus MA RD

Kale Nutrition

Kale is a superstar among greens, packed with vitamins and minerals such as vitamin C, vitamin K, vitamin A, calcium, magnesium and folate. It is also rich in antioxidants and fiber, making it an excellent addition to almost any diet.1

In addition to its impressive nutrient profile, kale has been linked to a range of potential health benefits. Studies have shown that consuming kale may help improve heart health, reduce inflammation, and even lower the risk of some cancers. It is also a low-calorie food with about 40 calories per 100g, which can be helpful for weight management.

The nice thing about kale, as with most green leafy vegetables, it fits well with may eating patterns including the mediterranean diet, the keto diet, low carb , vegetarian, vegan and gluten free.

If you’re following the Faster Way to Fat Loss, kale is a vegetable that can fit on your regular macro, low macro, and low carb day plans.

Sources

  1. Alfawaz, H. A., Wani, K., Alrakayan, H., Alnaami, A. M., & Al-Daghri, N. M. (2022). Awareness, Knowledge and Attitude towards ‘Superfood’ Kale and Its Health Benefits among Arab Adults. Nutrients14(2), 245. https://doi.org/10.3390/nu14020245

About Me

I’m Melanie.

I’m a chef, registered dietitian, foodie, wife and mom.
If you’re looking for quick and healthy meal inspiration that serves YOU and your family well, then you’ve come to the right place!

Melanie Marcus Selfie

How to Cut Papaya – Step by Step

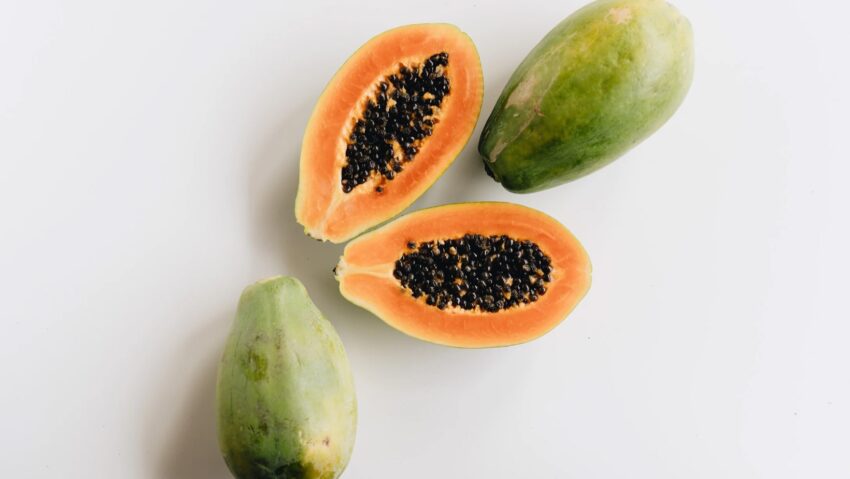
While there are all different types of papaya or “pawpaw”, all of them are native to tropical regions such as Central and South America, Mexico, Hawaii. Local grocery stores near me carry Mexican papayas and the brand they had today was Chula Vista. They are large football shaped fruit, weighing about four pounds and are green when unripe. The inside can range from yellow to deep peach or bright orange flesh that has the texture of mango, with the sweet flavor of melon. They also have hundreds of black seeds inside which are normally removed, but don’t worry, they’re edible! Read on for how to cut papaya in different ways and why you want to do it!!

How to choose a papaya at the store

In addition to Mexican papaya, you may also see Hawaiian papaya in the U.S. Either way, they will most likely be green, so just pick one that is heavy for it’s size with clean, unblemished skin. Ripe papaya should have a sweet aroma and papaya skin should hold an impression when squeezed gently. Handle gently to prevent bruising. And beware, fresh papaya will continue to ripen at home. Peak season is late Fall through early Spring. Though, like pineapple, in the US papaya are available and ready to eat year round.

How do you know when it’s ripe?

When you get it home, it will likely need a few days to ripen to a nice yellow color. Unripe papaya is green and should be stored in a cool dry place. I remember my grandfather wrapping it in newspaper and leaving it on the counter in the cool laundry room to become ripe at room temperature.

Papayas are kind of like bananas, where they’re not so sweet when they’re green, but they’re really enjoyable to eat when they’re deep yellow, even slightly spotted.

Papayas are best enjoyed when they are 3/4 yellow. Overripe papaya may blemish and develop soft spots. If this happens, cut it right away.

How to ripen papaya at home

Store green papaya wrapped in newspaper or in a paper bag in a cool dry place for 2-3 days until it is no longer green, and is turning yellow. The more yellow and spotted the papaya, the riper it is. Once it is ripe, or turning yellow, it should be cut. It can be stored in the fridge to stall ripening, if you’re not quite ready to cut it yet.

What you need to start cutting

  • cutting board
  • chef’s knife
  • paring knife
  • spoon
  • optional: vegetable peeler

How to cut your papaya

  1. Remove the paper from your papaya
  2. Rinse under cool running water.
  3. Using a sharp knife, cut the papaya in half, longways.
  4. Then cut off the ends of the papaya.
  5. Using a large spoon, remove the black seeds and discard, or set aside to add to salad dressings for a peppery bite!
  6. At this point you can use a melon baller to scoop out kid friendly rounds!
  7. OR I like to use a chef’s knife to cut into long strips, about 3/4 inch thick. For me, this is the simplest method.
  8. Then use a paring knife to remove the papaya skin along with any black spots
  9. Then I either serve in strips or cut into smaller pieces.

I’ve seen people remove the skin of the fruit with a vegetable peeler, but it can be a little cumbersome. If you want to remove the skin before cutting the fruit halves, I recommend turning the “papaya boat” or half, upside down so the flat side is on the flat surface of the counter top so the slippery fruit is more stable.

What does papaya taste like?

Mexican papaya is firm and juicy, but not quite as intense as Hawaiian papaya, which are much smaller in size.

Papaya has a sweet taste similar to other melons and can have a musky flavor when overripe. If you don’t like the flavor of papaya at room temperature, you may like it chilled.

What do you do with papaya seeds?

The small round black seeds inside the papaya are actually edible! They have a peppery flavor and can easily be incorporated into salad dressings or marinades.

If that doesn’t sound good to you, compost them or discard.

How to serve papaya?

  • Chilled with a little lime juice
  • Chop it into a fruit salad with other tropical fruits such as mango and banana
  • Papaya salsa made with red onion
  • Use papaya halves as their own bowl! Fill them with tuna salad, fruit, yogurt or cottage cheese.
  • Add papaya to salad
  • Consider adding papaya to lunchboxes as an interesting and tasty addition
  • Add to holiday fruit baskets.
  • Add a papaya salad to your brunch spread
  • Pair with grilled meat and seafood for a pop of color and balance.
  • Add papaya to marinades to take advantage of their natural tenderizing properties
  • Cut a papaya to pair with food from Indian cuisines
  • Juice it or add to smoothies!

What flavors go well with papaya?

  • meat
  • poultry
  • smoked meats
  • avocado
  • chilies
  • lime
  • lemon
  • tropical fruits
  • coconut
  • ginger

How to store papaya?

  • Store in an airtight container for several days in the refrigerator.
  • Chunks can also be frozen. I recommend freezing them on a large sheet pan first. Then place frozen chunks in a zip lock bag, remove as much air as possible and then place back in the freezer for up to three months!

How does papaya fit into my macros?

  • Just like most fruit!
  • Make a mental note to fit it into your next regular or low macro days!
  • Portion it out into 1 or 2 cup servings for an easy grab and go lunch!
  • 1 cup : 16g Carb, 2g Fiber, 1g Protein, 1g Fat

Papaya Nutrition

Papaya is low in calories and rich in nutrients and has a lot of health benefits. List most fruit, they’re low in calories and a good source of fiber and other important nutrients.

Just one cup of pieces has…

  • 62 calories
  • 1g protein
  • .5g fat
  • 16g carb
  • 2g fiber
  • 29mg calcium
  • 264mg potassium
  • 53mcg folate
  • 68mcg vit A
  • 88mg vit C
  • 3.77mcg vit K
  • 2650mcg lycopene

And so much more!! 2

They’re high in vitamins A, C, K and folate, fiber and potassium!

They’re also rich in antioxidants carotenoids and phenols.

It also contains an enzyme called papain, which aids digestion.

Papaya was ranked first in a study that compared 40 different fruits for their Dietary Recommended Intake of nine vitamins, potassium and fiber.3

It’s combination of vitamins A and C, fiber and potassium make it a super heart healthy fruit.

Red flesh papaya fruit are a good source of lycopene which is an inactive source of Vitamin A that has been linked with reduced risk for lung, prostate and stomach cancers.1

References

  1. https://www.sciencedirect.com/topics/agricultural-and-biological-sciences/papaya
  2. https://fdc.nal.usda.gov/fdc-app.html#/food-details/169926/nutrients
  3. https://www.amazon.com/Dole-Nutrition-Handbook-Longer-Healthier/dp/1605292958

How to cut a whole pineapple with a corer

There’s nothing worse than buying pricey pre-cut pineapple to find it’s lost all of it’s juice. Since starting at Dole Food Company, I’ve learned a few things about pineapple. My desk moved over near the fruit team my second year there, and one day I saw the fruit buyer slice and serve a pineapple first-hand, just using a sharp knife from the office kitchen, and it was a sight. The presentation was beautiful and it made eating the pineapple so much more enjoyable.

I’ll share step by step instructions on how to cut a pineapple without a corer in another post but stick with me here to learn how to use a pineapple corer. It’s a kitchen gadget that gets way more use than I thought it would (in my kitchen), and it makes enjoying juicy fresh pineapple at home super easy. This is great for a kitchen beginner, because let’s face it, cutting this popular tropical fruit can seem like a daunting task, especially if it’s your first time.

Let me walk you through the easiest way with these simple steps.

How to pick a pineapple at the grocery store

The good news is that a pineapples sweetness is locked in when it’s picked. It won’t get any sweeter if you leave it on your counter for a few days. In fact, the first thing you should do is cut your pineapple when you get it home!

For best flavor look for fruit:

  • smells sweet
  • feels solid and firm
  • that has a crown that looks stiff and glossy (not dried out)

Storing a pineapple at home:

  • If you bought it at room temperature, keep it at room temperature
  • If you bought it chilled, keep it chilled
  • Keep it in a cool place, out of direct sunlight
  • It’s okay to let it sit upright at room temperature until you’re ready – but not for too long other wise it will ferment!

What you need to cut a pineapple

  • plastic cutting board
  • a sharp chef’s knife or long serrated knife with a sharp blade
  • a pineapple cutter – I got this corer on Amazon

Cut a pineapple in this simple step-by-step guide.

  1. On a clean cutting board, lay the pineapple on it’s side. Use a sharp chef’s knife, to slice off the top of the fruit. (Save the pineapple’s crown to use as a decorative element for charcuterie boards, or pluck leaves to add as garnish to desserts and salsas!)
  2. Next, line up the circular part of the pineapple corer with the center core of the pineapple. Then begin to turn the corer while applying even pressure. Continue to turn the corer until it has moved through the fruit and no longer easily moves towards the bottom. (Take care not to cut through the bottom of the pineapple if you’re repurposing the shell).
  3. Then, hold the pineapple firmly with one hand, while pulling the corer out of the fruit. You’ll see the flesh is now on the stainless steel center of the corer.
  4. Unclick the handle of the corer and slide the spiraled fruit onto a plate.

At this point you’ll have a beautiful coil of pineapple fruit. (Which could be fun to play with for plating purposes).

If you want pineapple rings: Stand the fruit coil upright and find where the fruit coil begins. That is where you slice down with your paring knife.

If you want pineapple chunks: Stand the fruit coil upright and cut in half. Then make 2 cuts in each half to make 3 even sized chunks. Do the same on the other side. These are easy bite sized pieces.

If you need even smaller pieces: Instead of 2 cuts, make 3-4 cuts in each half as described in the instructions above.

Do not use the corer if you need pineapple spears or thick slices! With a corer you’re limited to one thickness. Mind produces a thin spiral slice.

How to store pineapple after cutting

In my house it literally gets gobbled up within minutes, but personally I like very cold pineapple. So I cut it into small chunks with a corer and store in an airtight container or plastic bag in the refrigerator. You’ll want to eat it within 2-3 days.

Suggestions for what to do with the pineapple shell

  • Use as a bowl to serve pineapple salsa for a crowd.
  • Make a pineapple jack o lantern!
  • Use it as a cup for a pinacolada or tropical smoothie.

What to do with pineapple after you’ve cut it?

  • Enjoy it as a great snack all on it’s own!
  • Add to fruit salads.
  • Small dice and add to savory stir fry before serving.
  • Make your own DIY Dole Whip!
  • Skewer it with bell peppers and cubed chicken for a quick grilled meal.
  • Try making a healthy pineapple upside-down cake!

Use pineapple with these flavors.

  • pork
  • ham
  • chicken
  • duck
  • fish
  • shellfish
  • cottage cheese
  • coconut
  • ginger
  • allspice
  • cinnamon
  • black pepper

These are some of my favorite pineapple recipes <3

Hawaiian Cauliflower Fried Rice

Pineapple Carpaccio

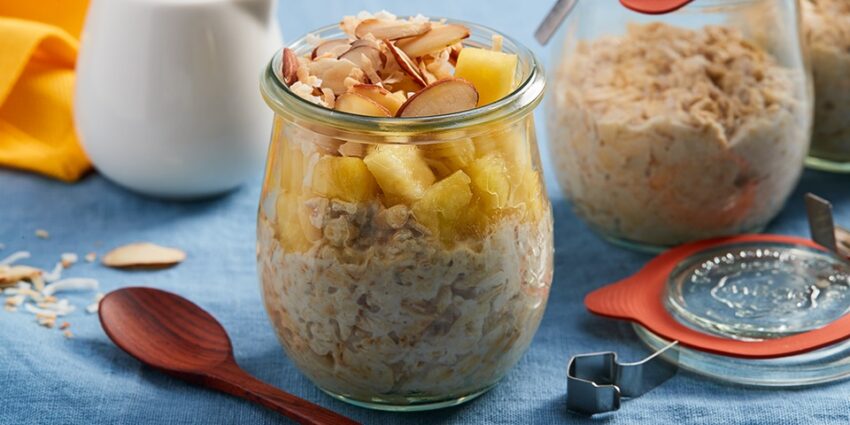
Pineapple Cheesecake Overnight Oats


pineapple nutrition

Pineapple nutrition

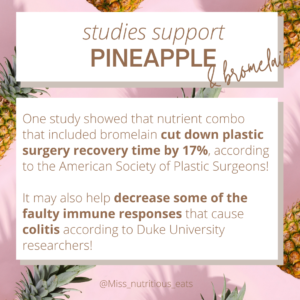
They’re an excellent source of vitamin C and manganese, while also a good source of vitamin B6, folate, thiamine, magnesium, potassium and copper.

How to Cut a Mango the Right Way – The First Time!

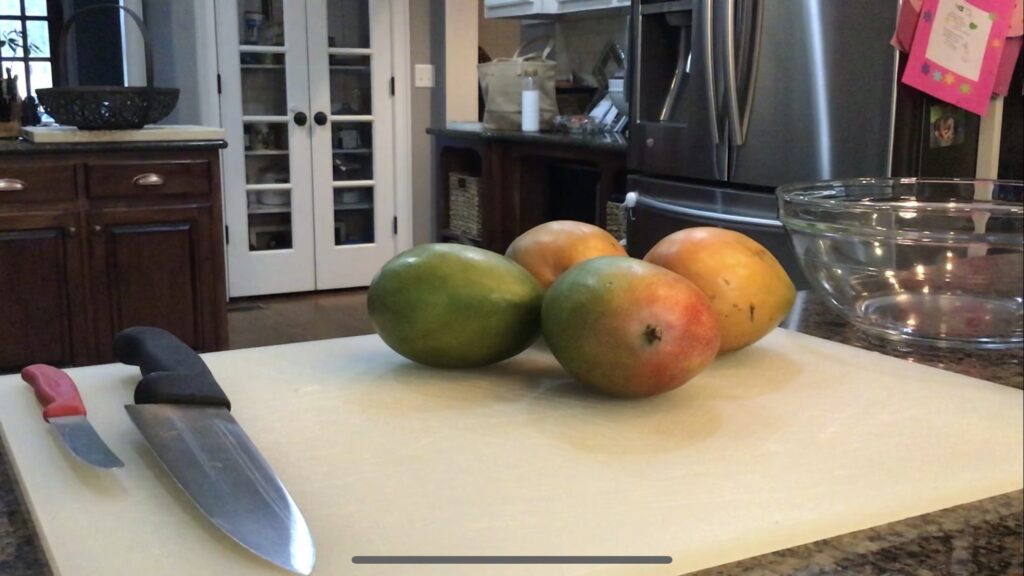
Mangoes come in all different shapes and colors including yellow, orange, red, and green – but one thing is for certain- they ALL have a large oblong central pit that can be quite an obstacle when trying to cut it.

  • Nutritionally they’re an excellent source of Vitamin A and C.
  • Good source of fiber and B6.
  • They also deliver Vitamin E, Vitamin K, Thiamin, Riboflavin, Folate, Potassium and Copper (~6-9% DV).
  • Also contain the antioxidant polyphenols and beta-carotene and one unique to mango known as mangaferin (axanthone).

How to choose a mango

Tip #1 – don’t go by the color!  Instead, smell the fruit at the stem end, where it was picked from the tree.  They should also give slightly when pressed firmly with your fingers.  (Careful not to bruise the fruit!).   If it has a faint tropical aroma, it’s ready!  If yours seem firm, let them ripen in your fruit bowl next to the bananas. 

Tip #2 – choose mangoes that are heavy for their size with firm skin, free from bruises. 

Tip #3 – if the fruit has a sour or alcohol smell, pass.  This means it has started to ferment. 

Storing mangoes

If the fruit is unripe/ firm when purchased, ripen at room temperature until the flesh softens a bit.  You don’t want it to be mushy though.  Once it’s ripe, store in the refrigerator to help preserve freshness. 

Tip :  Store mango in a paper bag on the counter to speed up ripening process. 

How to cut a mango in three easy steps

  1. Identify the large oblong pit in it’s center.
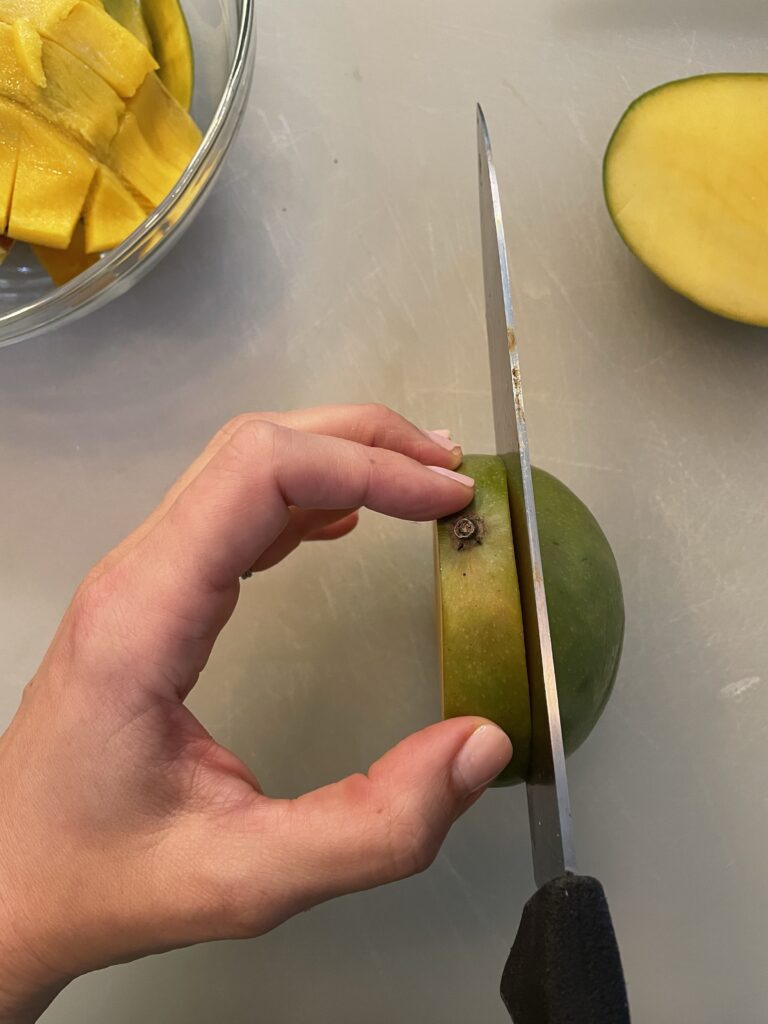
  2. With stem side up, cut down one side of the pit(slightly off center) from top to bottom, curving slightly with the shape of the pit. Do the same on the other side.
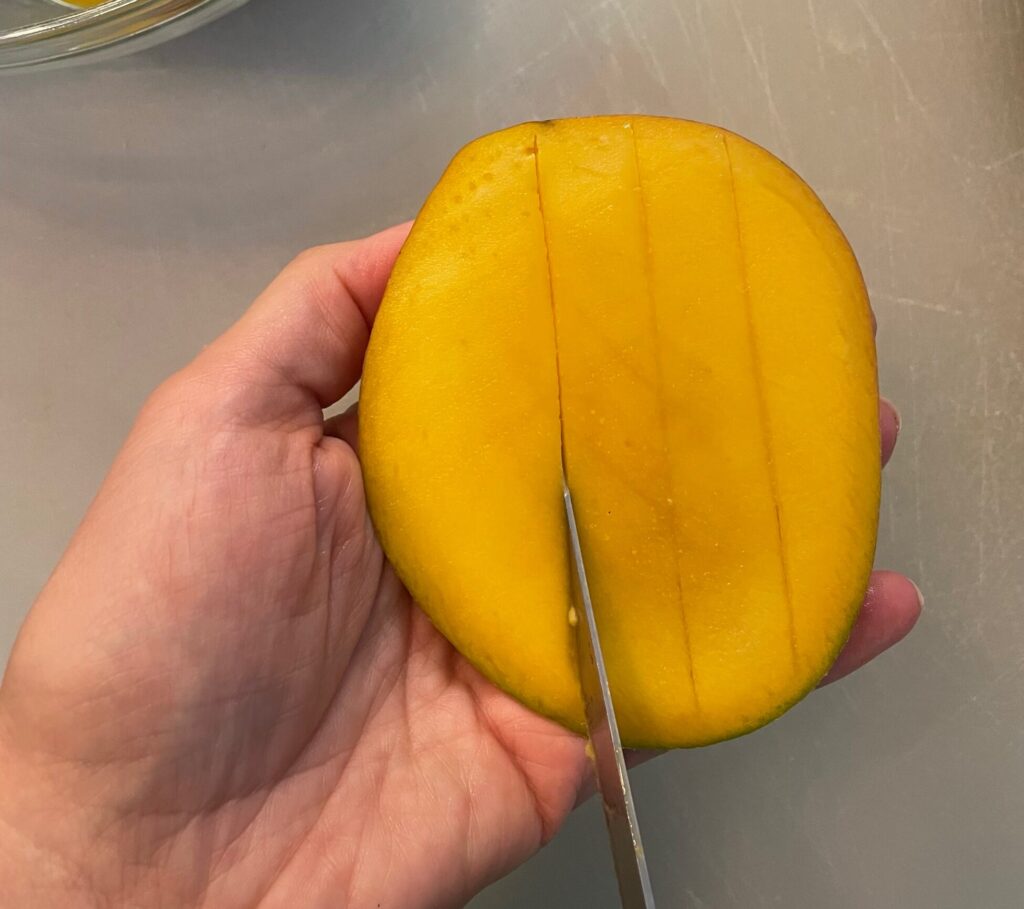
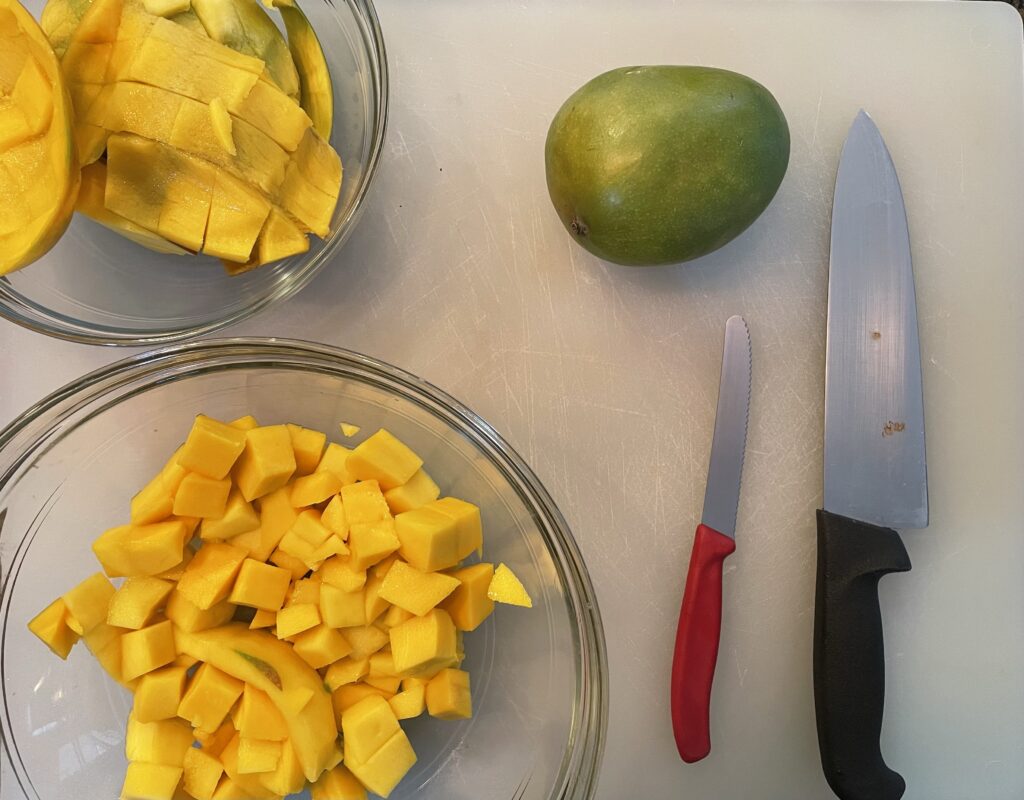
  3. Take each half of the mango and score the flesh in a grid like pattern (but not through the skin). Turn the mango out so the cube pop out. Cut them away with a paring knife.

Eat right away or store in the fridge for several days.  Cut mango may be frozen for several months. 

Watch for the full walkthrough on how to cut a mango.

How to enjoy mango

  • Eat it as a snack all on it’s own
  • Bake it into a crisp with apricots
  • Blend it into a smoothie with banana, cauliflower, almond milk and vanilla
  • Dice it into a salsa with jalapenos, onion, tomatoes and cilantro
  • Pair mango with apricot, avocado, chicken chiles, cilantro, cucumber, fish, jicama, lime or orange juice, pineapple, starfruit or tangerines. 

Nutrition benefits

  • Mangoes vitamin C content increases collagen formation. 
  • One UC Davis study found that women who ate ½ cup mango four times per week saw a 23% decrease in wrinkles after 2 months!
  • Polyphenols in mangoes have anti-inflammatory benefits that are responsible for lower blood pressure and improved A1C measurements in participants who ate about 400g mango daily for 6 weeks.  Another study found the same amount of mango had improved metabolism. 
  • Children who regularly included mango in their diet had higher intakes of immune supporting vitamins including A, C, B6, fiber and potassium. 
  • Both children and adults eating mangoes have higher intakes of fiber and potassium, than those who don’t eat mango. 
  • Mango consumption may improve glucose control and reduce inflammation when compared to other sweet snacks. 
  • One serving of mango contains 7% of your daily fiber intake. 
  • Mangoes contain over 20 different vitamins and minerals making them a nutrient dense choice! 

Learn how to cut a mango so you can gain all of these nutrition benefits!

  1.  https://fdc.nal.usda.gov/fdc-app.html#/food-details/169910/nutrients
  2. https://www.producebluebook.com/2022/02/25/two-health-studies-support-mango-consumption/#
  3. https://www.mango.org/mango-nutrition/
  4. https://www.ncbi.nlm.nih.gov/pmc/articles/PMC4963872/
  5. https://www.mdpi.com/2072-6643/12/11/3381