Month: August 2024

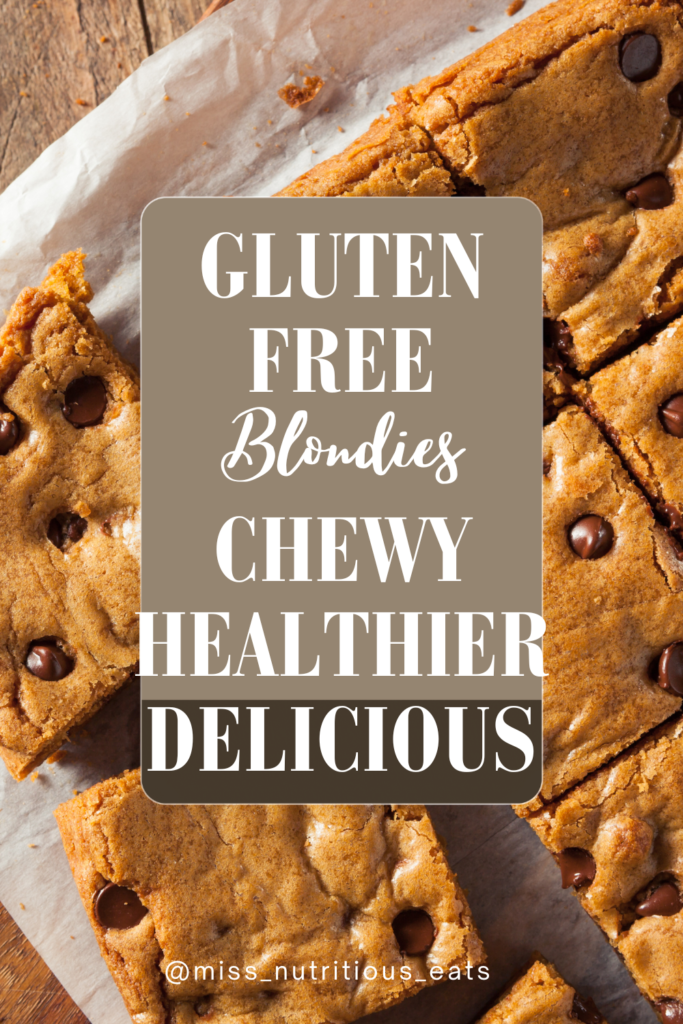
Healthier Recipe for chewy Gluten-Free Blondies

No butter, no eggs, xanthan gum

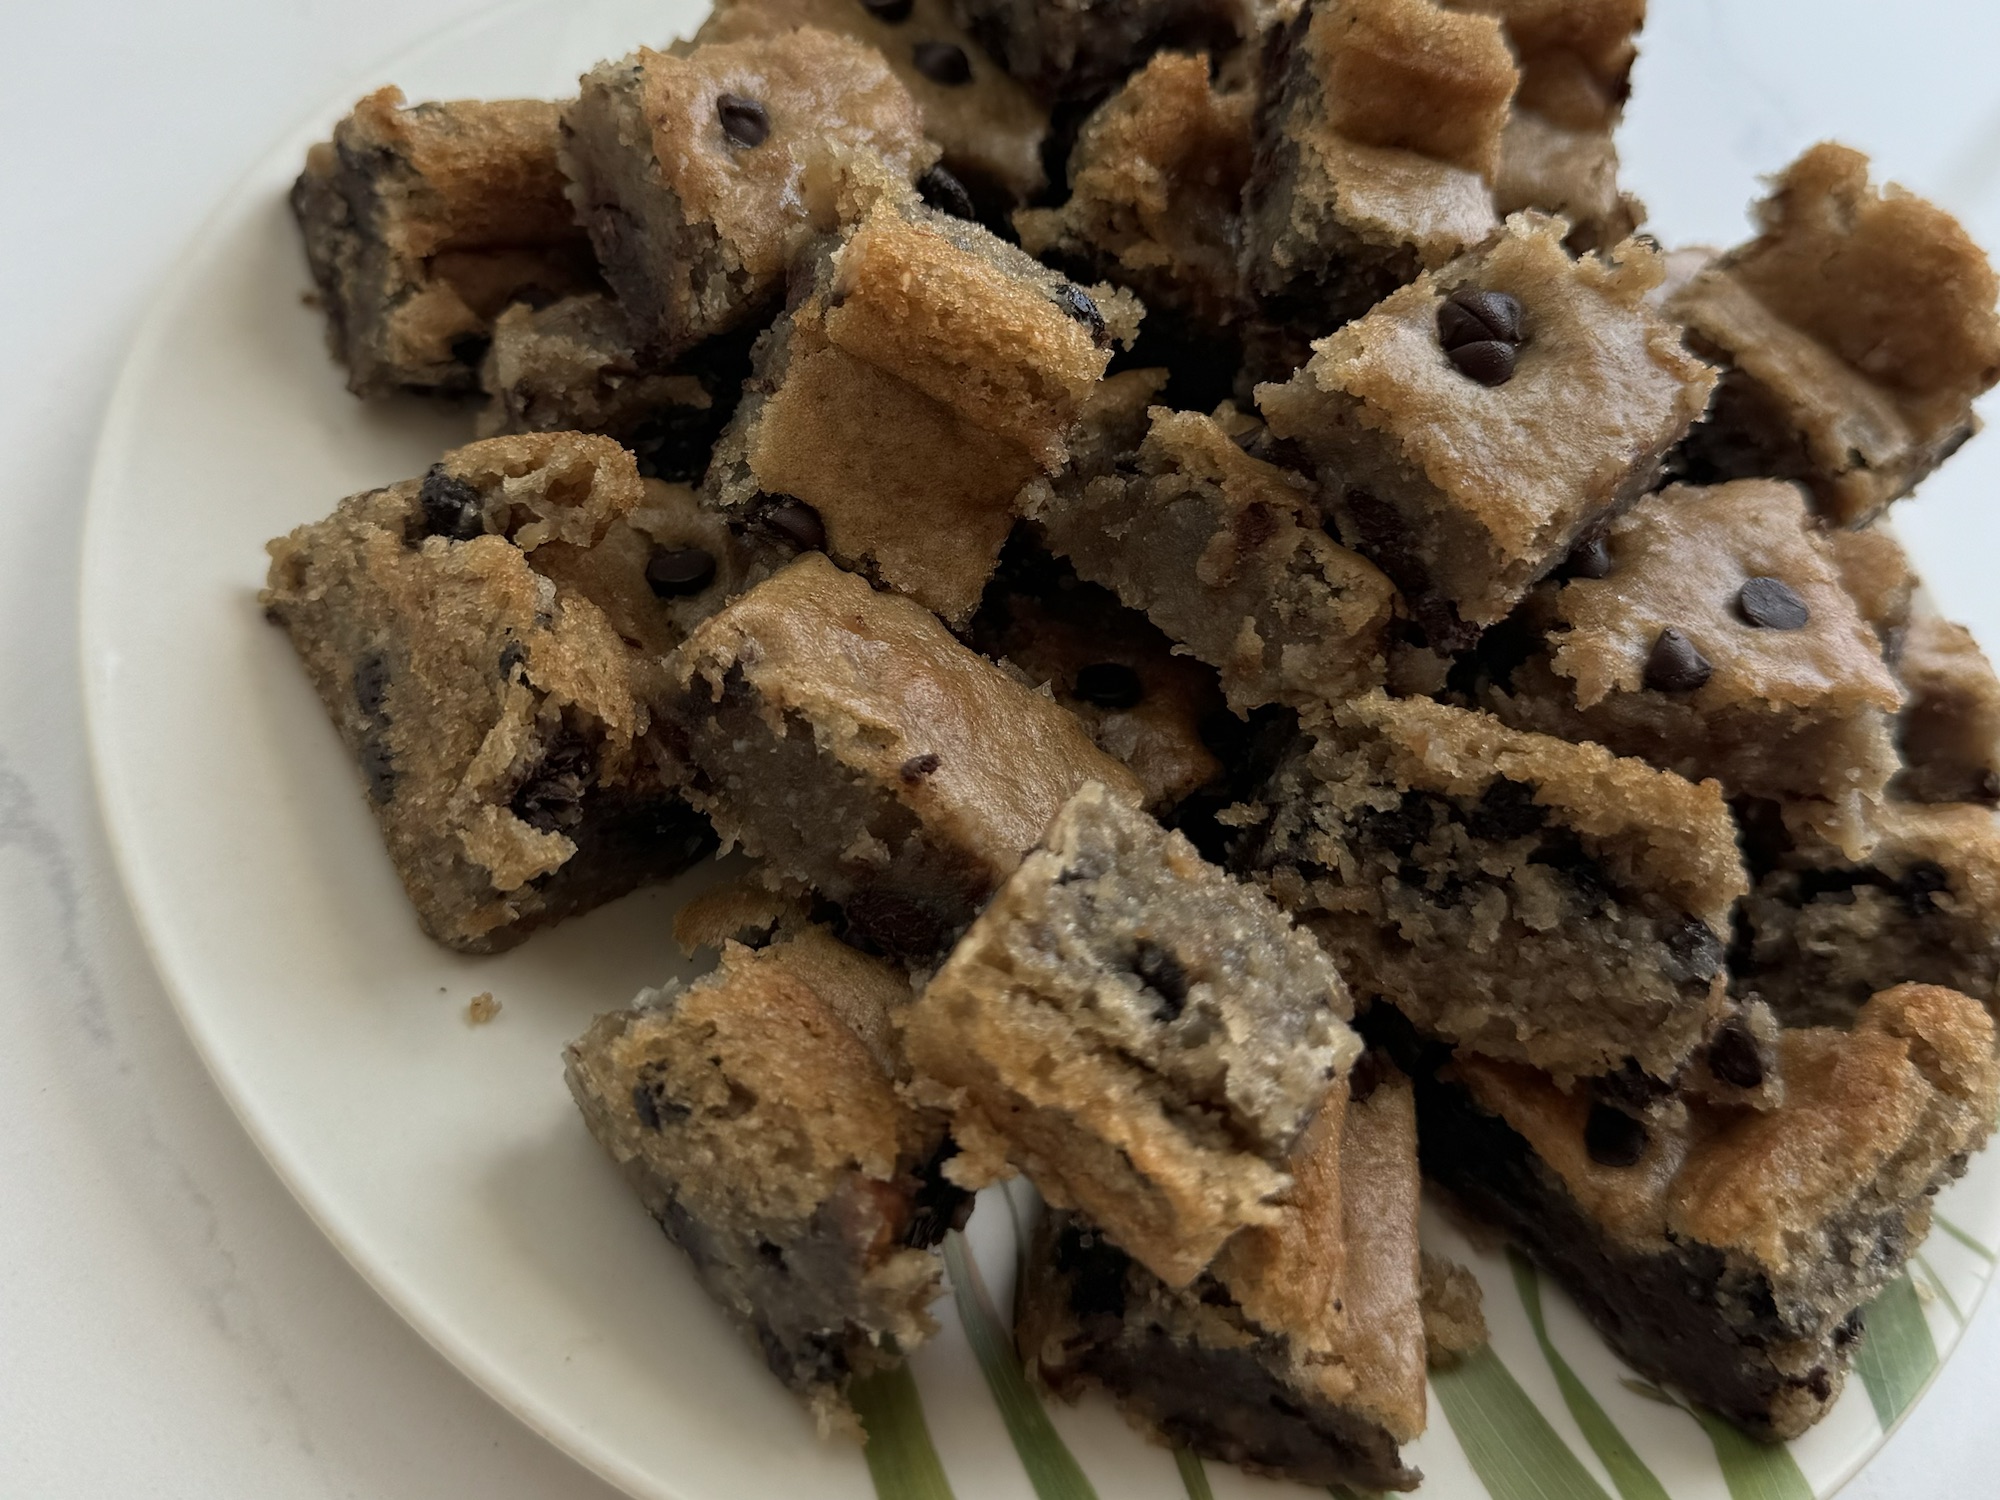
Full disclosure.  This recipe is still a treat, AND it has a good amount of sugar in it.  That said, these have a lot of redeeming qualities like protein, fiber and healthy fats because we’re using almond butter, almond flour and white beans  to keep it vegan if that’s a concern for you. I know, I said beans.  But stick with me, no one will know they are in there.  

So… if you’re craving a sweet treat but want to keep it healthy-ish these healthier blondies will satisfy your sweet tooth while keeping your macros on track. These blondies are vegan, vegetarian, and gluten-free, making them perfect for anyone with dietary restrictions or preferences. Plus, they’re made from simple ingredients that you probably already have in your pantry.

Jump to Recipe

Ingredients

Here’s what you’ll need to make these delicious and healthier blondies:

  • 1 can white beans, drained and rinsed very well
  • 1 tsp baking powder
  • 1/4 tsp each of salt and baking soda
  • 3/4 cup granulated sugar (you can also use coconut sugar, or light brown sugar for a distinct taste)
  • 1/2 cup almond flour or almond meal
  • 1/4 cup mashed banana
  • 1/4 cup nut butter (like almond butter or peanut butter)
  • 1/4 cup chocolate chips (or butterscotch chips if you prefer)
  • 1 tsp vanilla extract
Jump to Recipe

Instructions

Follow these steps for the best results:

Preheat Your Oven

  1. Preheat your oven to 350 degrees Fahrenheit. Grease an 8×8 baking pan or line it with parchment paper to prevent sticking.

Blend Ingredients

  1. In a good food processor, blend all the ingredients (except the chocolate chips) until very smooth. If you don’t have a food processor, an electric mixer and a large mixing bowl will work too.  Just ensure to blend the beans very well.

Incorporate Chocolate Chips

  1. Mix the chocolate chips into the blondie batter using a wooden spoon. You can also add some chocolate chips on top for extra gooeyness.

Bake

  1. Scoop the batter into the prepared baking pan.  I used a square baking tin. Bake for 30 minutes. The blondies will look a little undercooked when you take them out, but they will firm up as they cool to a golden brown once they reach room temperature.

Cool Down

  1. Allow the blondies to cool in the baking pan.  Once cooled, you can cut them into squares. Store the blondies in an airtight container to keep them fresh.

Additional Tips

Gluten-Free Options

 For those avoiding gluten, ensure all your dry ingredients, like almond flour, are certified gluten-free. Bob’s Red Mill and other high-quality brands offer great options.  These are made with naturally gluten-free ingredients, but you’ll want to be sure they’re certified if you have celiac disease.

Sweetener Alternatives

If you’re looking to reduce the sugar content, consider substituting granulated sugar with monk fruit sugar. It’s a natural sugar substitute that can be exchanged 1:1 for regular sugar in baking.  It’s a little pricey though, but worth it if you need to keep refined sugars down.  

I don’t recommend maple syrup or honey for this recipe because the blondies won’t firm up as needed with it.  The structure of the solid sugar is what helps create the soft but stable final texture.  

Oil Substitutes

   In this recipes we’re using mashed banana instead of melted butter, vegan butter, or even coconut oil.

Join my next round of the FASTer Way

Tired of endless diets and no results? Join the FASTer Way to Fat Loss and see real, sustainable changes in just 6 weeks!

Melanie Marcus FASTer Way to Fat Loss Coach

Why you’ll love these Healthier Blondies?

Nutritional Benefits

 Using ingredients like white beans and almond flour not only makes these treats gluten-free but also boosts their protein and fiber content.

Versatility

 Whether you’re a seasoned baker or it’s your first time, this easy recipe allows for plenty of customization. Add in butterscotch chips, semi-sweet chocolate chips, walnuts, or even white chocolate chips for different variations.

Storage

This gluten free blondie recipe stores very well.  Once they’re cut, place them in an airtight container and keep in the freezer for snacks as needed.  This helps with portion control and is a good idea to keep the high quality of these bars!

If you try these gluten free blondies- and I hope you do – tag me on social media and use the hashtag #MissNutritiousEats so I can see your creations!

Making these almond flour blondies is not just easy; it’s a really tasty way to enjoy a dessert bar without compromising your dietary needs. 
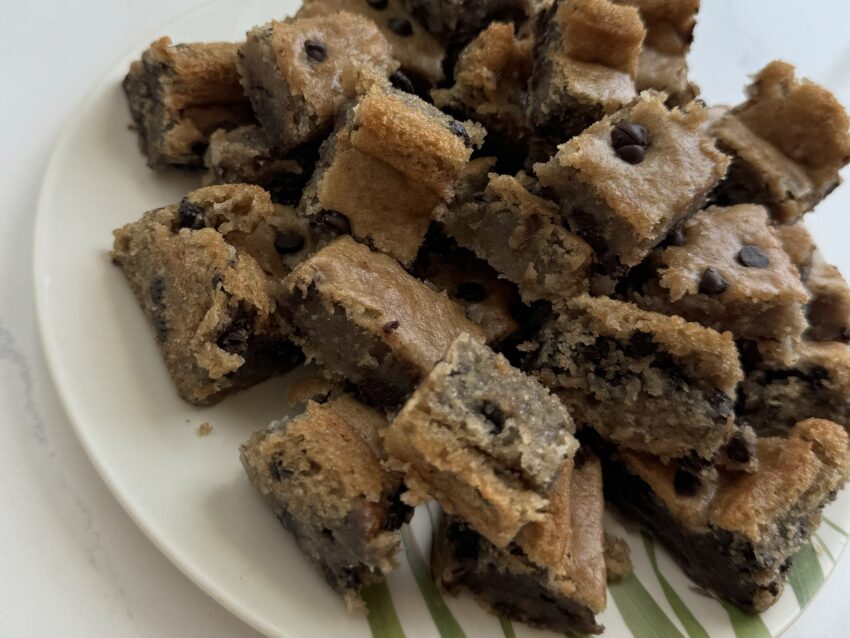
Gluten Free Blondies

Course Dessert, Snack
Servings 30
Calories 52 kcal

Ingredients
  

  • 1 can white beans drained and rinsed very well
  • 1 tsp baking powder
  • 1/4 tsp baking soda
  • 3/4 cup granulated sugar you can also use coconut sugar, or light brown sugar for a distinct taste
  • 1/2 cup almond flour
  • 1/4 cup mashed banana
  • 1/4 cup nut butter like almond butter or peanut butter
  • 1/4 cup chocolate chips or butterscotch chips if you prefer
  • 1 tsp vanilla extract
  • 1/4 tsp salt

Instructions
 

  • Preheat your oven to 350 degrees Fahrenheit. Grease an 8×8 baking pan or line it with parchment paper to prevent sticking.
  • In a good food processor, blend all the ingredients (except the chocolate chips) until very smooth. If you don’t have a food processor, an electric mixer and a large mixing bowl will work too. Just ensure to blend the beans very well.
  • Mix the chocolate chips into the blondie batter using a wooden spoon. You can also add some chocolate chips on top for extra gooeyness.
  • Scoop the batter into the prepared baking pan. I used a square baking tin. Bake for 30 minutes. The blondies will look a little undercooked when you take them out, but they will firm up as they cool to a golden brown once they reach room temperature.
  • Allow the blondies to cool in the baking pan. Once cooled, you can cut them into squares. Store the blondies in an airtight container to keep them fresh.

Nutrition

Calories: 52kcalCarbohydrates: 7gProtein: 1gFat: 3gSaturated Fat: 0.4gPolyunsaturated Fat: 0.3gMonounsaturated Fat: 1gSodium: 43mgPotassium: 27mgFiber: 0.5gSugar: 6gVitamin A: 1IUVitamin C: 0.2mgCalcium: 20mgIron: 0.2mg
Tried this recipe?Let us know how it was!

About Me

I’m Melanie.

I’m a chef, registered dietitian, foodie, wife and mom.
If you’re looking for quick and healthy meal inspiration that supports your health goals while feeding the rest of your family (including the kiddoes) well, then you’ve come to the right place!

Melanie Marcus Selfie

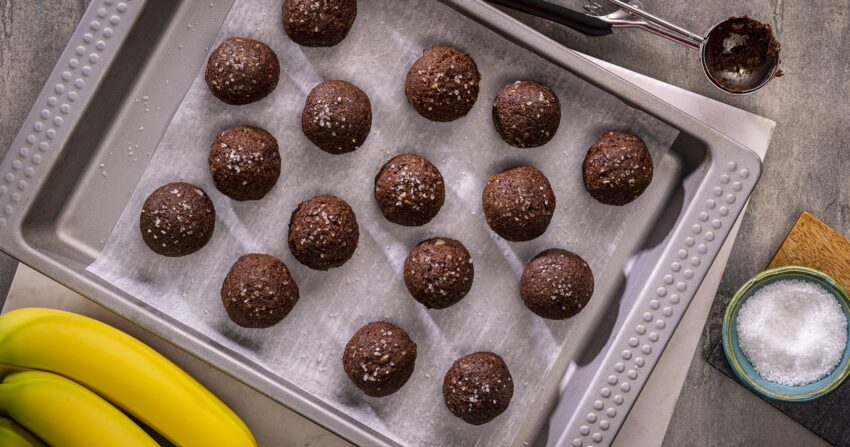
Ultimate no-bake brownie batter energy bites

Craving something sweet but want to stick to your health goals? Meet your new favorite snack—Brownie Batter Energy Bites. Packed with wholesome ingredients like medjool dates, almond butter, and cocoa powder, these little bites are a delicious and nutritious way to satisfy your chocolate cravings without refined sugar. Perfect as an afternoon snack or a mid-day energy boost, they’re easy to make and even easier to love. I came across these brownie bites in the Dole.com recipe center and have been making them regularly to satisfy my after dinner chocolate craving.  

Don’t you just love when you find a treat that works with your health goals?

Why Brownie Batter Energy Bites?

These chocolate brownie energy balls are a fantastic alternative to traditional sweets. They offer the rich, fudgy decadent brownie flavor you adore without sacrificing your commitment to healthy eating. Plus, with ingredients like gluten-free oat flour and walnuts, you’re not only treating your taste buds but also nurturing your mind with healthy fats. 

Health Benefits

  • Healthy Fats: Thanks to almond butter and walnuts, these bites help to keep your energy level steady throughout the day.
  • Natural Sweetness: Medjool dates and maple syrup provide a natural sweetness, avoiding sugar alcohols.
  • Fiber and Protein: The inclusion of oats and walnuts makes these bites a balanced source of macros which help maintain energy levels.
  • Vegan
  • Gluten Free
  • Low Sodium

Ingredients You’ll Need

  • 1 cup pitted dates
  • 1 Banana, peeled
  • ½ cup gluten free oat flour
  • ⅓ cup chopped walnuts
  • ⅓ cup unsweetened cocoa powder
  • 3 tablespoons almond butter
  • 2 tablespoons maple syrup
  • ⅛ teaspoon coarse sea salt

Step-by-Step Preparation

  1. Blend the Base: Start by lining a rimmed baking pan with parchment paper. Pulse the pitted dates in a food processor until small pieces remain. Add the banana, oat flour, walnuts, cocoa powder, almond butter, and maple syrup. Pulse until smooth, occasionally scraping down the bowl. Transfer the mixture to a medium bowl and freeze for 20 minutes until firm.
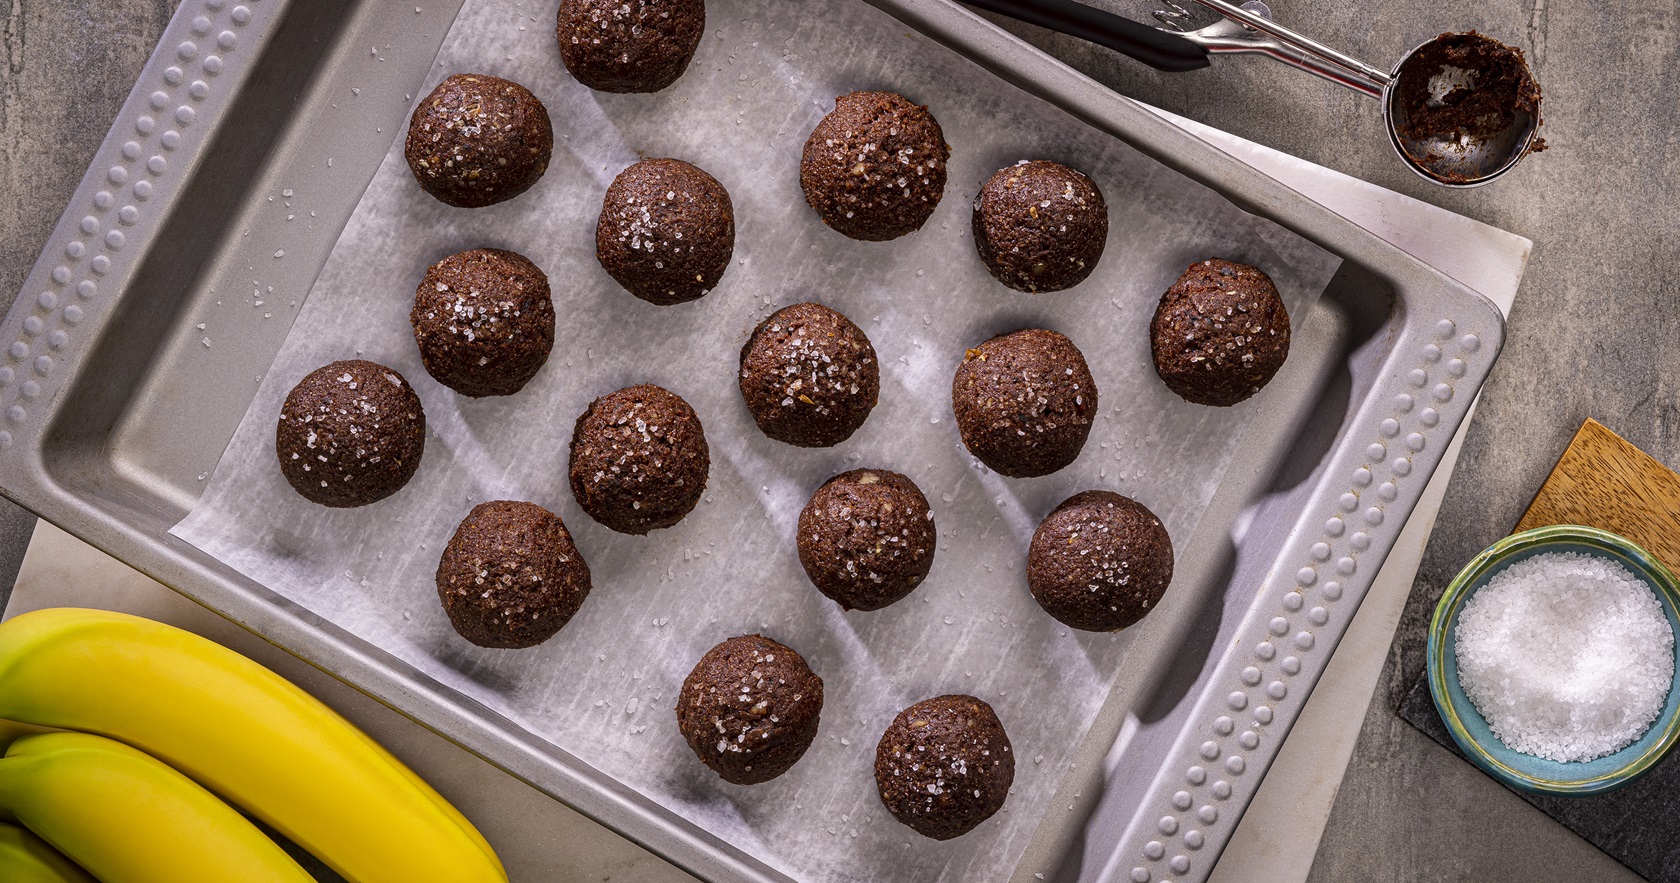
  2. Shape the Bites: Using two small spoons, scoop the mixture into 16 (1¾-inch) mounds on the prepared pan. Roll into balls and sprinkle with sea salt. Refrigerate for 1 hour or until firm. 

Creative Variations

Feel free to experiment with this recipe! Swap out almond butter for cashew butter or try adding a tablespoon of chia seeds for an extra nutritional boost. For a touch of indulgence, consider mixing in dark chocolate chips or rolling the energy balls in coconut flakes for a bit of texture. If you want to add richness with a boost of energy, try adding 1 tsp espresso powder to your coco powder before the dough forms.  

I tend to make these with a mini cookie scoop at half size, so I can have more than one as a tasty treat.

Storage Tips

Store your brownie batter energy bites in an airtight container or stasher bags to keep them fresh. These energy bites freeze well too, making them perfect for batch prep and quick go snacks throughout the week.

Let me know if you try this healthy treat!  I hope you do.  

Brownie Batter Energy Bites

Prep Time 20 minutes
Cool Time 1 hour
Total Time 1 hour 20 minutes
Course Dessert
Cuisine American
Servings 16
Calories 92 kcal

Ingredients
  

  • 1 cup pitted dates
  • 1 Banana peeled
  • ½ cup gluten free oat flour
  • cup chopped walnuts
  • cup unsweetened cocoa powder
  • 3 tablespoons almond butter
  • 2 tablespoons maple syrup
  • teaspoon coarse sea salt

Instructions
 

  •  Line a rimmed baking pan with parchment paper. Pulse dates in a food processor until small pieces remain. Add banana, flour, walnuts, cocoa powder, almond butter and syrup; pulse until smooth, scraping down bowl occasionally. Transfer date mixture to a medium bowl; freeze 20 minutes or until firm. Makes about 2 cups.
  • Using 2 small spoons, drop date mixture into 16 (1¾-inch) mounds on prepared pan; roll mounds into balls. Sprinkle balls with salt; refrigerate 1 hour or until firm. Makes 16 energy bites.

Notes

I like to make these half size so I can have more than one bite size brownie as a snack.
 
Store in the freezer for a cool treat!

Nutrition

Serving: 1BiteCalories: 92kcalCarbohydrates: 15gProtein: 2gFat: 4gSaturated Fat: 0.5gPolyunsaturated Fat: 2gMonounsaturated Fat: 1gSodium: 20mgPotassium: 170mgFiber: 2gSugar: 9gVitamin A: 19IUVitamin C: 1mgCalcium: 26mgIron: 1mg
Keyword gluten free, vegan, vegetarian
Tried this recipe?Let us know how it was!

The Absolute Best Zucchini Lasagna Recipe (low carb)

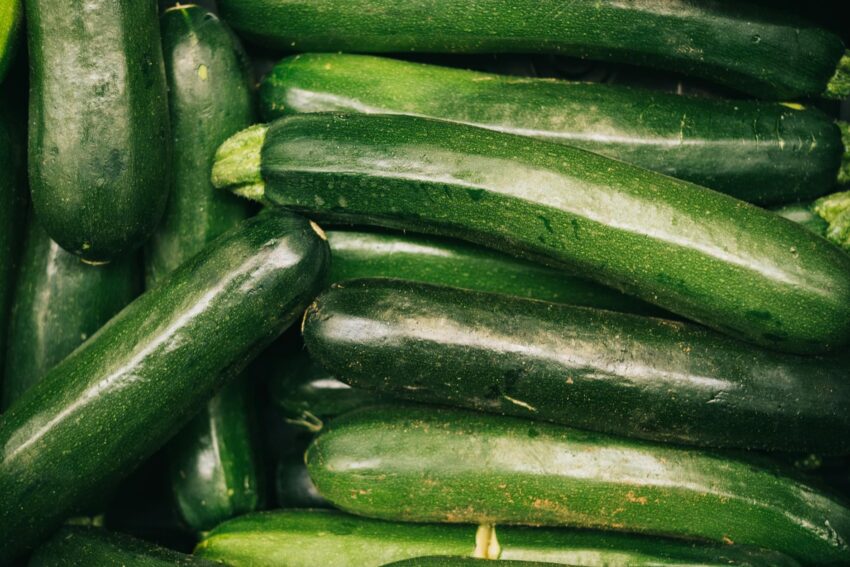
I can’t remember a summer where we didn’t have zucchini lasagna on the menu. Whether it was a big family gathering at the lake, or a quiet dinner on the back porch, this veggie-packed twist on traditional lasagna is a summer comfort food not to be missed.  Trust me :). It’a a staple summer zucchini recipe.

Jump to Recipe

It’s hard to resist layers of gooey cheese and rich meat sauce but summer months aren’t conducive for such a heavy dish. So if you’re looking to keep things on the lighter side, this simple zucchini lasagna recipe is a great option. It combines fresh garden zucchini with extra lean ground turkey for a low-carb take on traditional lasagna. The best part, is that I don’t have to spend hours in the kitchen.  Basically just brown some turkey to make a bolognese sauce of sorts and then layer up with slices of zucchini and layers of cheese.  It’s perfection.

Ingredients and substitutions:

  • Zucchini:  You just wouldn’t have this dish without it!  Though you could substitute yellow squash.  
  • Extra lean ground turkey:  Certainly use ground chicken, ground beef or any other ground meat that you have on hand.  
  • Rao’s marinara sauce:  I insist on Rao’s if you want a delicious outcome with the least effort. Feel free to substitute with your favorite tomato sauce.
  • Mozzarella cheese:  I use part skim mozzarella cheese
  • Pesto:  You could omit, but I think this is the secret ingredient.  I love using Costco’s Basil Pesto.  It’s the best tasting pre-made pesto I’ve tried.  
  • Olive oil: In a pinch you could use another neutral oil.  
  • Salt and pepper to taste
  • Fresh basil leaves for garnish 
  • Optional:  red pepper flakes, italian seasoning, other fresh herbs of choice
Jump to Recipe

Instructions:

  1. Prepare the Zucchini:Start by washing your zucchinis. Using a mandoline slicer or a sharp knife, slice them into thin strips, about 1/4-1/2 inch thick. Take care to remove large seeded areas.  
  2. Preheat the Oven:Preheat your oven to 350°F.
  3. Cook the Ground Turkey:Heat olive oil in a large skillet over medium heat. Add the ground turkey and cook until browned, breaking it apart with a spatula. Once cooked, stir in the tomato sauce. Let the sauce simmer for a few minutes. If you prefer a richer flavor, you can mix in a bit of tomato paste. 
  4. Assemble the Lasagna:Start by spreading a thin layer of tomato sauce at the bottom of the dish. Place a single layer of zucchini slices on top. Be sure the zucchini strips are close together but not overlapping too much. Sprinkle a layer of mozzarella cheese and half of the pesto.  Repeat the layers, ending with a layer of zucchini and a sprinkle of mozzarella cheese on top.
  5. Bake the Lasagna:Cover the baking dish with aluminum foil to prevent the top from browning too quickly. Bake for 30 minutes. After 30 minutes, remove the foil and bake for an additional 15-20 minutes, or until the top is golden brown and bubbly.
  6. Let it Rest:Allow the lasagna to rest for about 10 minutes before serving. This helps the layers set and makes it easier to cut into squares without a watery mess.
  7. Garnish and Serve:Garnish with fresh basil leaves and a sprinkle of additional Parmesan cheese if desired. Serve warm and enjoy!
Jump to Recipe

Tips for Perfect Zucchini Lasagna:

  • Preventing Watery Lasagna: To avoid excess moisture, ensure you have removed as much water as possible from the zucchini slices before assembling the lasagna. If you have any extra liquid on the bottom of the pan, you can drain it off before serving.
  • Storing Leftovers: Store any leftover zucchini lasagna in an airtight container in the refrigerator for up to 3 days. It’s even better the next day, as the flavors have more time to meld together. It also freezes really well so it’s a great way to meal prep for another night.
  • Adjusting for Dietary Needs: This recipe is a low-carb zucchini lasagna, but you can customize it with different kinds of cheese or add extra veggies to suit your taste preferences. For a different twist, try incorporating some cooked ground chicken or Italian sausage.
  • ​Easy Clean Up:  I highly recommend cooking this off on a baking sheet to prevent drips and spills in the oven.

Join my next round of the FASTer Way

Tired of endless diets and no results? Join the FASTer Way to Fat Loss and see real, sustainable changes in just 6 weeks!

Melanie Marcus FASTer Way to Fat Loss Coach

FASTer Way Friends

Make this recipe on a Sunday for meal prep to take you through both low carb and regular macro days.  Serve with whole grain or chickpea pasta noodles to get your carbs in.  Or serve with Miracle noodles for lower carbs.  With only 9g carbs this qualifies as a keto lasagna for sure.  

This zucchini lasagna is not only a healthier alternative to traditional lasagna but also a versatile and satisfying dish that will earn rave reviews from your family. Enjoy this comforting meal without the extra carbs, and savor the fresh flavors of garden zucchini and lean ground turkey.

Zucchini Lasagna

This is a family favorite that can fit into any meal plan.
Prep Time 10 minutes
Cook Time 50 minutes
Total Time 1 hour
Course Main Course
Cuisine American, Italian
Servings 6
Calories 368 kcal

Equipment

  • 9×14 baking pan

Ingredients
  

  • 1 jar Raos tomato sauce
  • 1 zucchini large
  • 12 oz mozzarella cheese shredded
  • 16 oz extra lean ground turkey
  • 2 tsp olive oil
  • Salt and pepper to taste
  • 1/4 cup basil pesto

Instructions
 

  • Cut zucchini into 1/4 inch planks
  • Cook ground turkey with olive oil until cooked through. Season with salt and pepper to taste.
  • Add tomato sauce and cook until heated through
  • Layer tomato mixture, cheese, pesto and zucchini in pan, ending with cheese.
  • Bake at 350F for 50 minutes, uncovering for last 5 minutes to get color on top.

Notes

Zucchini lasagna is one of those recipes that I look forward to all year long.  I enjoy with miracle noodle on low carb days or some brown rice pasta on regular macro days.  The best part is that I can throw it together, it freezes well and my whole family loves it.  


Nutrition

Calories: 368kcalCarbohydrates: 9gProtein: 29gFat: 25gSaturated Fat: 10gPolyunsaturated Fat: 3gMonounsaturated Fat: 7gTrans Fat: 0.1gCholesterol: 102mgSodium: 1044mgPotassium: 626mgFiber: 2gSugar: 6gVitamin A: 1203IUVitamin C: 14mgCalcium: 340mgIron: 2mg
Keyword easy, kid friendly, summer
Tried this recipe?Let us know how it was!

About Me

I’m Melanie.

I’m a chef, registered dietitian, foodie, wife and mom.
If you’re looking for quick and healthy meal inspiration that supports your health goals while feeding the rest of your family (including the kiddoes) well, then you’ve come to the right place!

Melanie Marcus Selfie

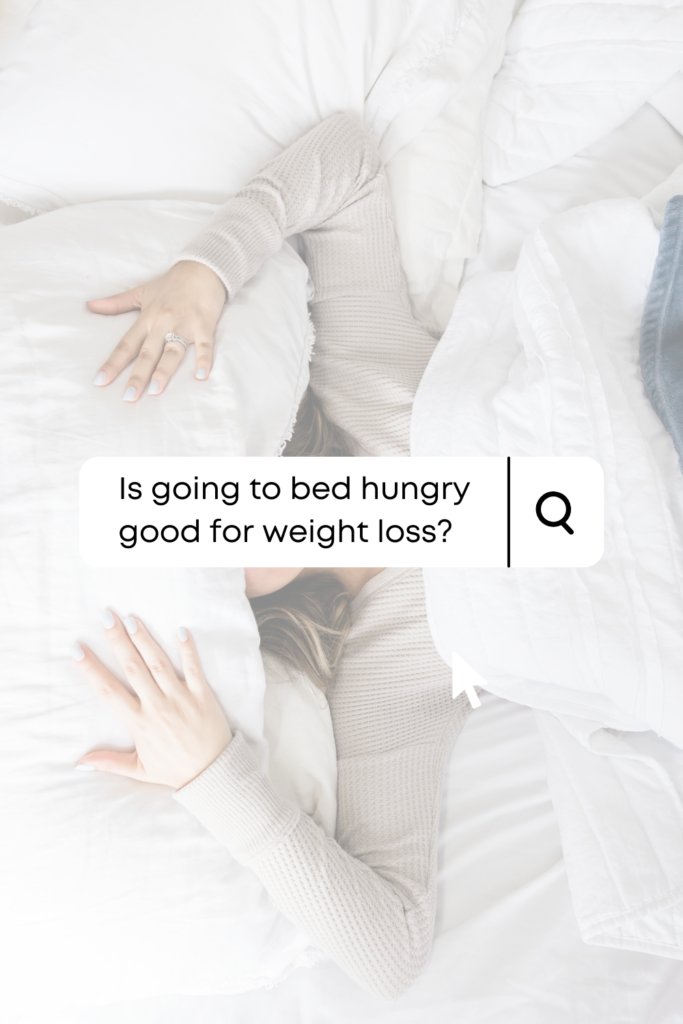
True or False:  Going to bed hungry is good for weight loss

My husband casually told me one day that the key to weight loss is just eating less, and going to bed hungry.  And as a dietitian… I thought to myself…there is nothing that could be more wrong.  

The Case for Going to Bed Hungry

Reduced Caloric Intake

One of the primary arguments for going to bed hungry is that it can help reduce your total caloric intake. Consuming fewer calories than you burn is a fundamental aspect of weight loss. By skipping a late-night snack or a big meal before bed, you’re more likely to create a calorie deficit that can lead to weight loss. That said, there’s no guarantee that you won’t up your food intake the next date to make up for it.  

Improved Insulin Sensitivity

Fasting overnight can lead to better insulin sensitivity, which is crucial for weight management. Improved insulin response helps regulate blood sugar levels and reduces the risk of insulin resistance, a condition that can lead to weight gain and other health problems like diabetes and cardiovascular disease. 

Keep in min that practicing a fasting schedule and going to bed hungry are two very different things.  

Fat Burning

Going to bed on an empty stomach may prompt your body to burn stored fat for energy, leading to fat loss. This is similar to the principles of intermittent fasting, which involves alternating between periods of eating and fasting to promote weight loss and improve overall health.

Losing weight does not have to be a painful struggle. It takes work, but you don’t have to be miserable doing it.

Melanie Marcus MA RD

The Case Against Going to Bed Hungry

Poor Sleep Quality

Going to bed hungry can lead to poor sleep quality, which is associated with weight gain and difficulty losing weight. Lack of sleep can disrupt your body’s circadian rhythm, leading to sleep disorders like insomnia and sleep apnea. Sleep deprivation affects appetite hormones, increasing levels of the hunger hormone ghrelin and decreasing levels of leptin, the hormone responsible for feelings of fullness. The solution may be a 200 calorie bedtime snack, a combo of protein and carbohydrate to take the edge off.  There’s nothing worse than not getting enough sleep!

Increased Cravings

We’ve all been there. Standing in front of the pantry, looking for something to eat. Instead of choosing nutritious food, we go for ice cream or potato chips, giving into our cravings. When your calorie intake is much lower than needed (like when you skip a meal), you can fall into a situation where your cravings get the best of you when it’s time to choose a meal. All too often junk food is more accessible and requires little to no cooking, making it an appealing option when we want to eat something – NOW.

Slowed Metabolism

Prolonged periods of hunger can slow down your metabolism, making weight loss more challenging in the long term. (Don’t worry, this doesn’t happen if you are intermittent fasting properly.) Your body may enter a state of “starvation mode,” conserving energy and burning fewer calories to protect against perceived famine conditions.

Join my next round of the FASTer Way

Tired of endless diets and no results? Join the FASTer Way to Fat Loss and see real, sustainable changes in just 6 weeks!

Melanie Marcus FASTer Way to Fat Loss Coach

Practical Tips for Managing Hunger Before Bed

If you’re trying to lose weight but find yourself feeling hungry before bed, here are some practical tips to help you manage your hunger and still get a good night’s sleep:

Balanced Meals

Focus on consuming balanced and filling meals throughout the day to avoid extreme feelings of hunger before bed. Include lean meats, whole grains, and plenty of fruits and vegetables at each meal. If you want to dial it in, you can work with a dietitian to set your unique calorie and nutrient needs to meet your health goals. 

Protein and Fiber

Include protein and fiber in your evening meal to promote satiety and reduce the likelihood of feeling hungry later. Foods like lean meats, beans, and vegetables are excellent choices.

Healthy Snacks

Opt for a light, healthy snack if you’re genuinely hungry before bed. A small portion of nuts or Greek yogurt can satisfy your hunger without adding too many extra calories.

Stay Hydrated

Sometimes thirst can be mistaken for hunger. Aim to drink a glass of water if you feel hunger pangs. Staying hydrated is essential for maintaining energy levels and overall health.

1
Lightened up Sleepy Girl Mocktail
Check out this recipe

Mindful Eating

Practice mindful eating to savor your meals and become more attuned to your body’s hunger and fullness cues. This can help manage nighttime hunger and prevent overeating.

Regular Sleep Schedule

Establish a regular sleep schedule and prioritize sleep quality to reduce the likelihood of cravings and overeating the next day. Quality sleep helps regulate appetite hormones and supports healthy weight management.

So overall, going to bed hungry may help reduce caloric intake and improve insulin sensitivity, it can also lead to poor sleep quality, increased cravings, and a slowed metabolism. The best way to achieve weight loss is through a combination of balanced meals, regular physical activity, and quality sleep. By managing your hunger before bed with healthy snacks and mindful eating, you can support your weight loss goals without compromising your sleep quality.

If you’re unsure about the best approach for your nutritional needs, consider checking out my program. We can chat through some strategies to meet your overall health goals. Here are a few other articles that may interest you:

About Me

I’m Melanie.

I’m a chef, registered dietitian, foodie, wife and mom.
If you’re looking for quick and healthy meal inspiration that supports your health goals while feeding the rest of your family (including the kiddoes) well, then you’ve come to the right place!

Melanie Marcus Selfie